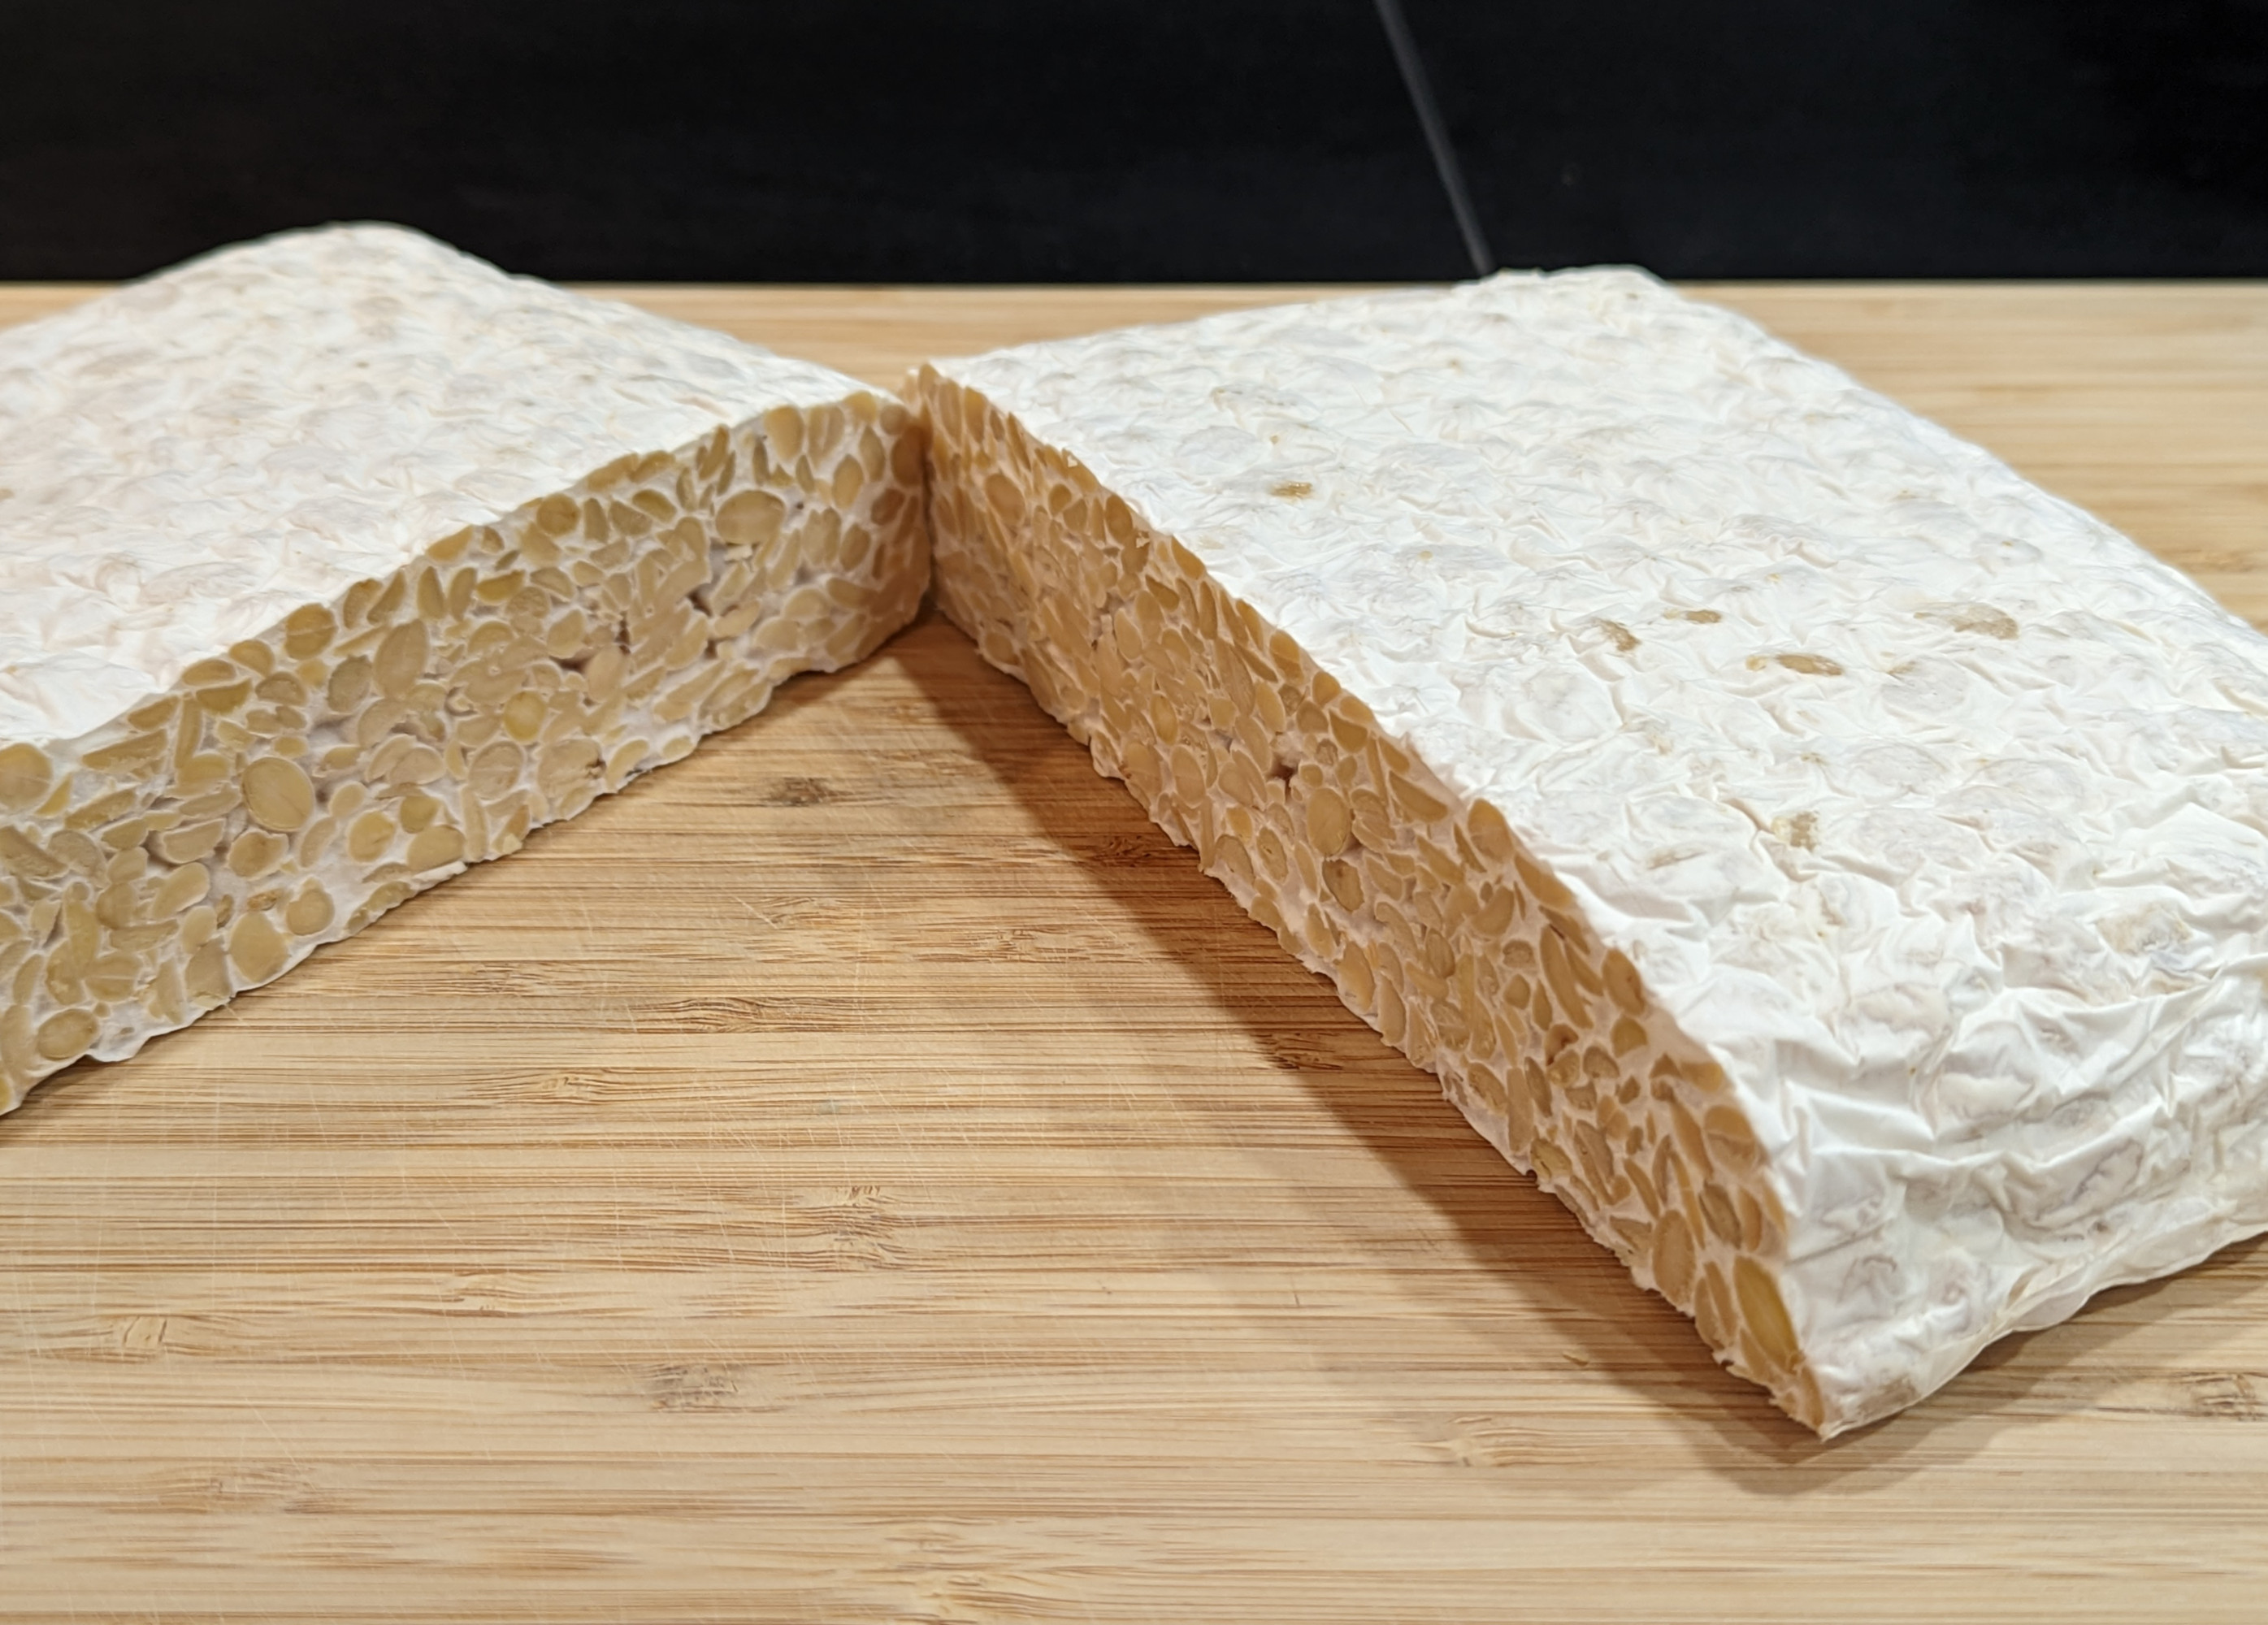
Tempeh is delicious. For those that are unaware, it is a food from Indonesia consisting of soybeans fermented by Rhizopus oligosporus fungus. The resulting product is a firm, white slab of beans bound together with white mycelium. It has a nutty, savoury, mushroom-like flavour that works well as a meat substitute in many dishes.
Recently I’ve been experimenting with the propagation of tempeh mould. I’ve developed a simple technique to create a spore suspension that produces a strong, active, fast-spreading fungal colony for making fresh tempeh.
A slab of tempeh I made using a spore suspension as a starter
Supplies
You don’t need a lot to propagate tempeh mould. In order to make this technique as accessible as possible, I’ve avoided using specialty equipment like autoclaves or laminar flow hoods. Probably the most difficult thing to find is going to be a live tempeh culture. I bought mine from TopCultures, but there is likely a supplier near you on this list.
Equipment
An oven
An appliance to boil water
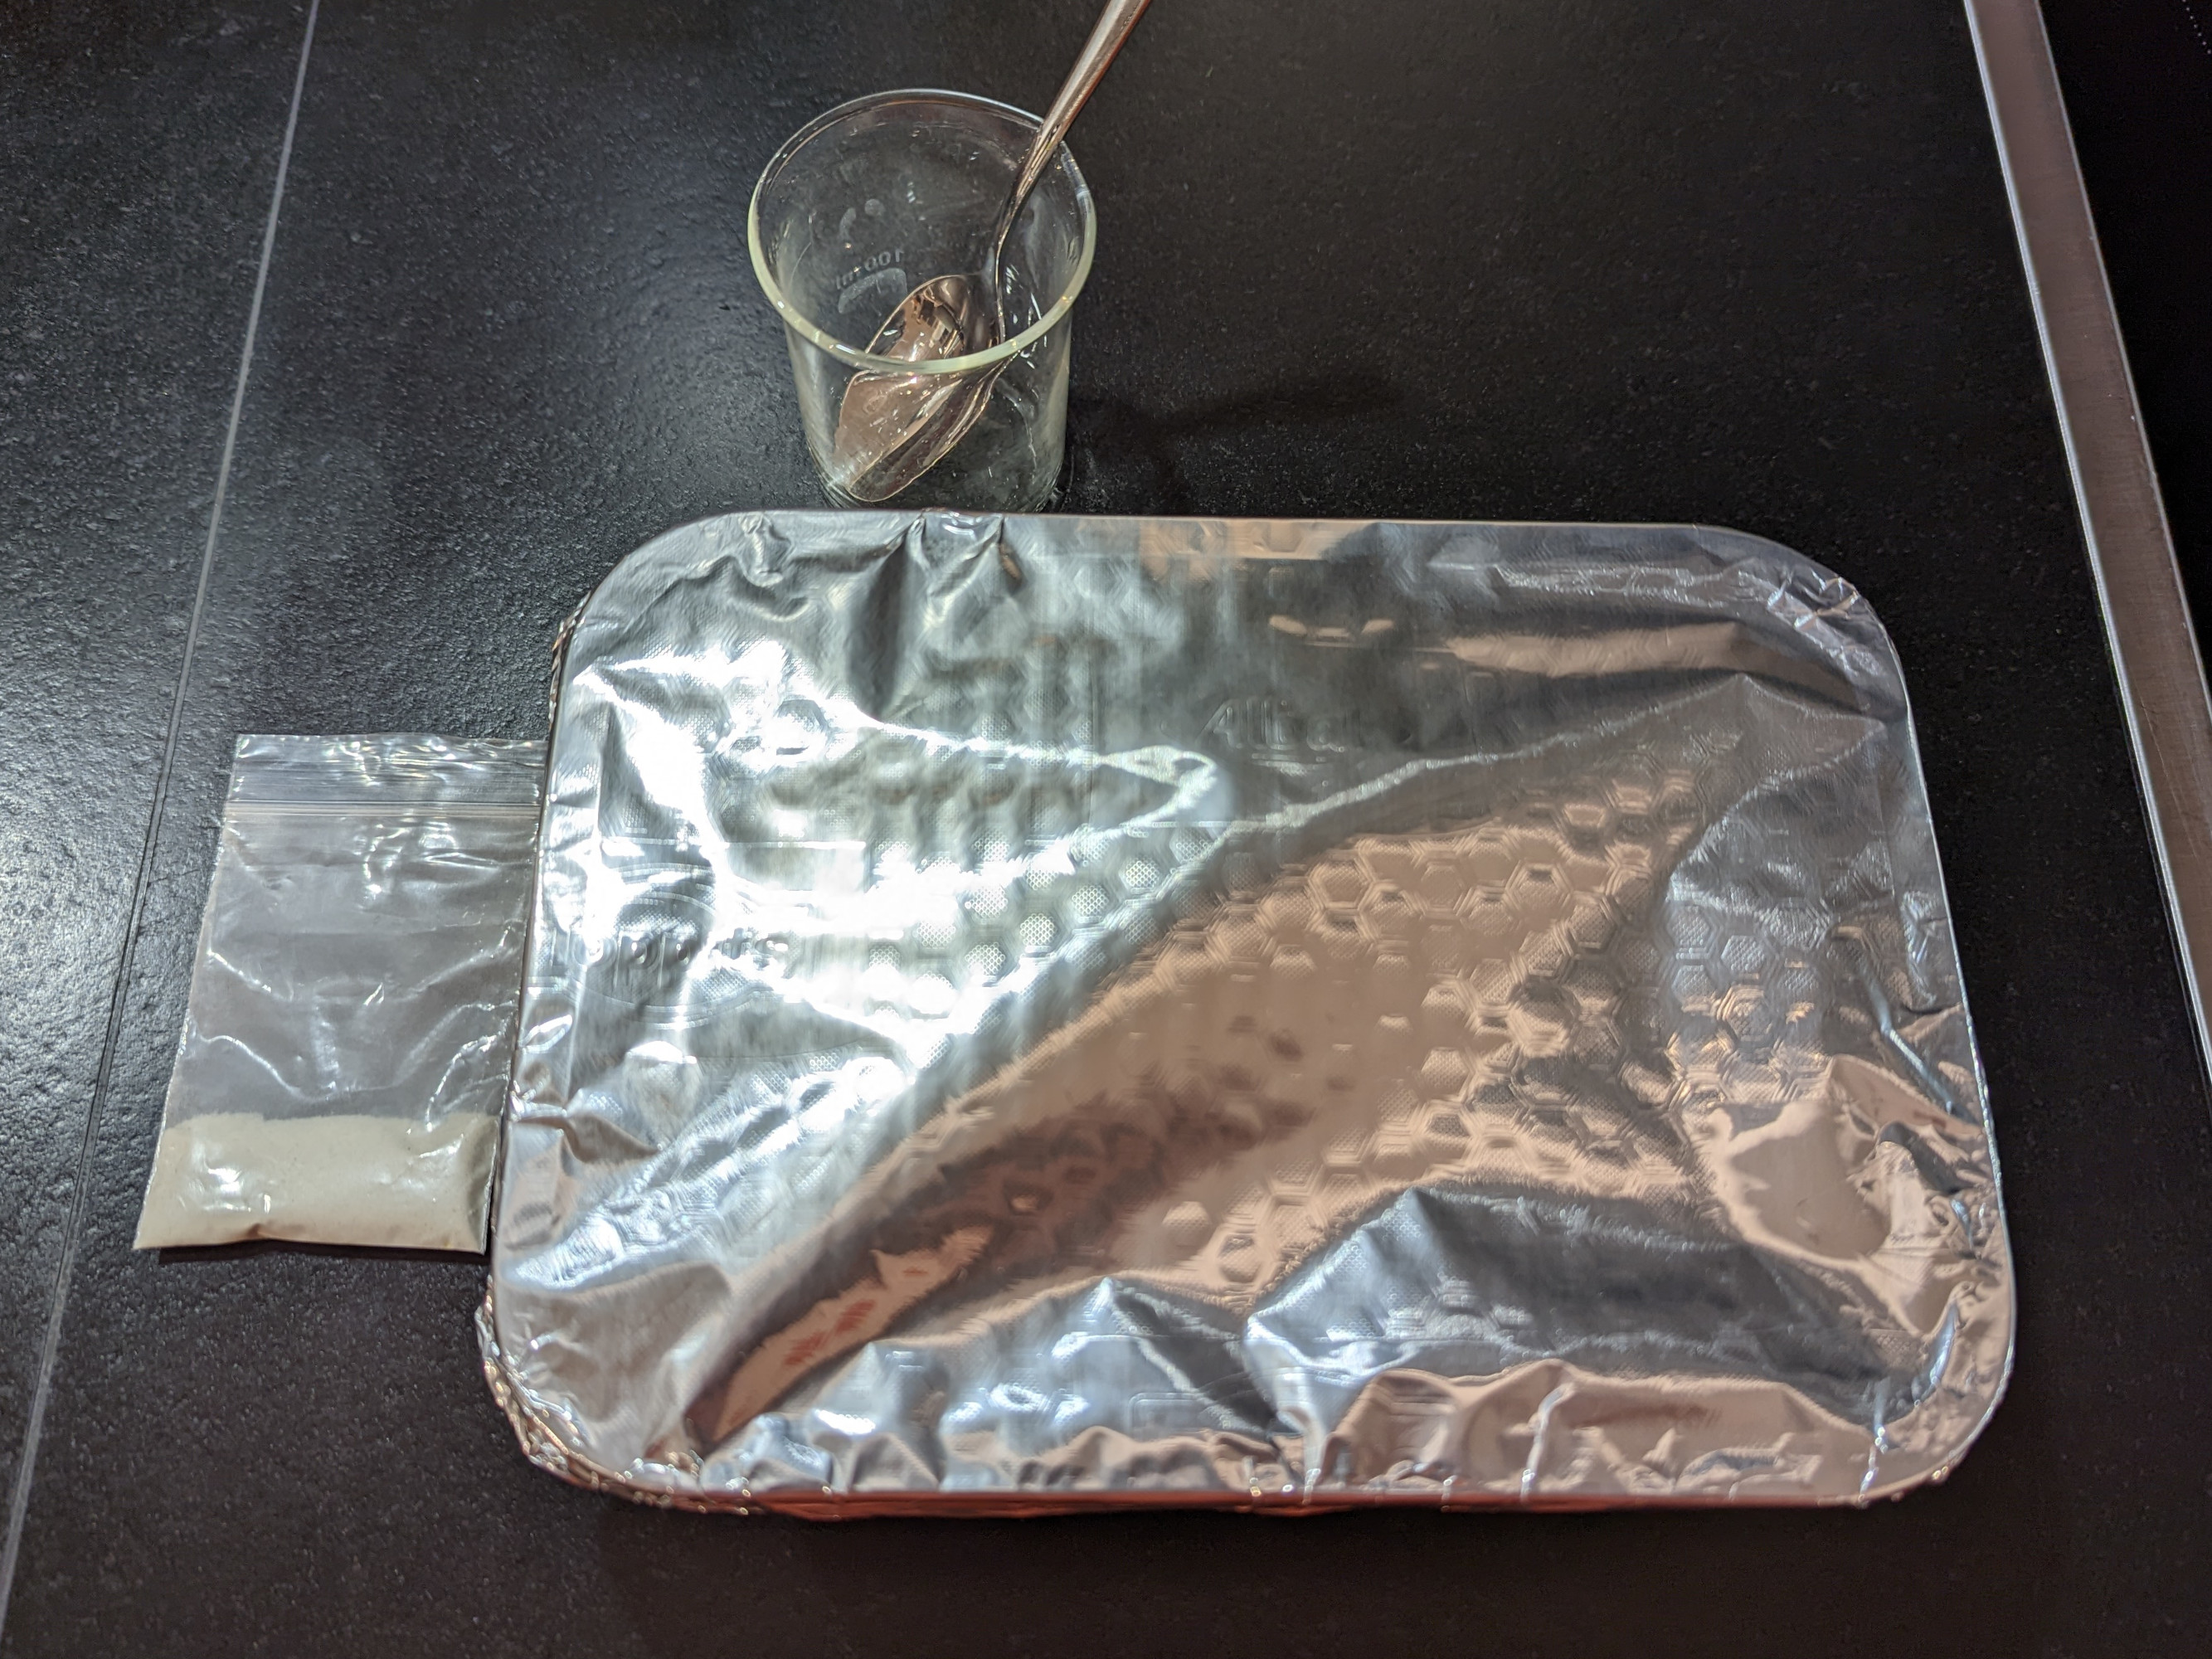
A wide, flat, oven-safe glass dish with a sealing lid
Aluminium foil
A small glass jar with a sealing lid
Ingredients
Rice
Tempeh starter culture
Water
Methodology
Substrate Preparation
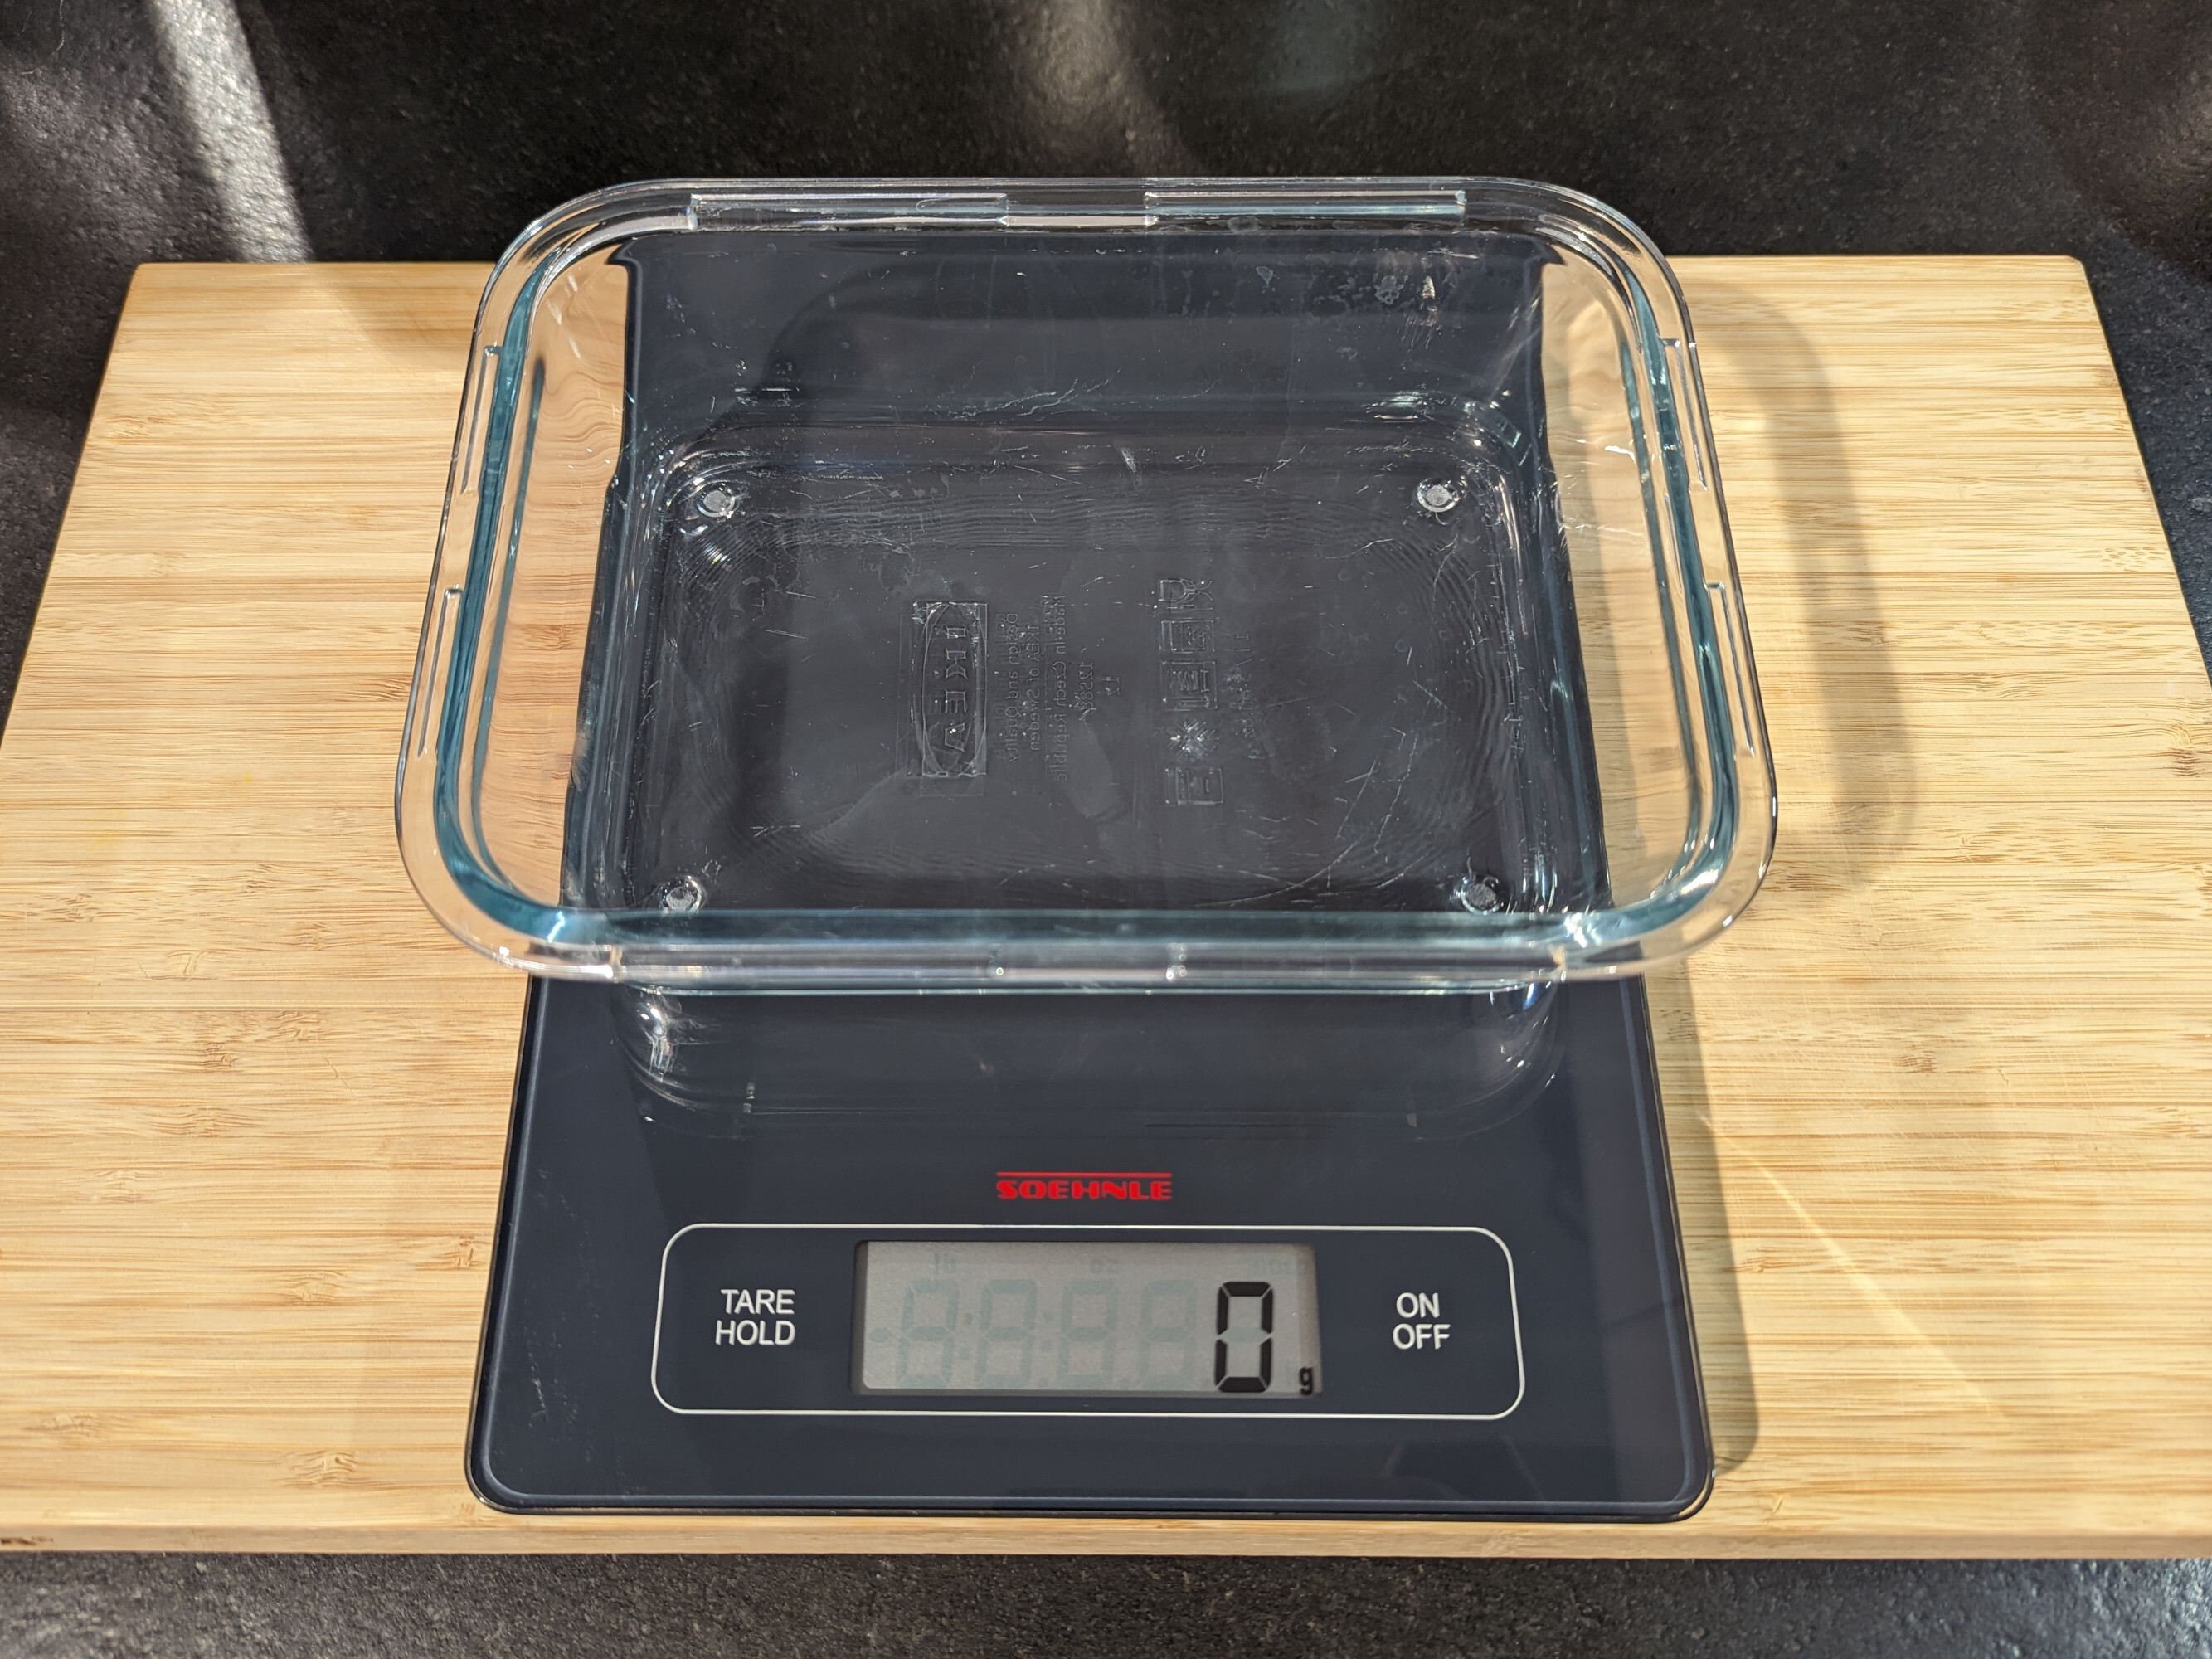
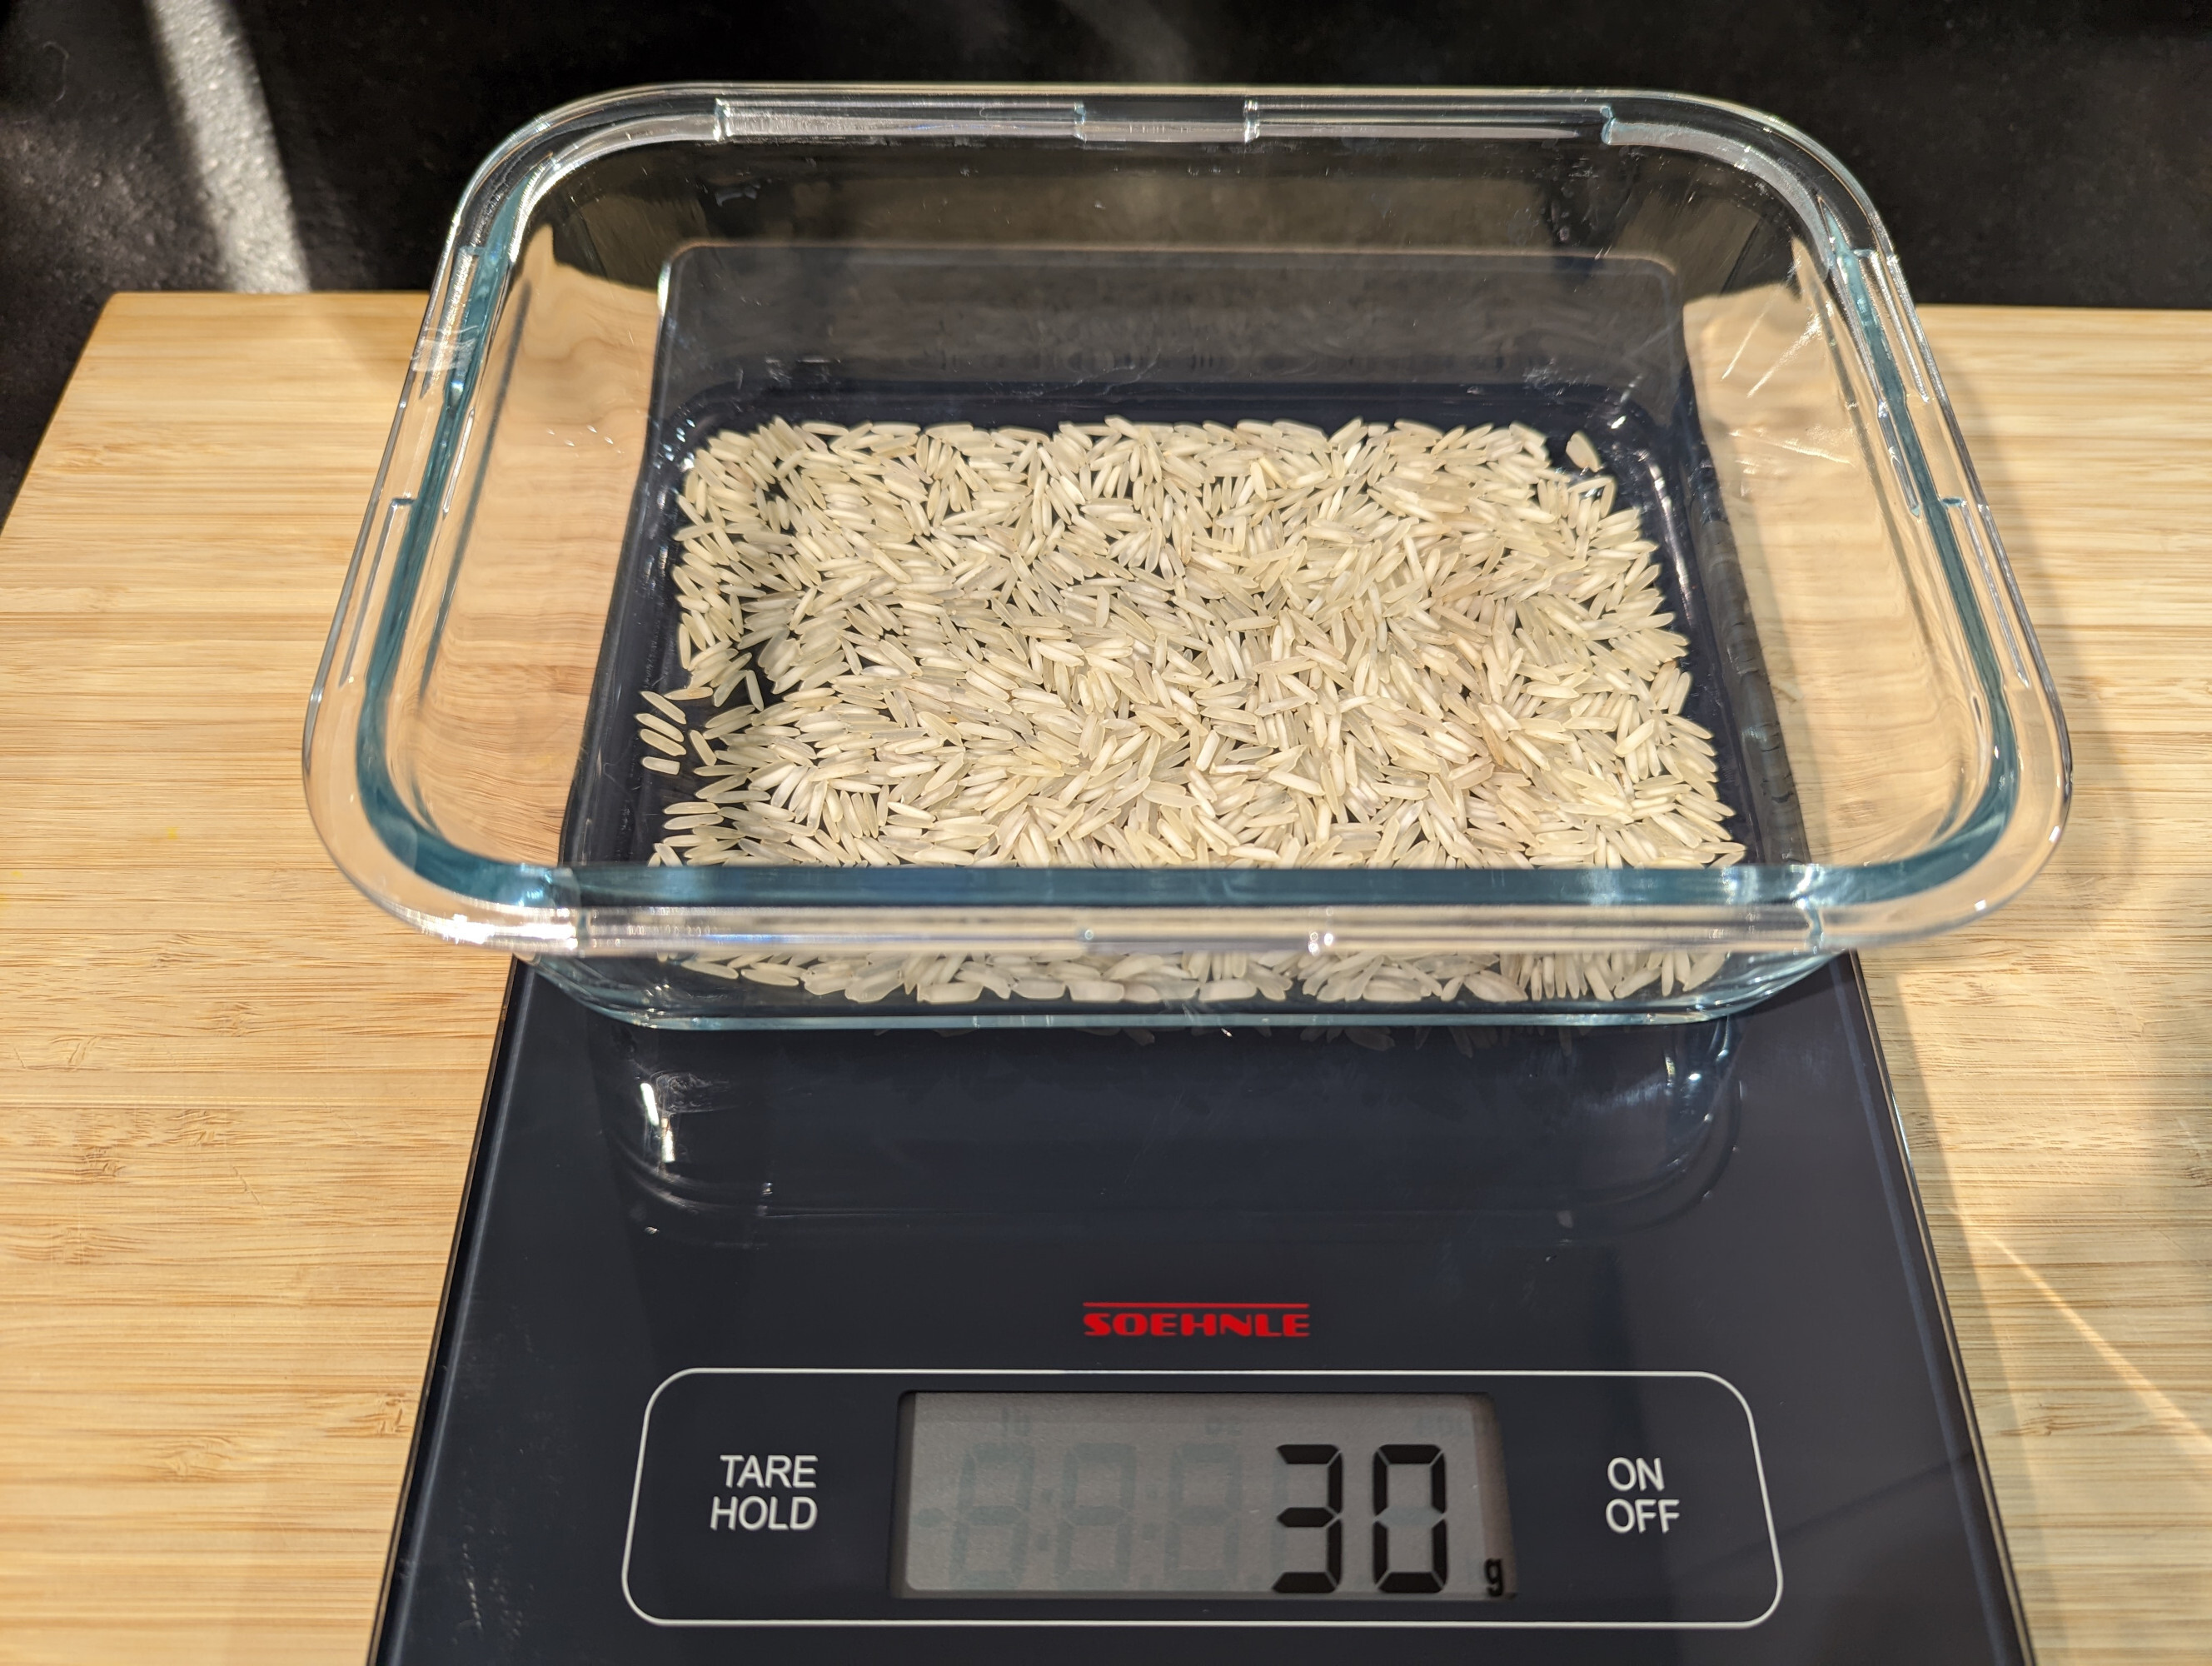
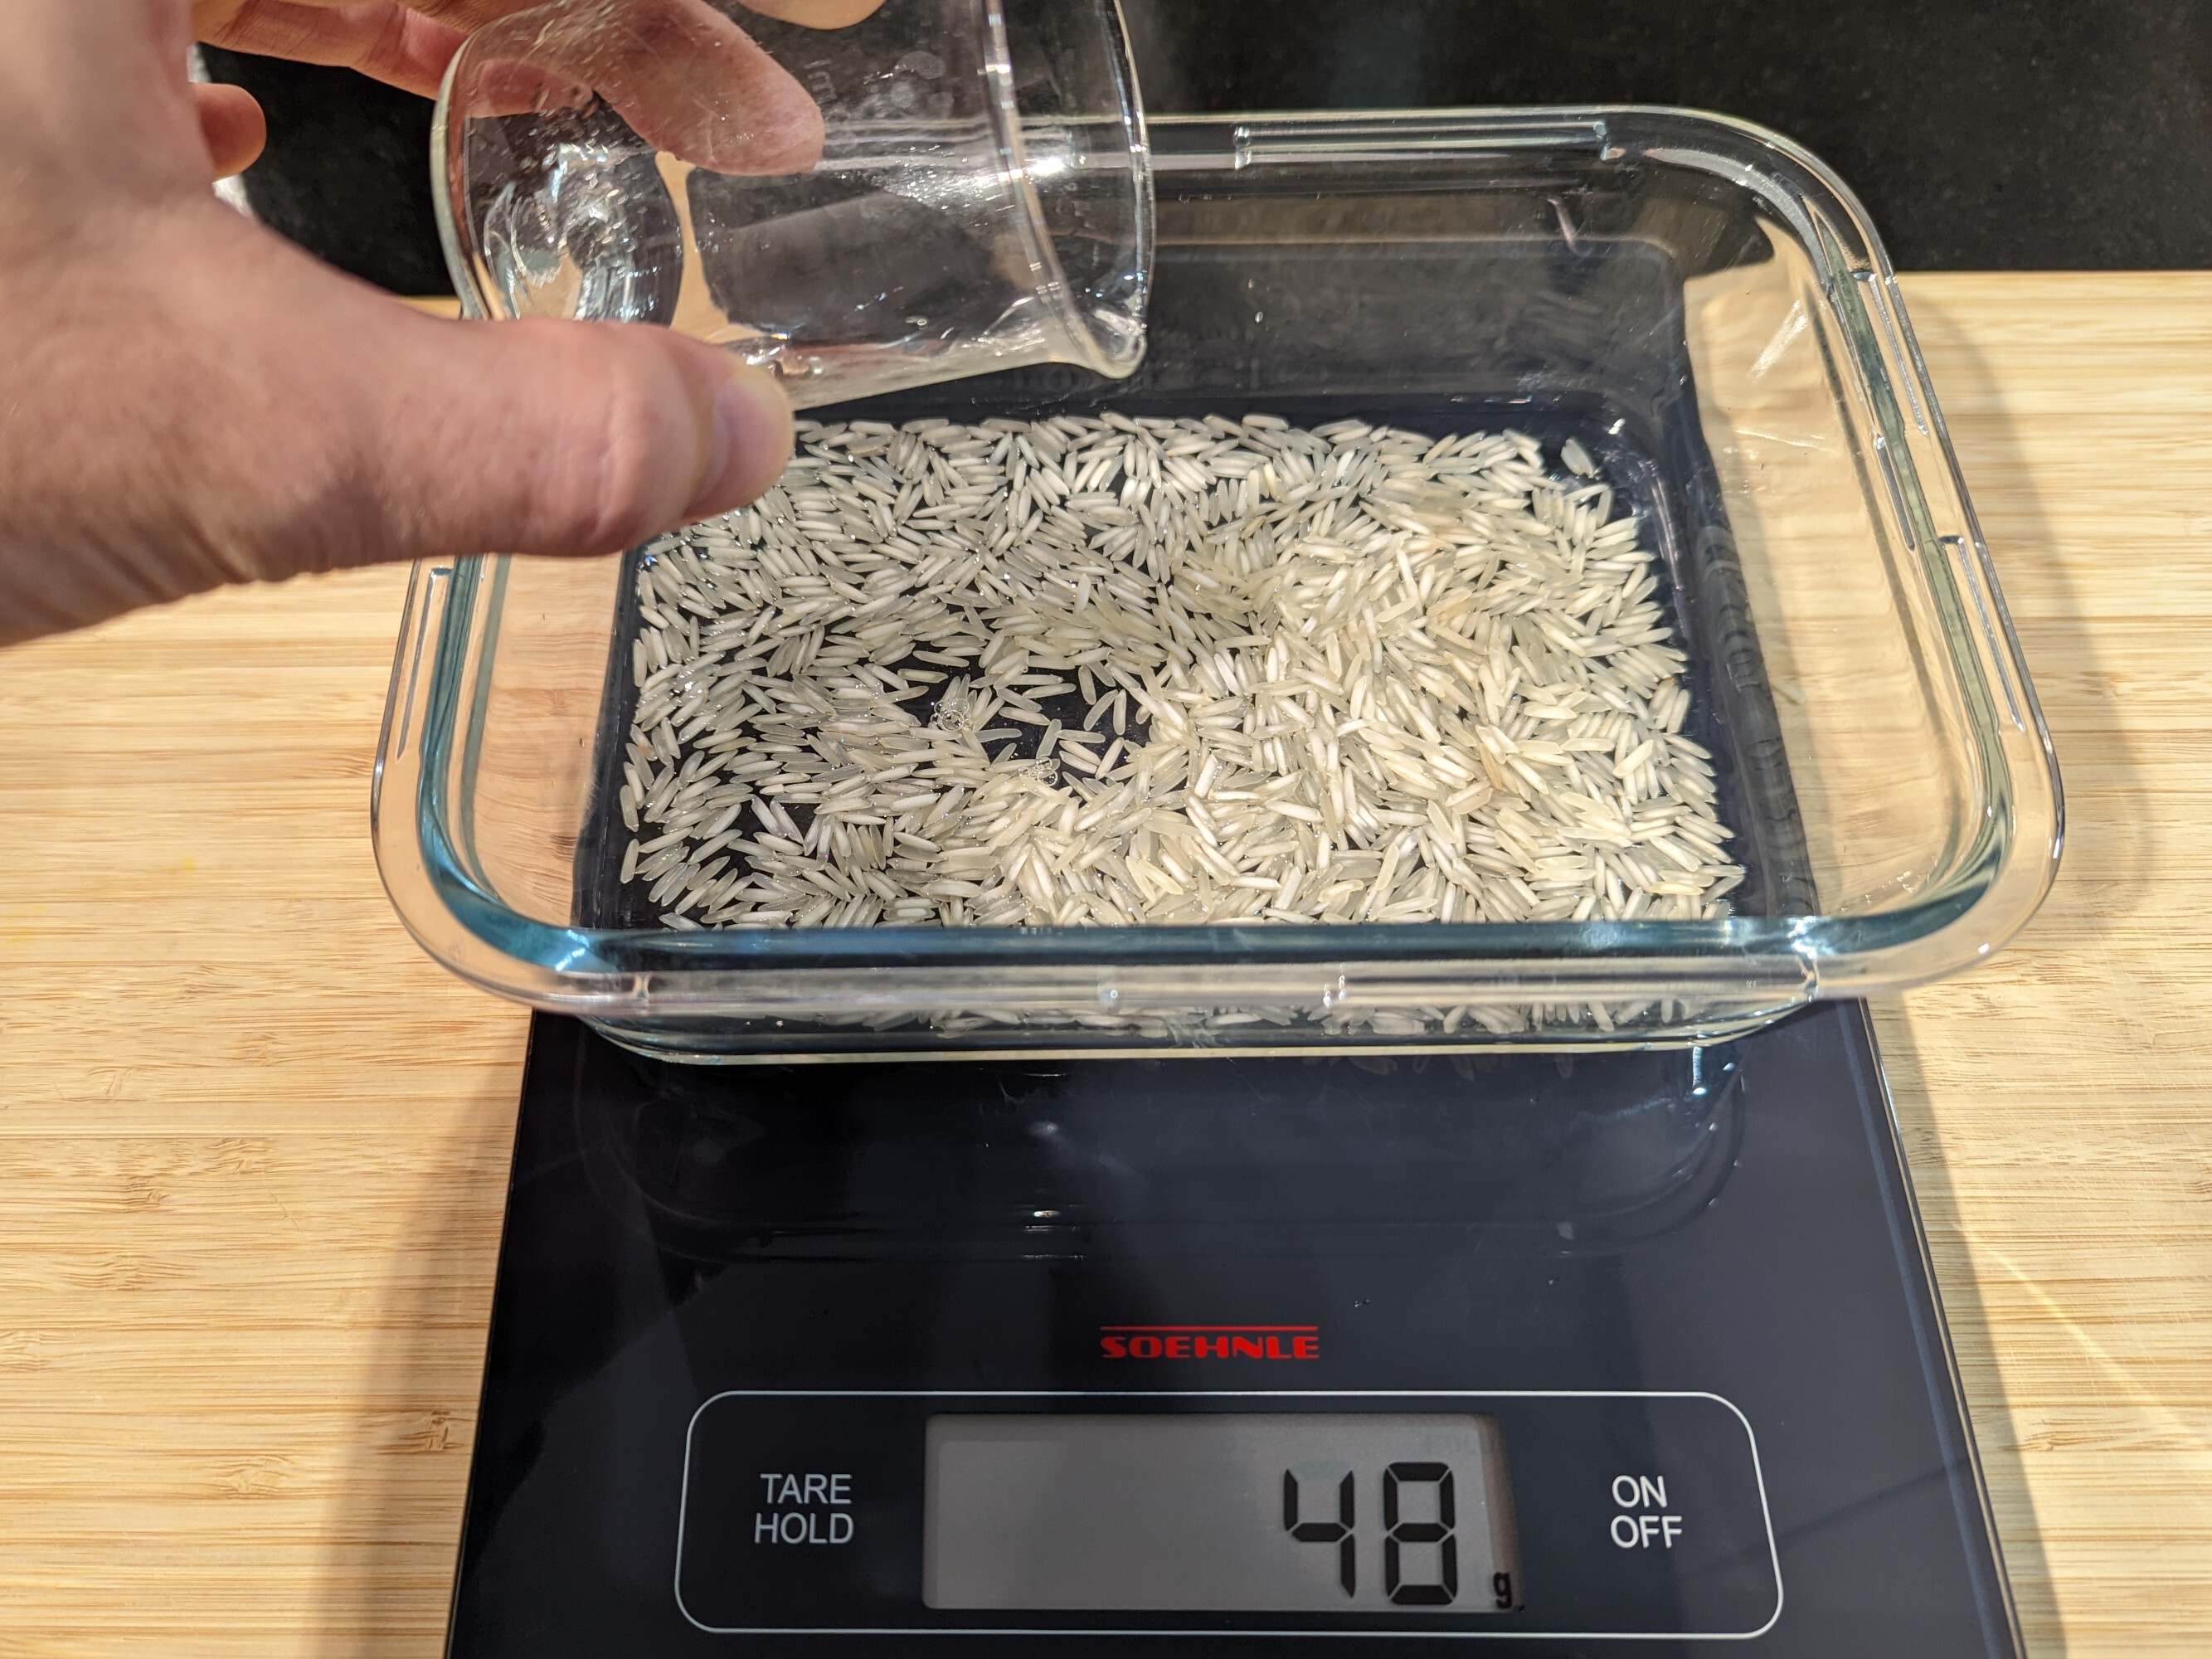
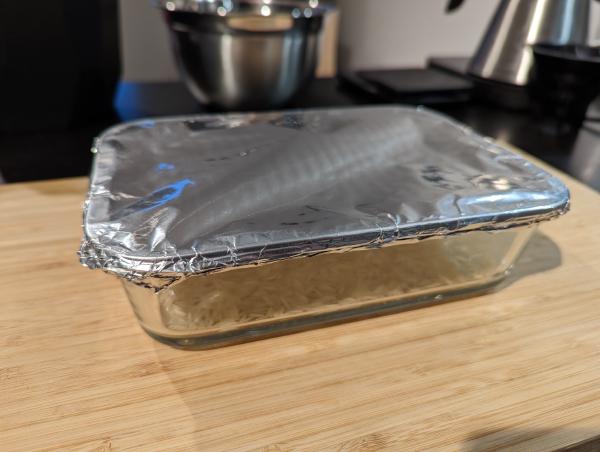
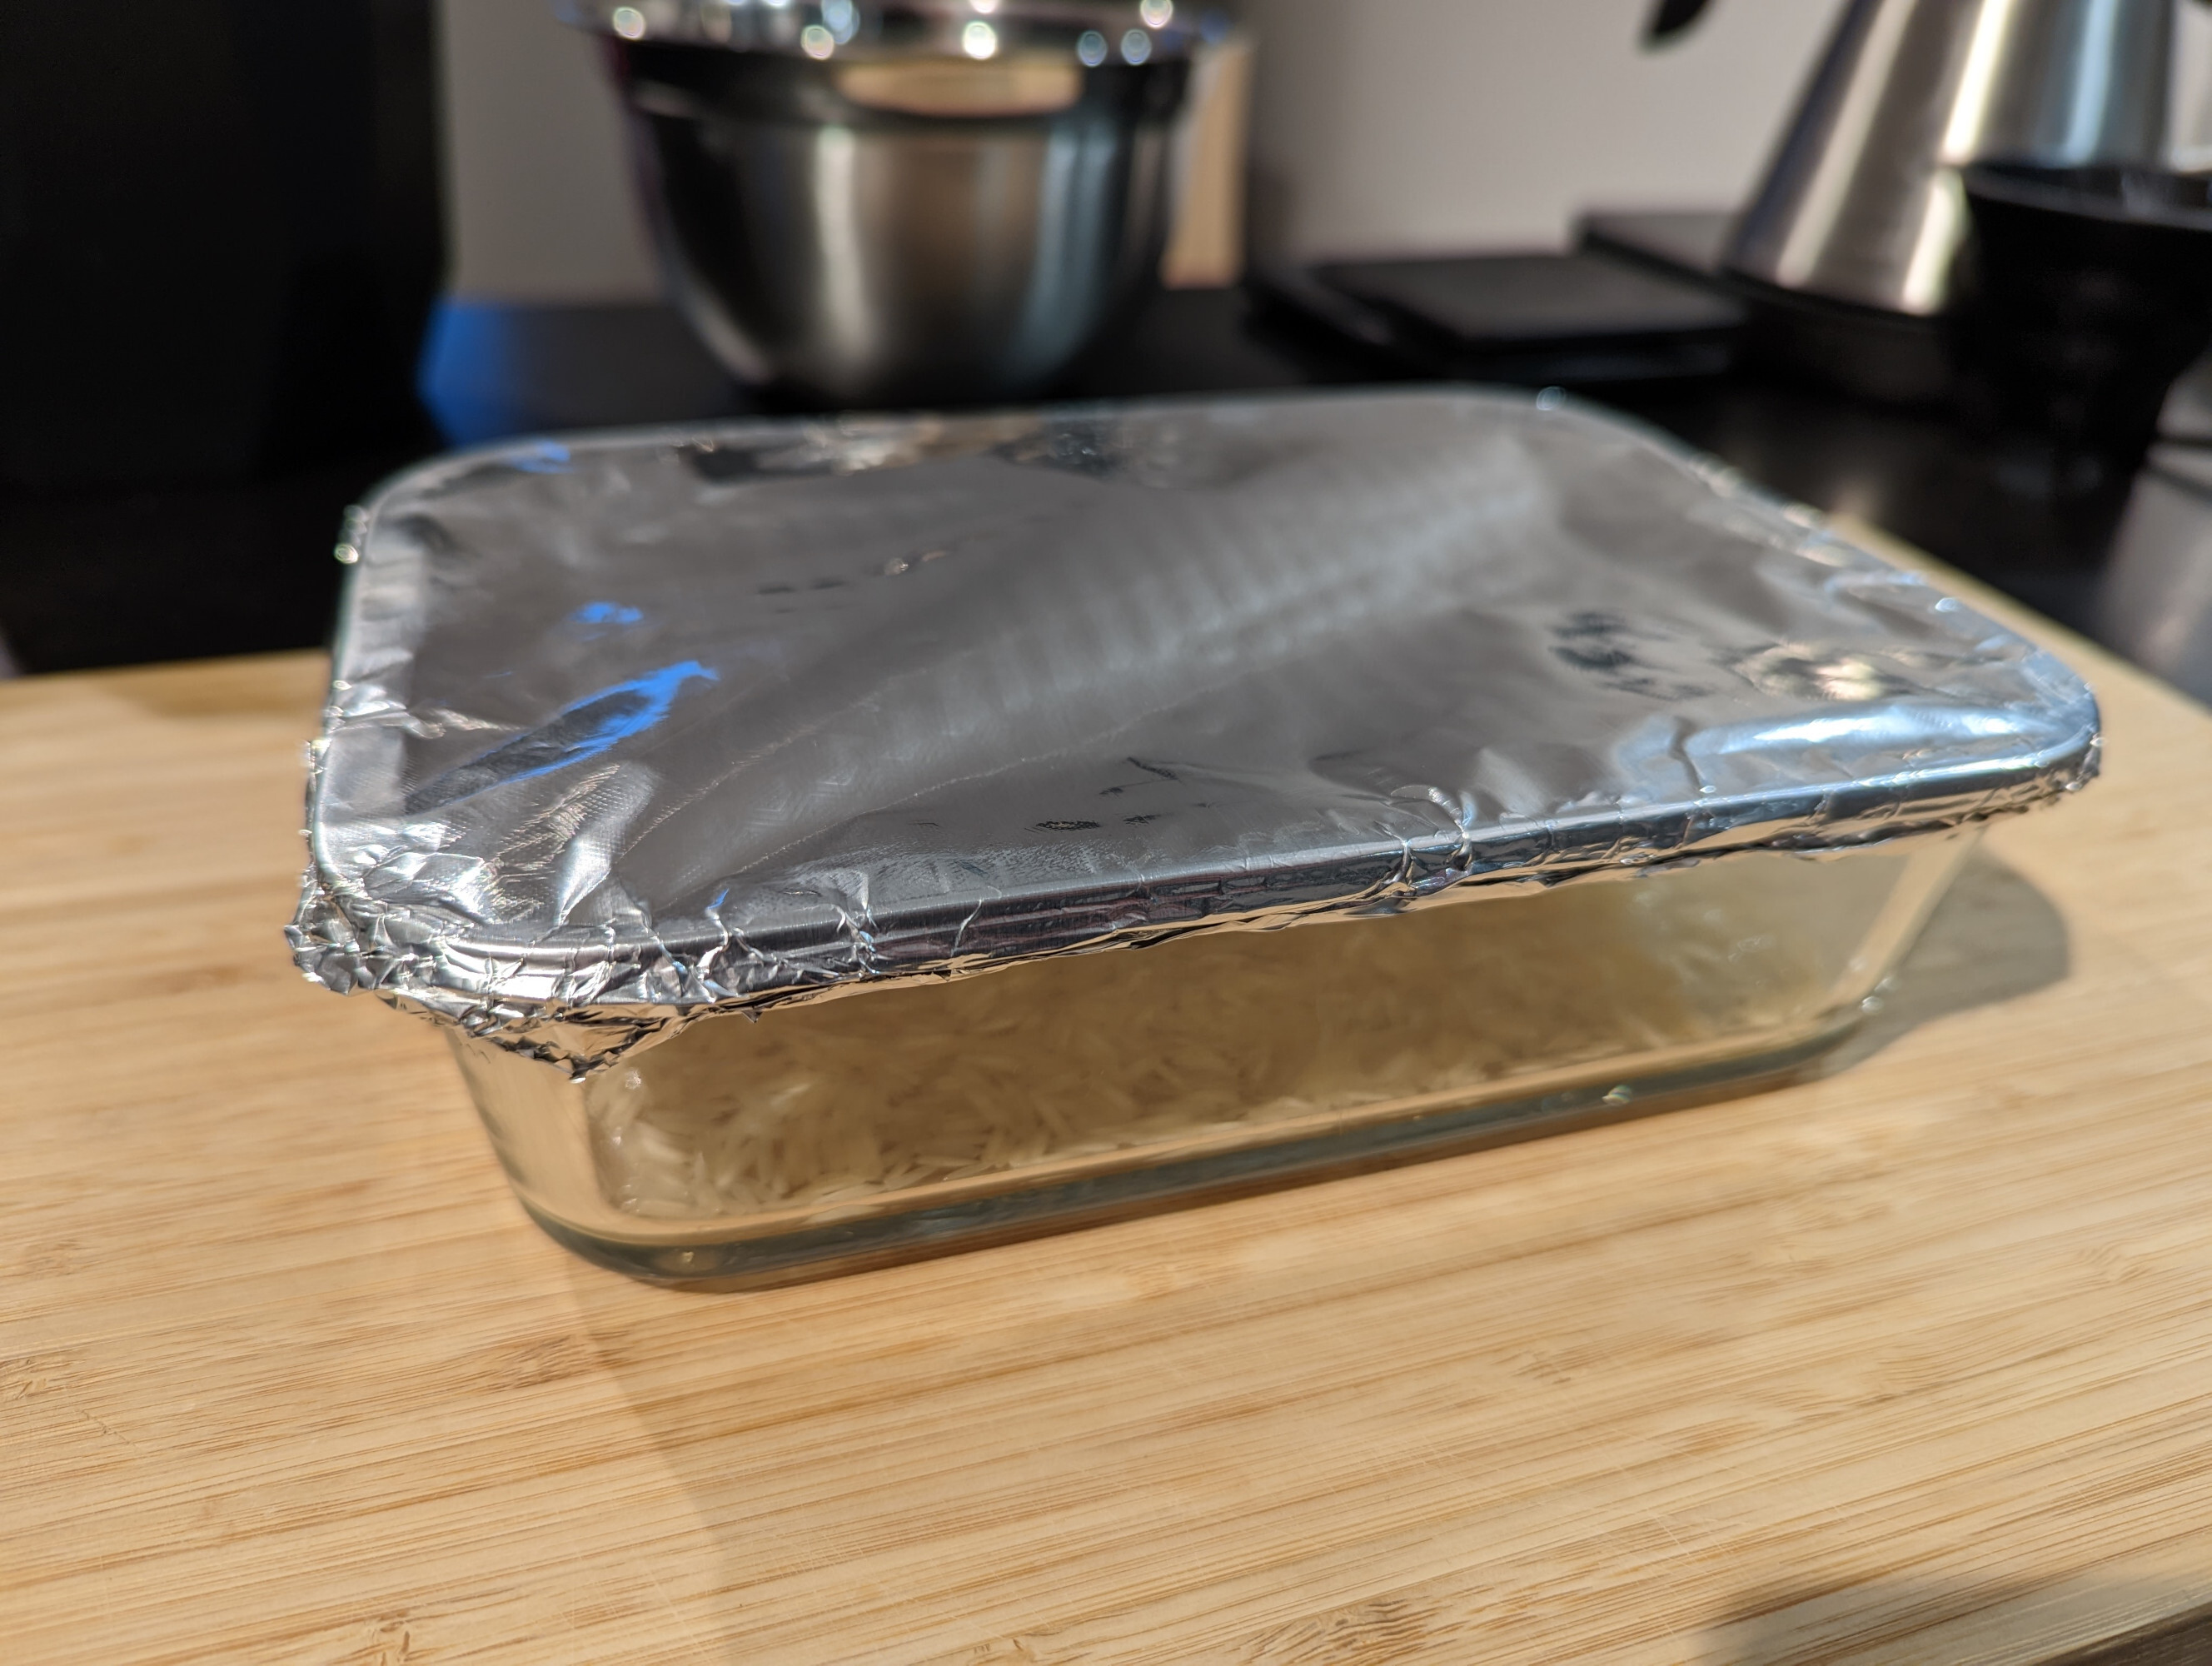
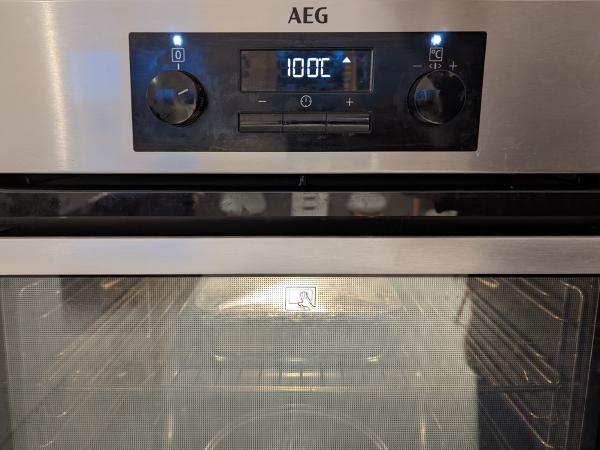
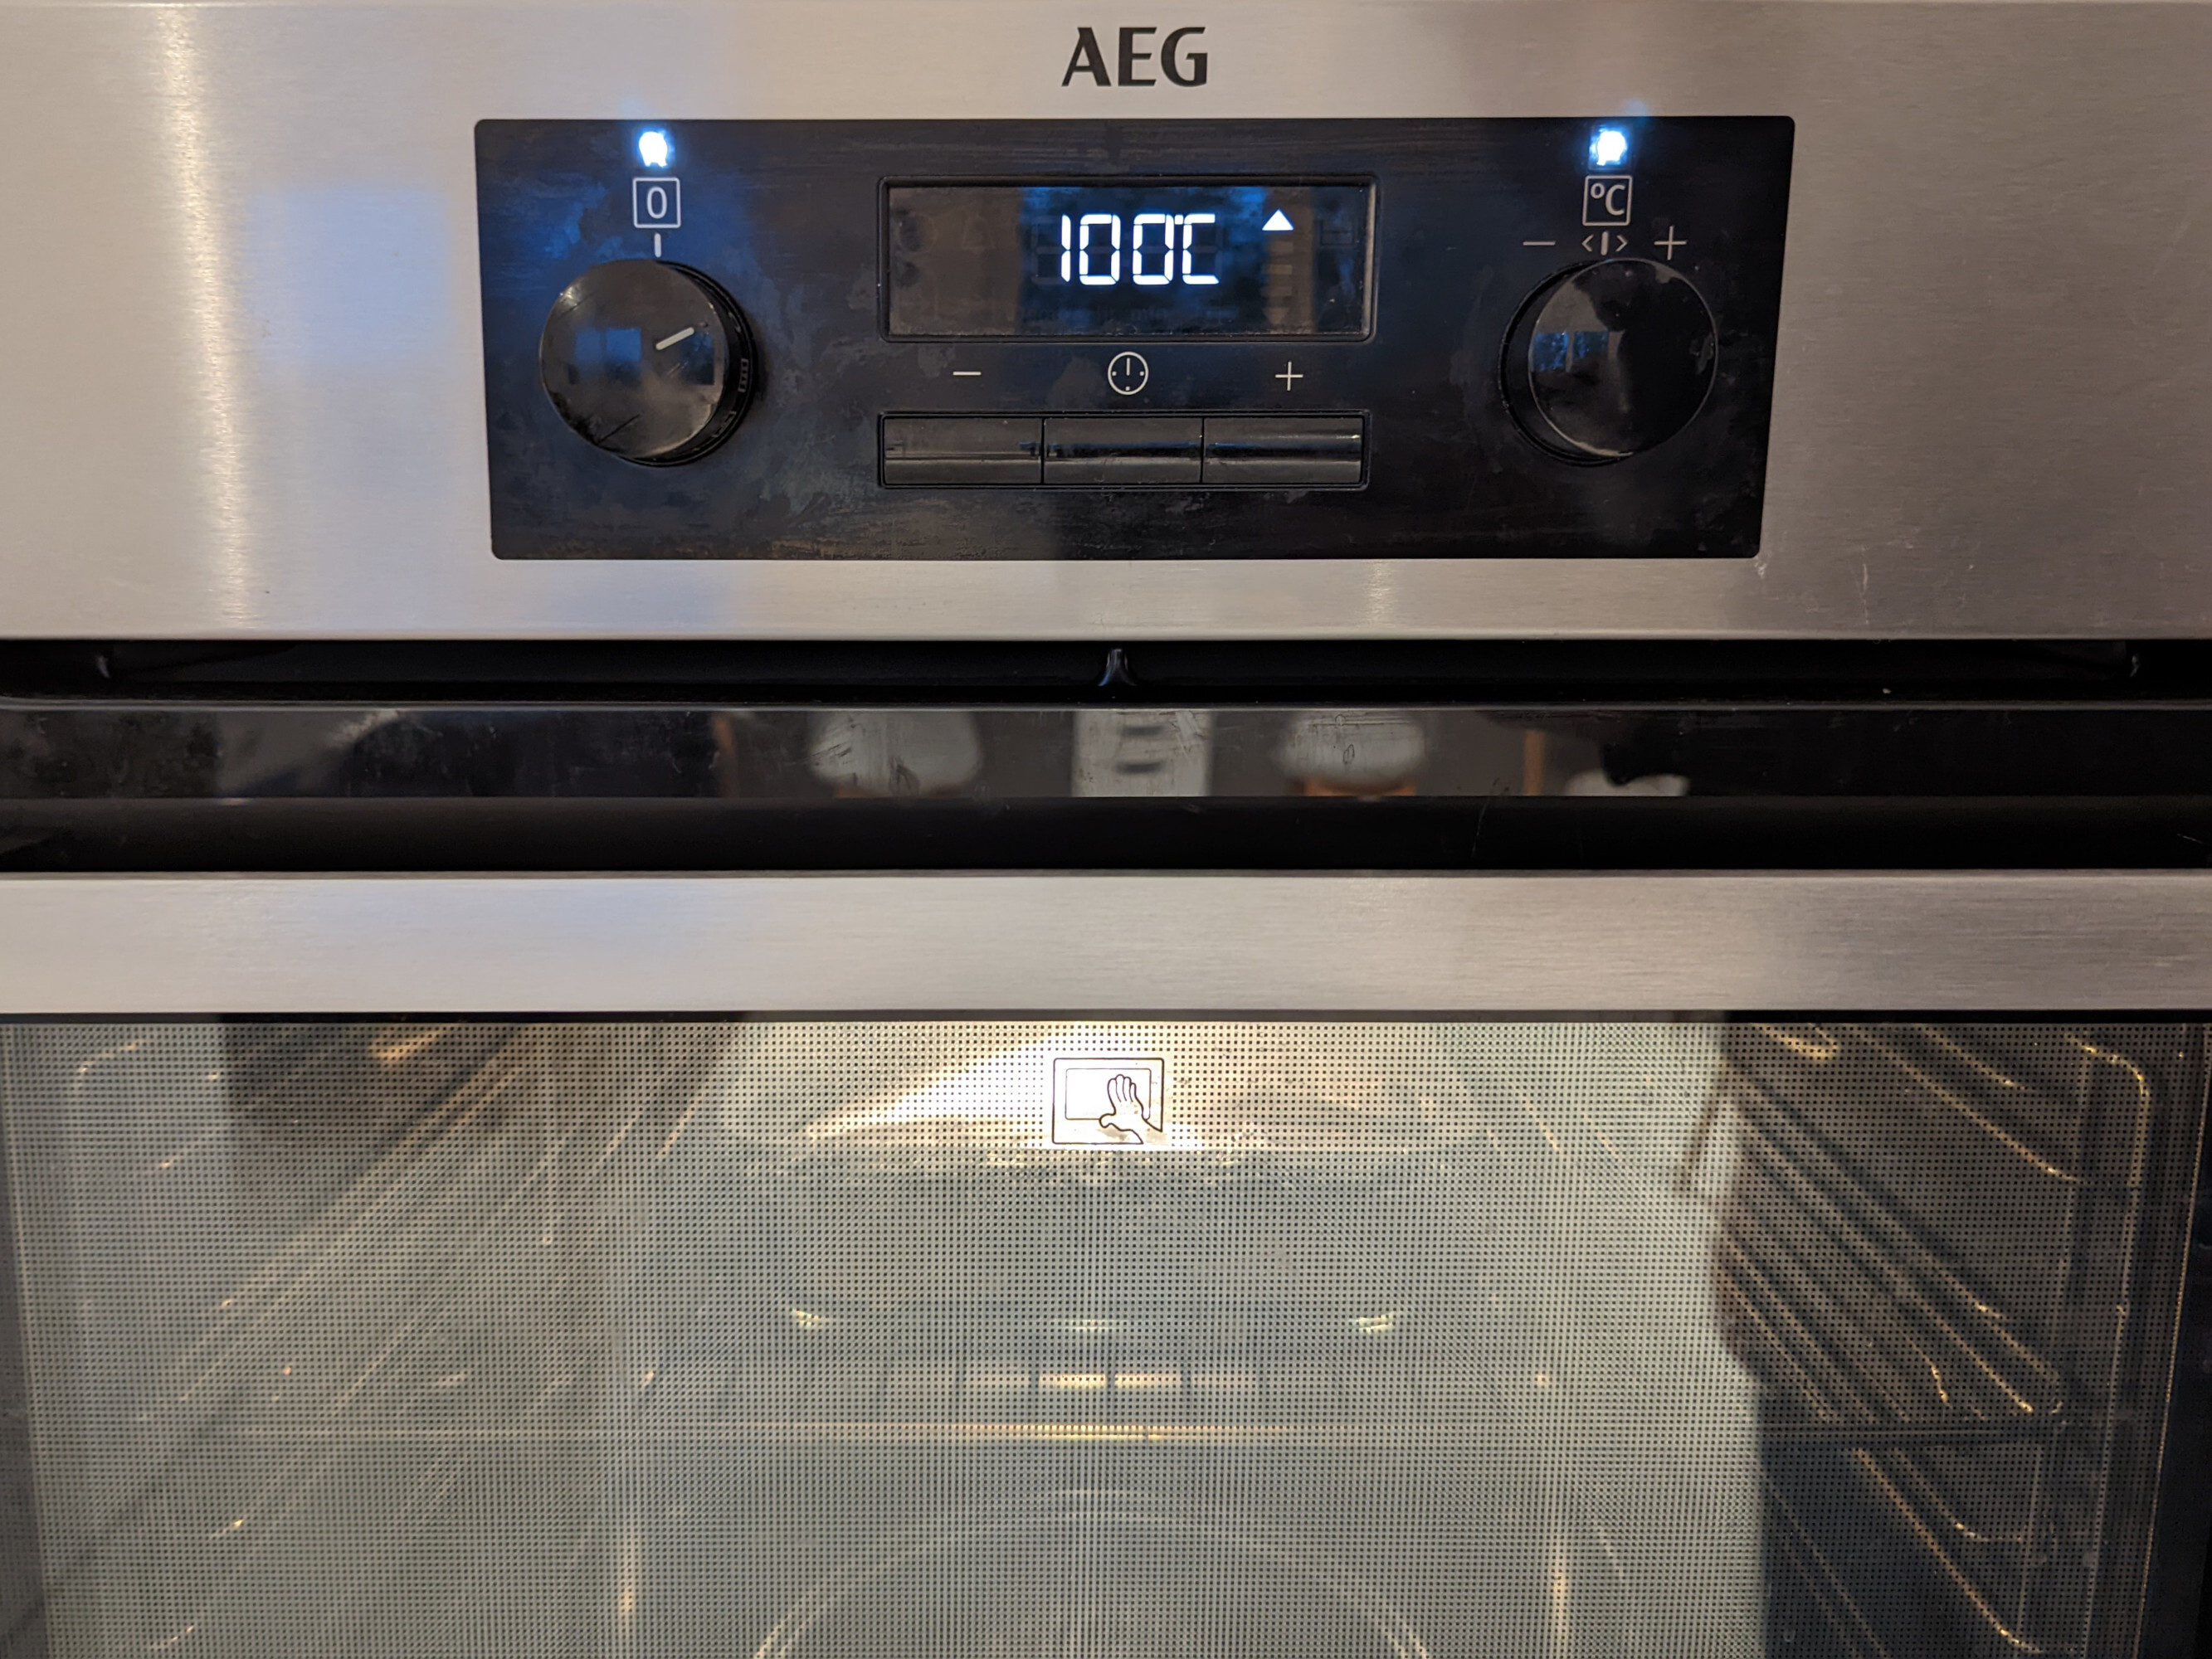
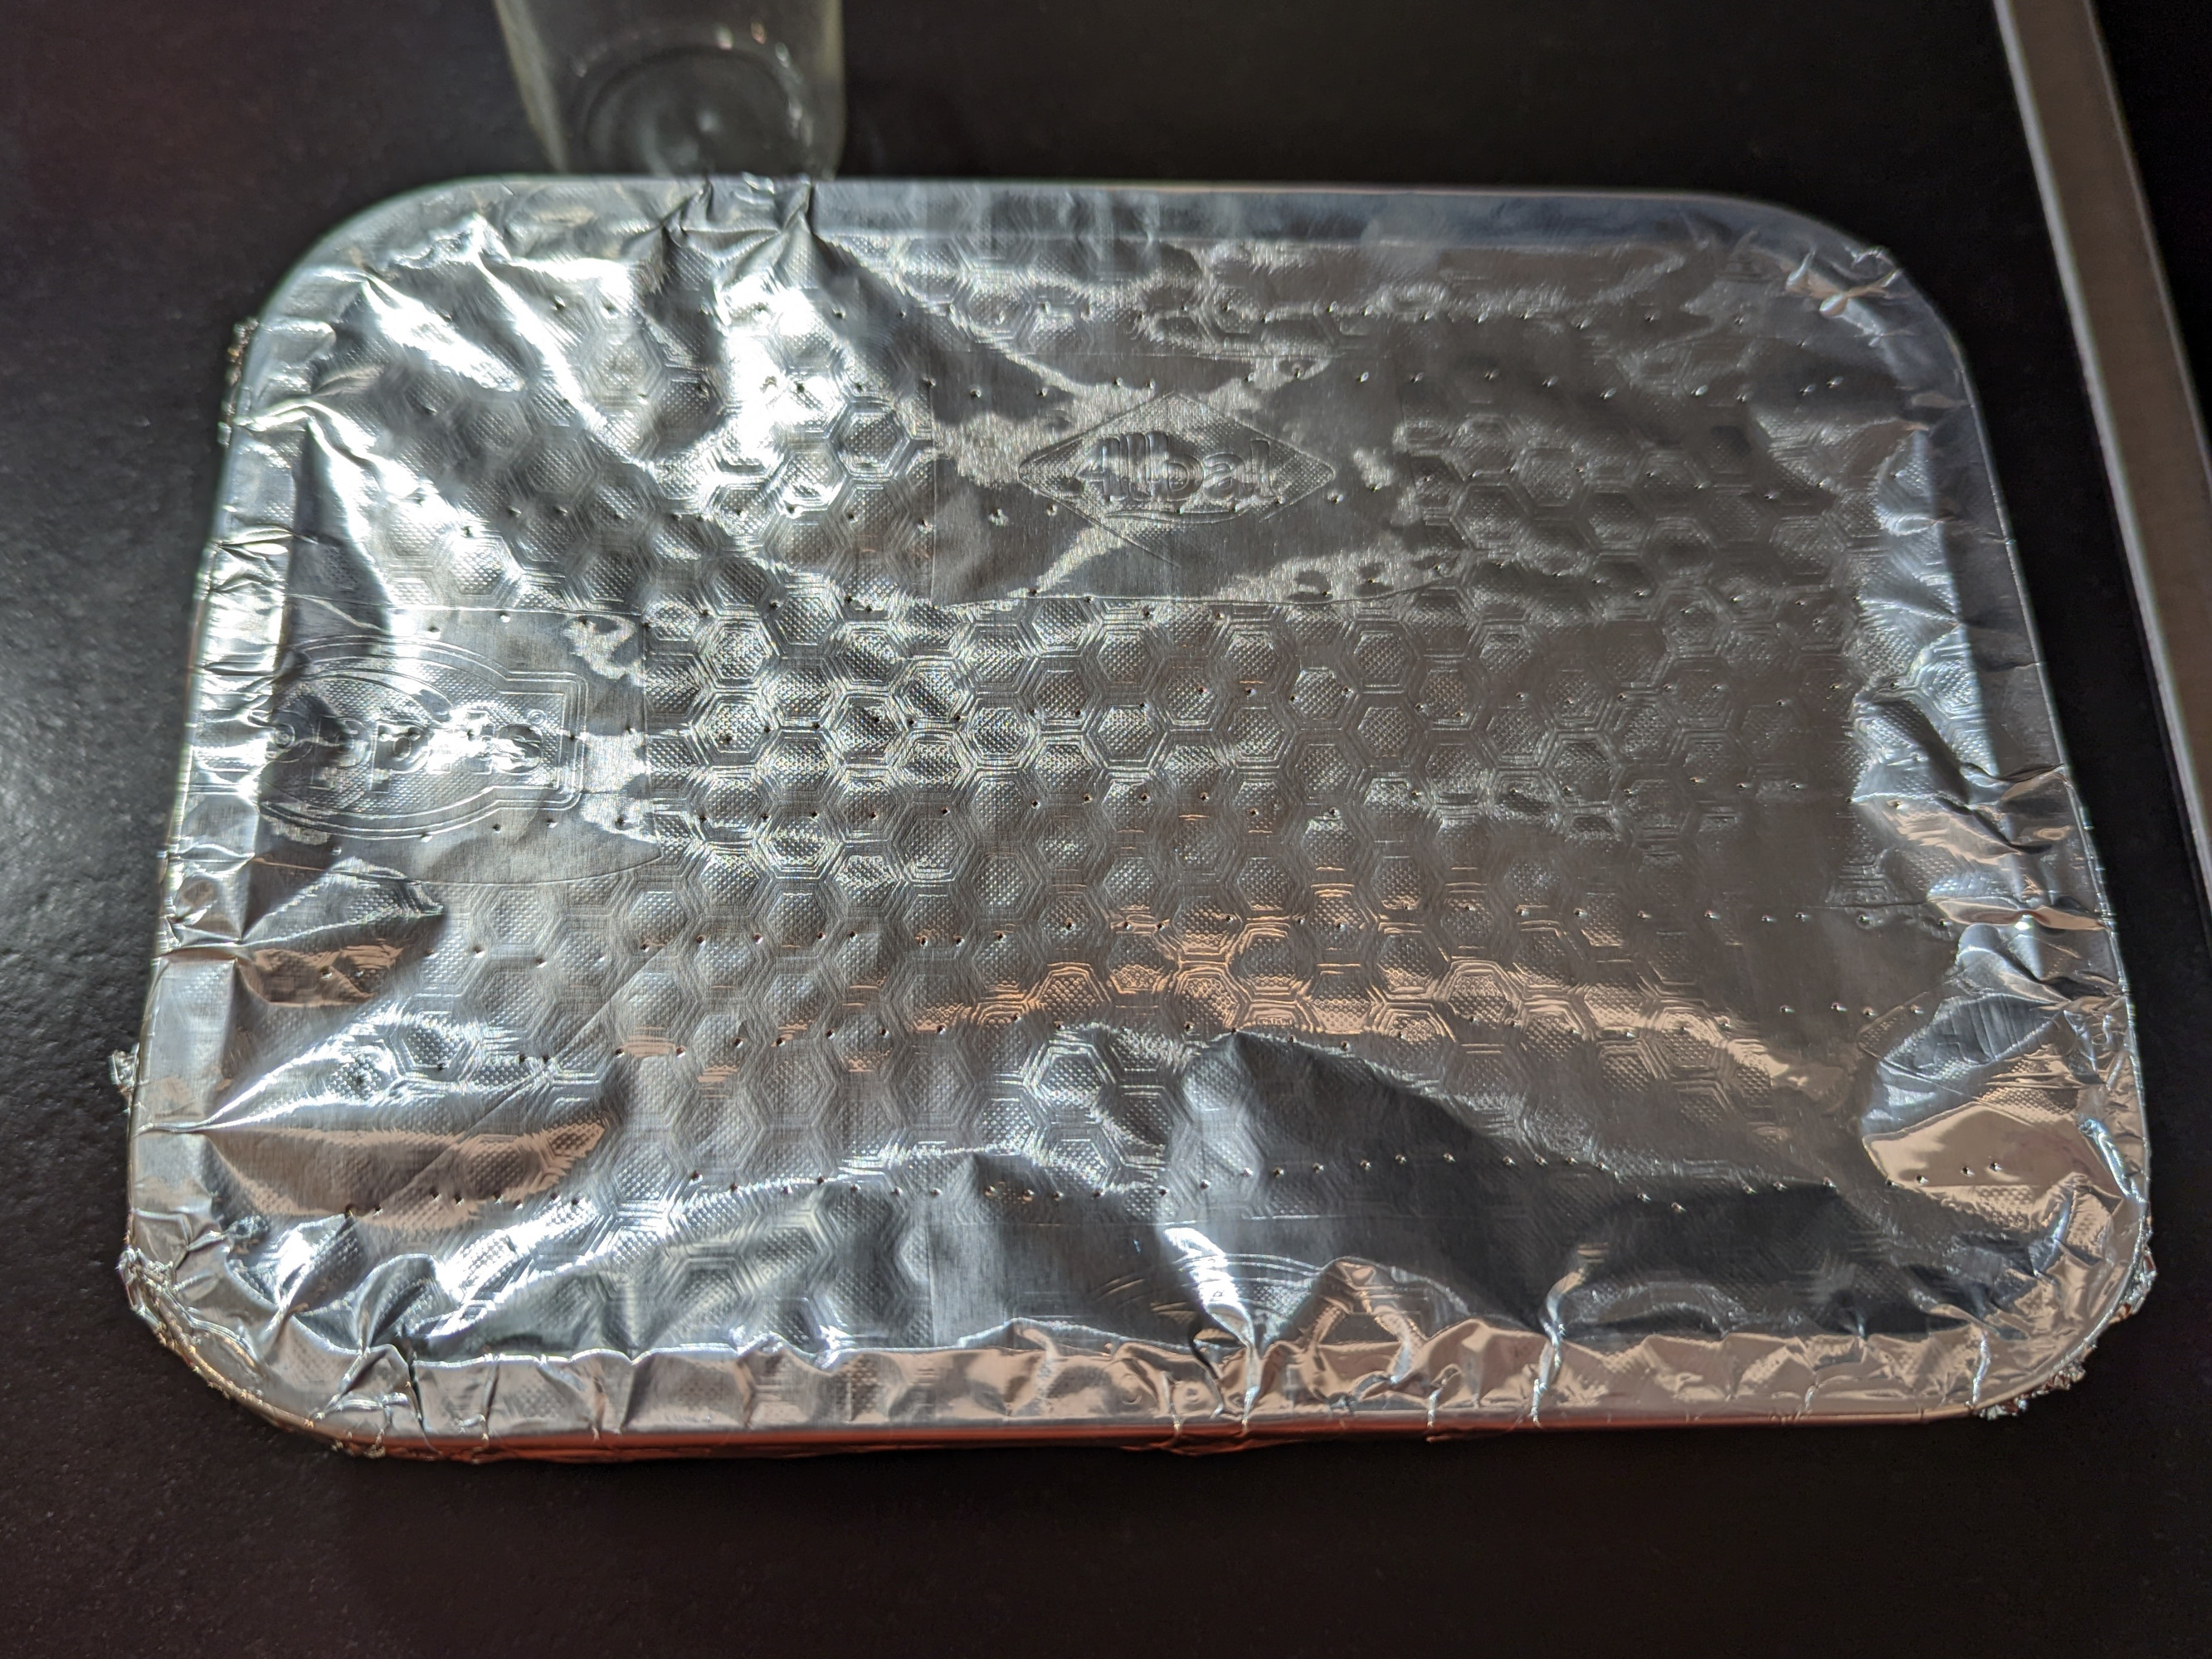
First, cook a thin layer of rice in the bottom of the oven-safe dish. This is going to be the substrate that we grow the fungus on. Start by weighing out a layer of rice in the bottom of the dish, and then adding 60% of the mass again in water. If you don’t have kitchen scales, just do it by volume instead — it’ll work just fine. Cover the dish with aluminium foil and tightly crimp it around the rim of the dish. Place it in a 100 °C oven for an hour to cook the rice, then turn the oven off and let it cool to room temperature.
Some general comments here:
The rice to water ratio is intentionally on the dry side to promote Rhizopus growth.
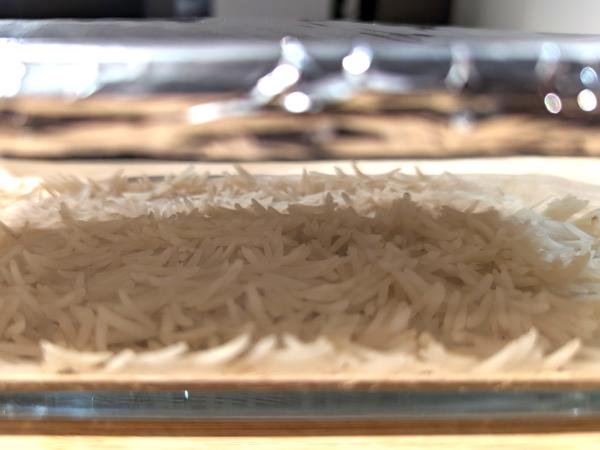
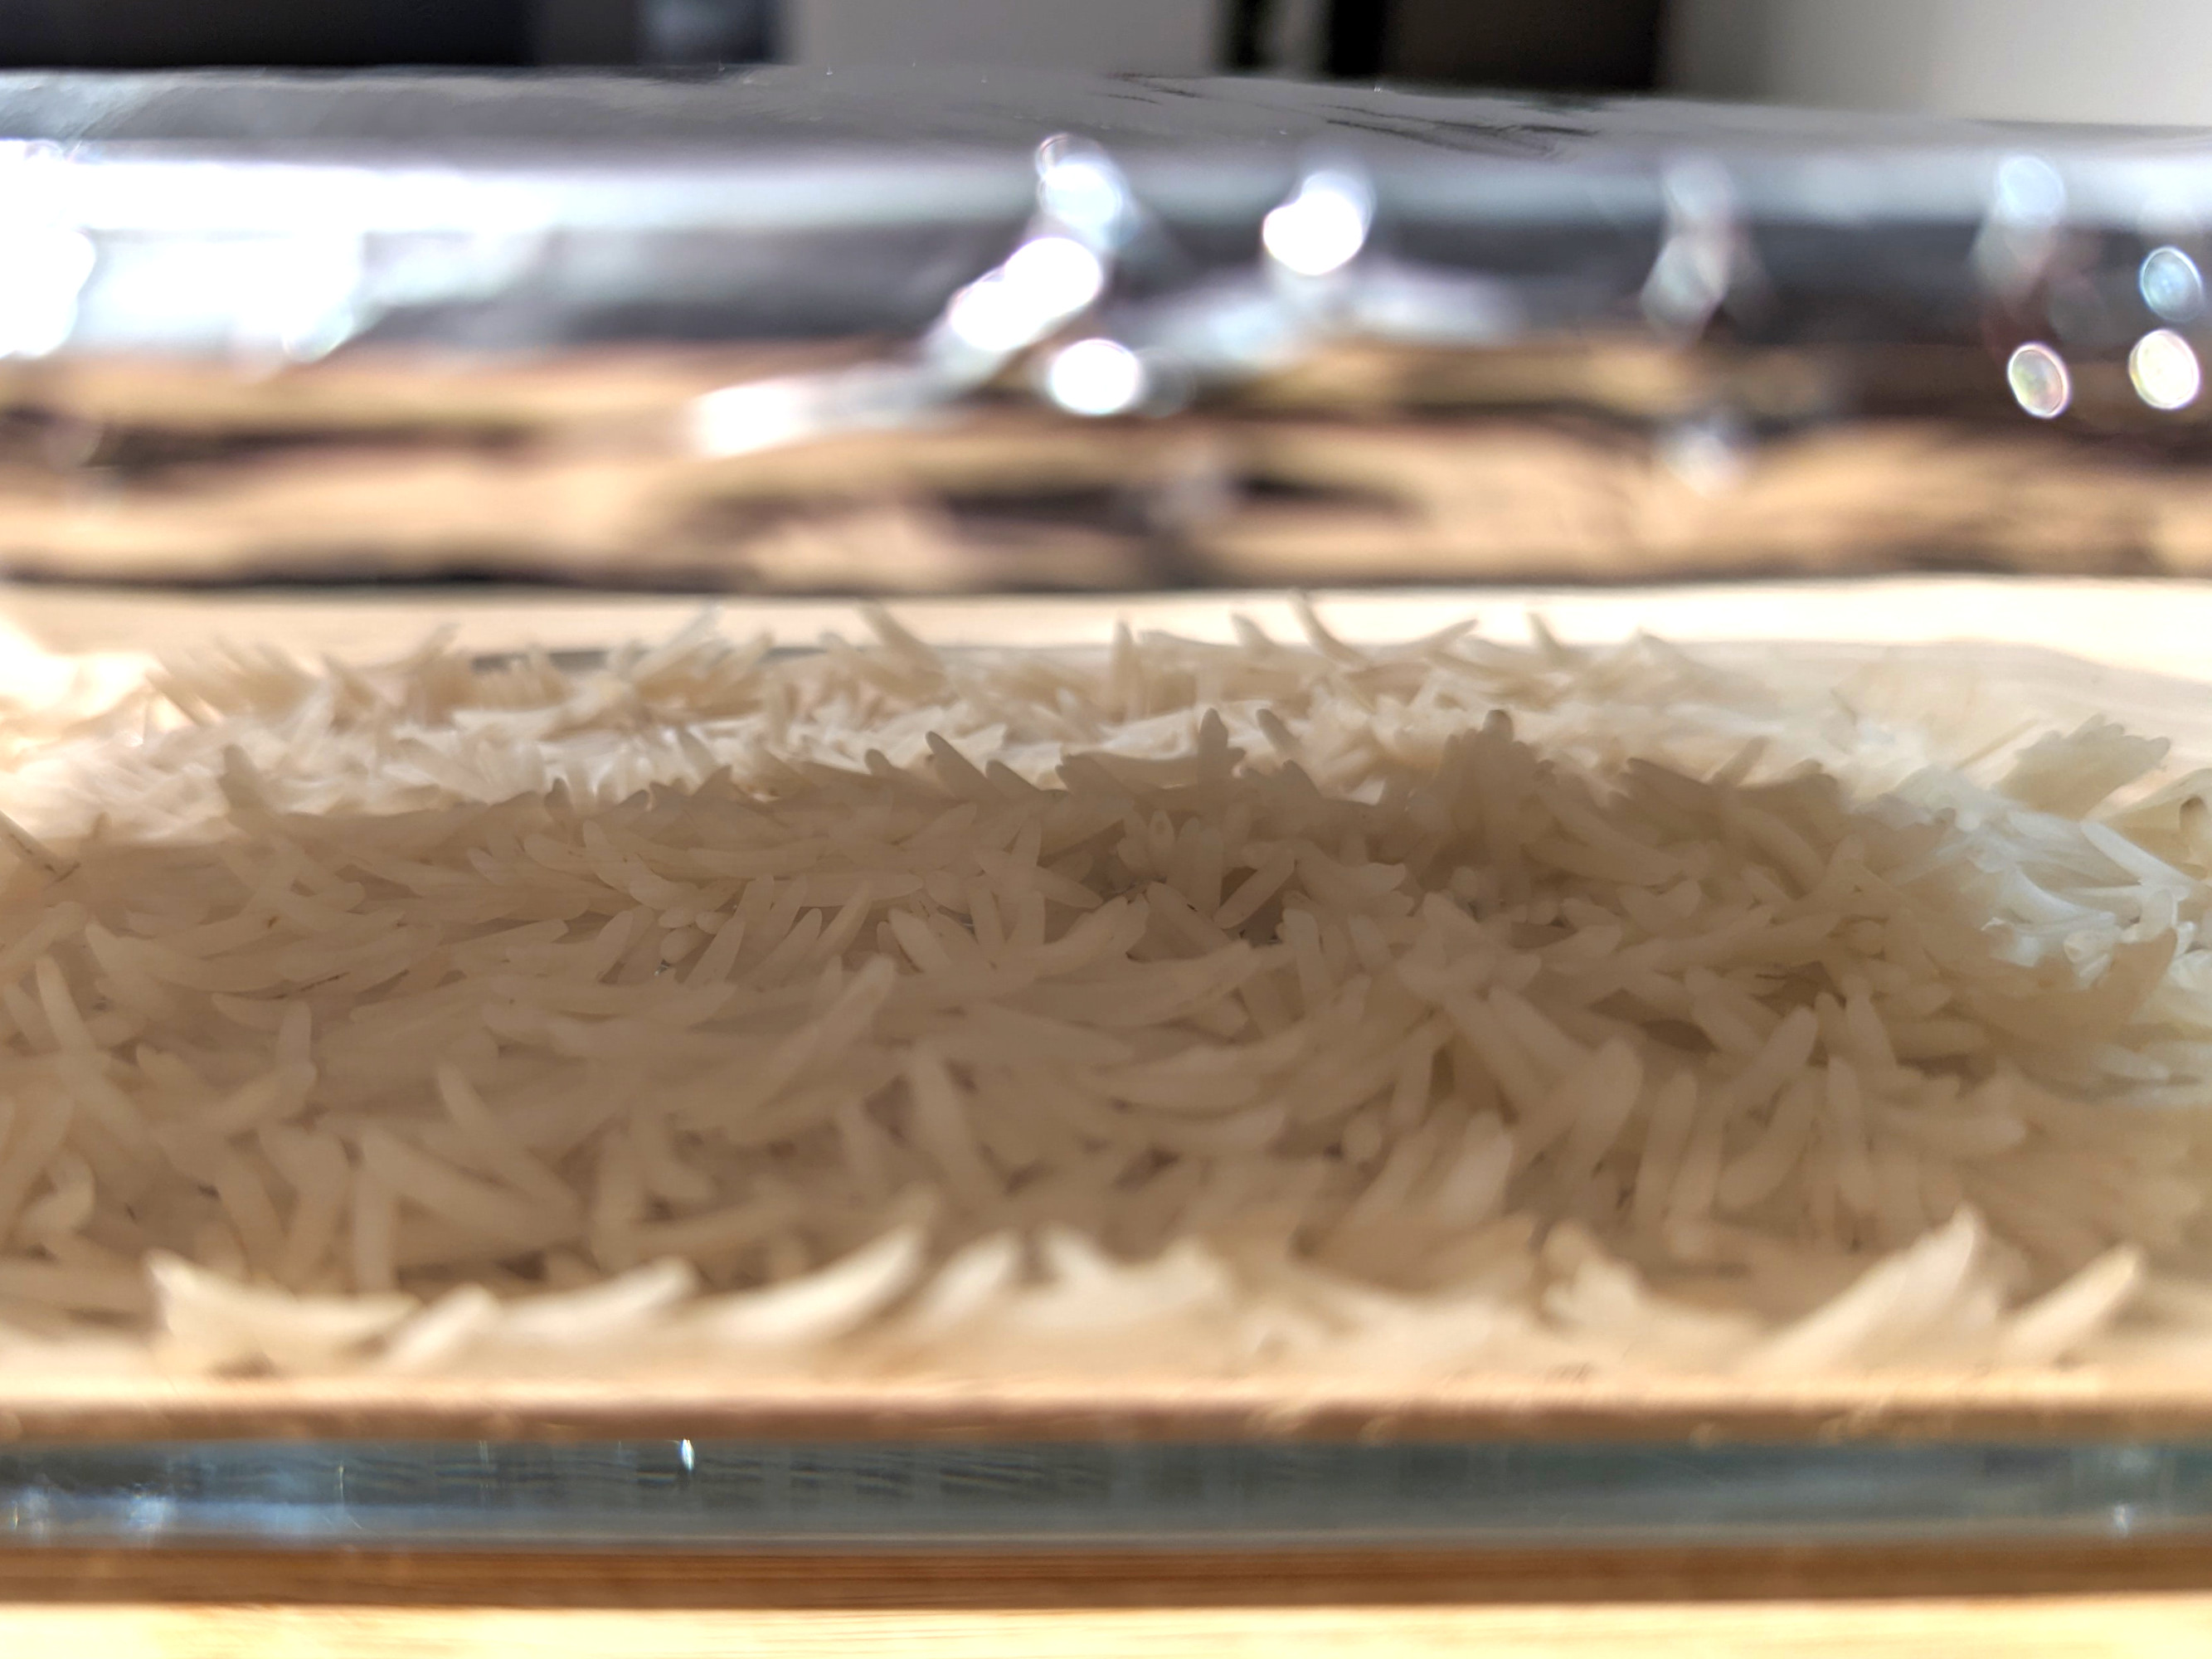
As the spores only grow on the surface of the substrate, you only need a very thin layer of rice. I start with a single layer on the bottom of the dish before adding water.
Basamati rice worked best for me as I found it much less likely to clump.
Cooking the rice in the oven with a tightly sealed foil lid allows the rice to absorb all of the water with minimal evaporation, and also pasteurises the substrate, dish and foil.
Inoculation
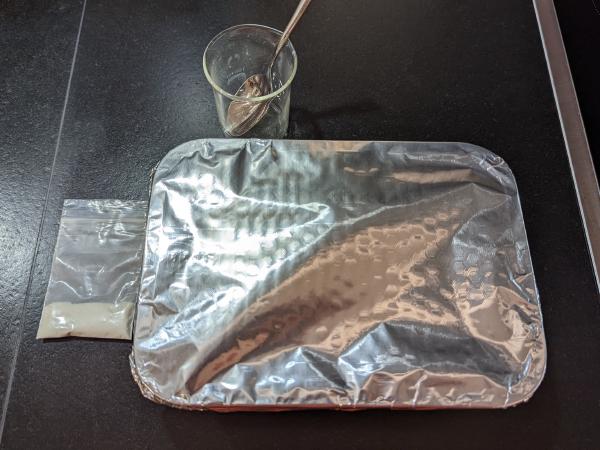
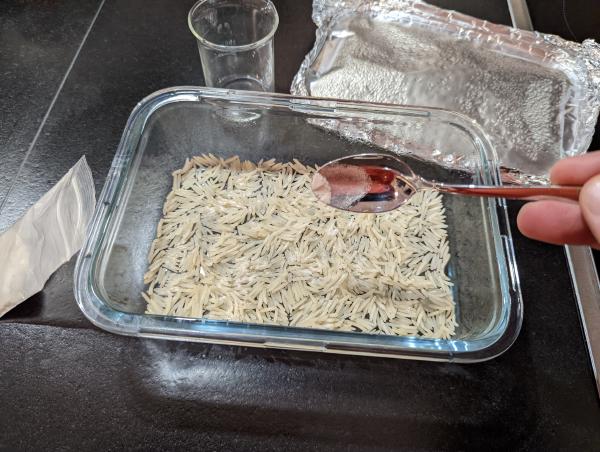
Once the rice is at room temperature, you can inoculate it with your tempeh starter. Prepare a clean working space and get everything you need ready. Sanitise any utensils you might use with boiling water beforehand. Loosen the crimped aluminium foil from the rim of the dish so you’ll be able to easily remove it without damaging it.
Working quickly, remove the aluminium foil from the dish and sprinkle your tempeh starter over the surface of the rice. I used around a half teaspoon of the starter for my batch, but you don’t have to be super precise. Replace the foil and recrimp the edges. Gently shake the covered dish to unclump the rice and thoroughly distribute the starter culture throughout the rice.
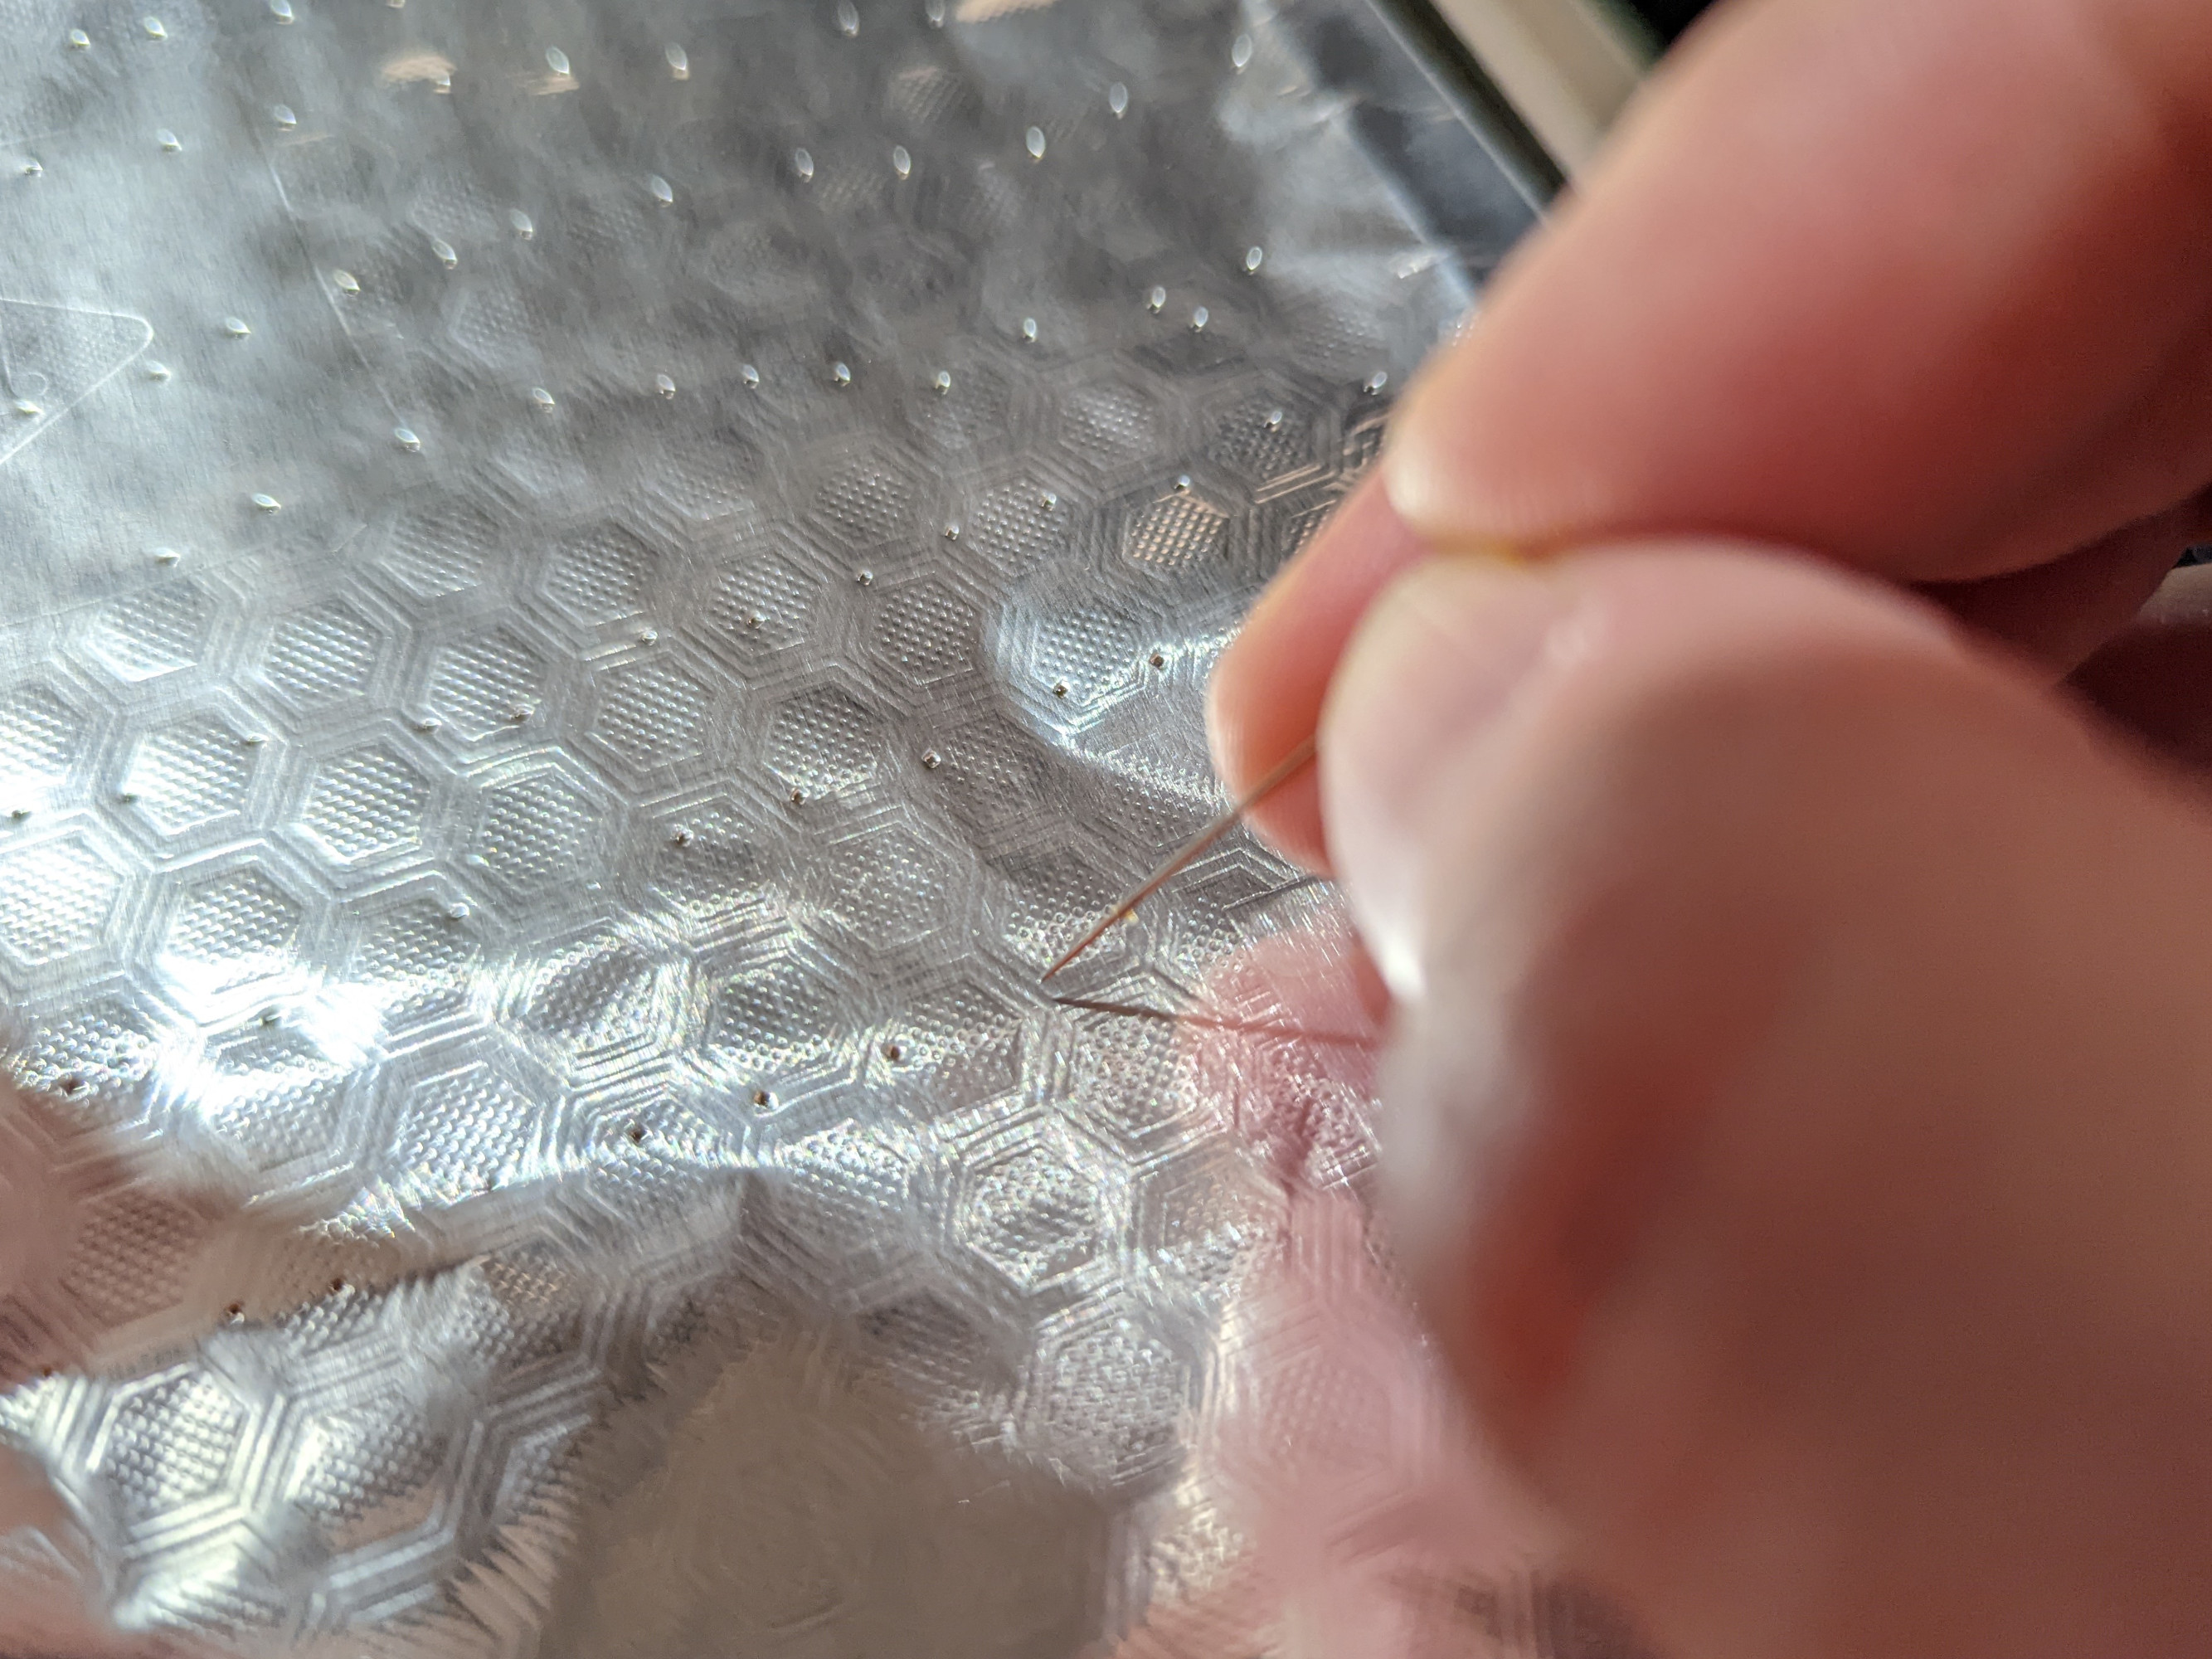
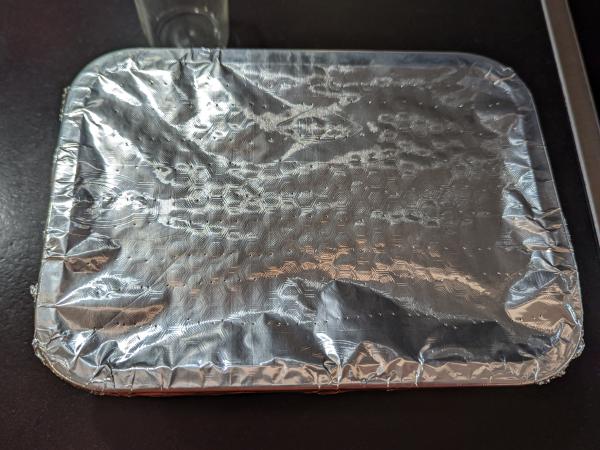
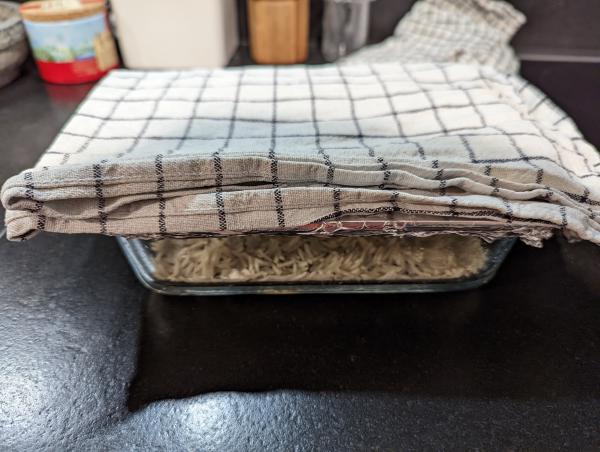
Use a small pin or needle to poke air holes in the foil lid anywhere from 10 to 25 mm apart. Cover with a clean kitchen towel and place it somewhere warm to inoculate. You’ll read in a lot of places online that you need precisely controlled temperatures around 30-32 °C to grow Rhizopus oligosporus, but that hasn’t been my experience. I’ve had success with the colony sitting on the kitchen bench in an apartment at around 21 °C, and also sitting in a closed oven with the light on at around 38 °C.
Growth
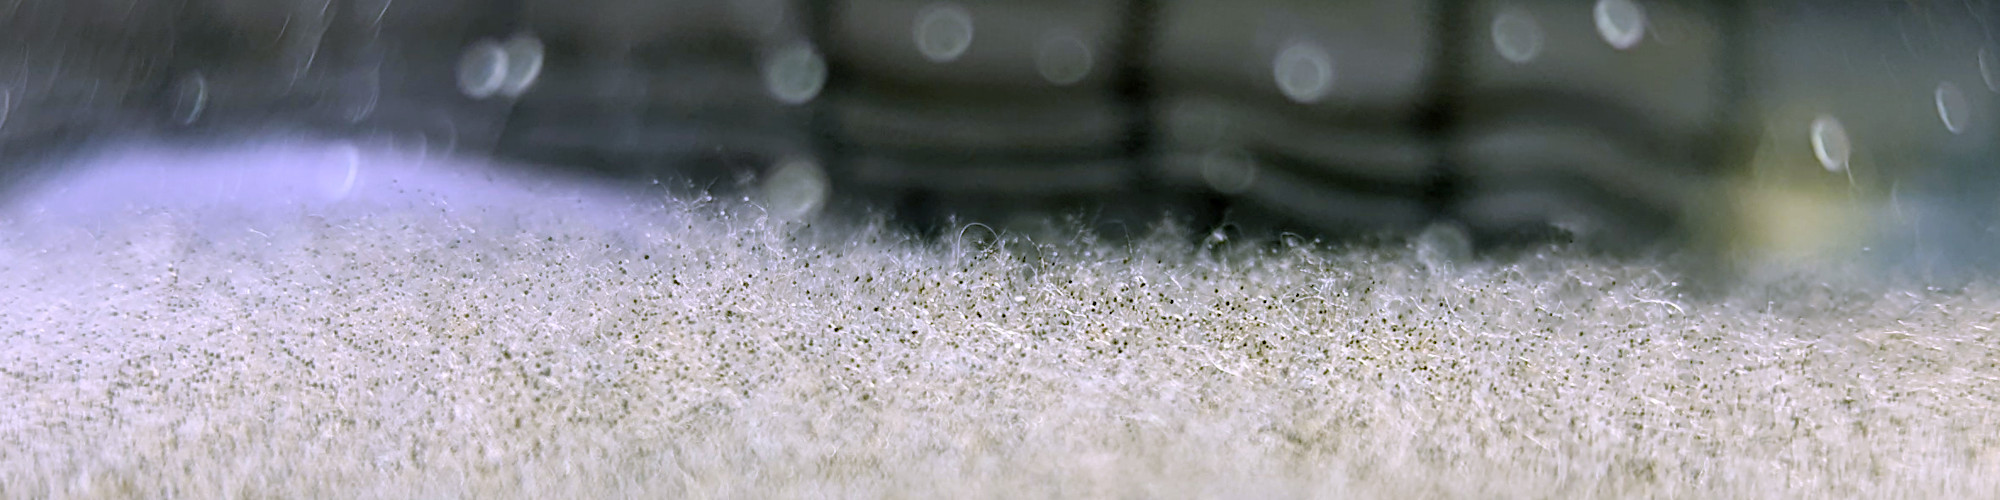
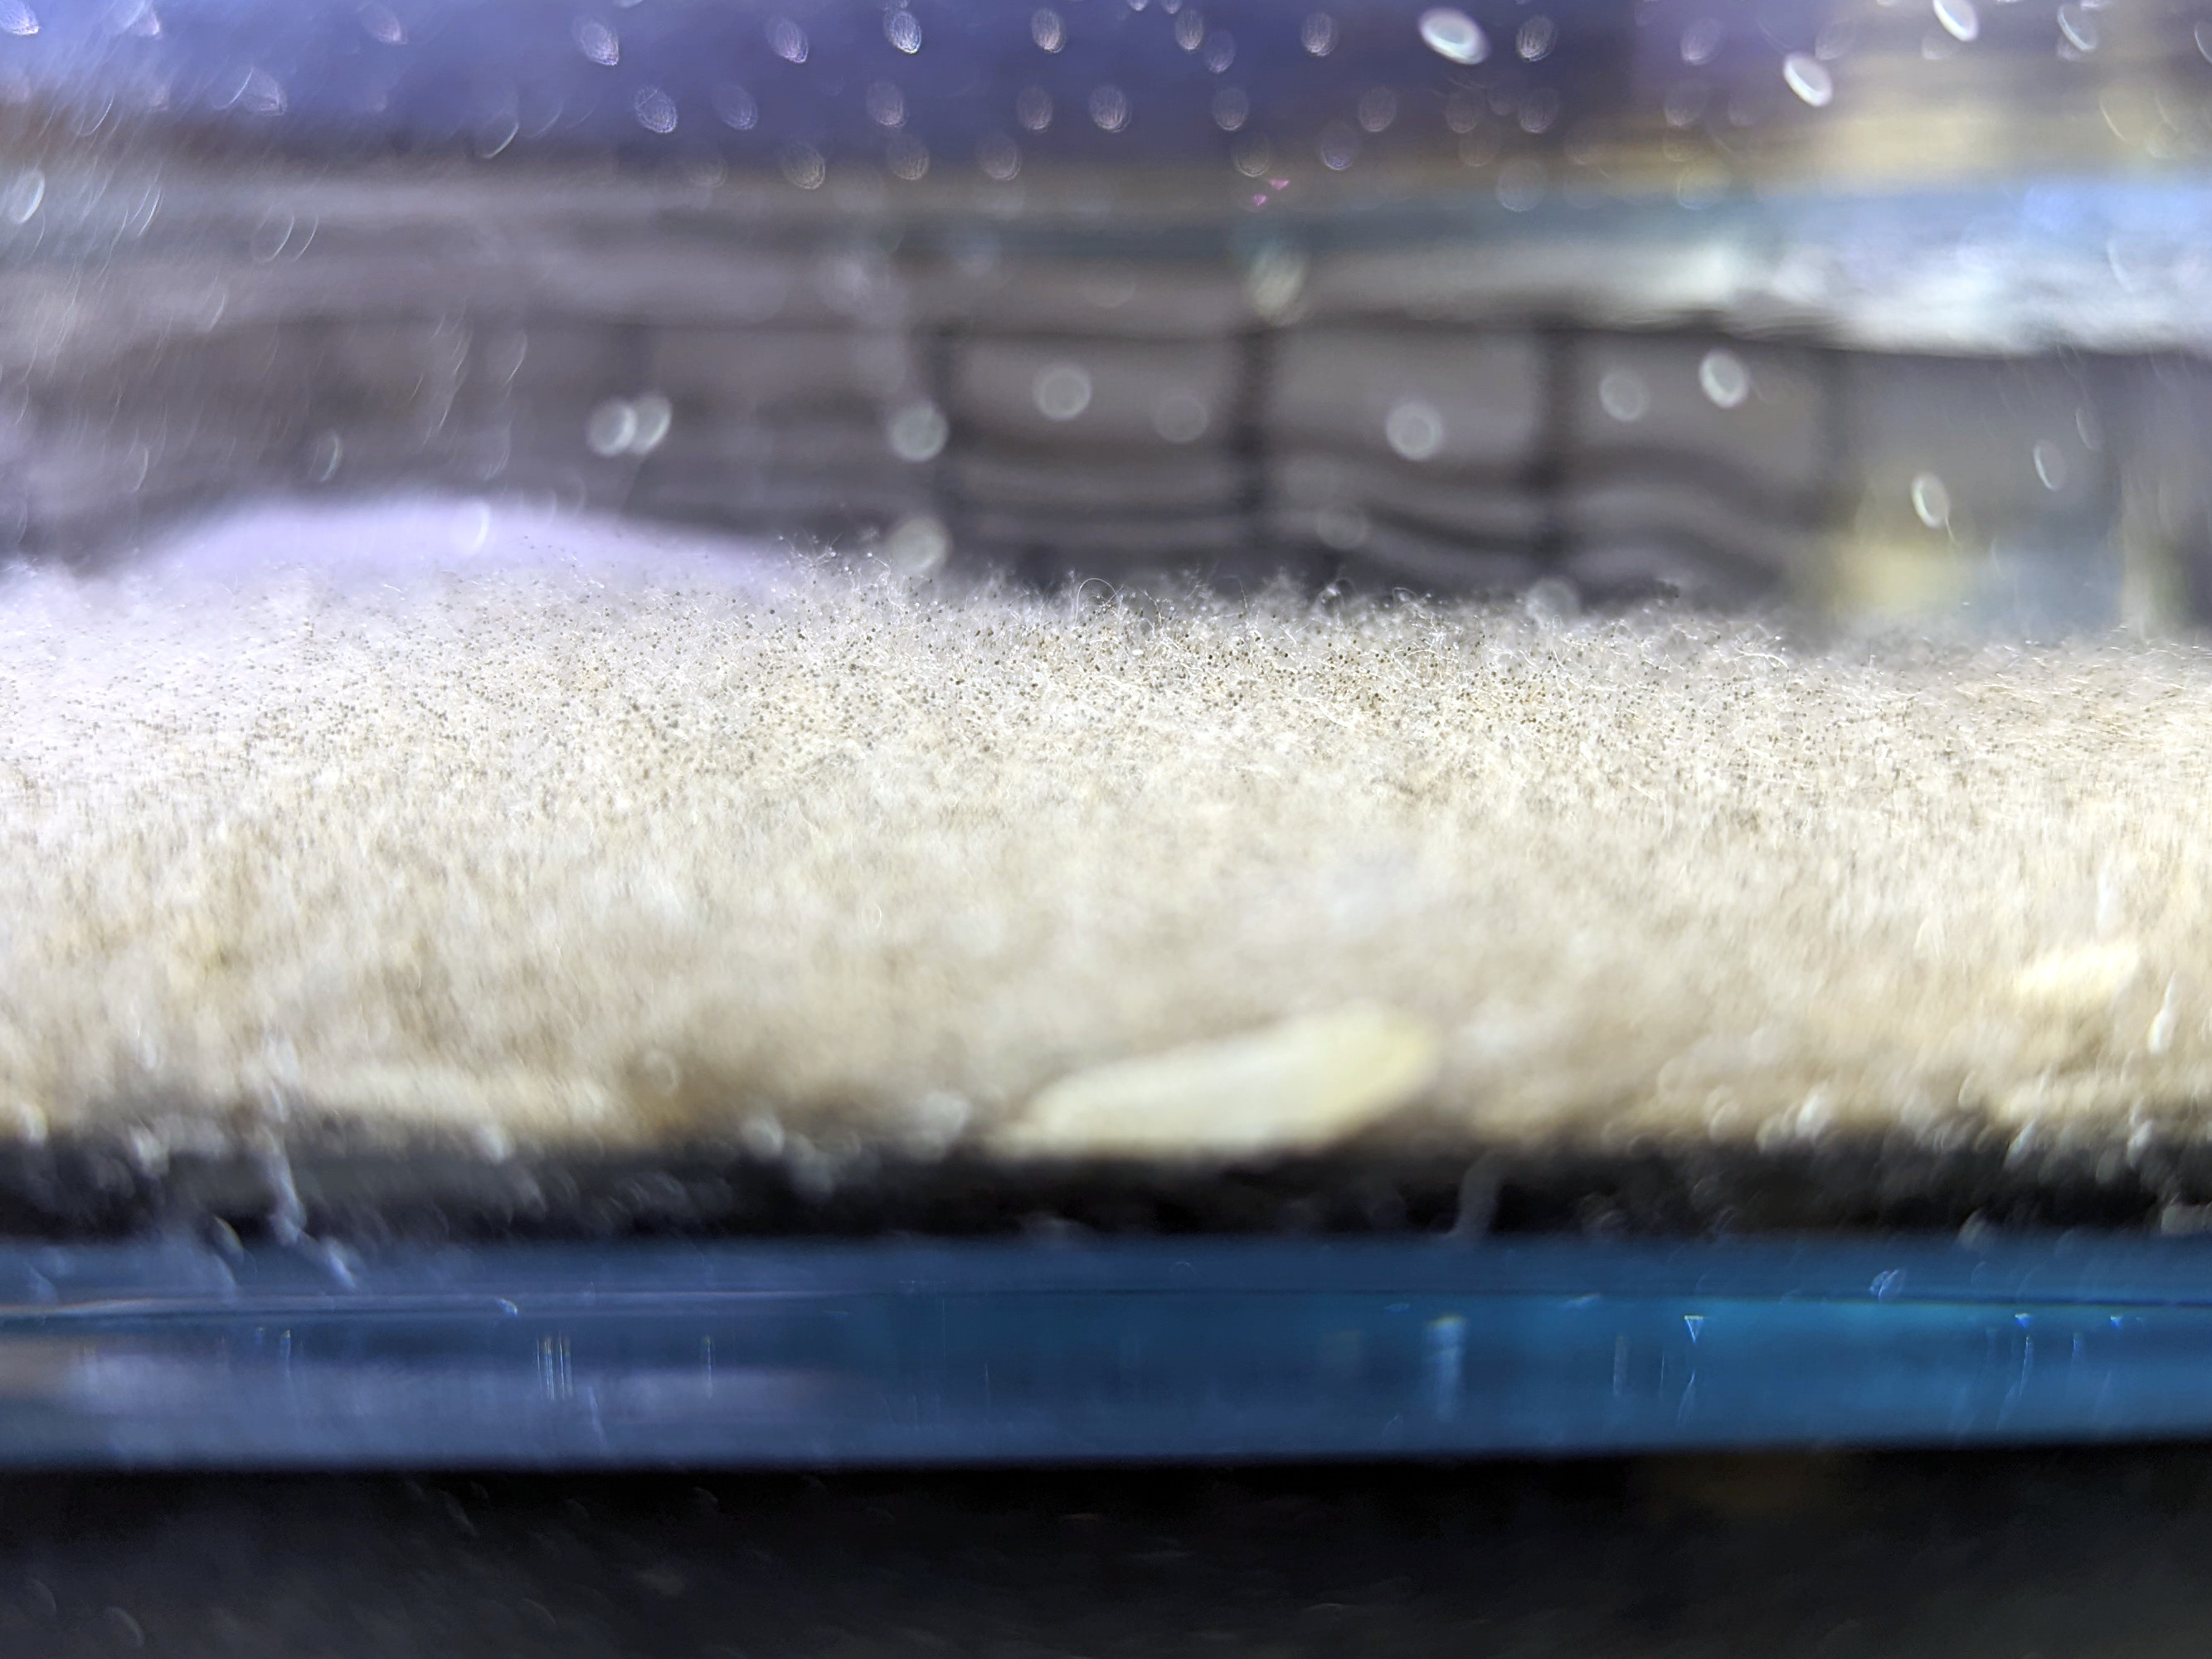
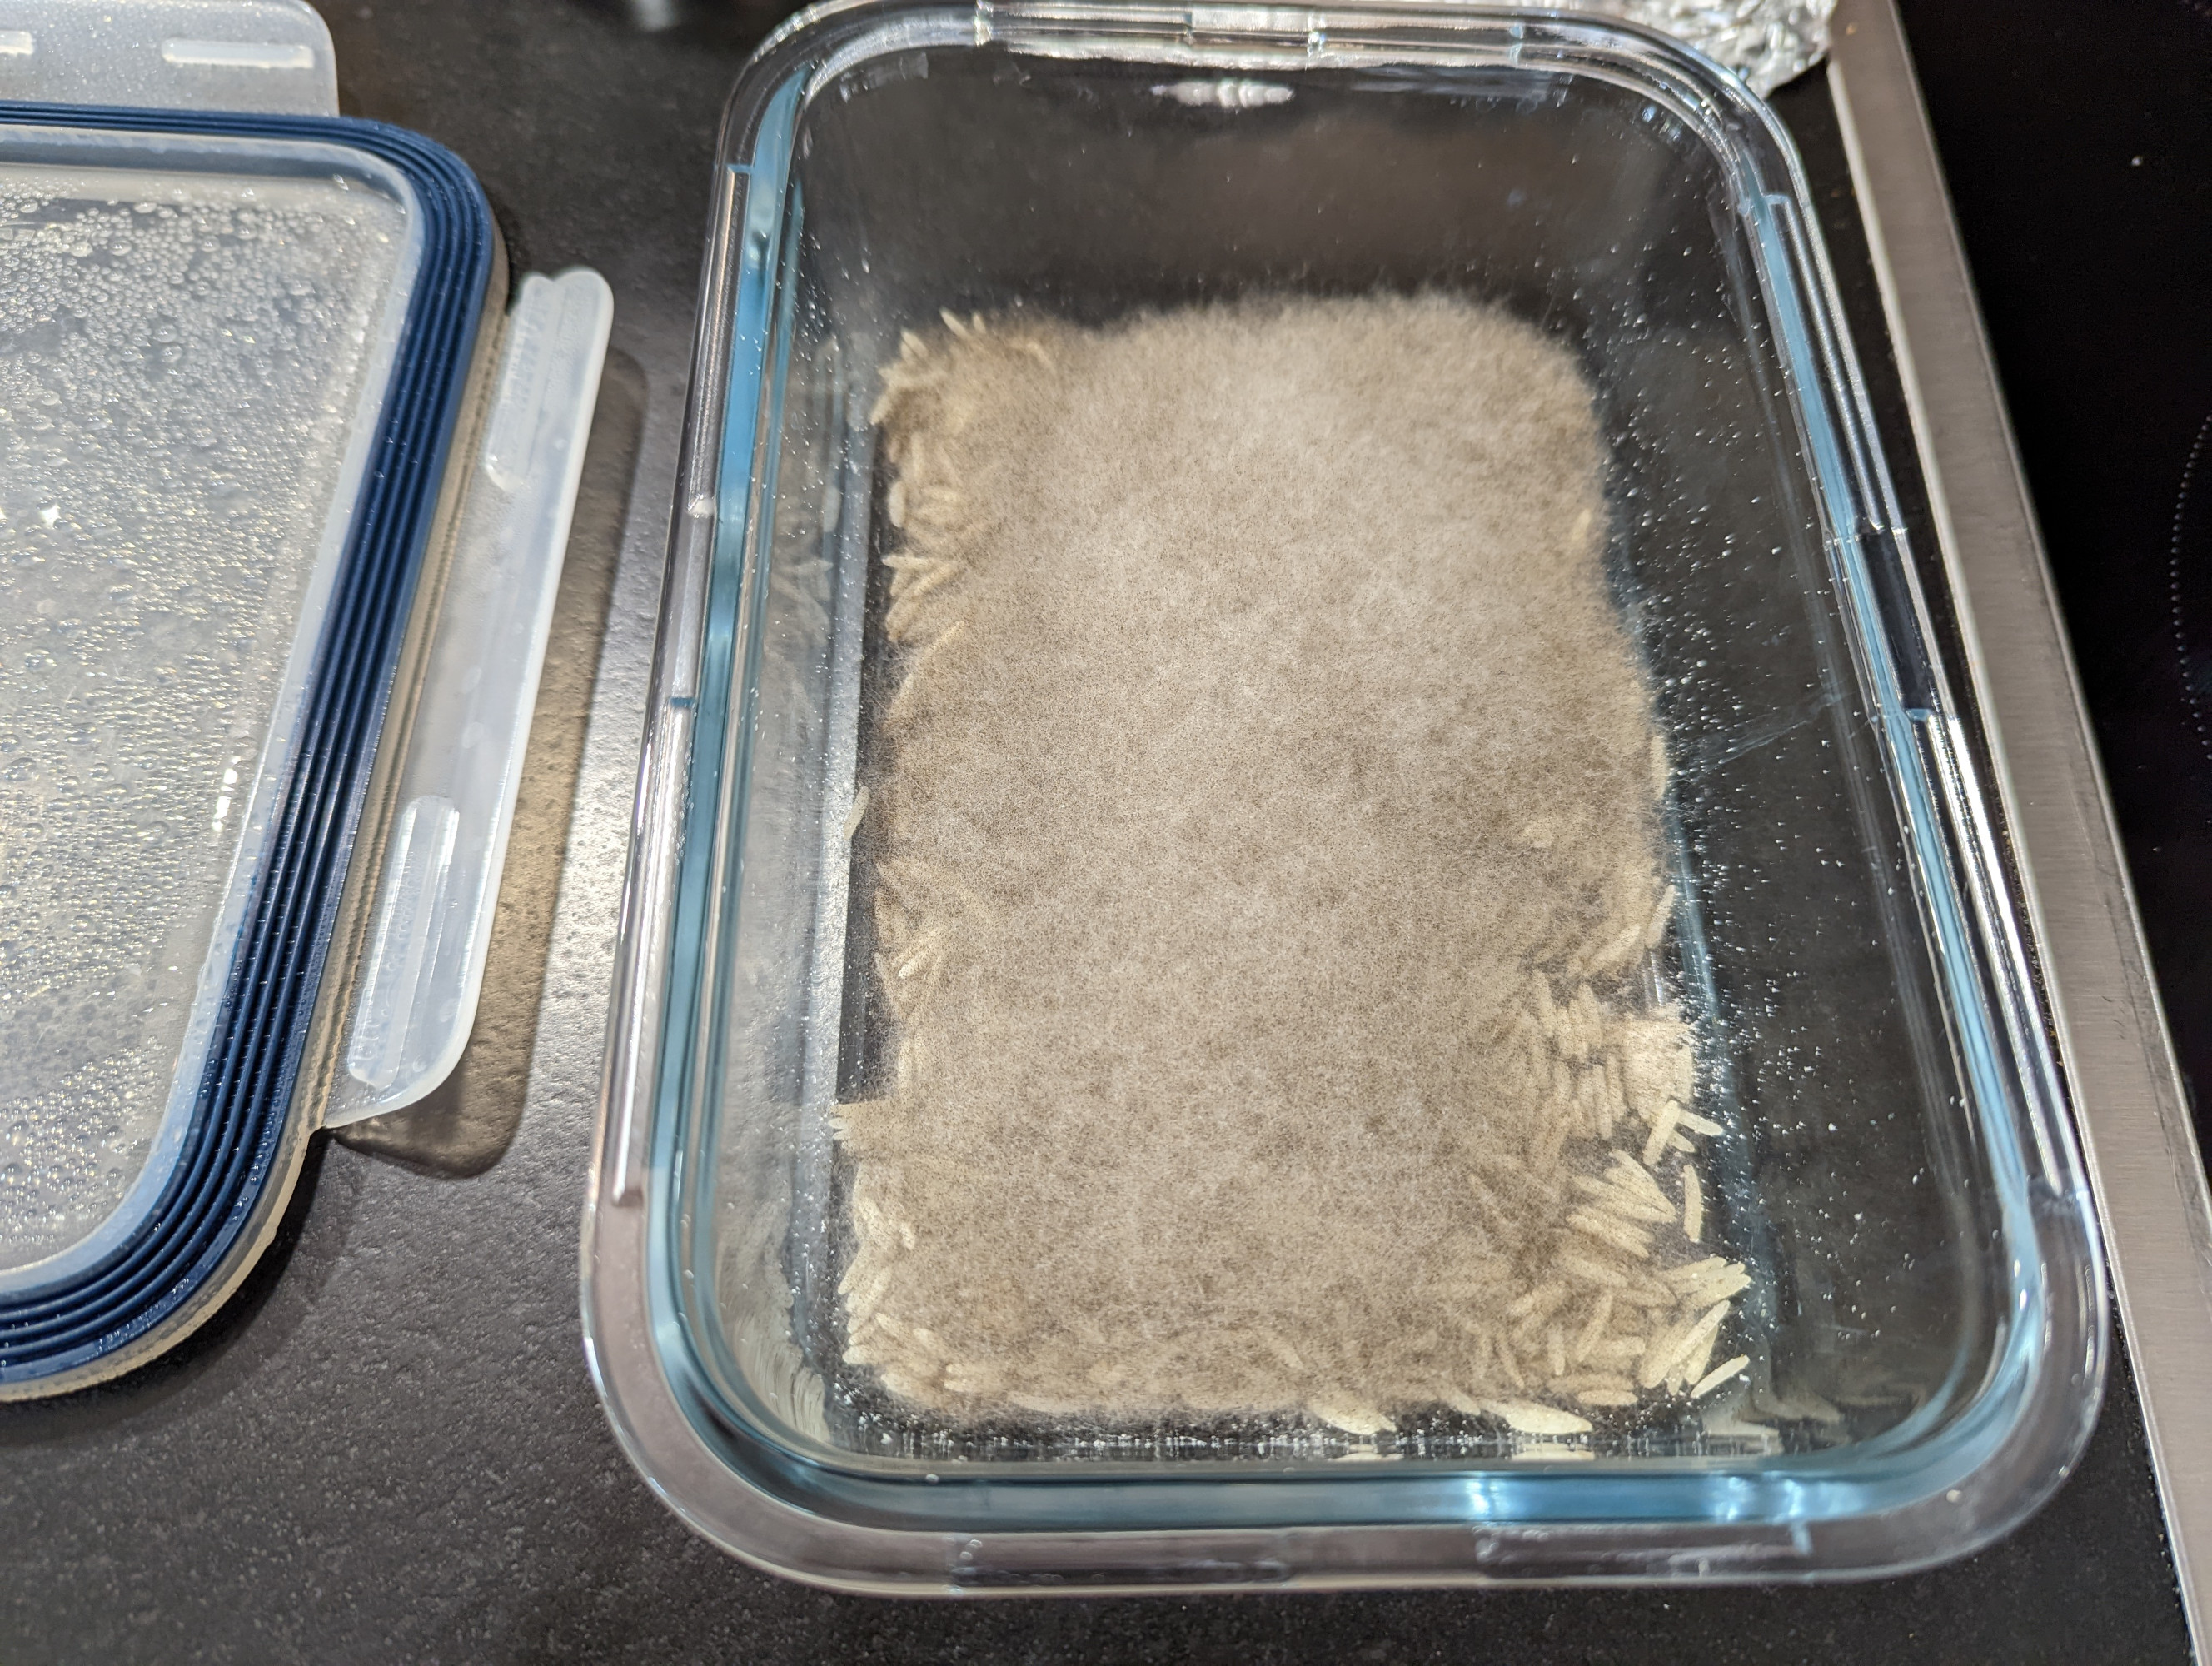
Over the next week or so, you’ll see the complete growth cycle of the Rhizopus oligosporus mould. The first day or two should see the rice covered in a tight, white mycelium. At day 3 or 4, you should start to see fuzzy sporangiophores grow upward. Eventually these will form sporangia at their tips, which are the dark black spots that contain the spores themselves. At the end of the growth cycle, it should look like the rice is covered in a fluffy grey mould.
Close-up of the mycelium and spore growth after a week
Collection
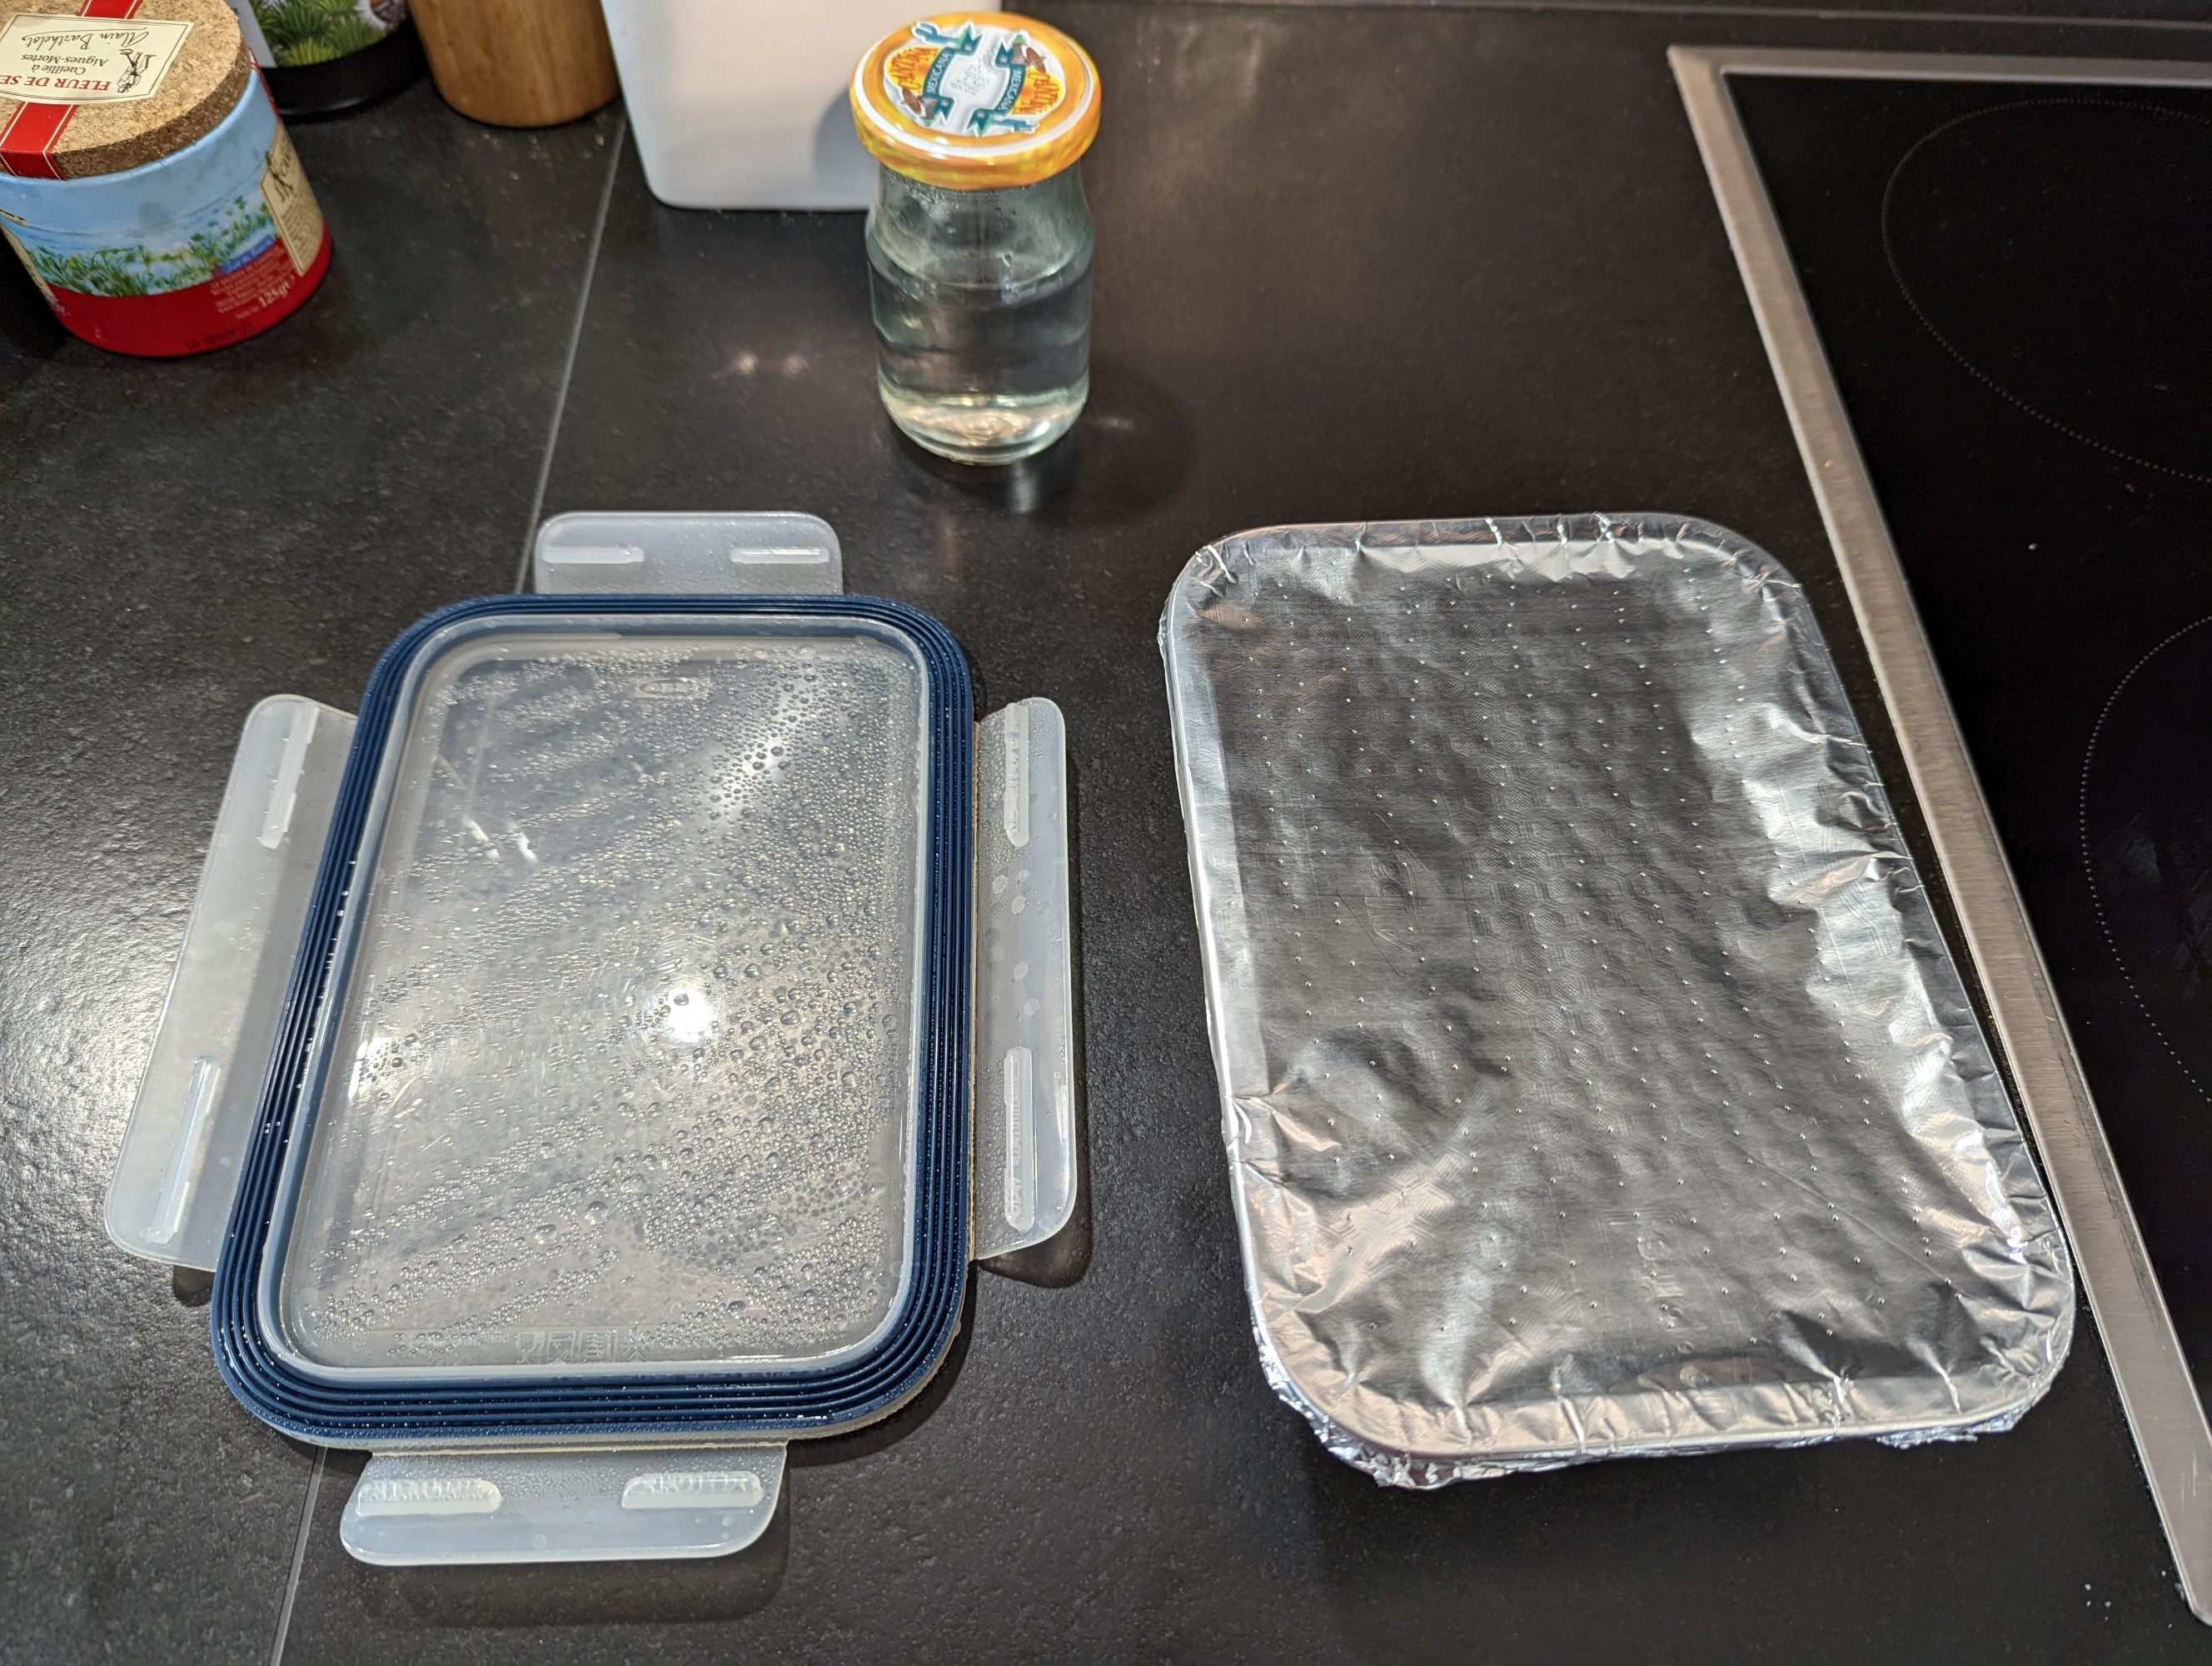
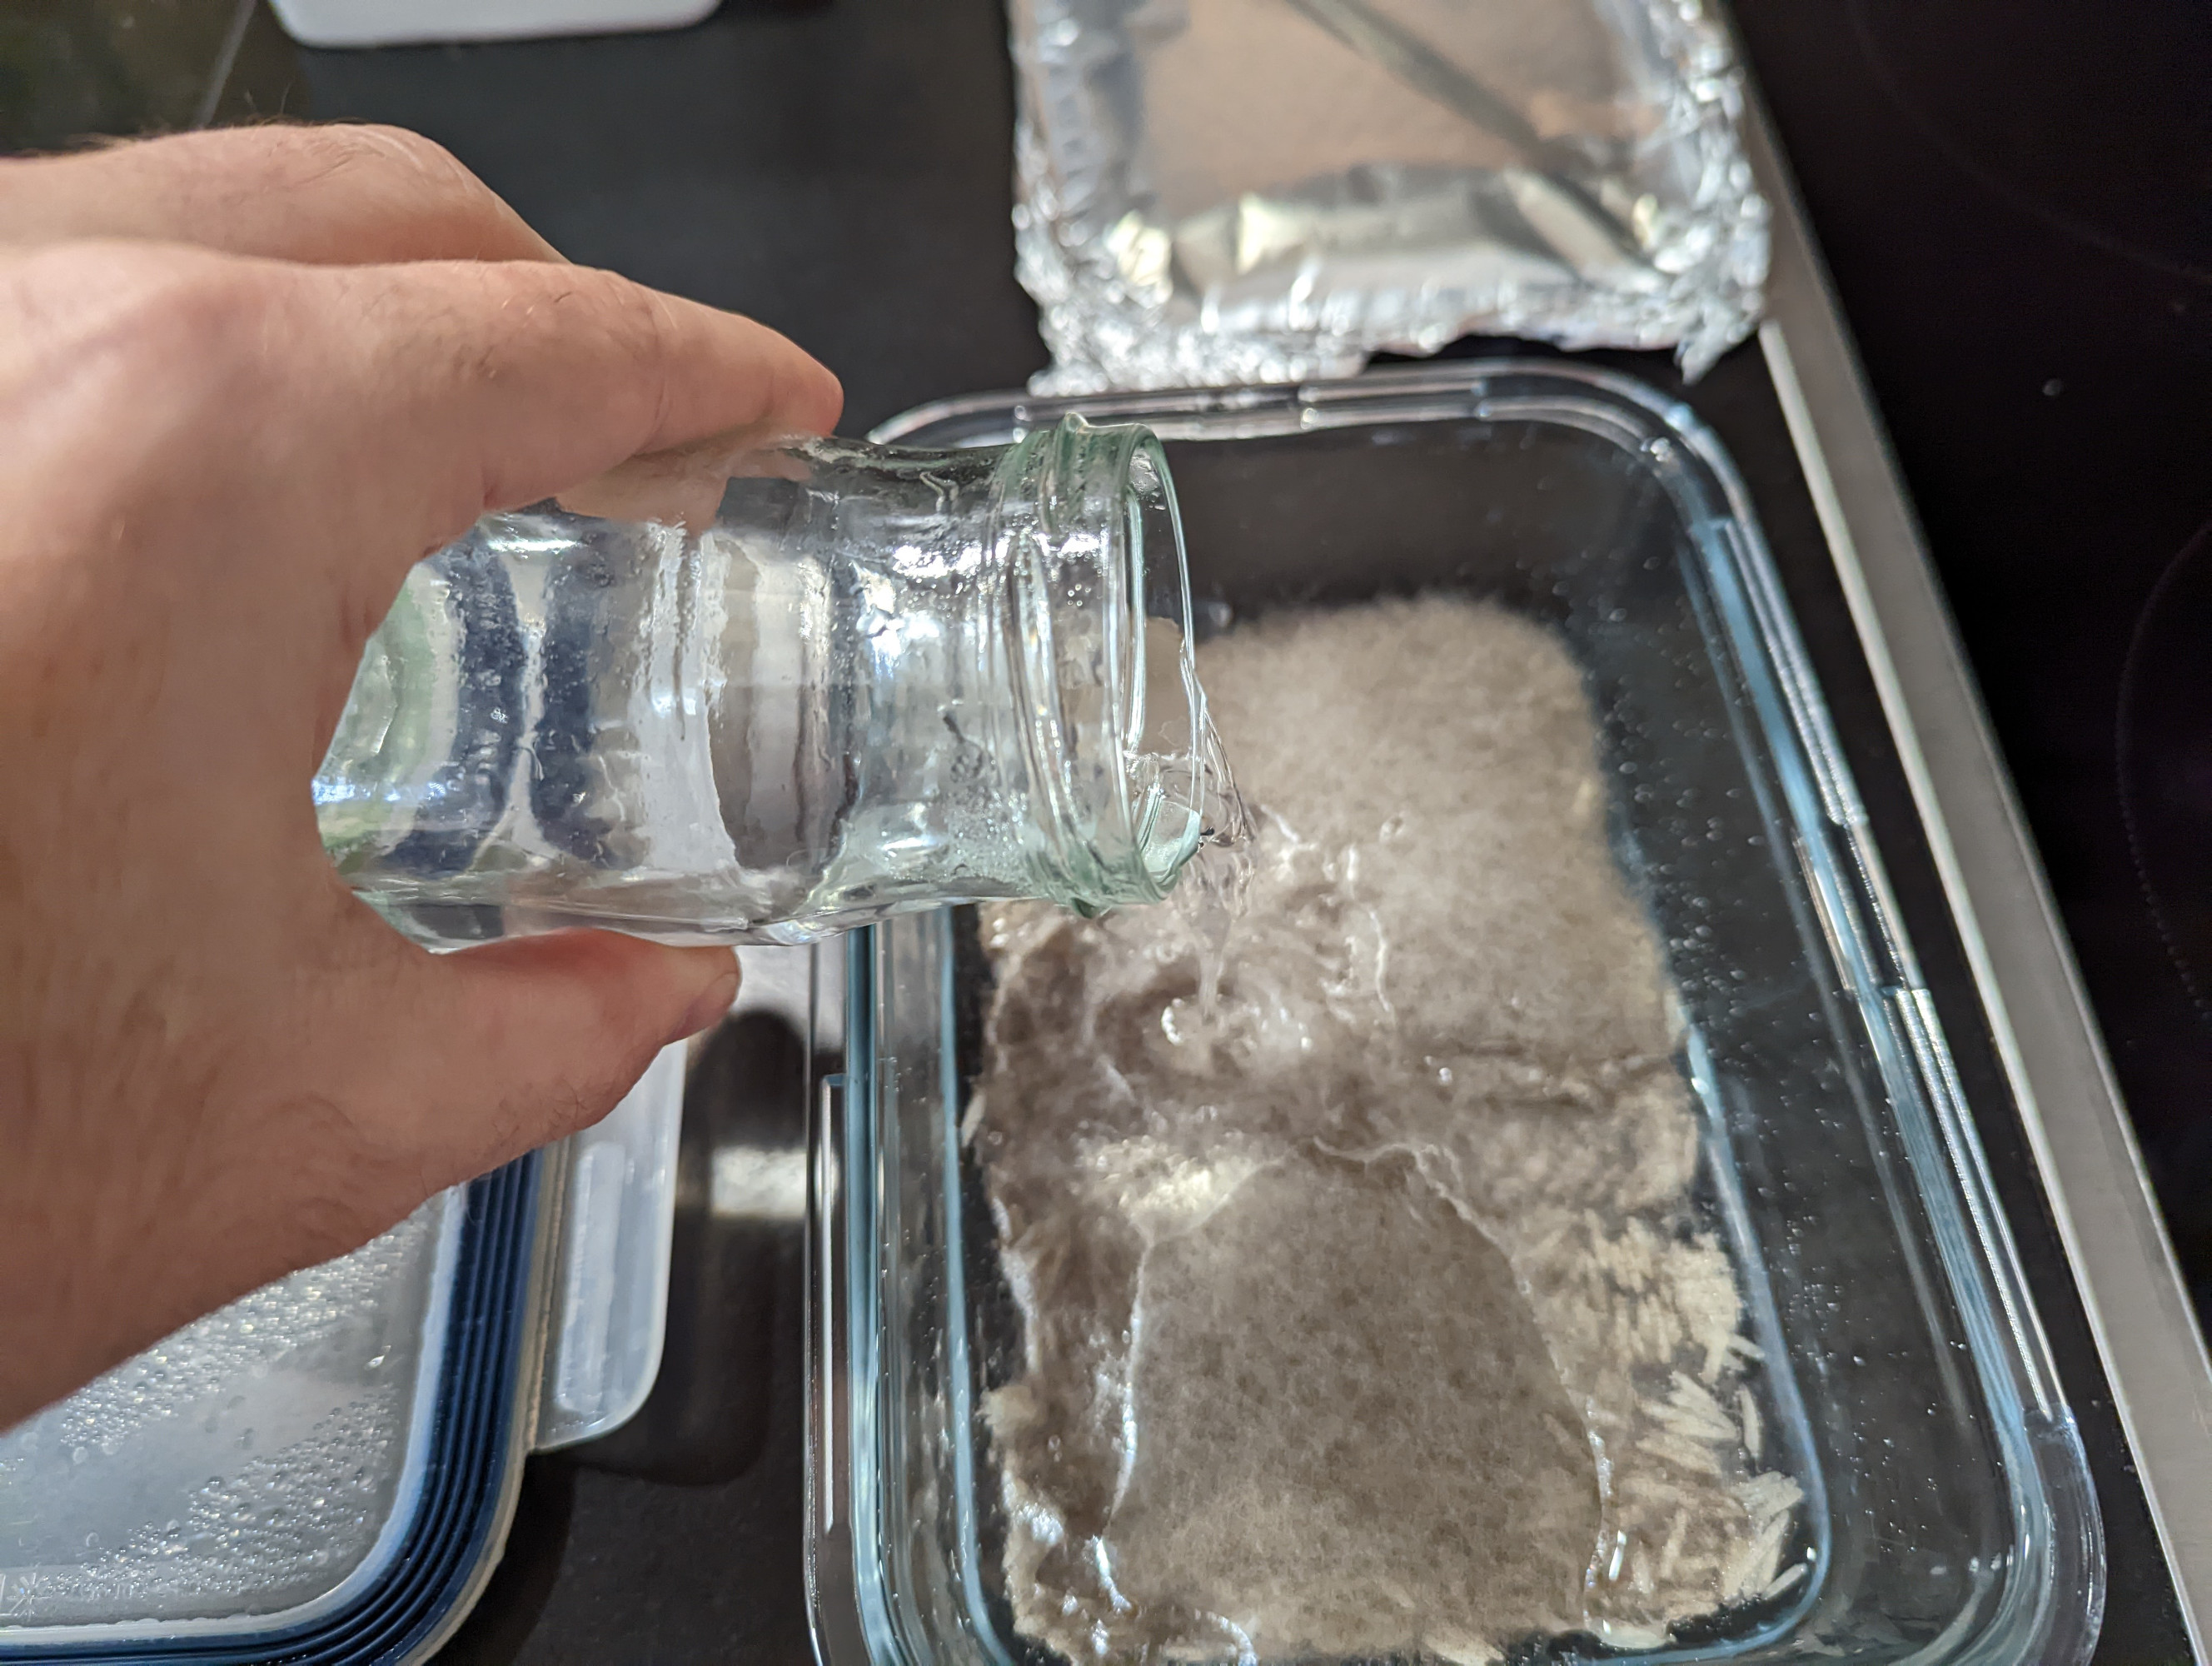
When the growth is done, it’s time to start preparing the spores for collection. Boil and cool around 150 mL of water for the spore suspension in the container you plan on storing it in. This process will sanitise the container, lid and the water itself. When your water has cooled, boil a second batch of water and pour it over the lid for the container that the tempeh mould was grow in. This lid will come in contact with the spore suspension and also needs to be sanitary.
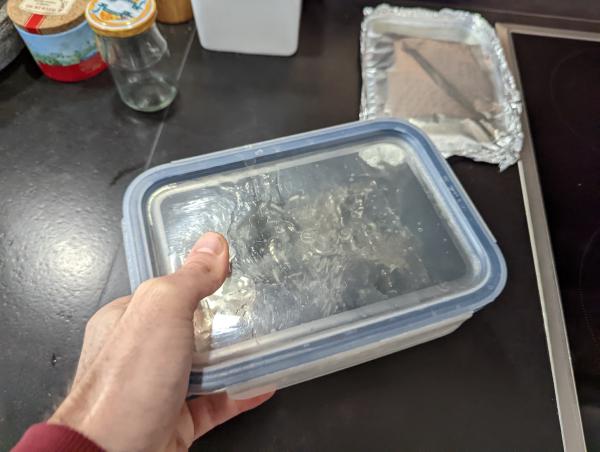
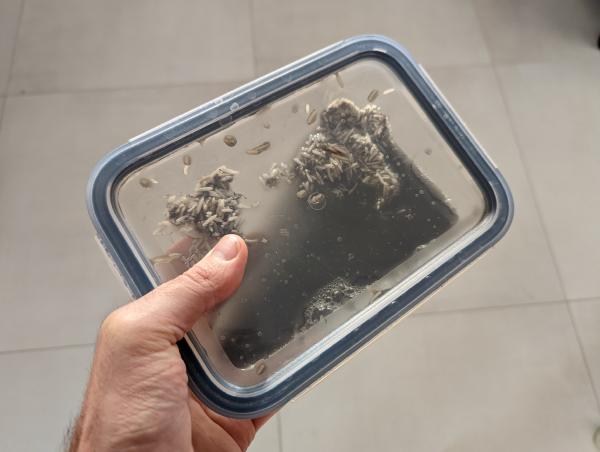
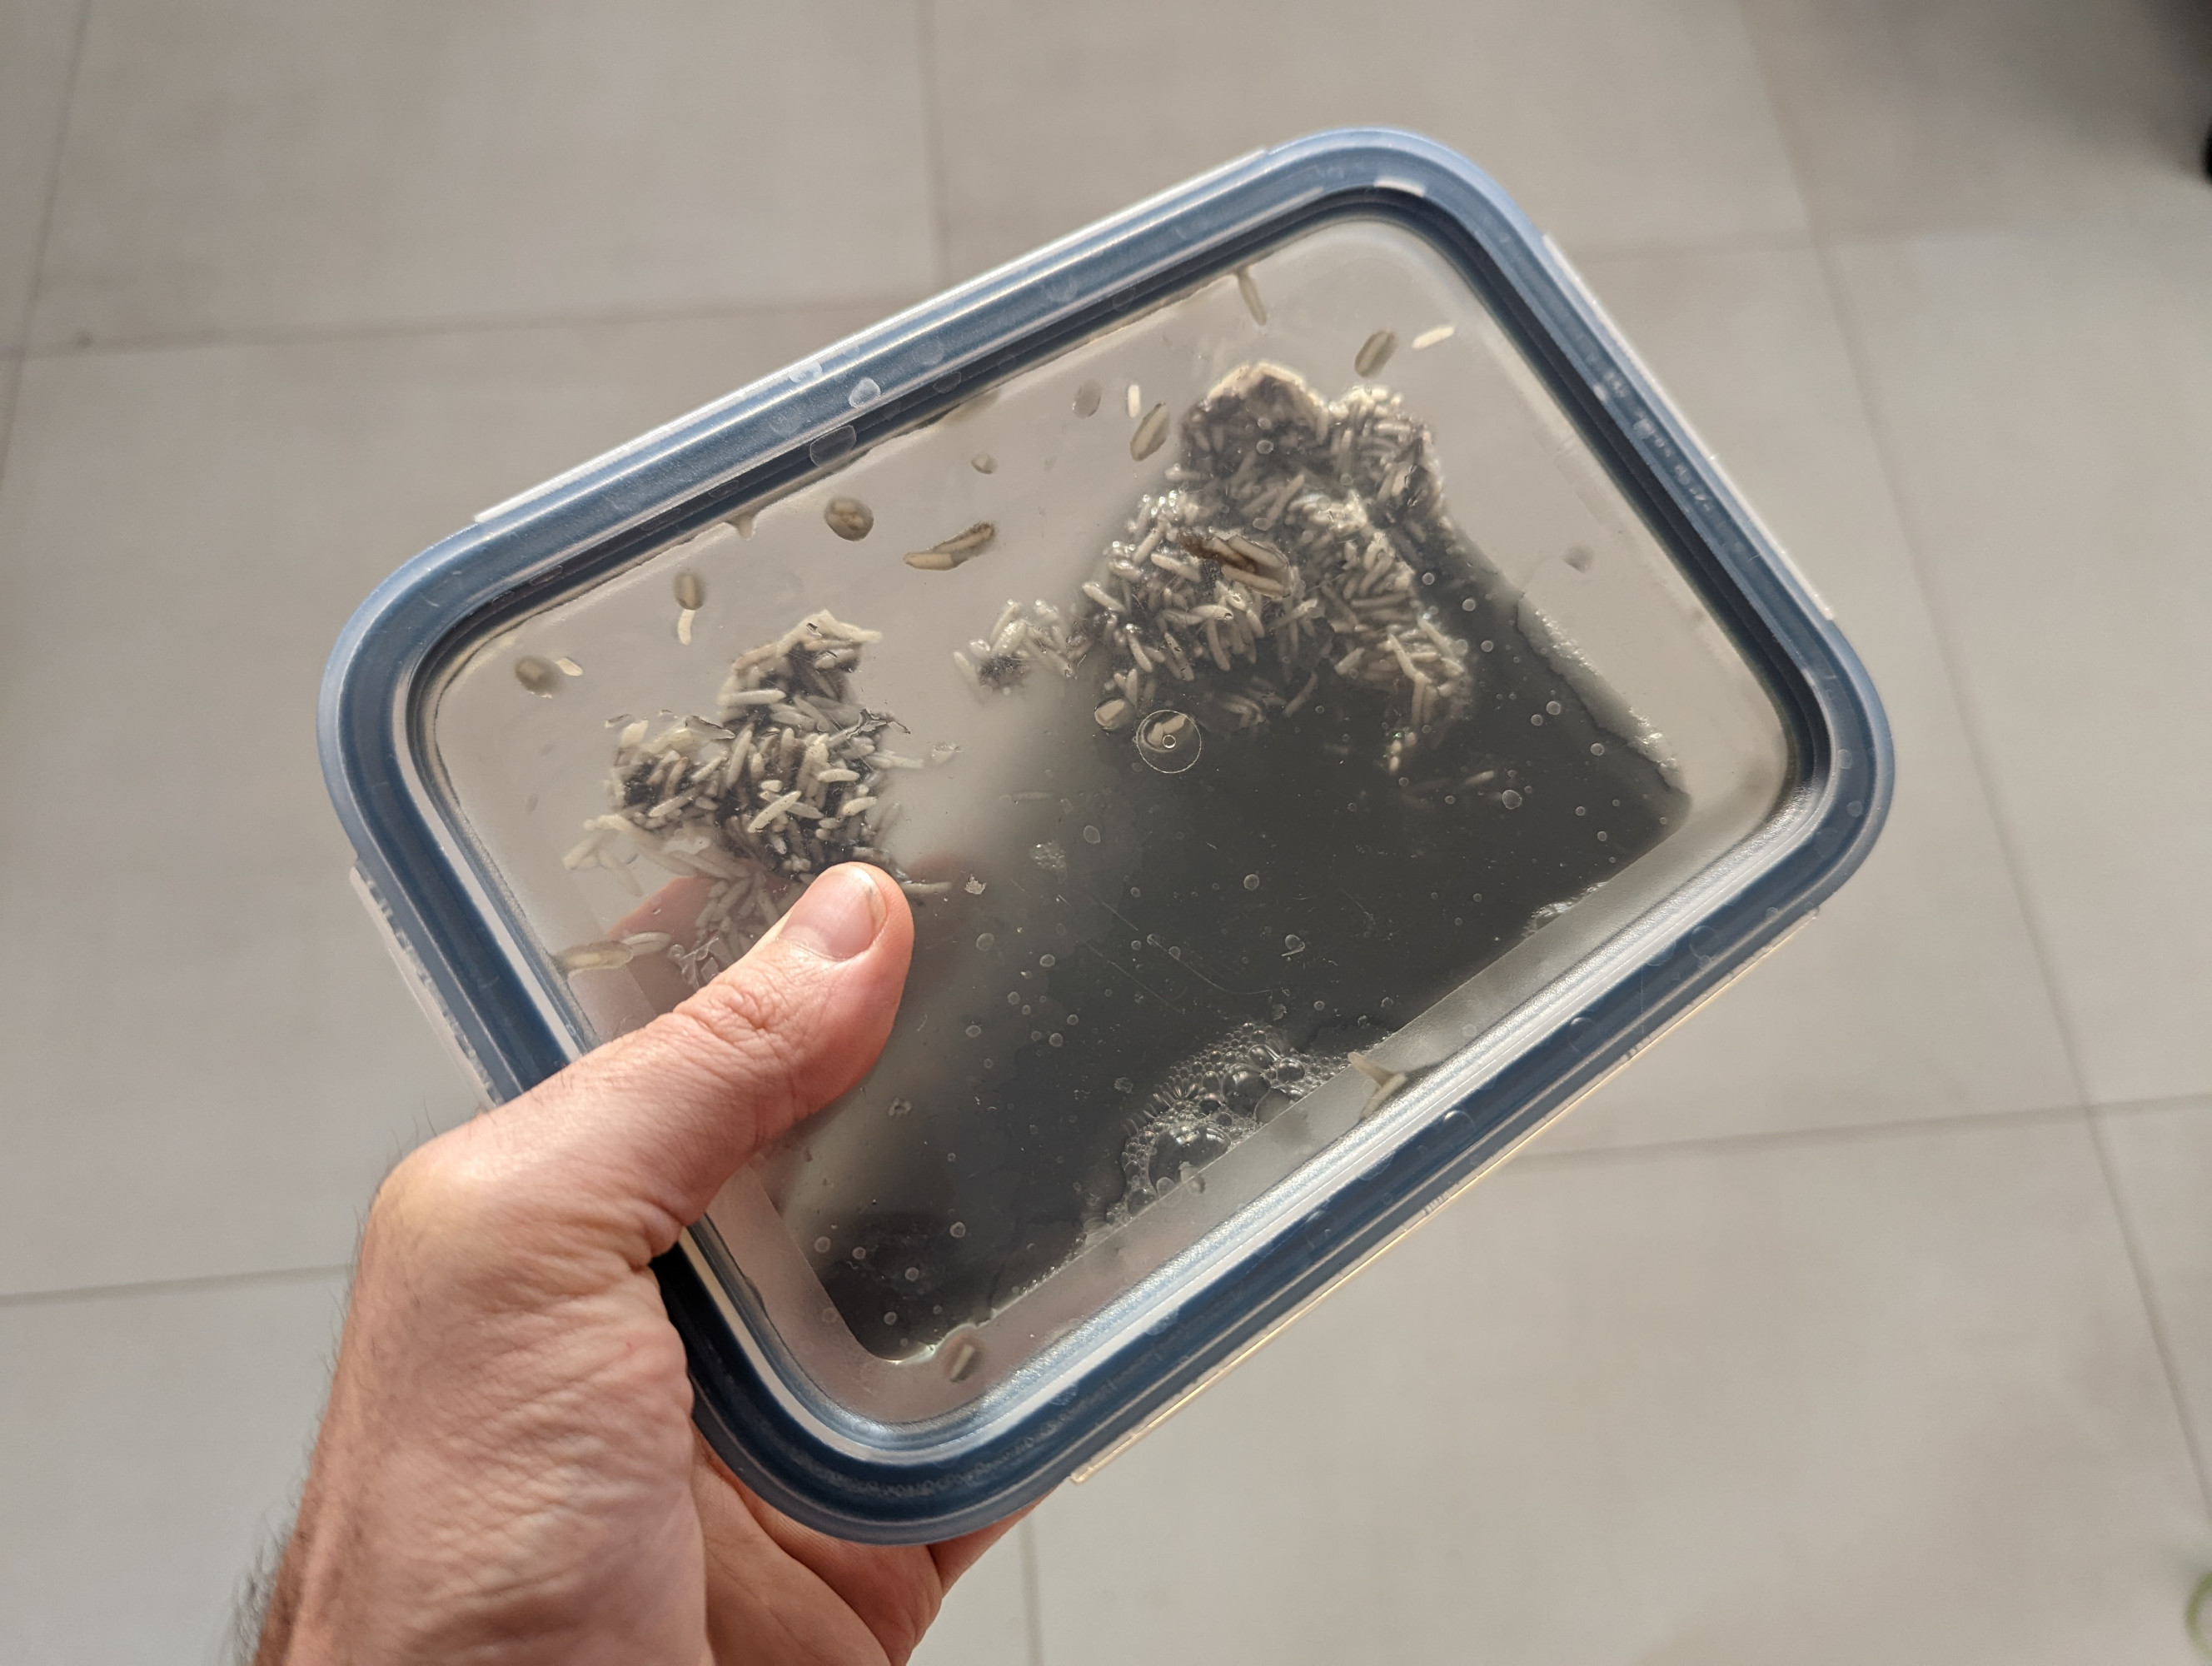
Remove the foil from the container, quickly pour in the boiled and cooled water and replace the foil with the lid you just sanitised. Pick up the container and begin shaking it vigorously. This will dislodge and break up all of the substrate, and cause the spores to become suspended in the water. It takes one or two minutes of shaking to fully collect the spores in the suspension. The rice should be relatively clean, the water a dark black colour and there will be a mass of now-black mycelium still clinging to the rice.
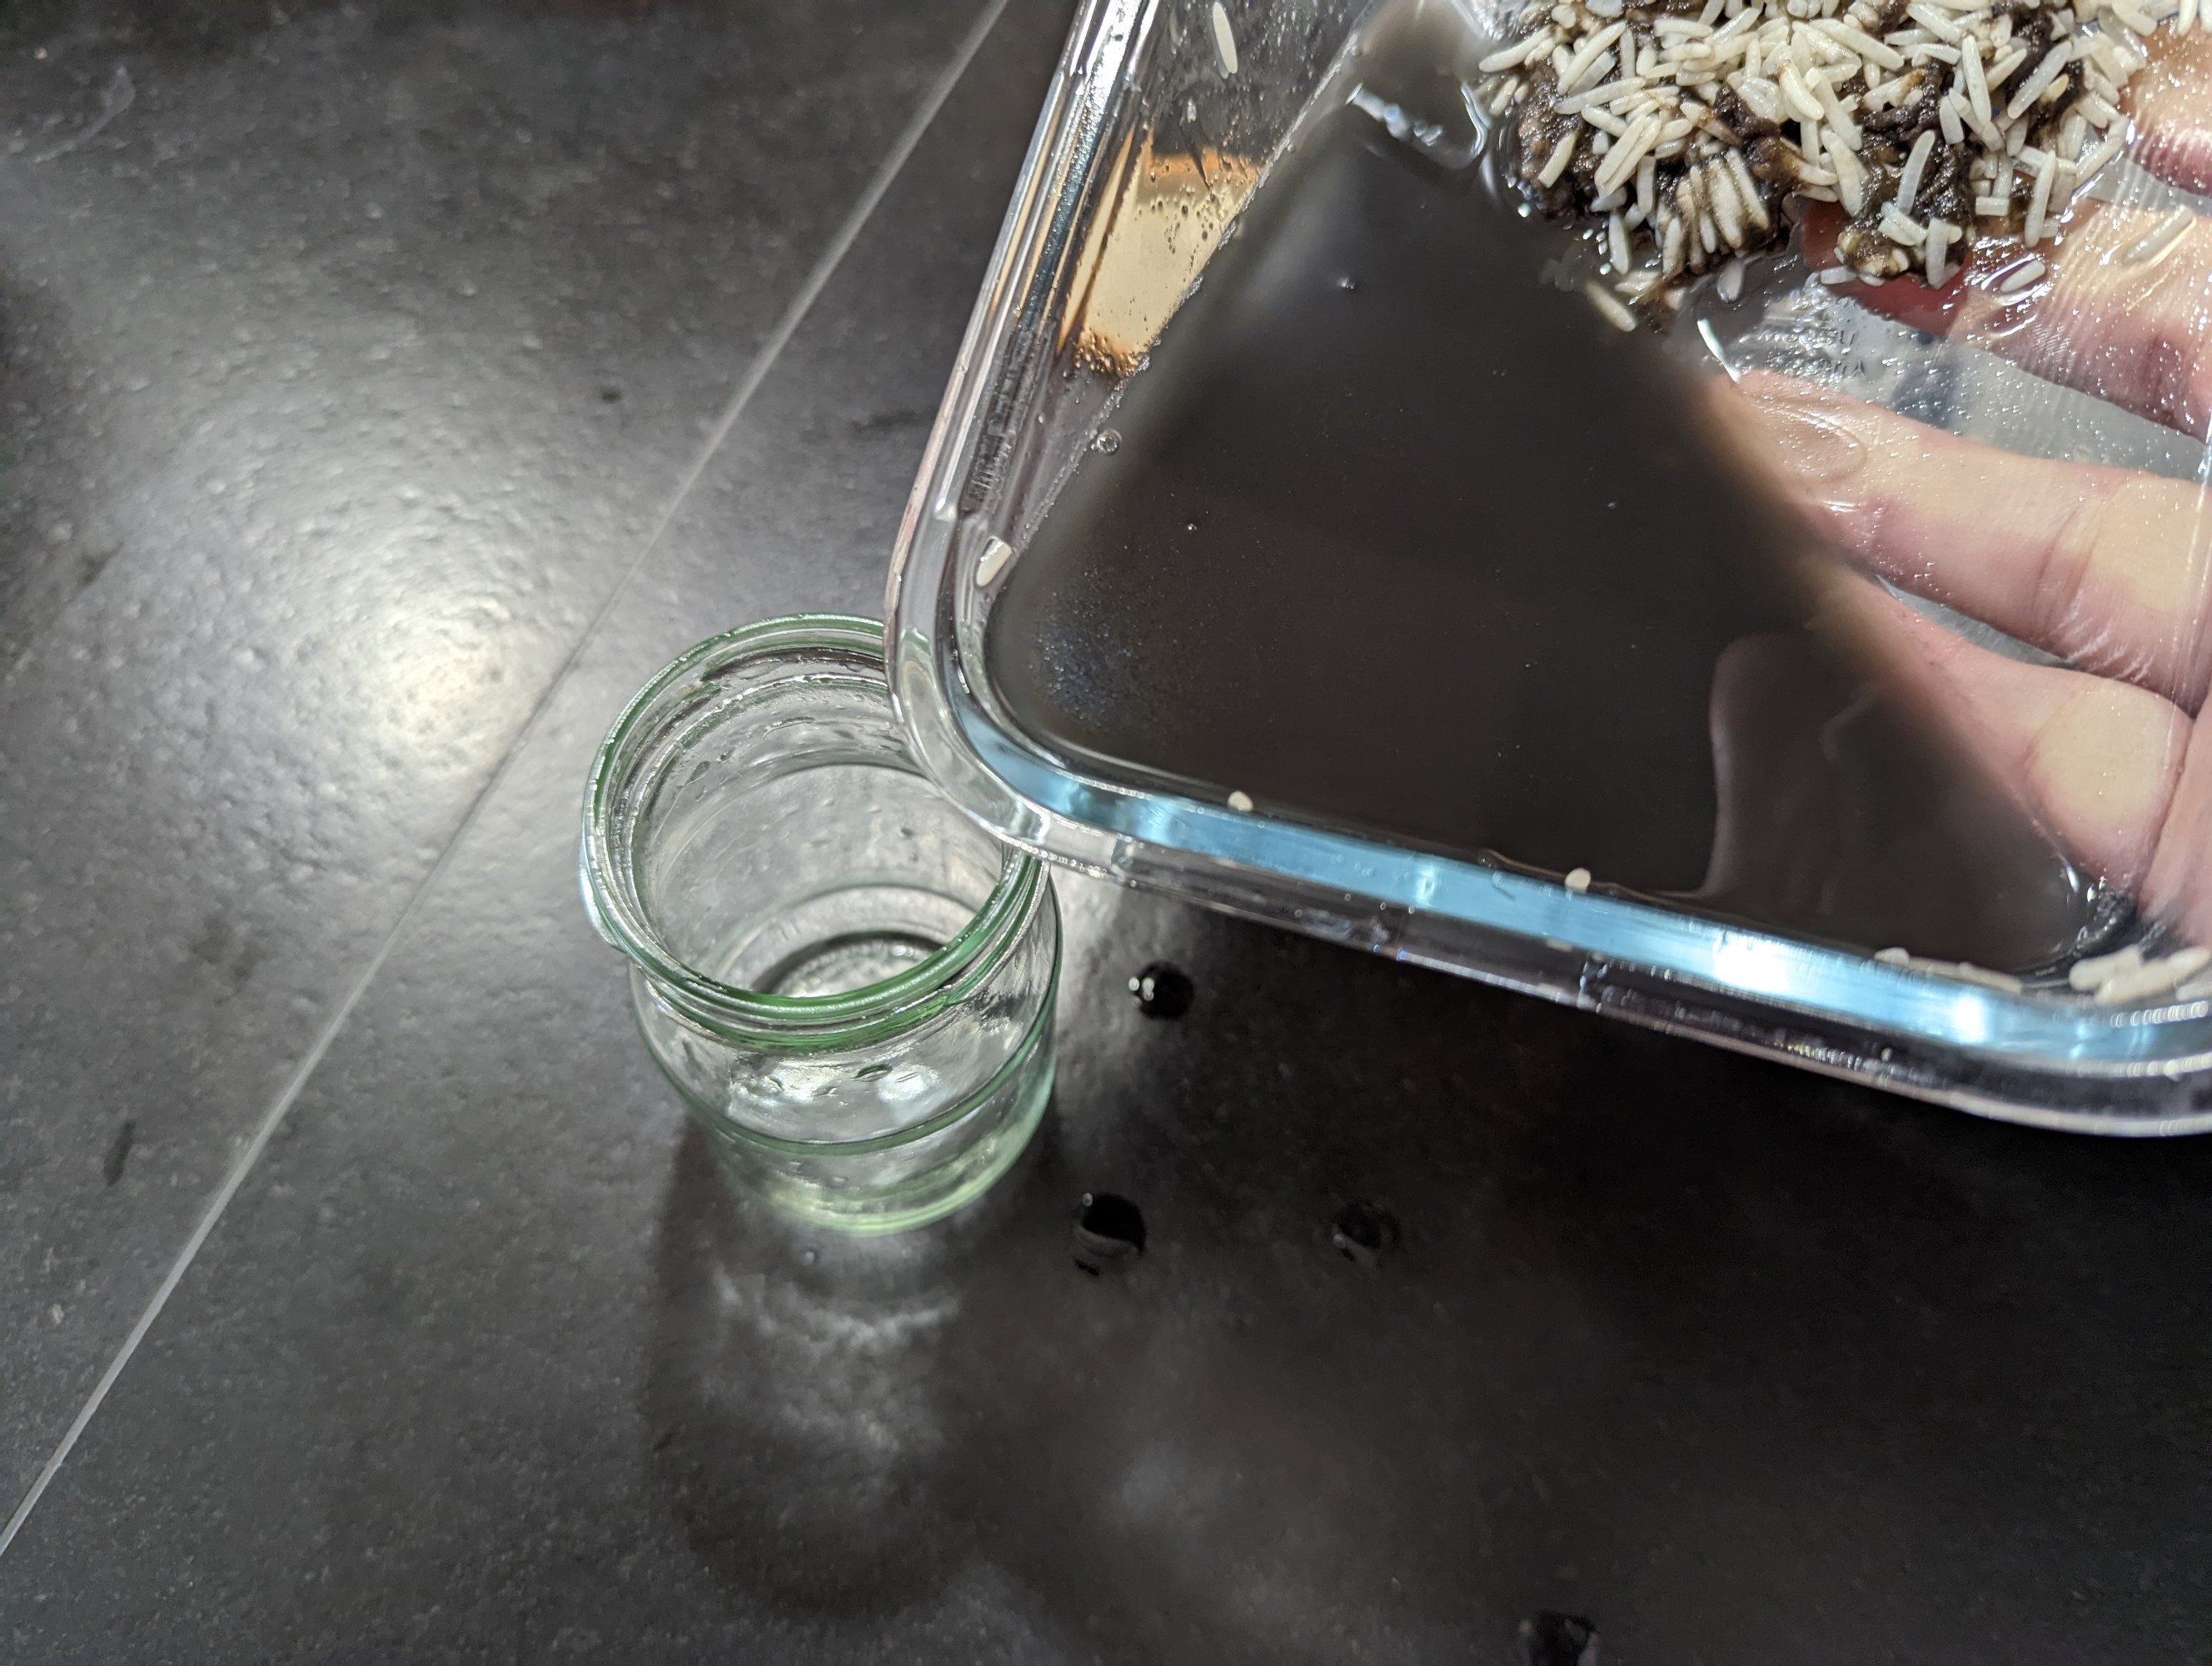
Open the container and decant the black spore suspension into your storage container without any of the substrate or mycelium. That’s it, you now have a spore suspension you can use to make tempeh!
Storage
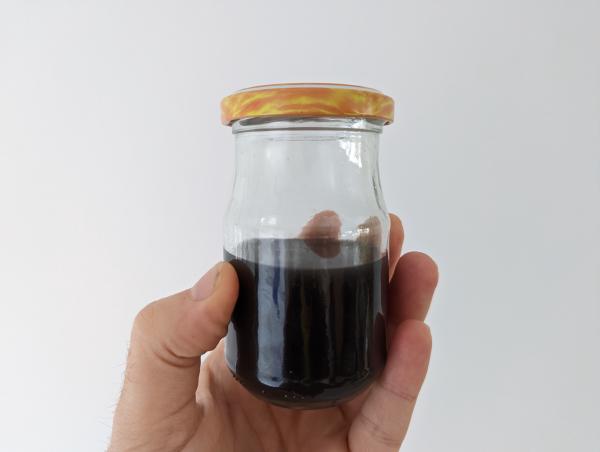
I keep the container holding the spore suspension in the fridge door. The spores fairly rapidly settle out, but a quick shake brings them back into suspension.
Potential infection on the surface of my spore suspension
Update 2022-12-18
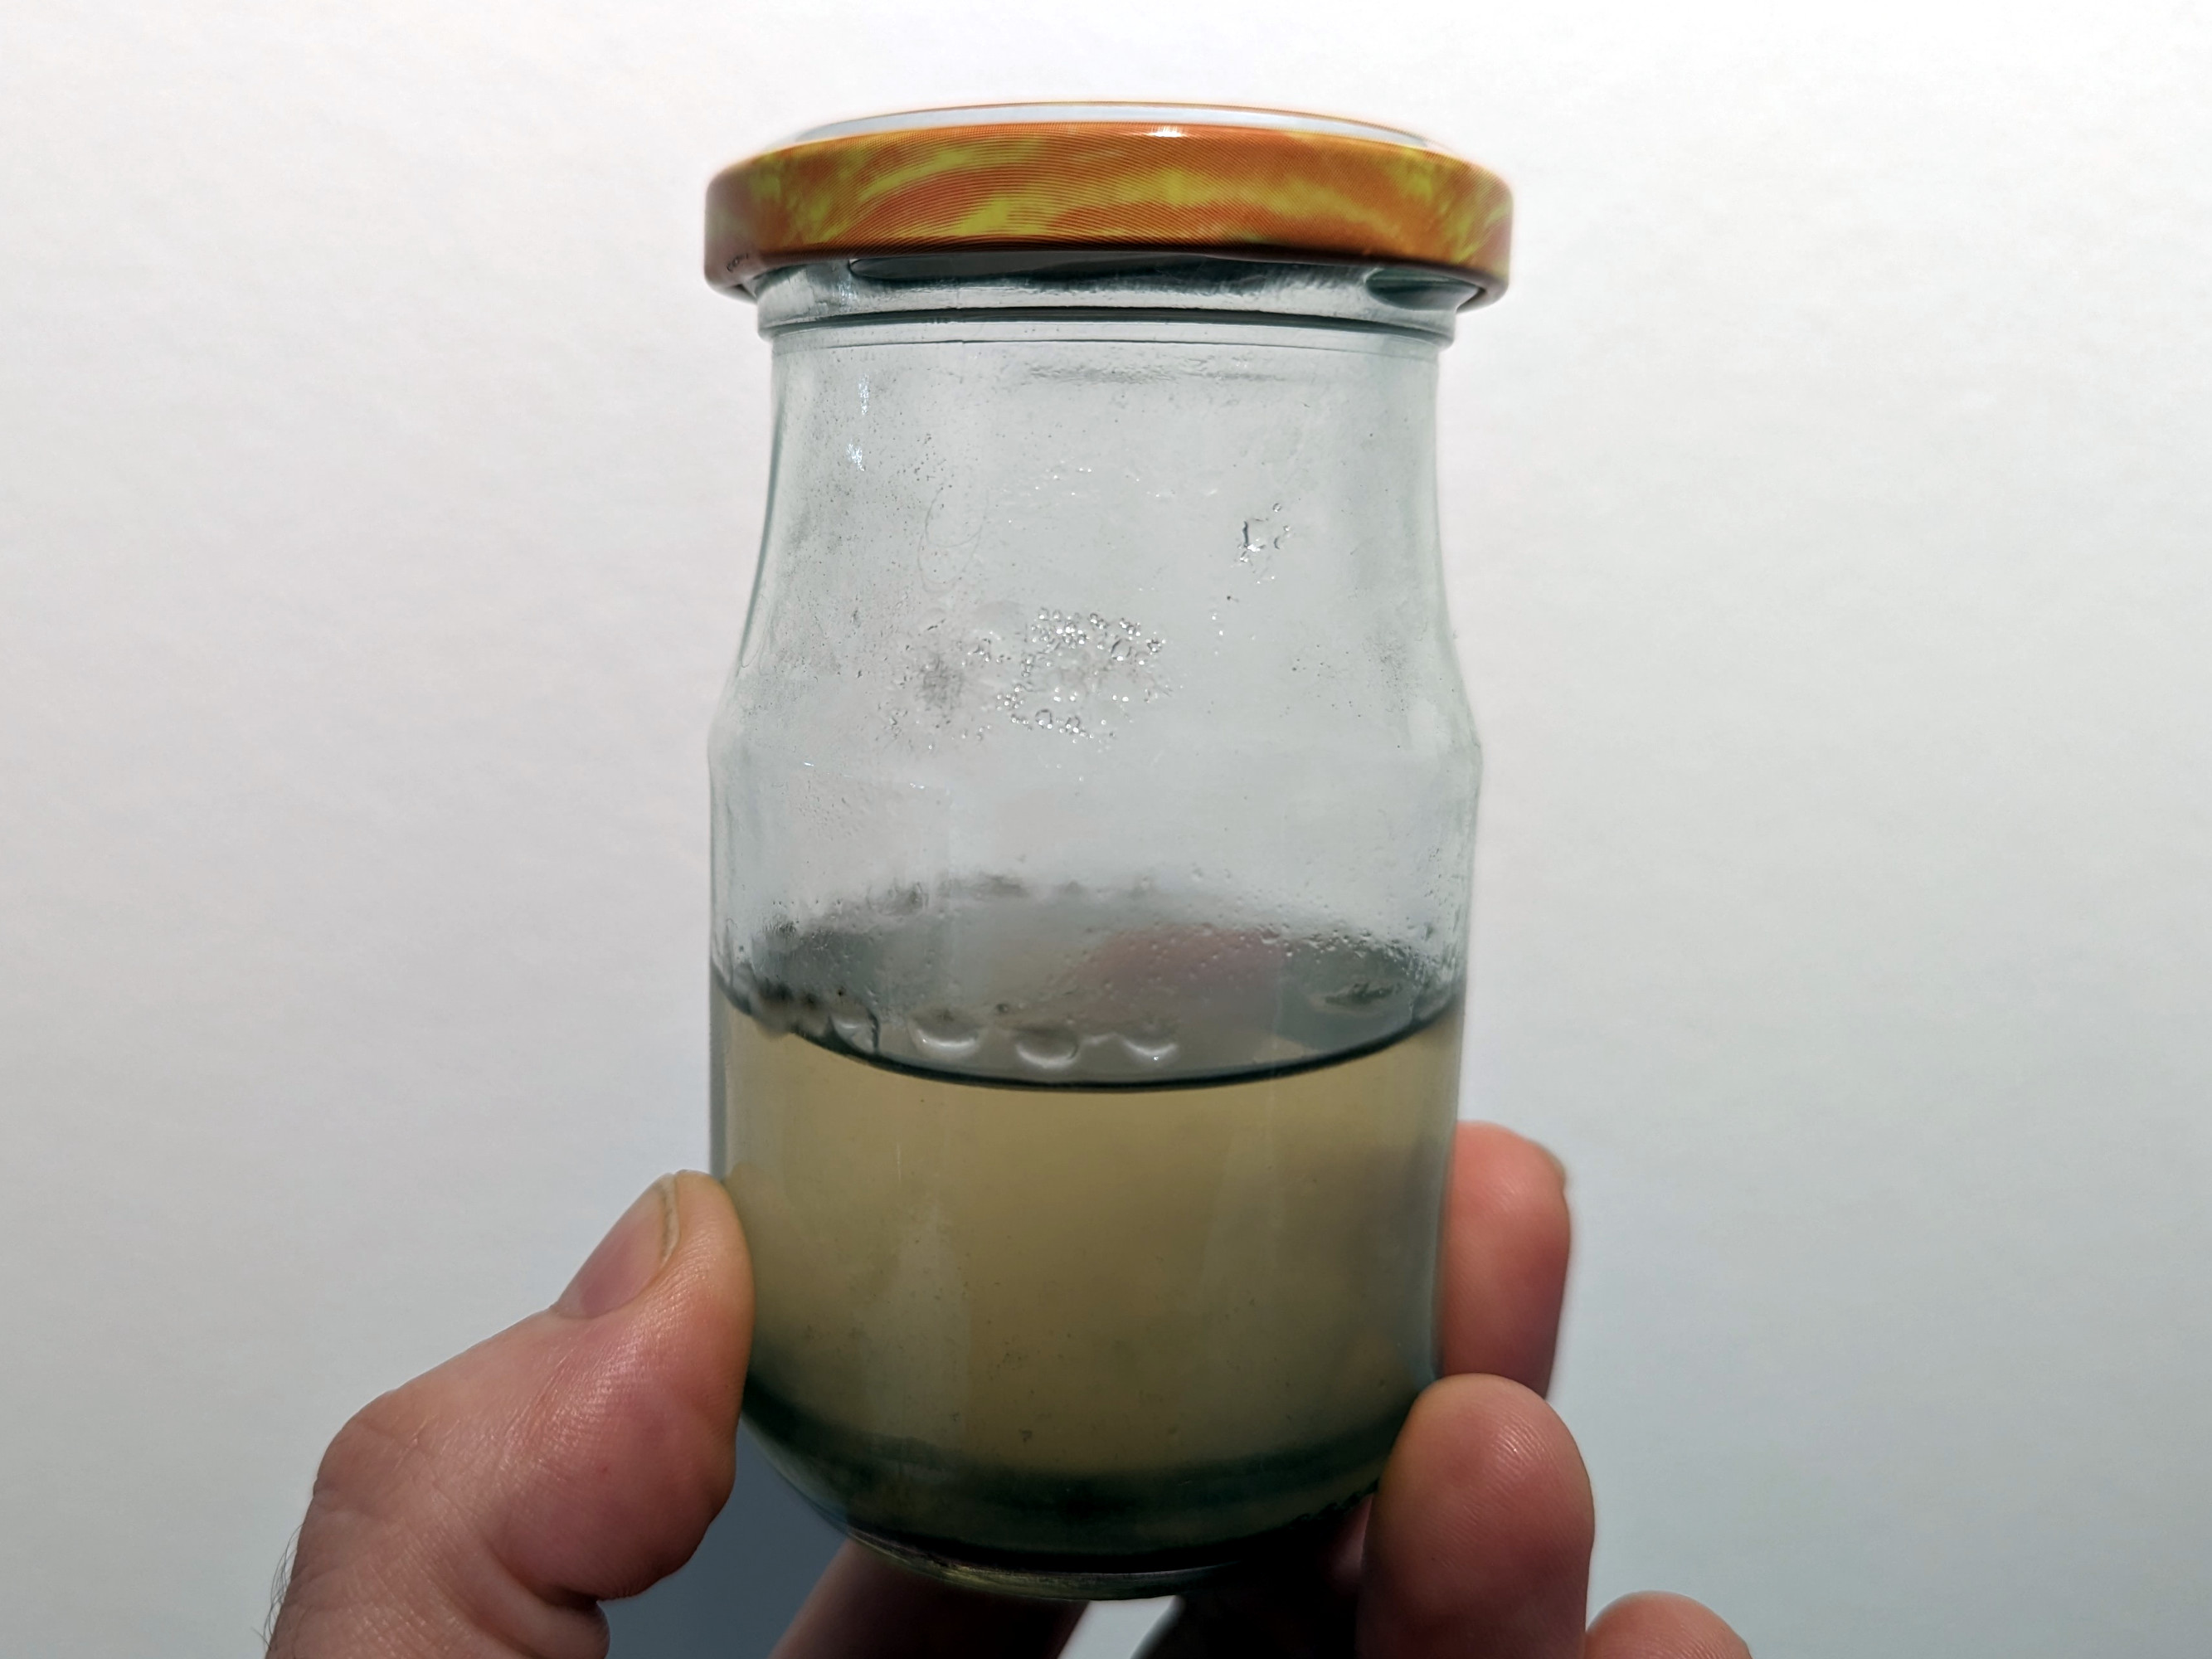
Over time, I’ve noticed some interesting looking mould and floaty bits appear in my spore suspension in the fridge. I’m uncertain as to whether it is the Rhizopus oligosporus growing on the residual starches in the water, or if it is contamination due to poor sanitation. Either way, I plan on looking at alternative storage.
I’d like to try decanting the liquid off the top of the spores and replacing it with clean, non-starchy water. I think storing a more concentrated suspension in a syringe without any air contact would also be beneficial. If anyone has any other ideas, please drop me a line using the contact form at the top of the page.
Use
When making tempeh, I inoculate at a dosage of around 6 mL/kg of cooked soybeans. I simply sprinkle the spore suspension over the surface of the dried beans, and then mix thoroughly with a sanitised spoon to spread the spores throughout.
I find the growth to be rapid. Generally I start to see the first signs of mycelium less than 12 hours after inoculation, which is significantly faster than batches where I used powdered starter. This, along with the fact that a single batch of spore suspension is good for 25 kg of tempeh makes the process a winner in my book.