
The 3D Printer Distraction
Building a Voron 2.4, a community designed, high performance 3D printer
My usual tinkering and project backlog has been set aside for the past few months. Instead, my attention was diverted to the assembly of a Voron 2.4. It is the third 3D printer I’ve owned, and I find myself reflecting on how things have progressed, and how much of that progress has been driven by hobbyists and the open source community.
My Printer
My printer is a mostly stock 300 mm Voron 2.4 R2 built from a kit purchased from Siboor.
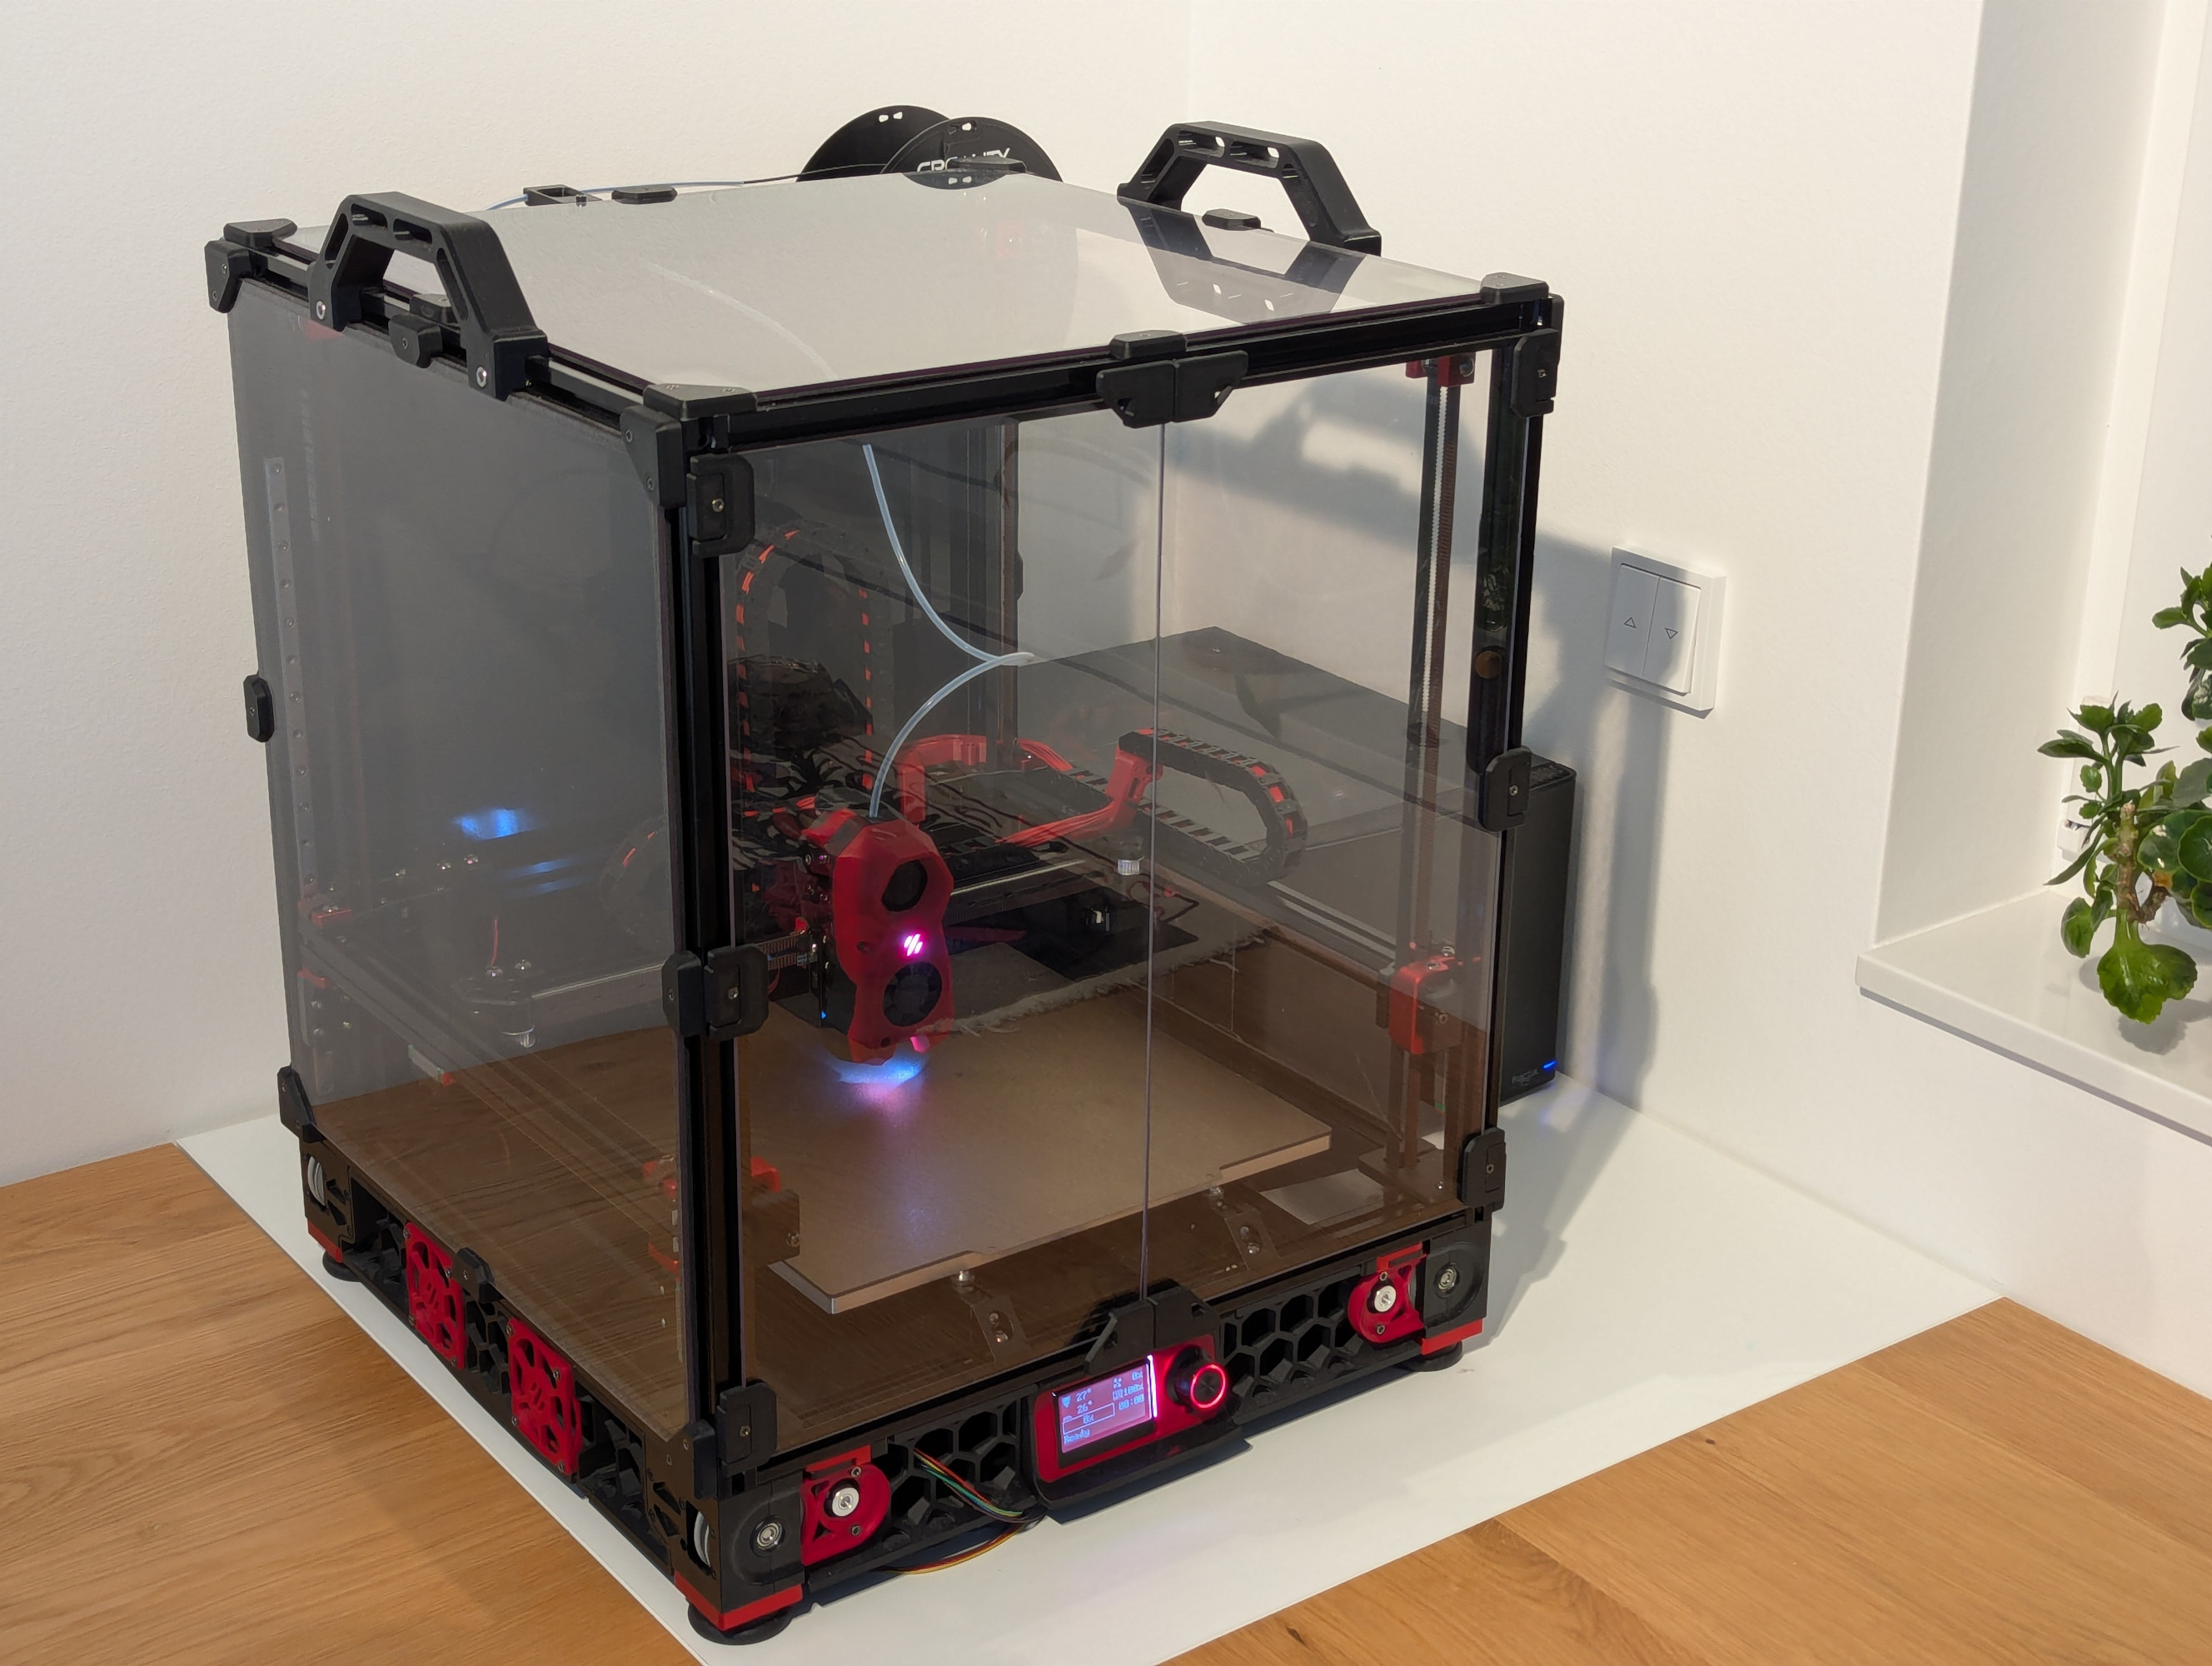

I splurged on some options, and ended up with the configuration below.
- Structure
- Misumi NFSB5-2020 extrusion
- Machined aluminium functional parts
- ABS printed decorative parts
- 3 mm polycarbonate enclosure panels
- Motion
- Hiwin MGN linear rails
- Gates PowerGrip GT belts
- OMC 17HS19-2004S stepper motors
- NSK bearings
- Drag chains
- Toolhead
- Phaetus Dragon HF hotend
- Clockwork 2 extruder
- Bondtech BMG components
- Moons’ CSE14HRA1L410A-01 stepper motor
- 2 piece toolhead PCB
- Print Bed
- MIC-6 cast aluminium plate
- 450 W silicone heater
- PEI coated spring steel print surface
- Electronics
- Orange Pi 3 LTS
- FYSETC Spider 3.0 control board
- FYSETC Trinamic TMC2209 stepper drivers
- Meanwell 24V power supply
- Delixi solid state relay
- Sensors
- Voron Tap Z-probe
- XY microswitch endstop PCB
- Software
- Fluidd
- Mainsail
- Klipper
- Prusa Slicer
Assembly
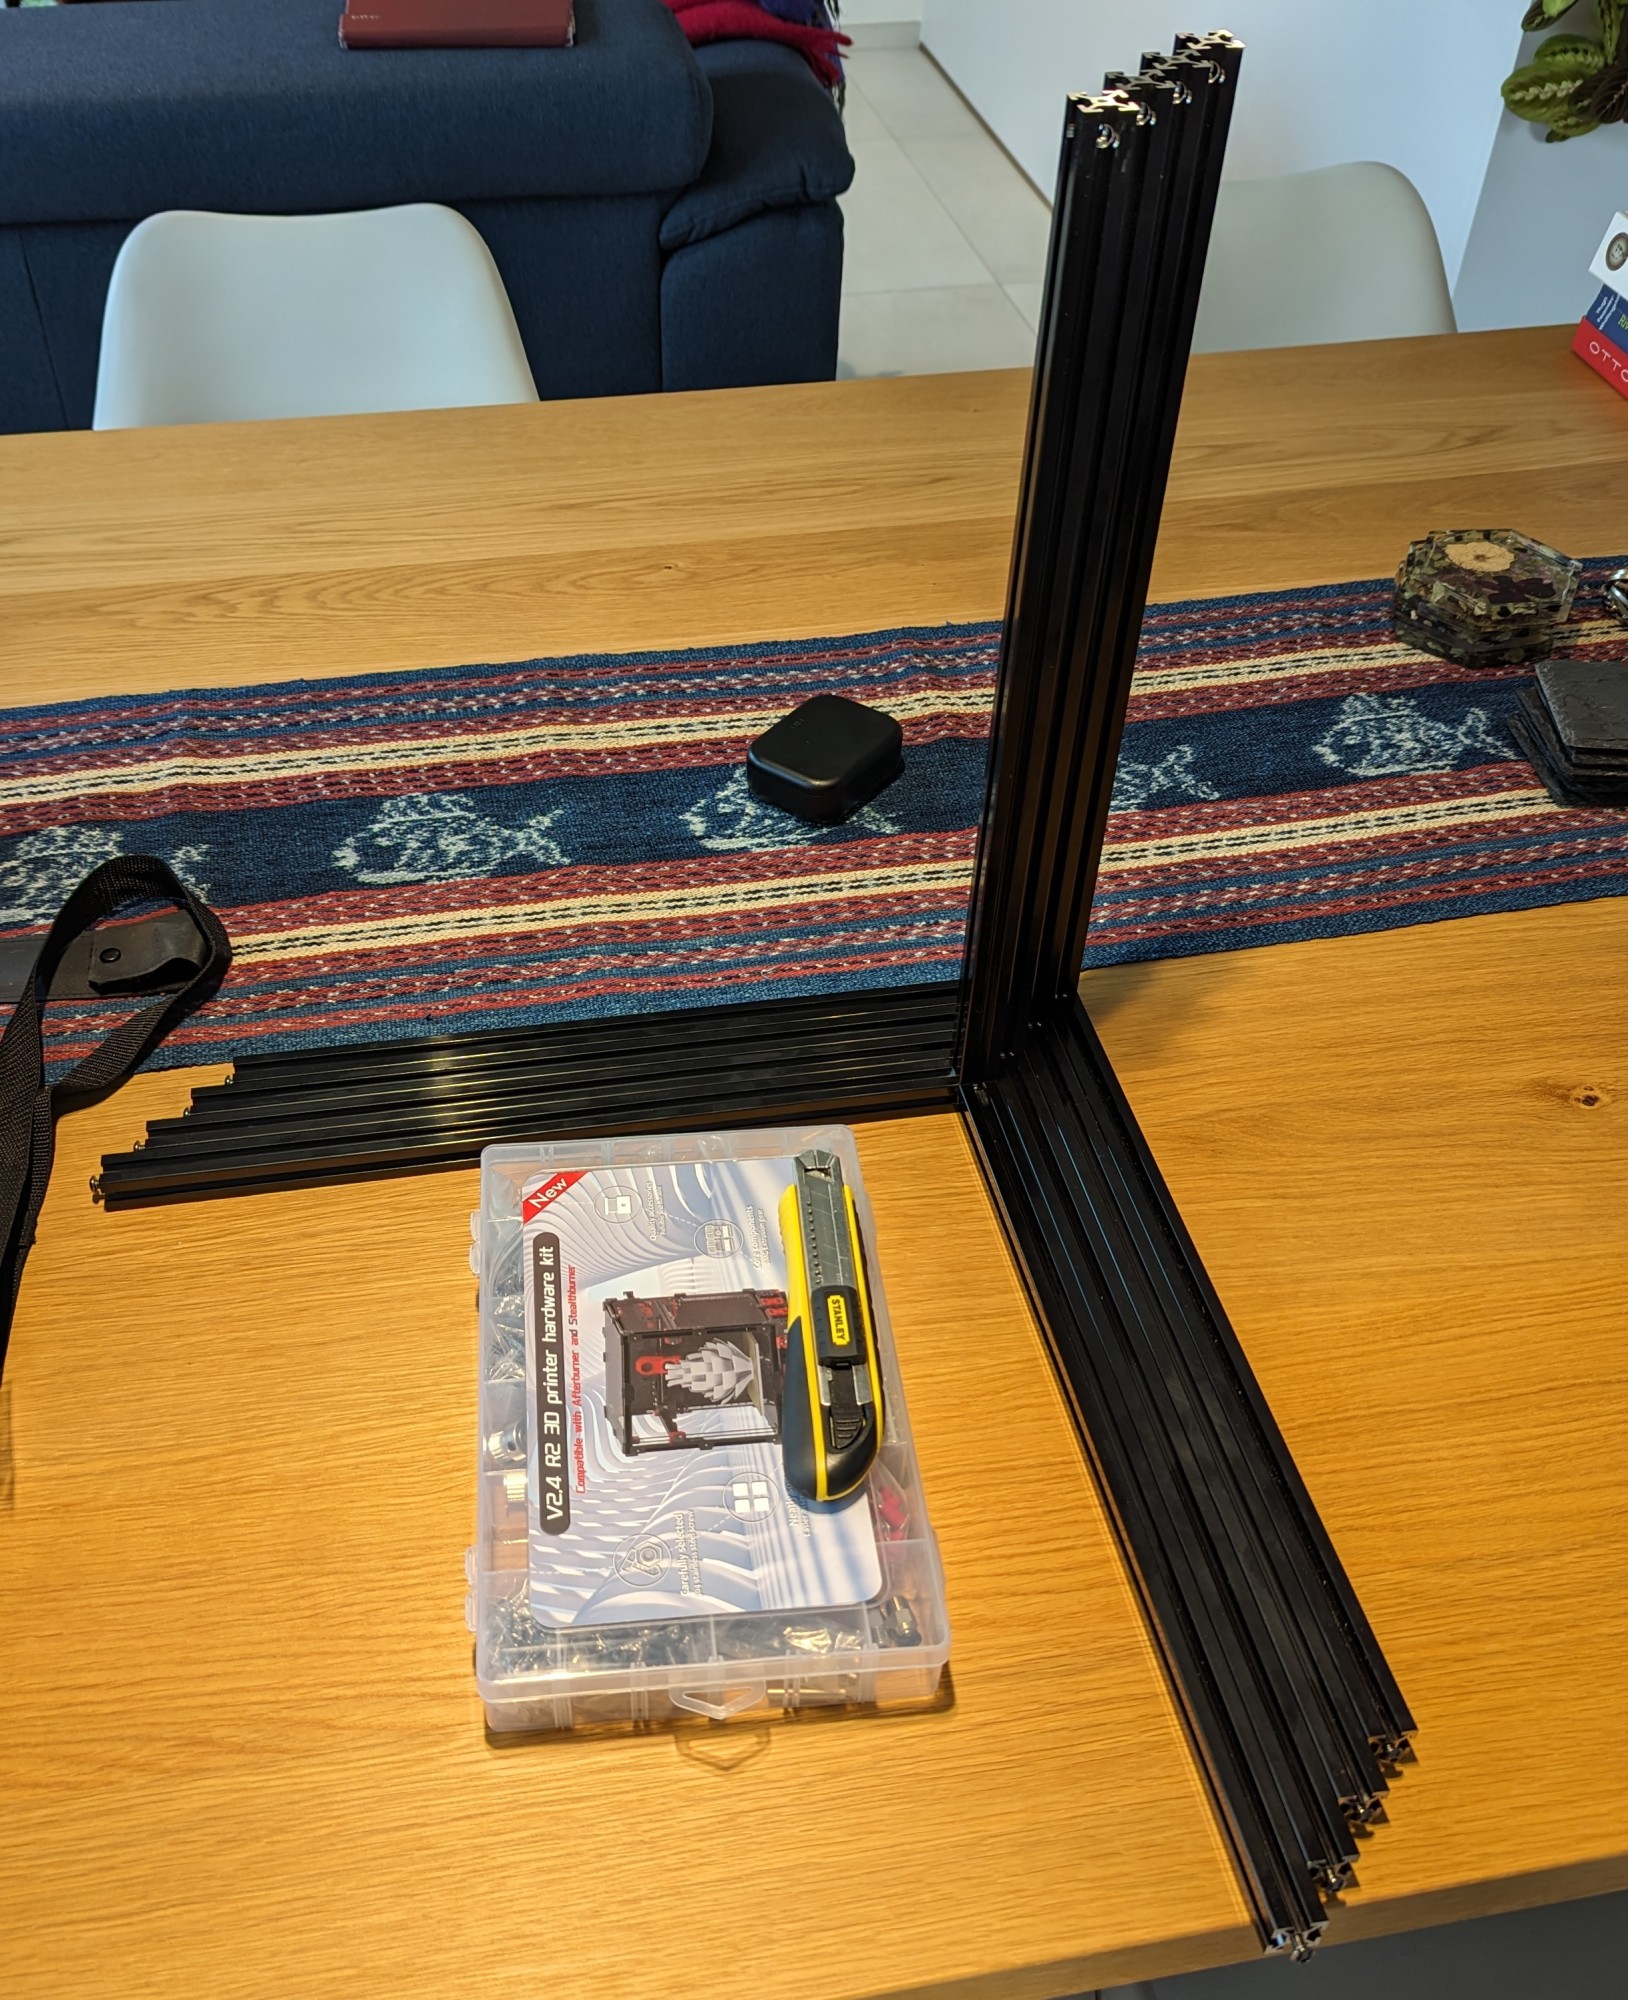
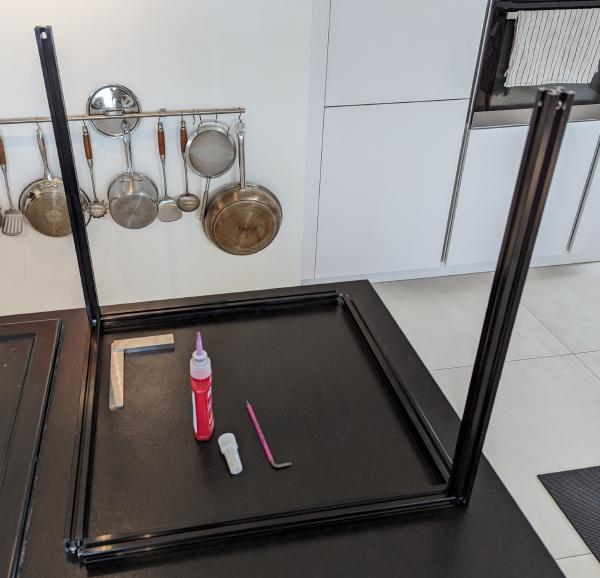
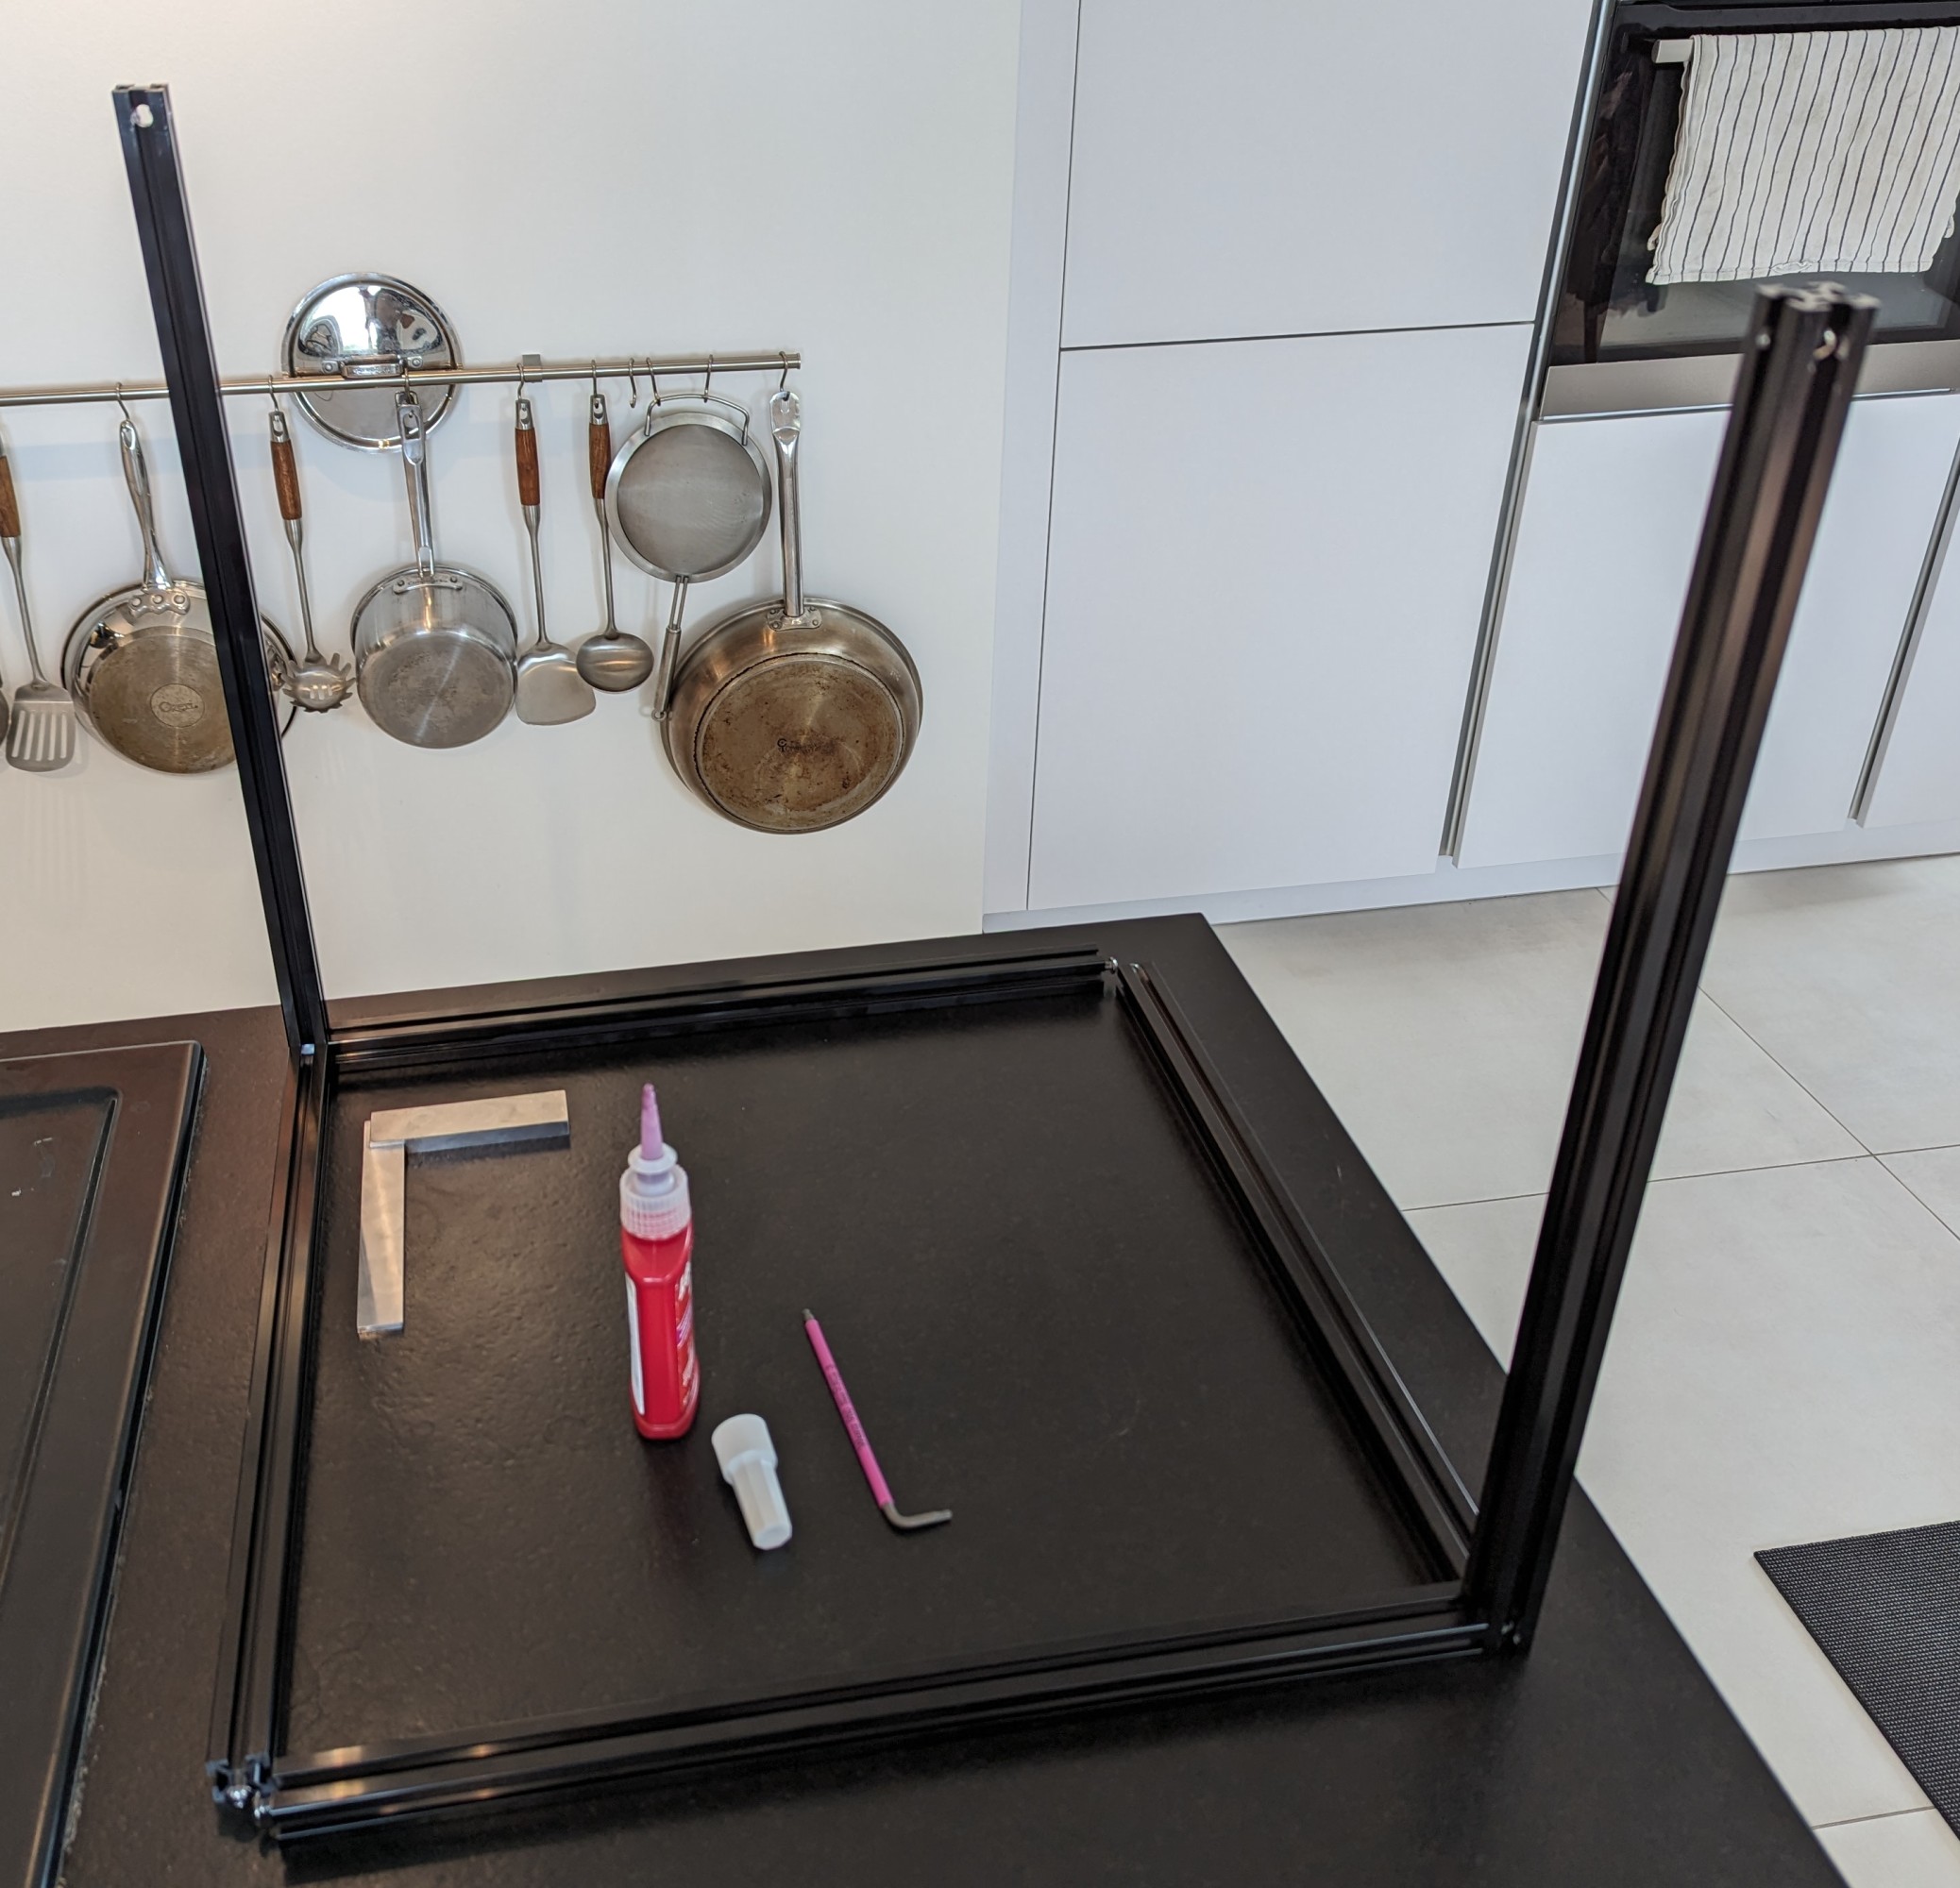
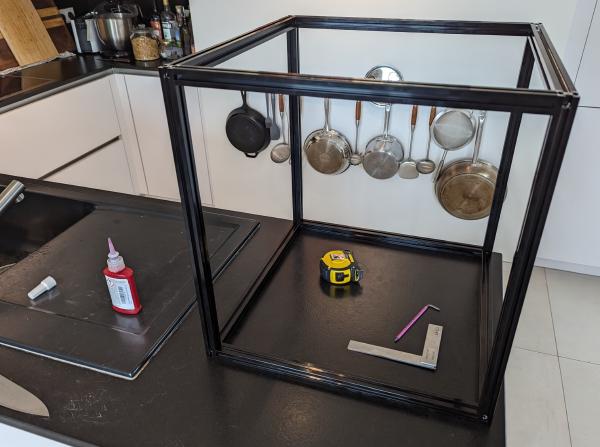
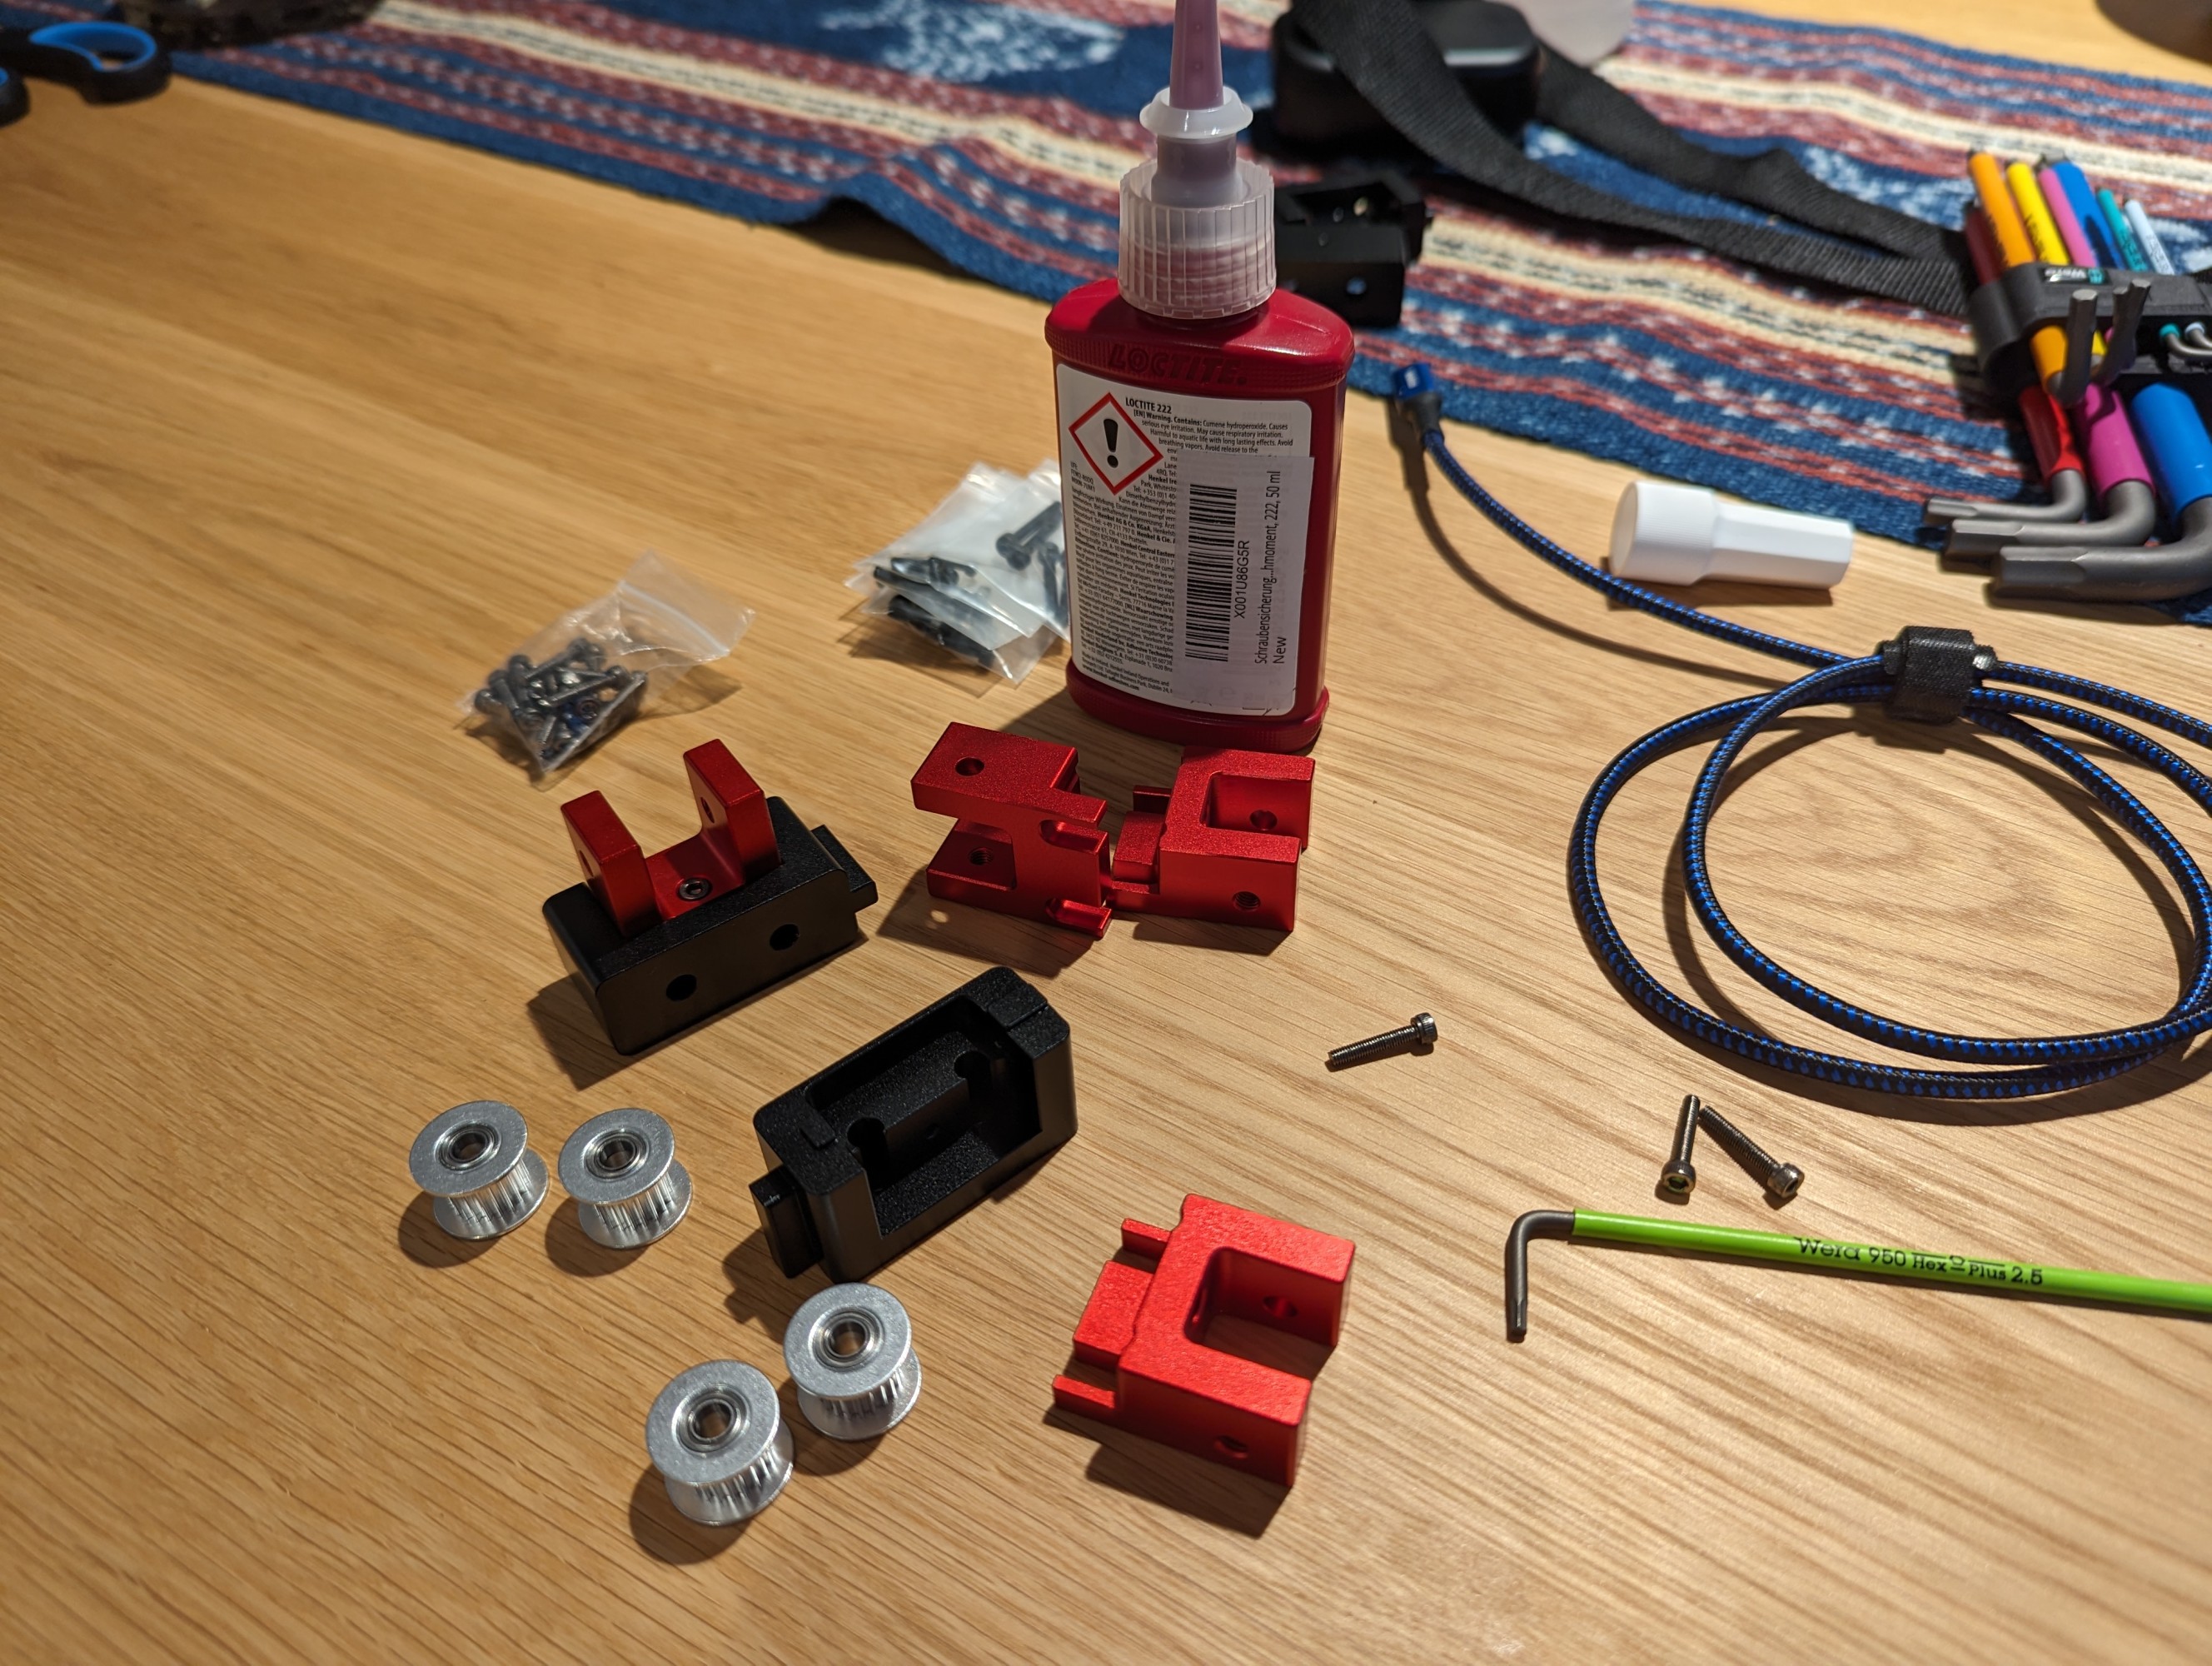
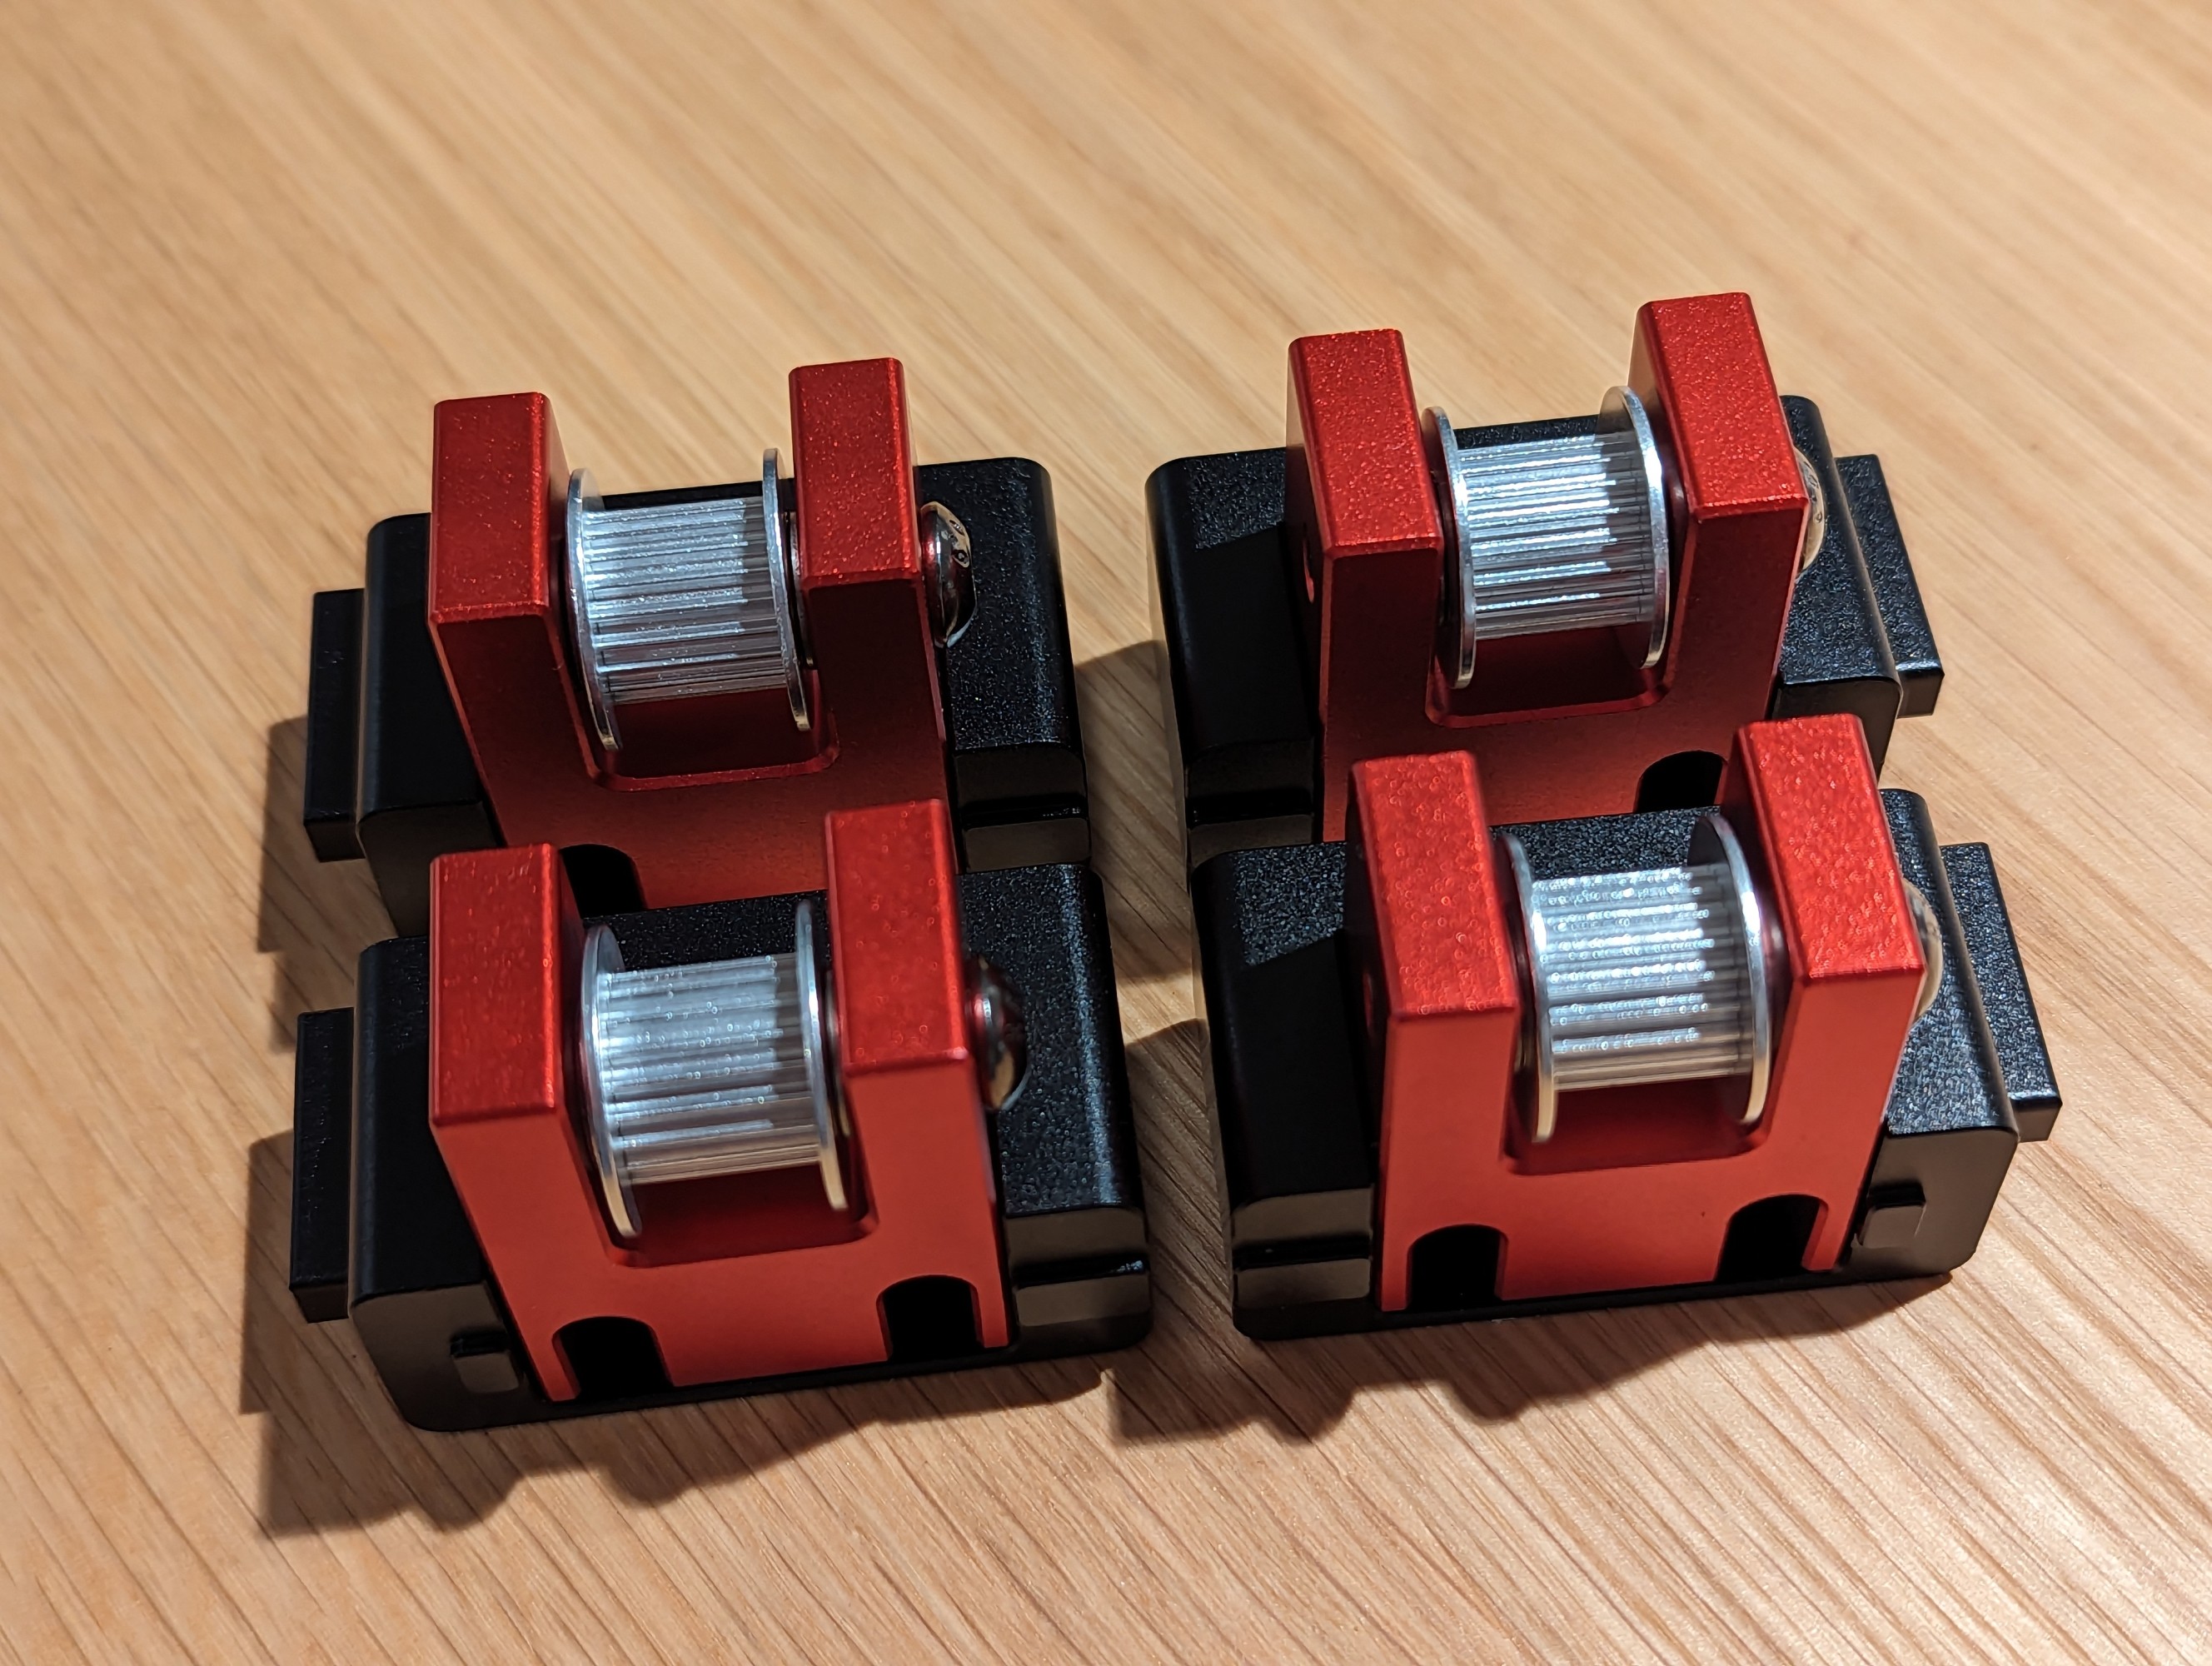
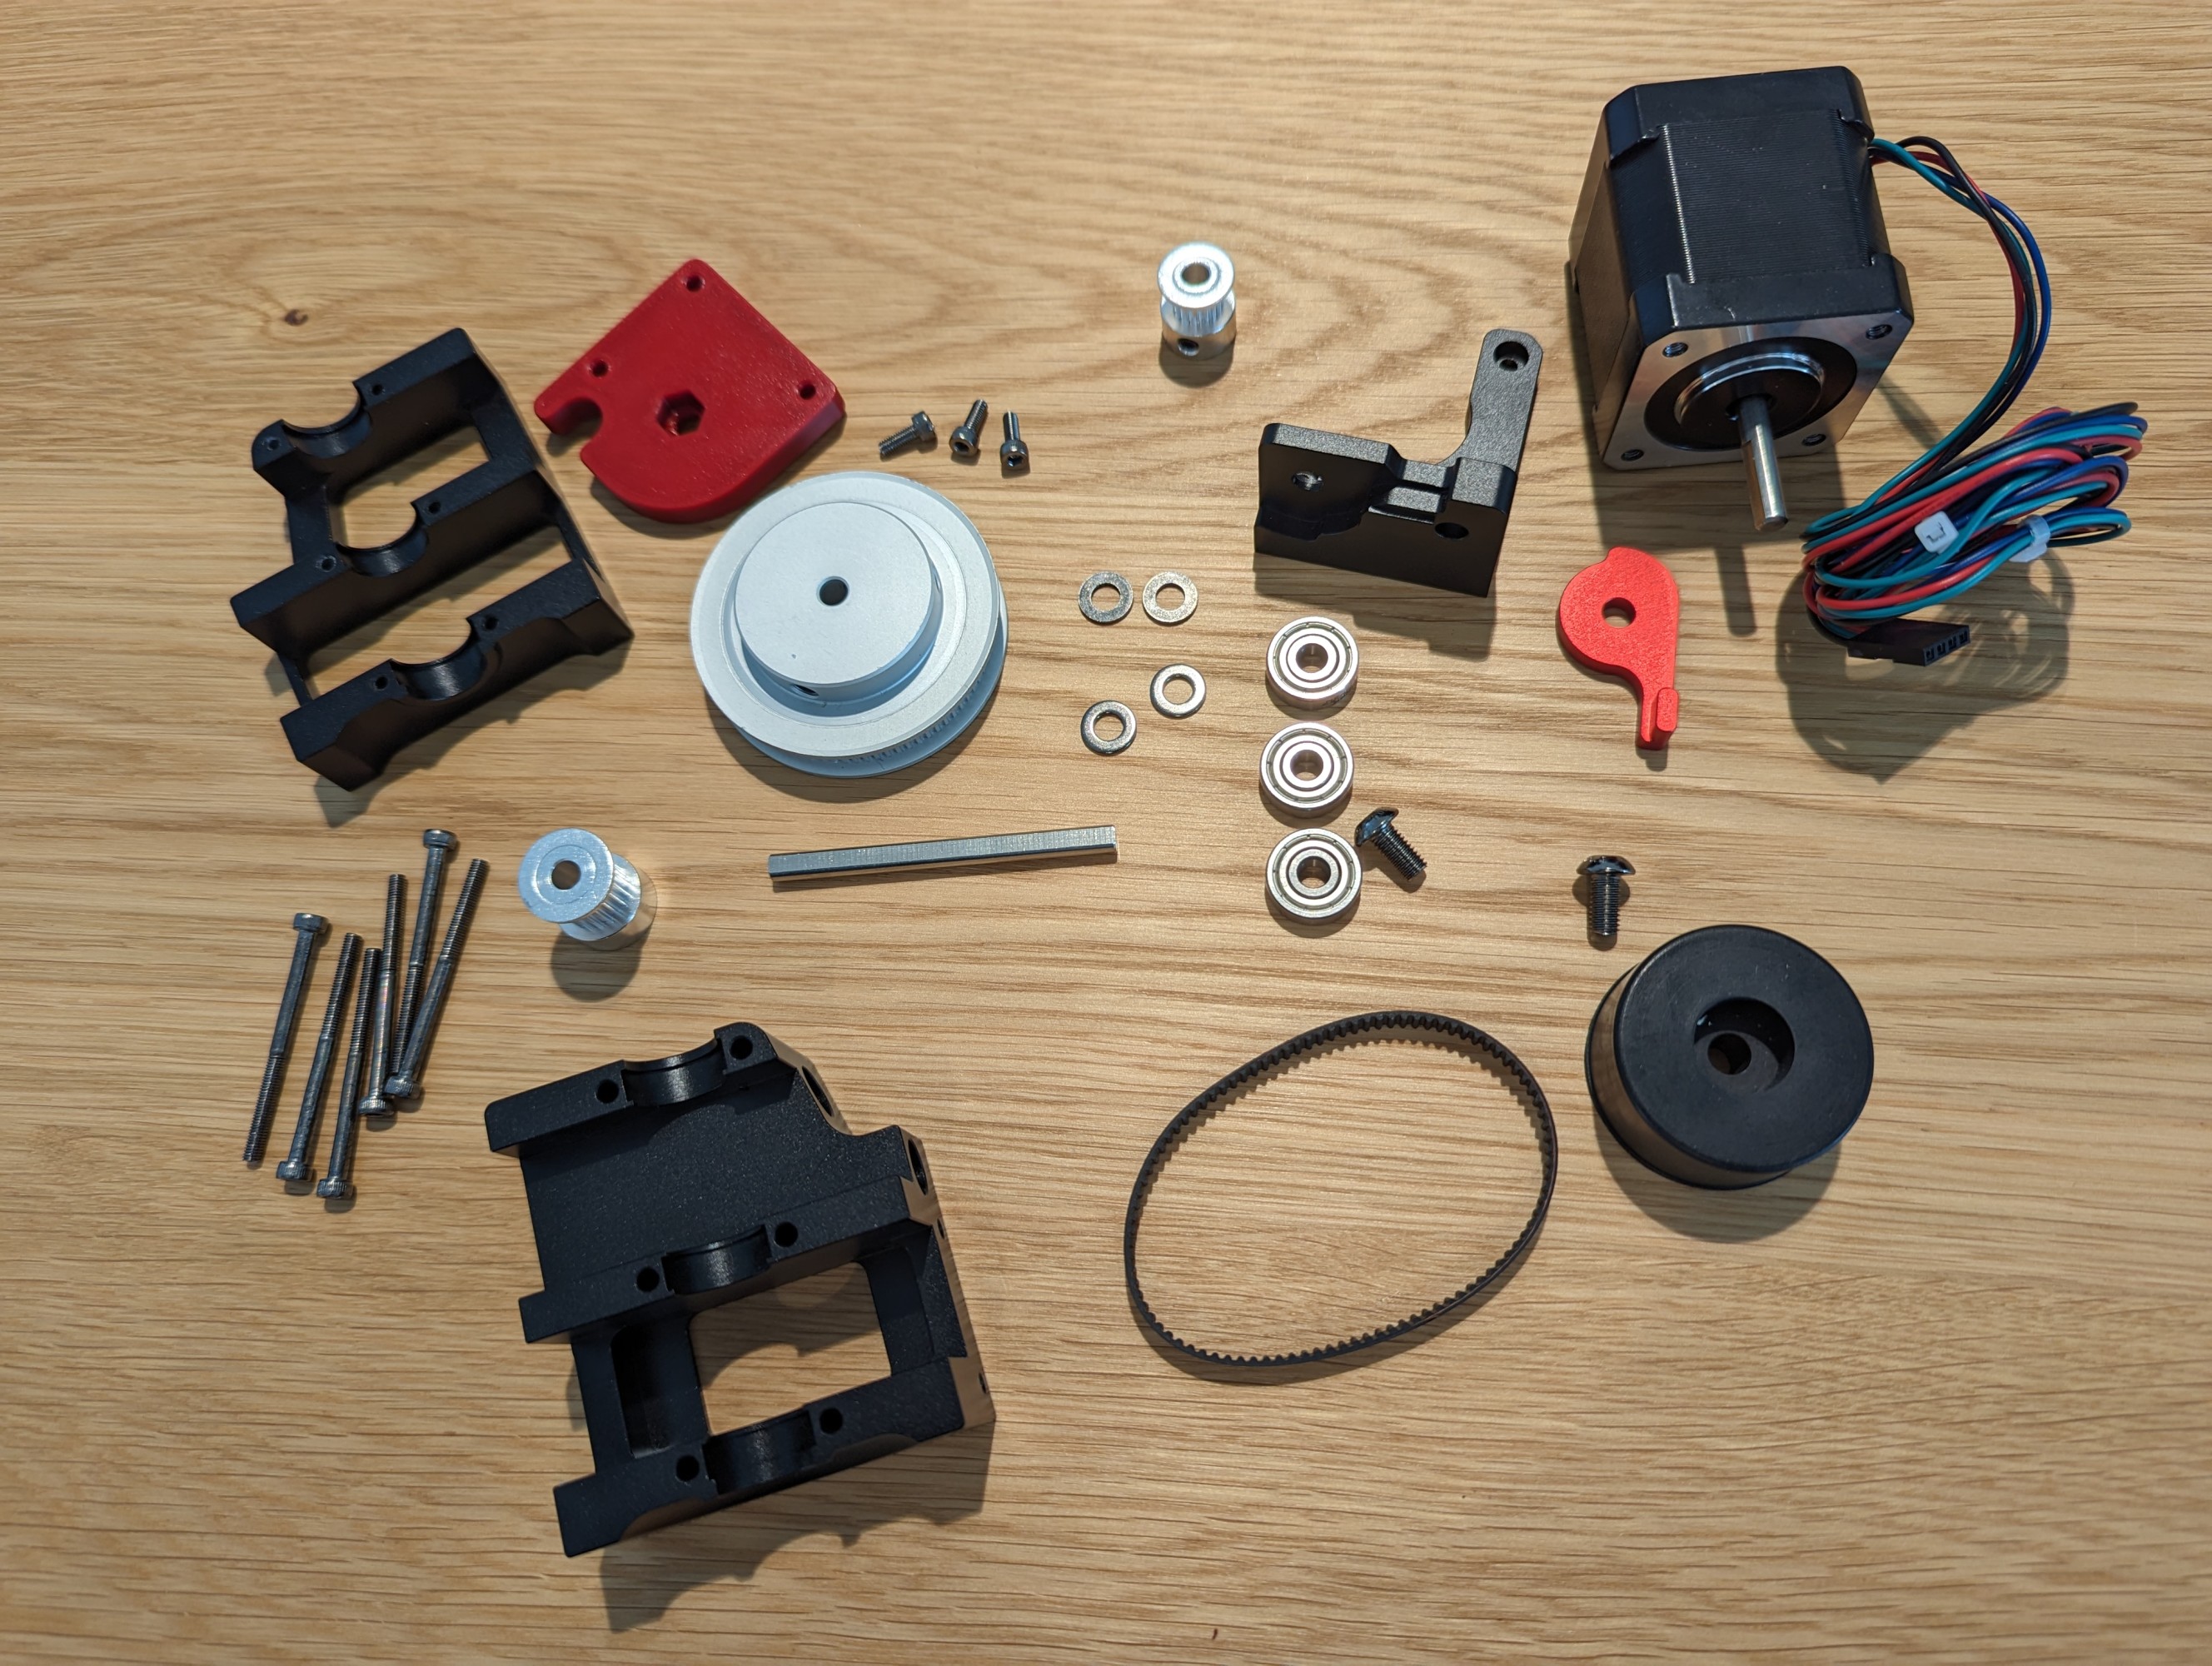
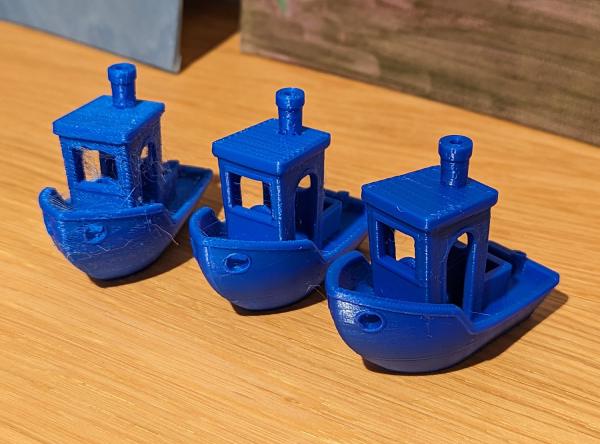
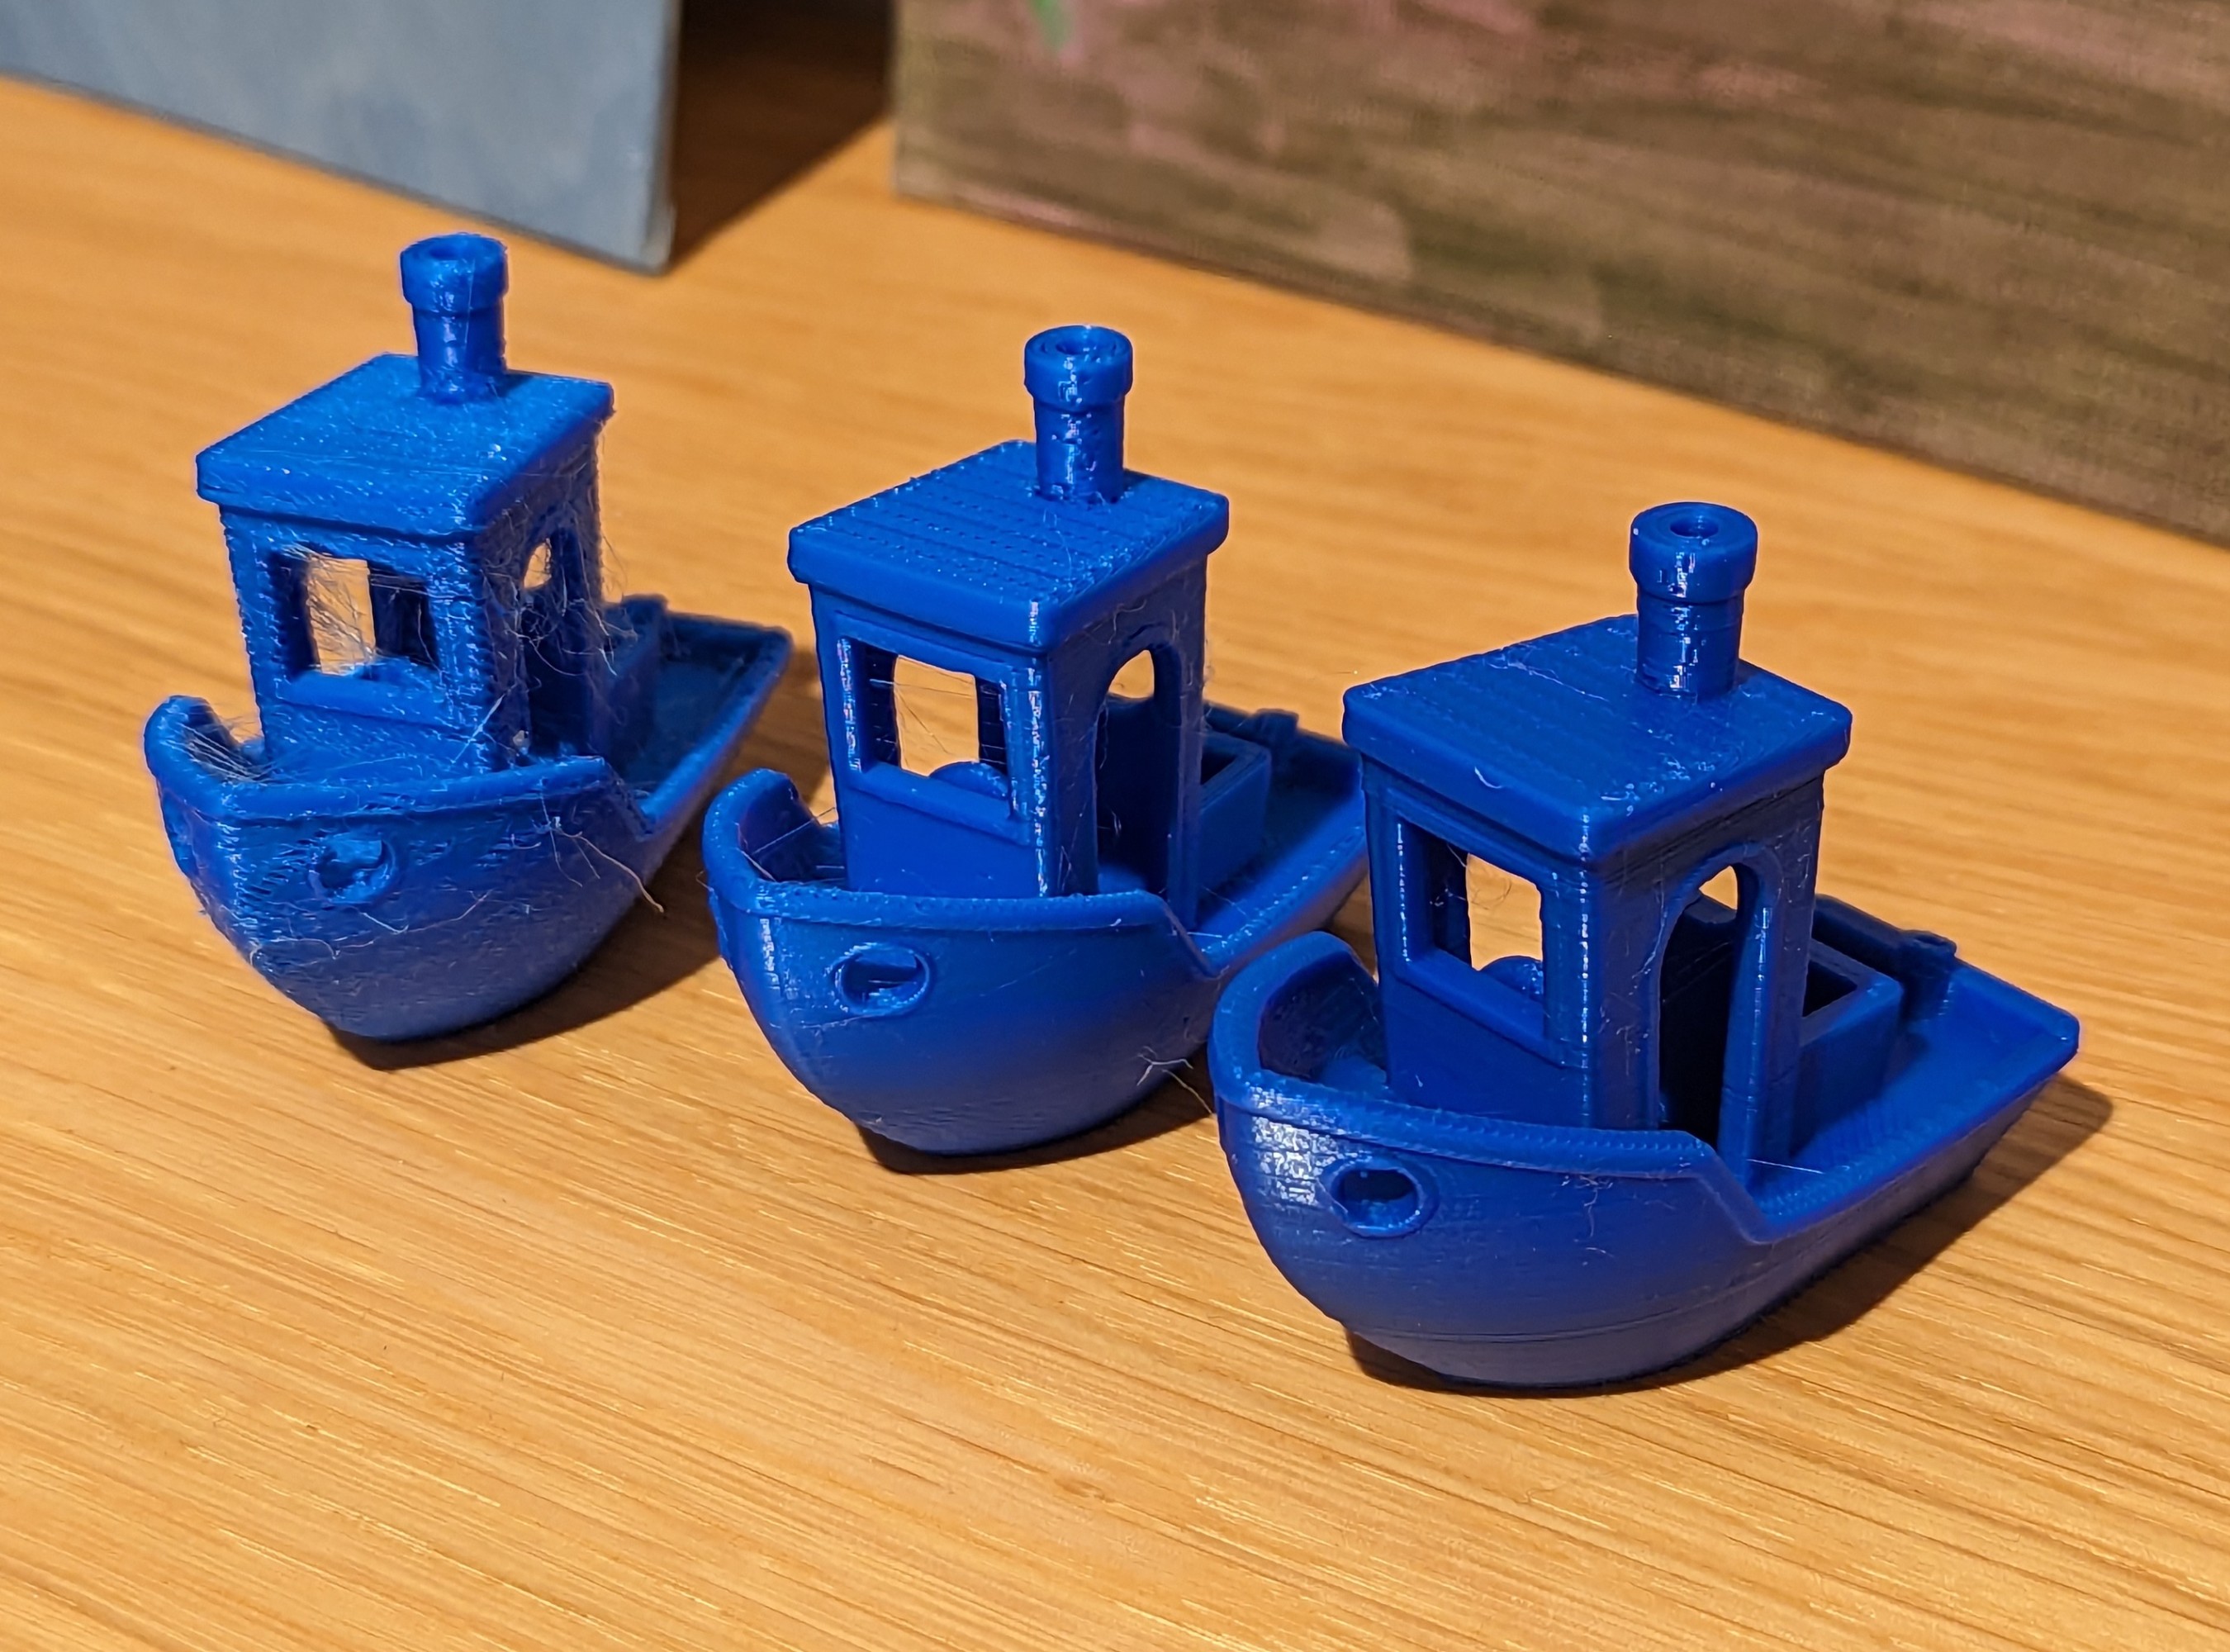
It took around 40 hours for the full build, configuration and tuning to the point of printing a decent 3DBenchy. Things generally went smoothly, and I took my time ensuring everything was well put together. There were a few mistakes, a lot of wasted time trying to find the correct parts in the kit and some backtracking after assembling the wrong things.
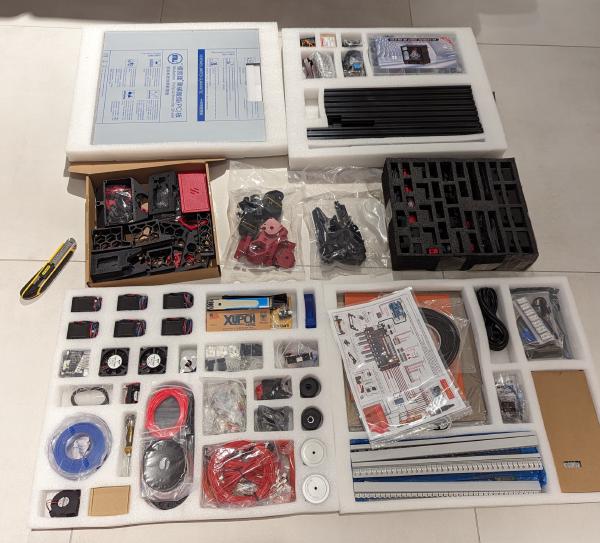
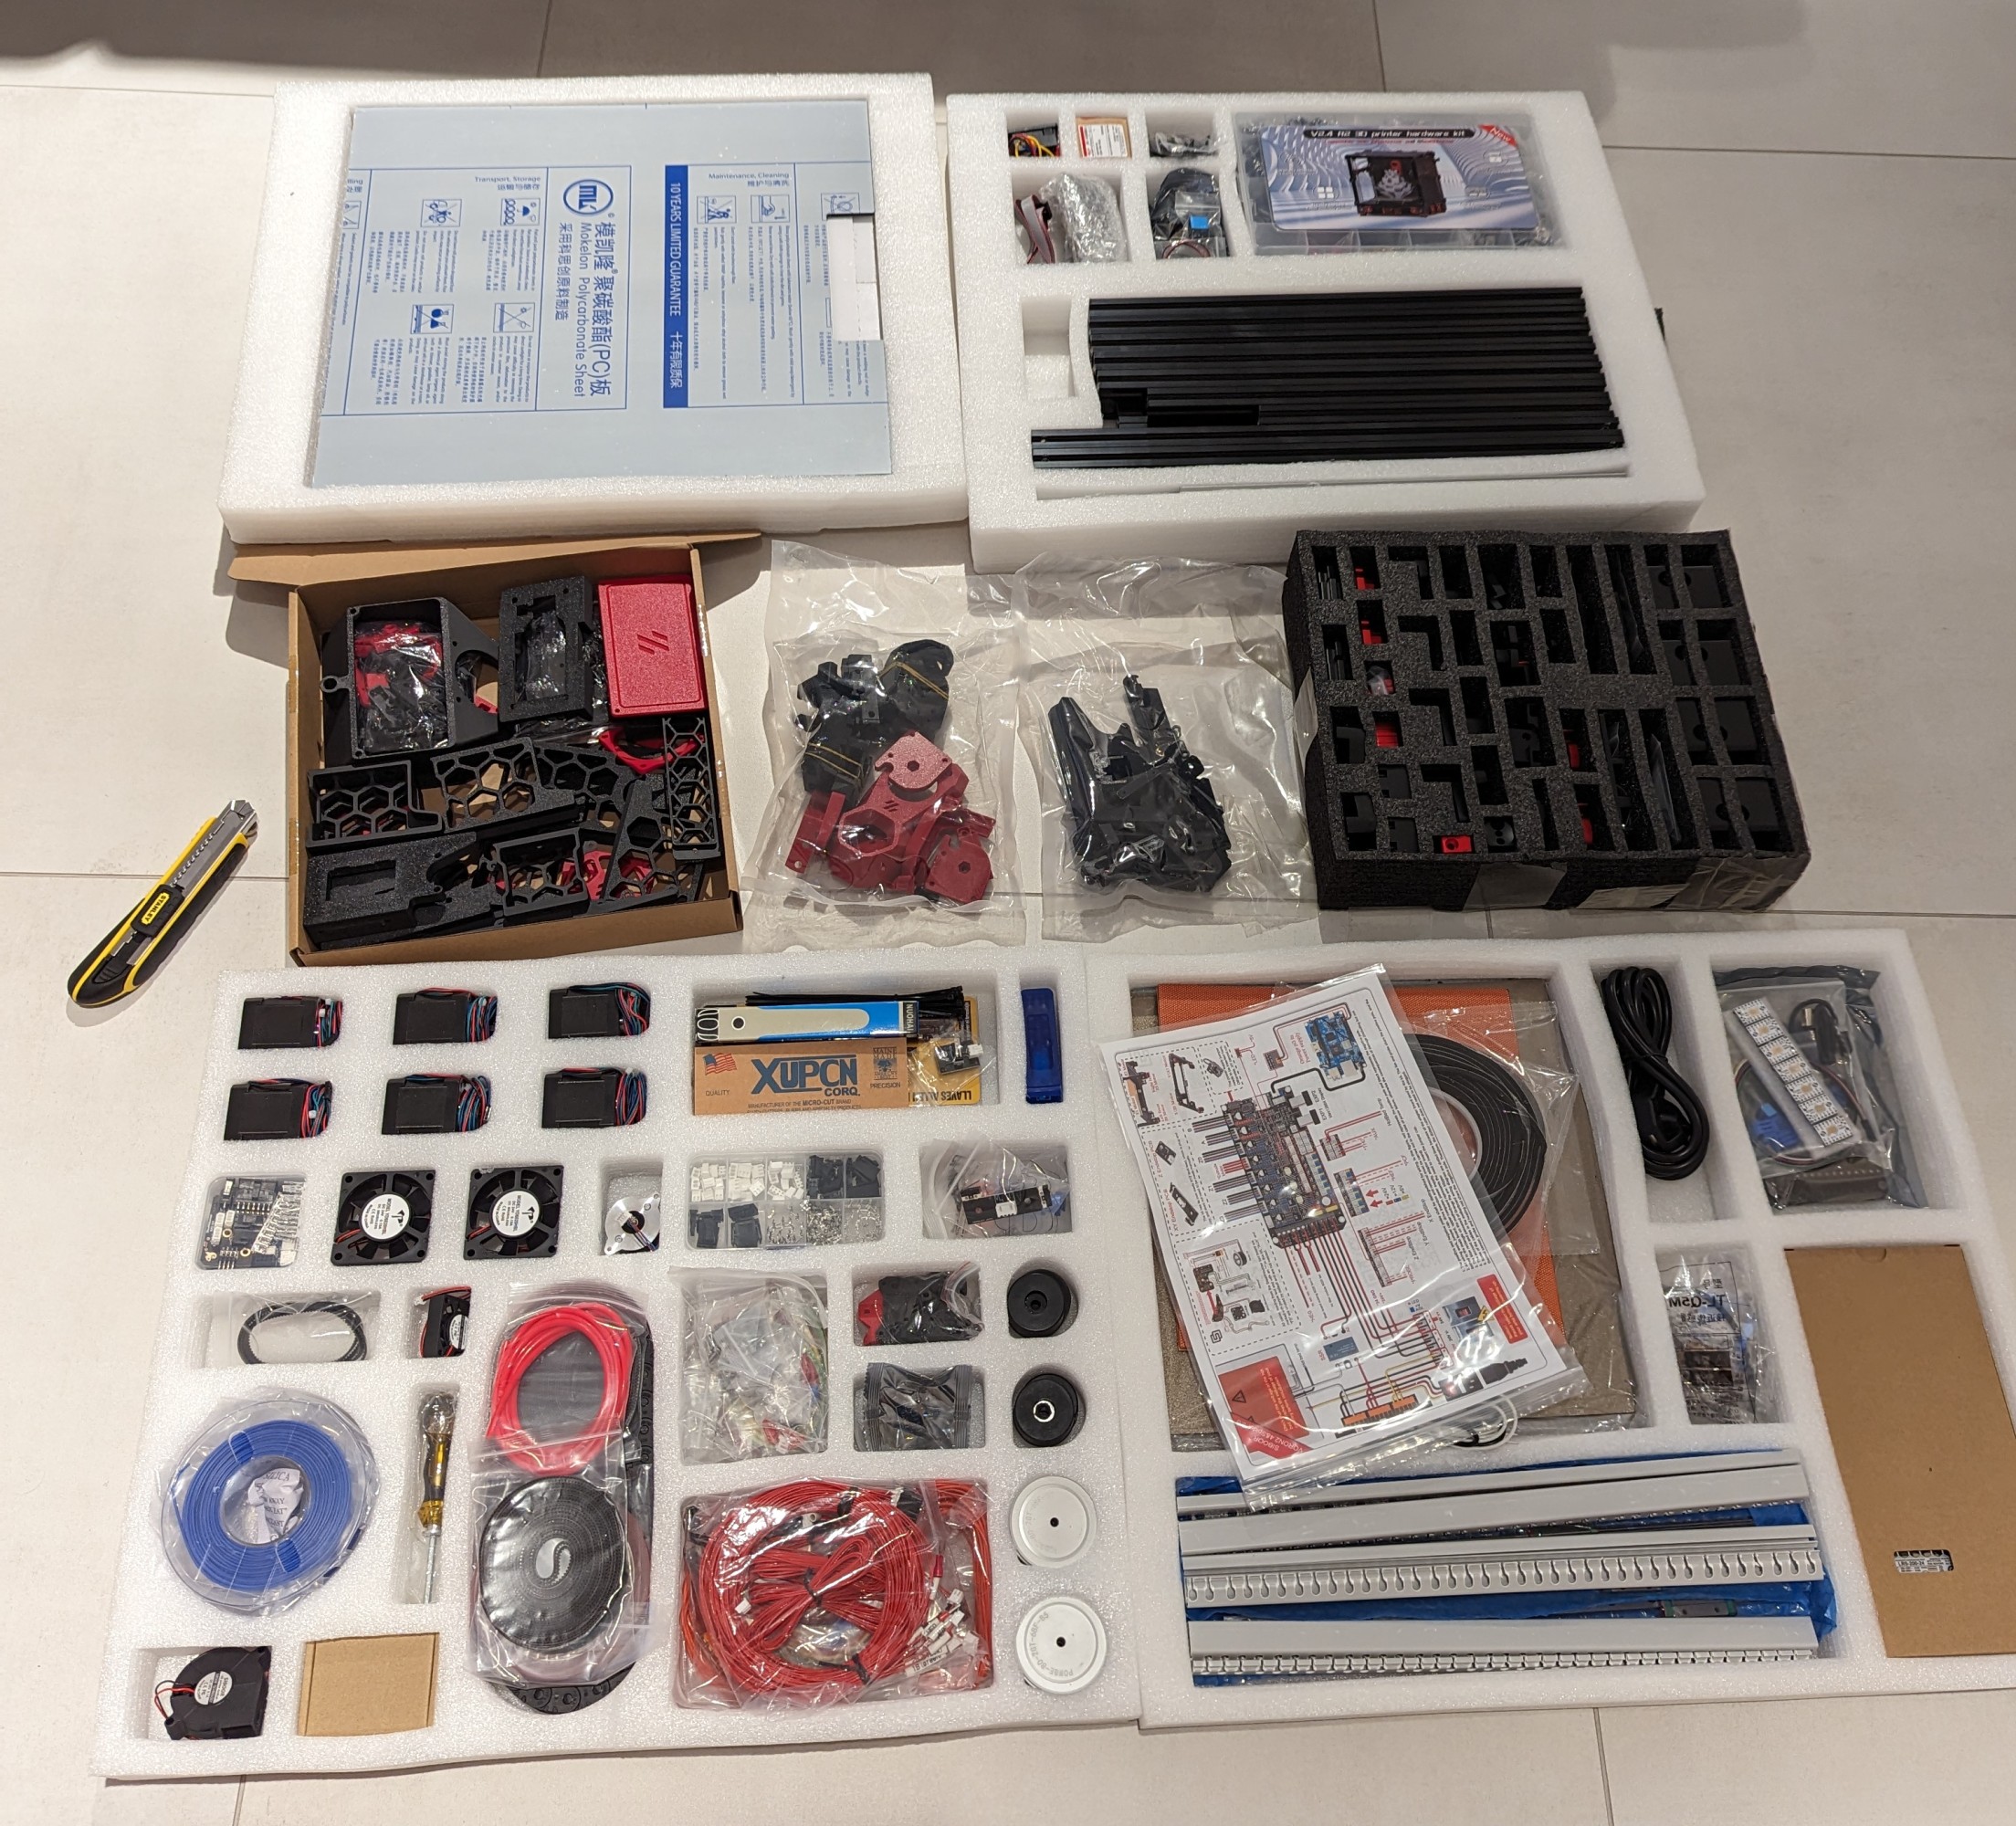
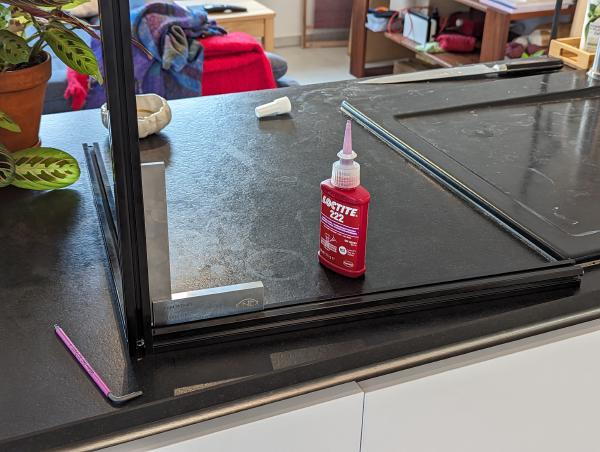
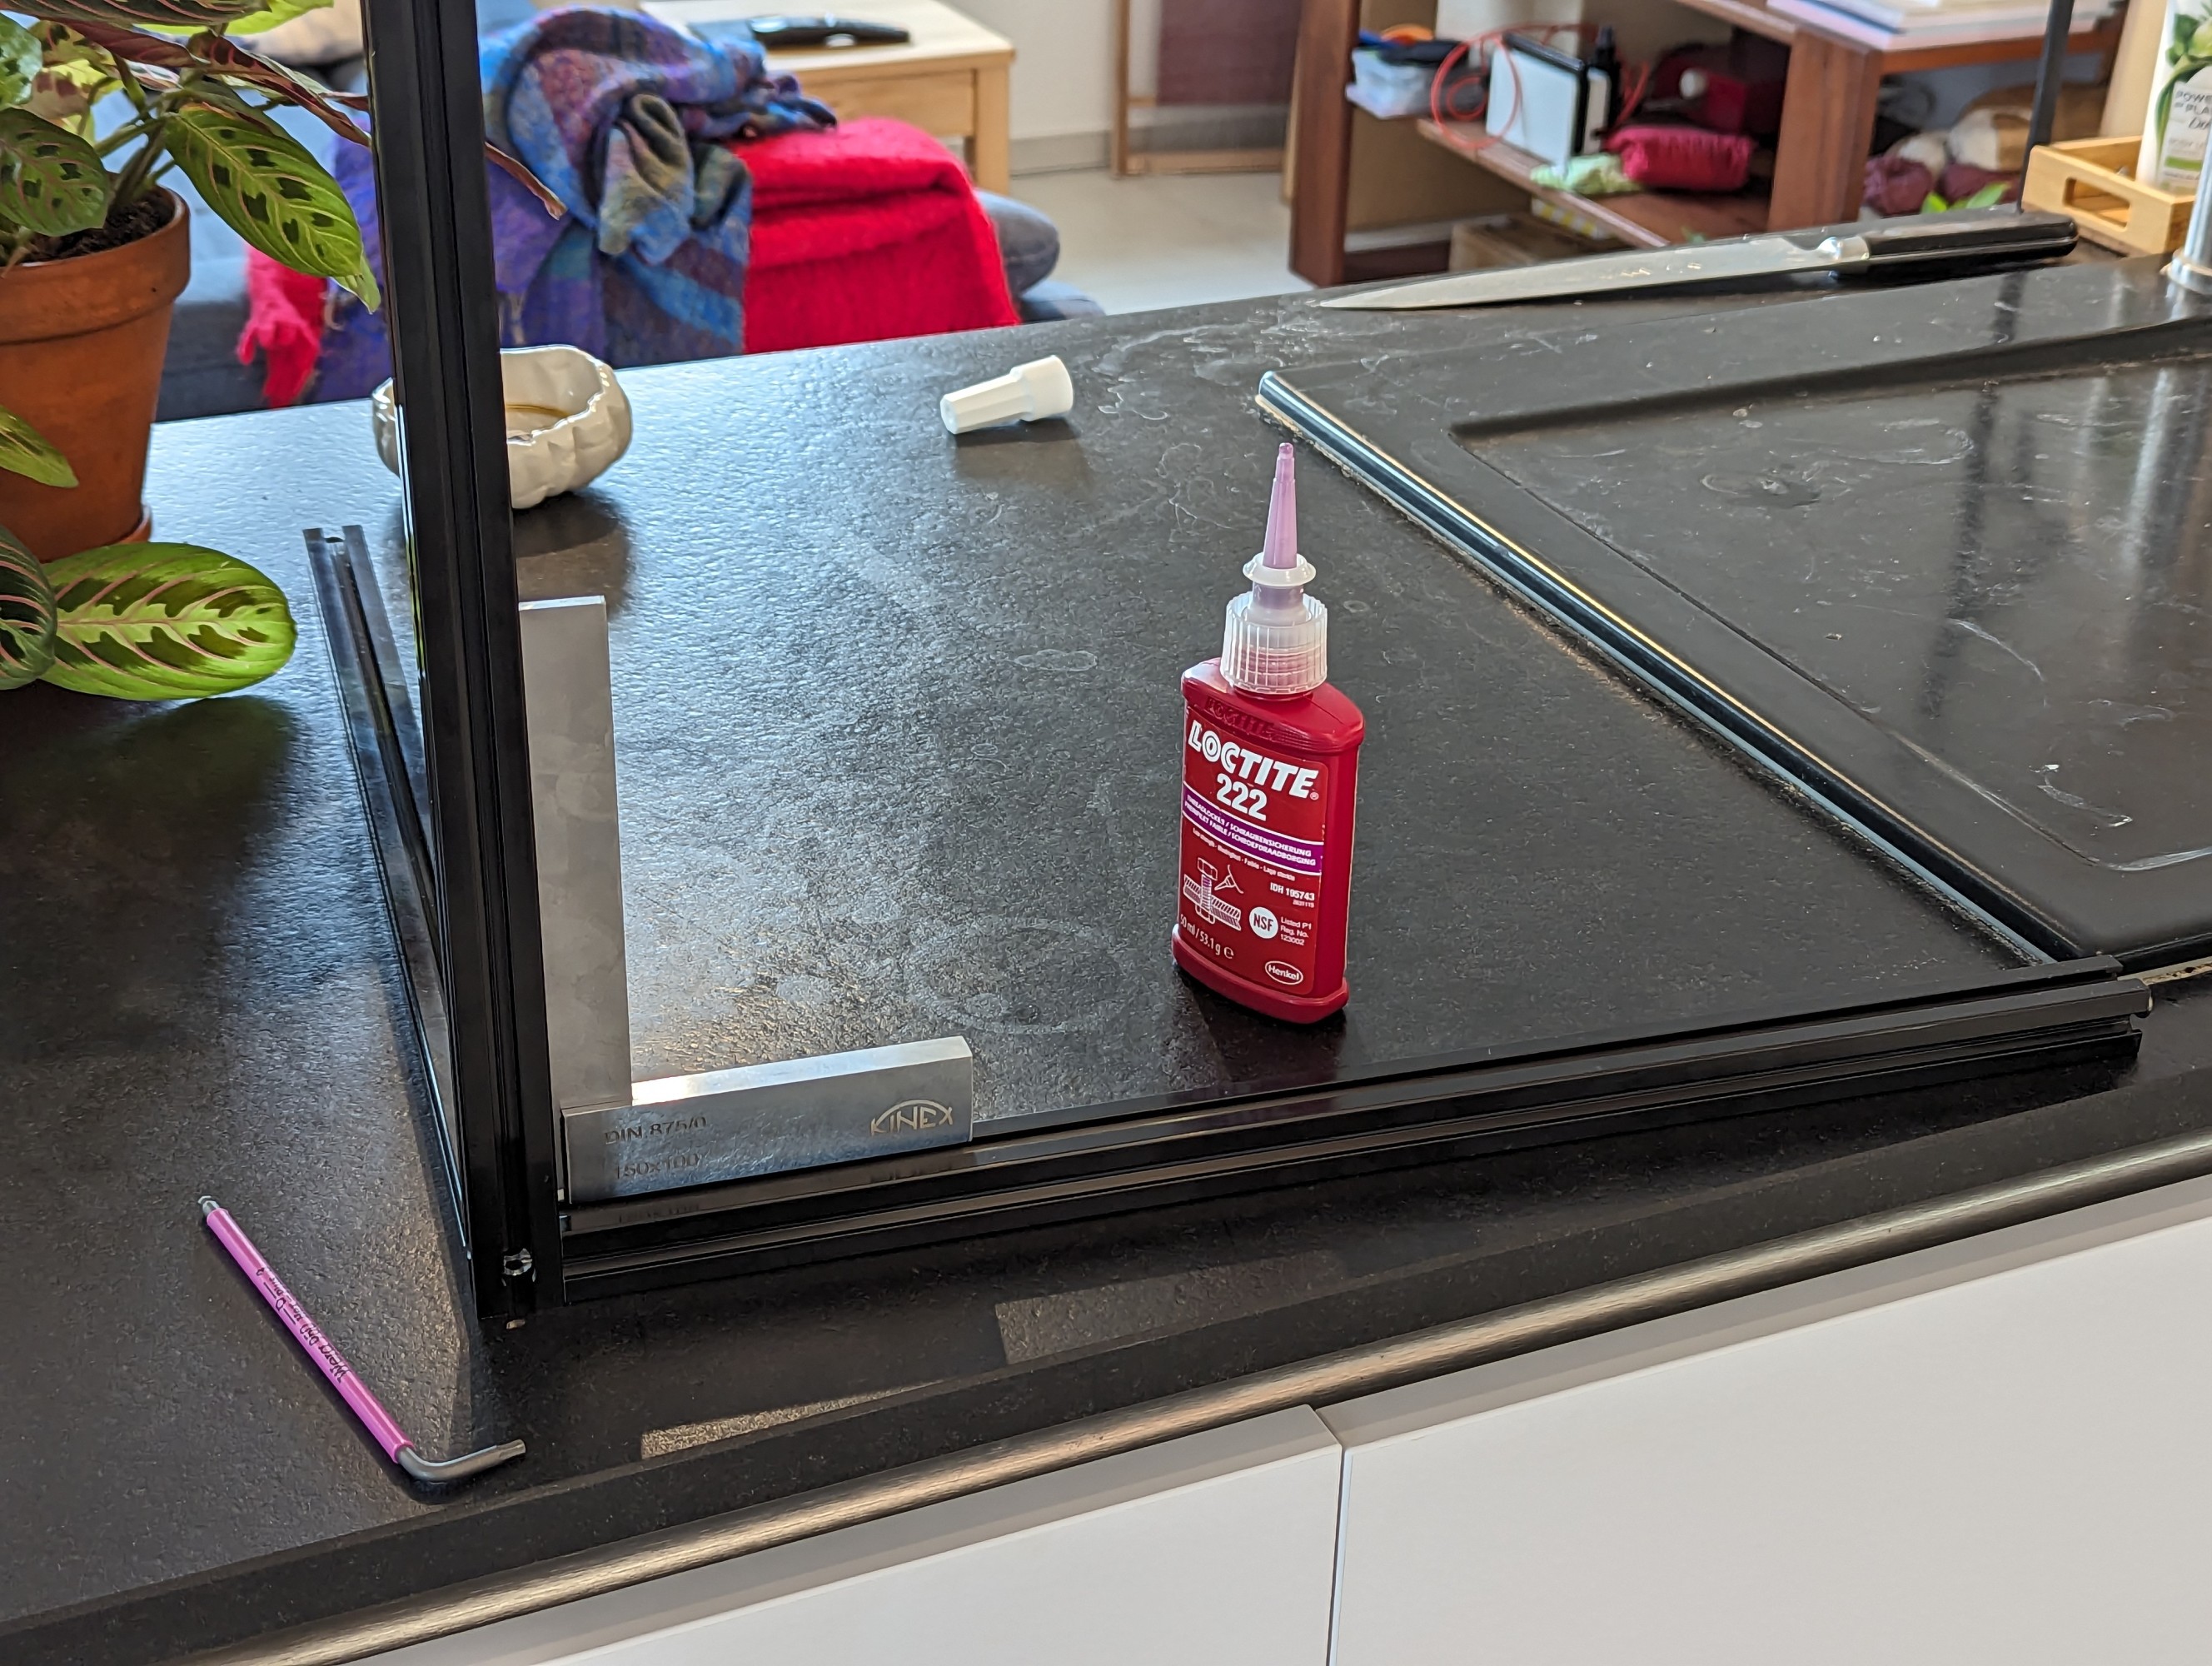
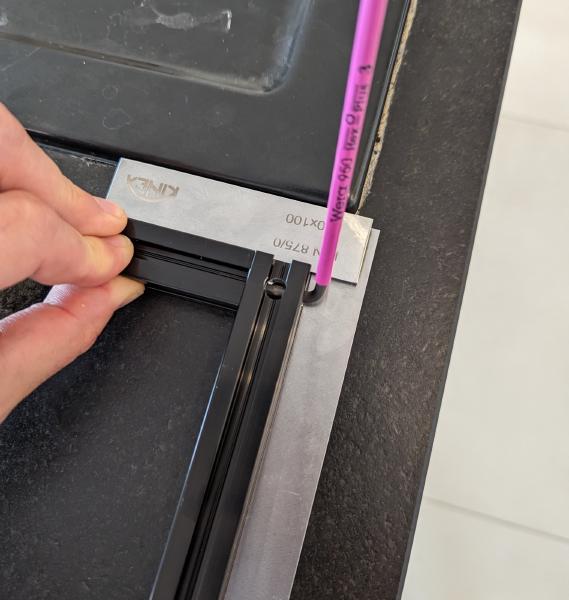
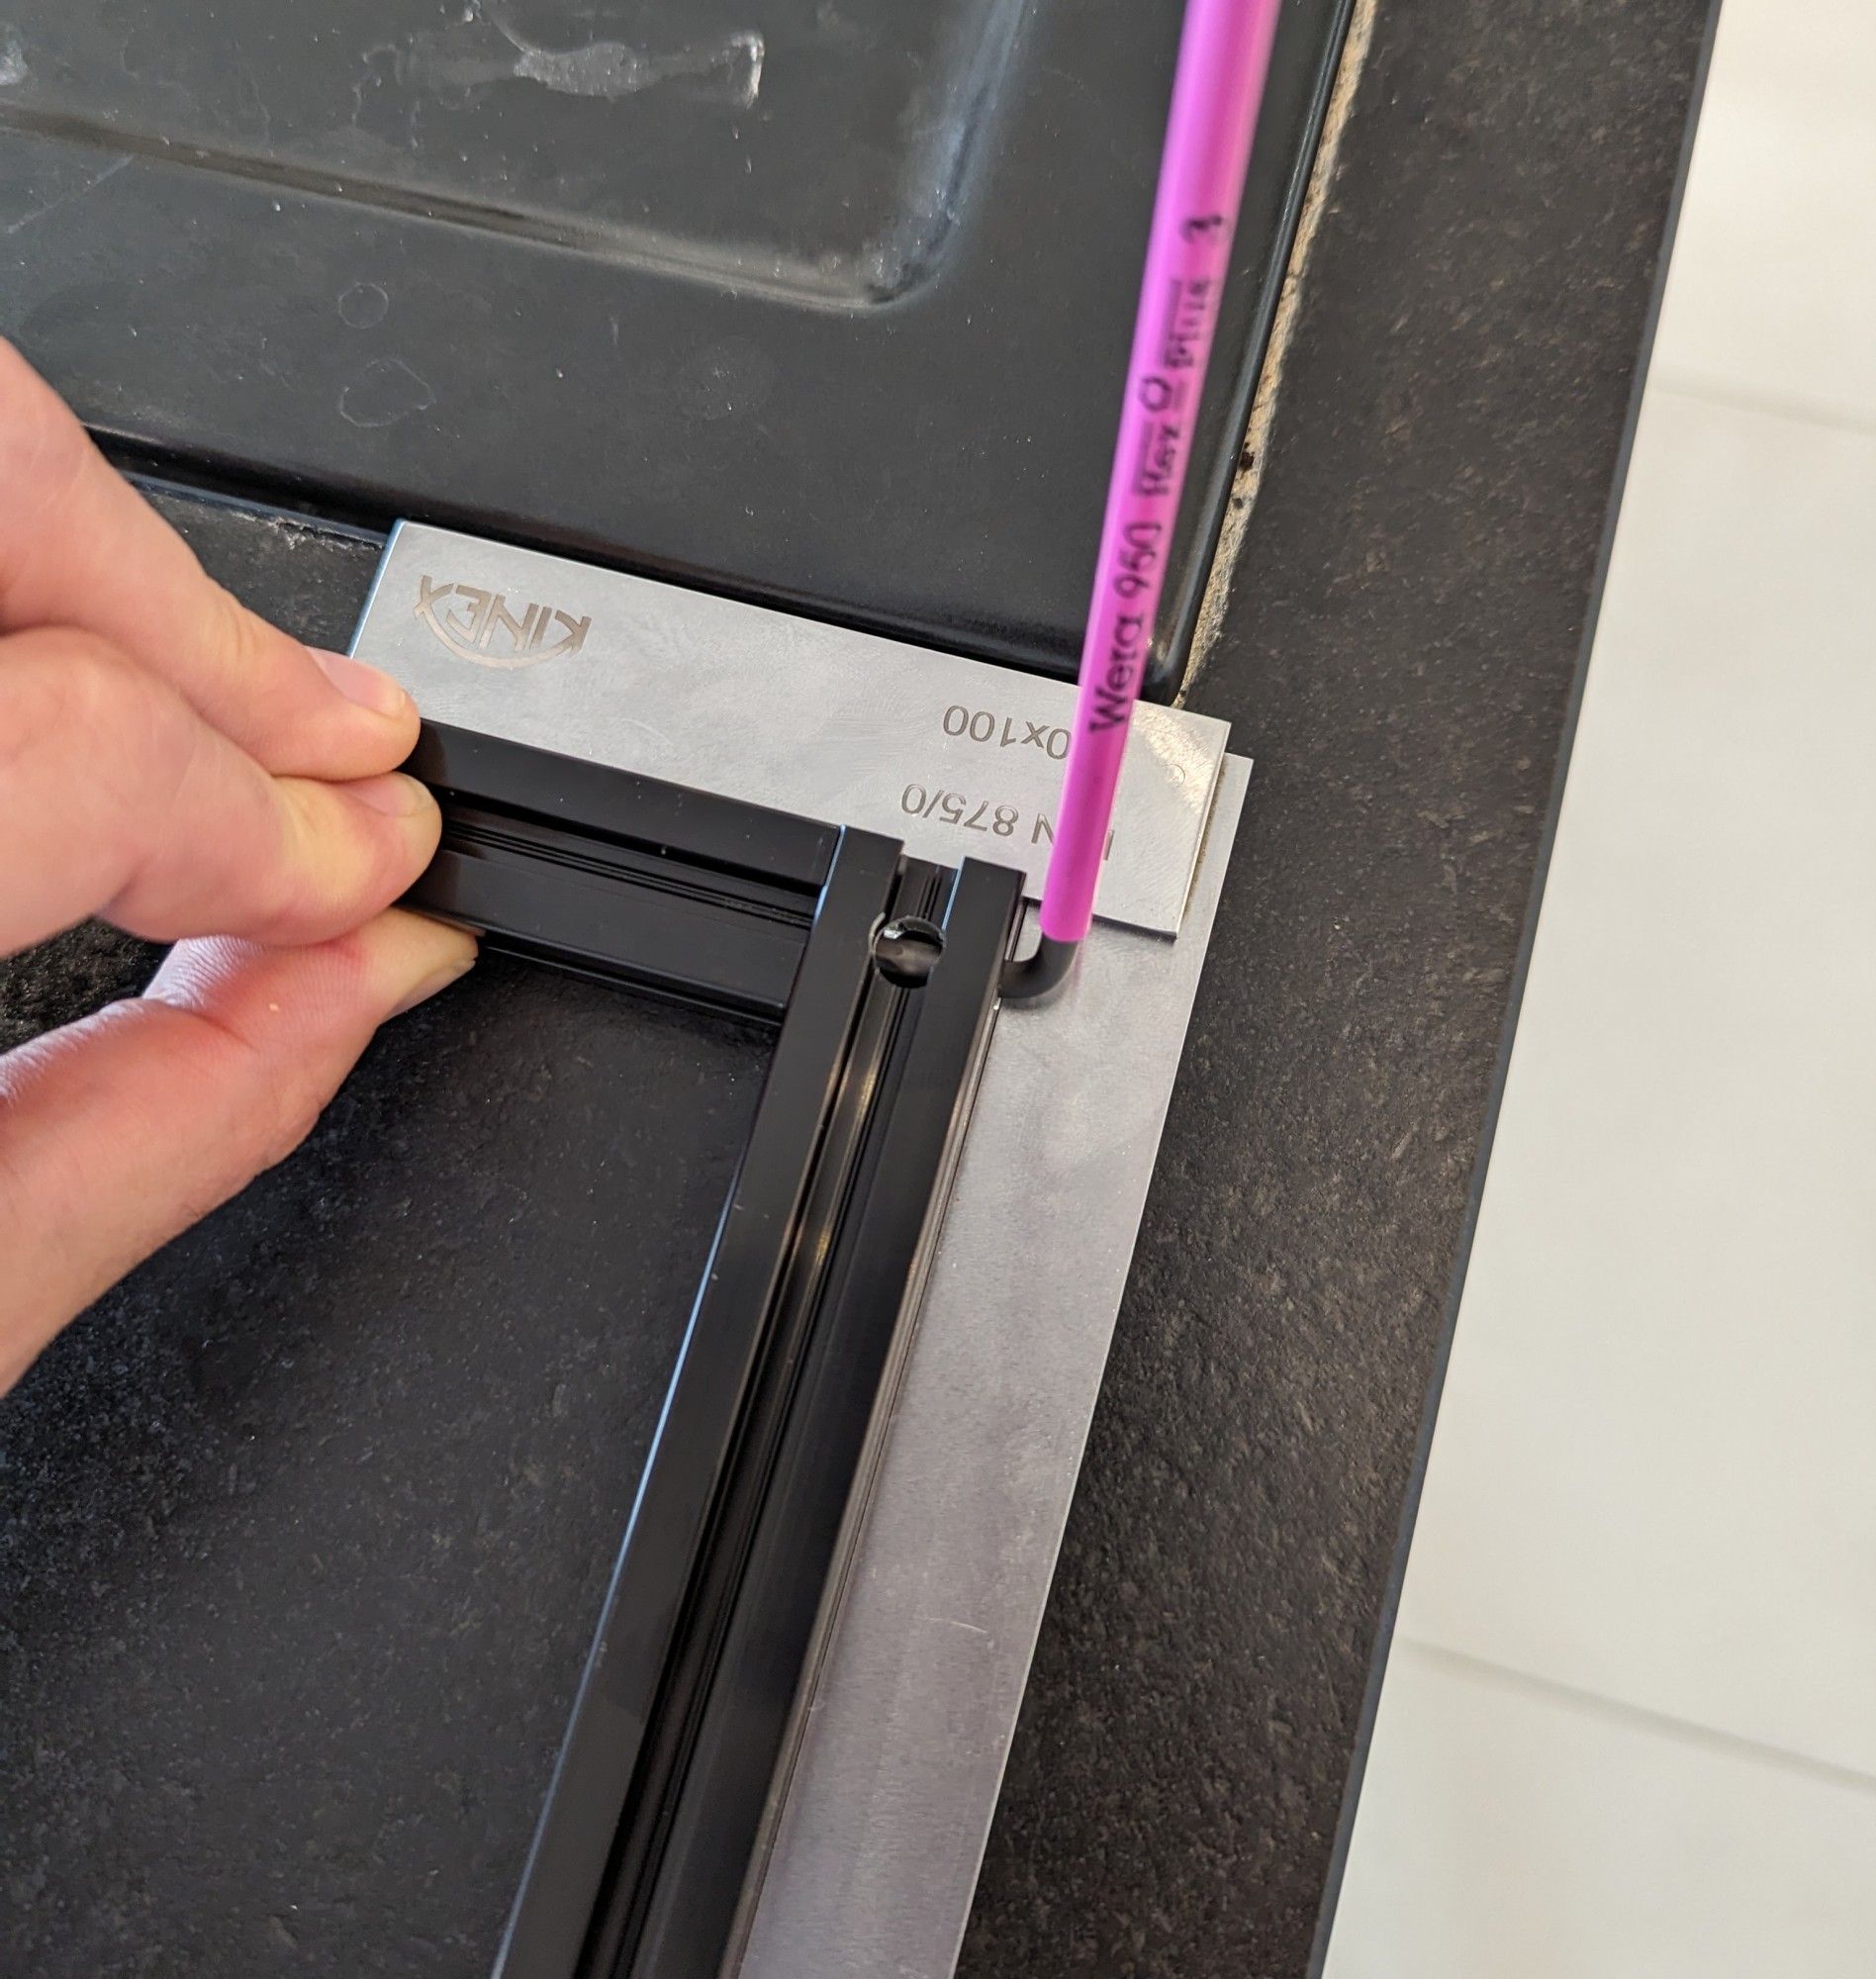
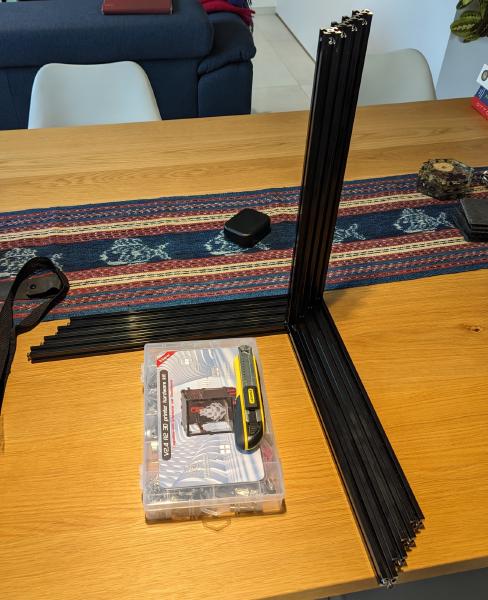
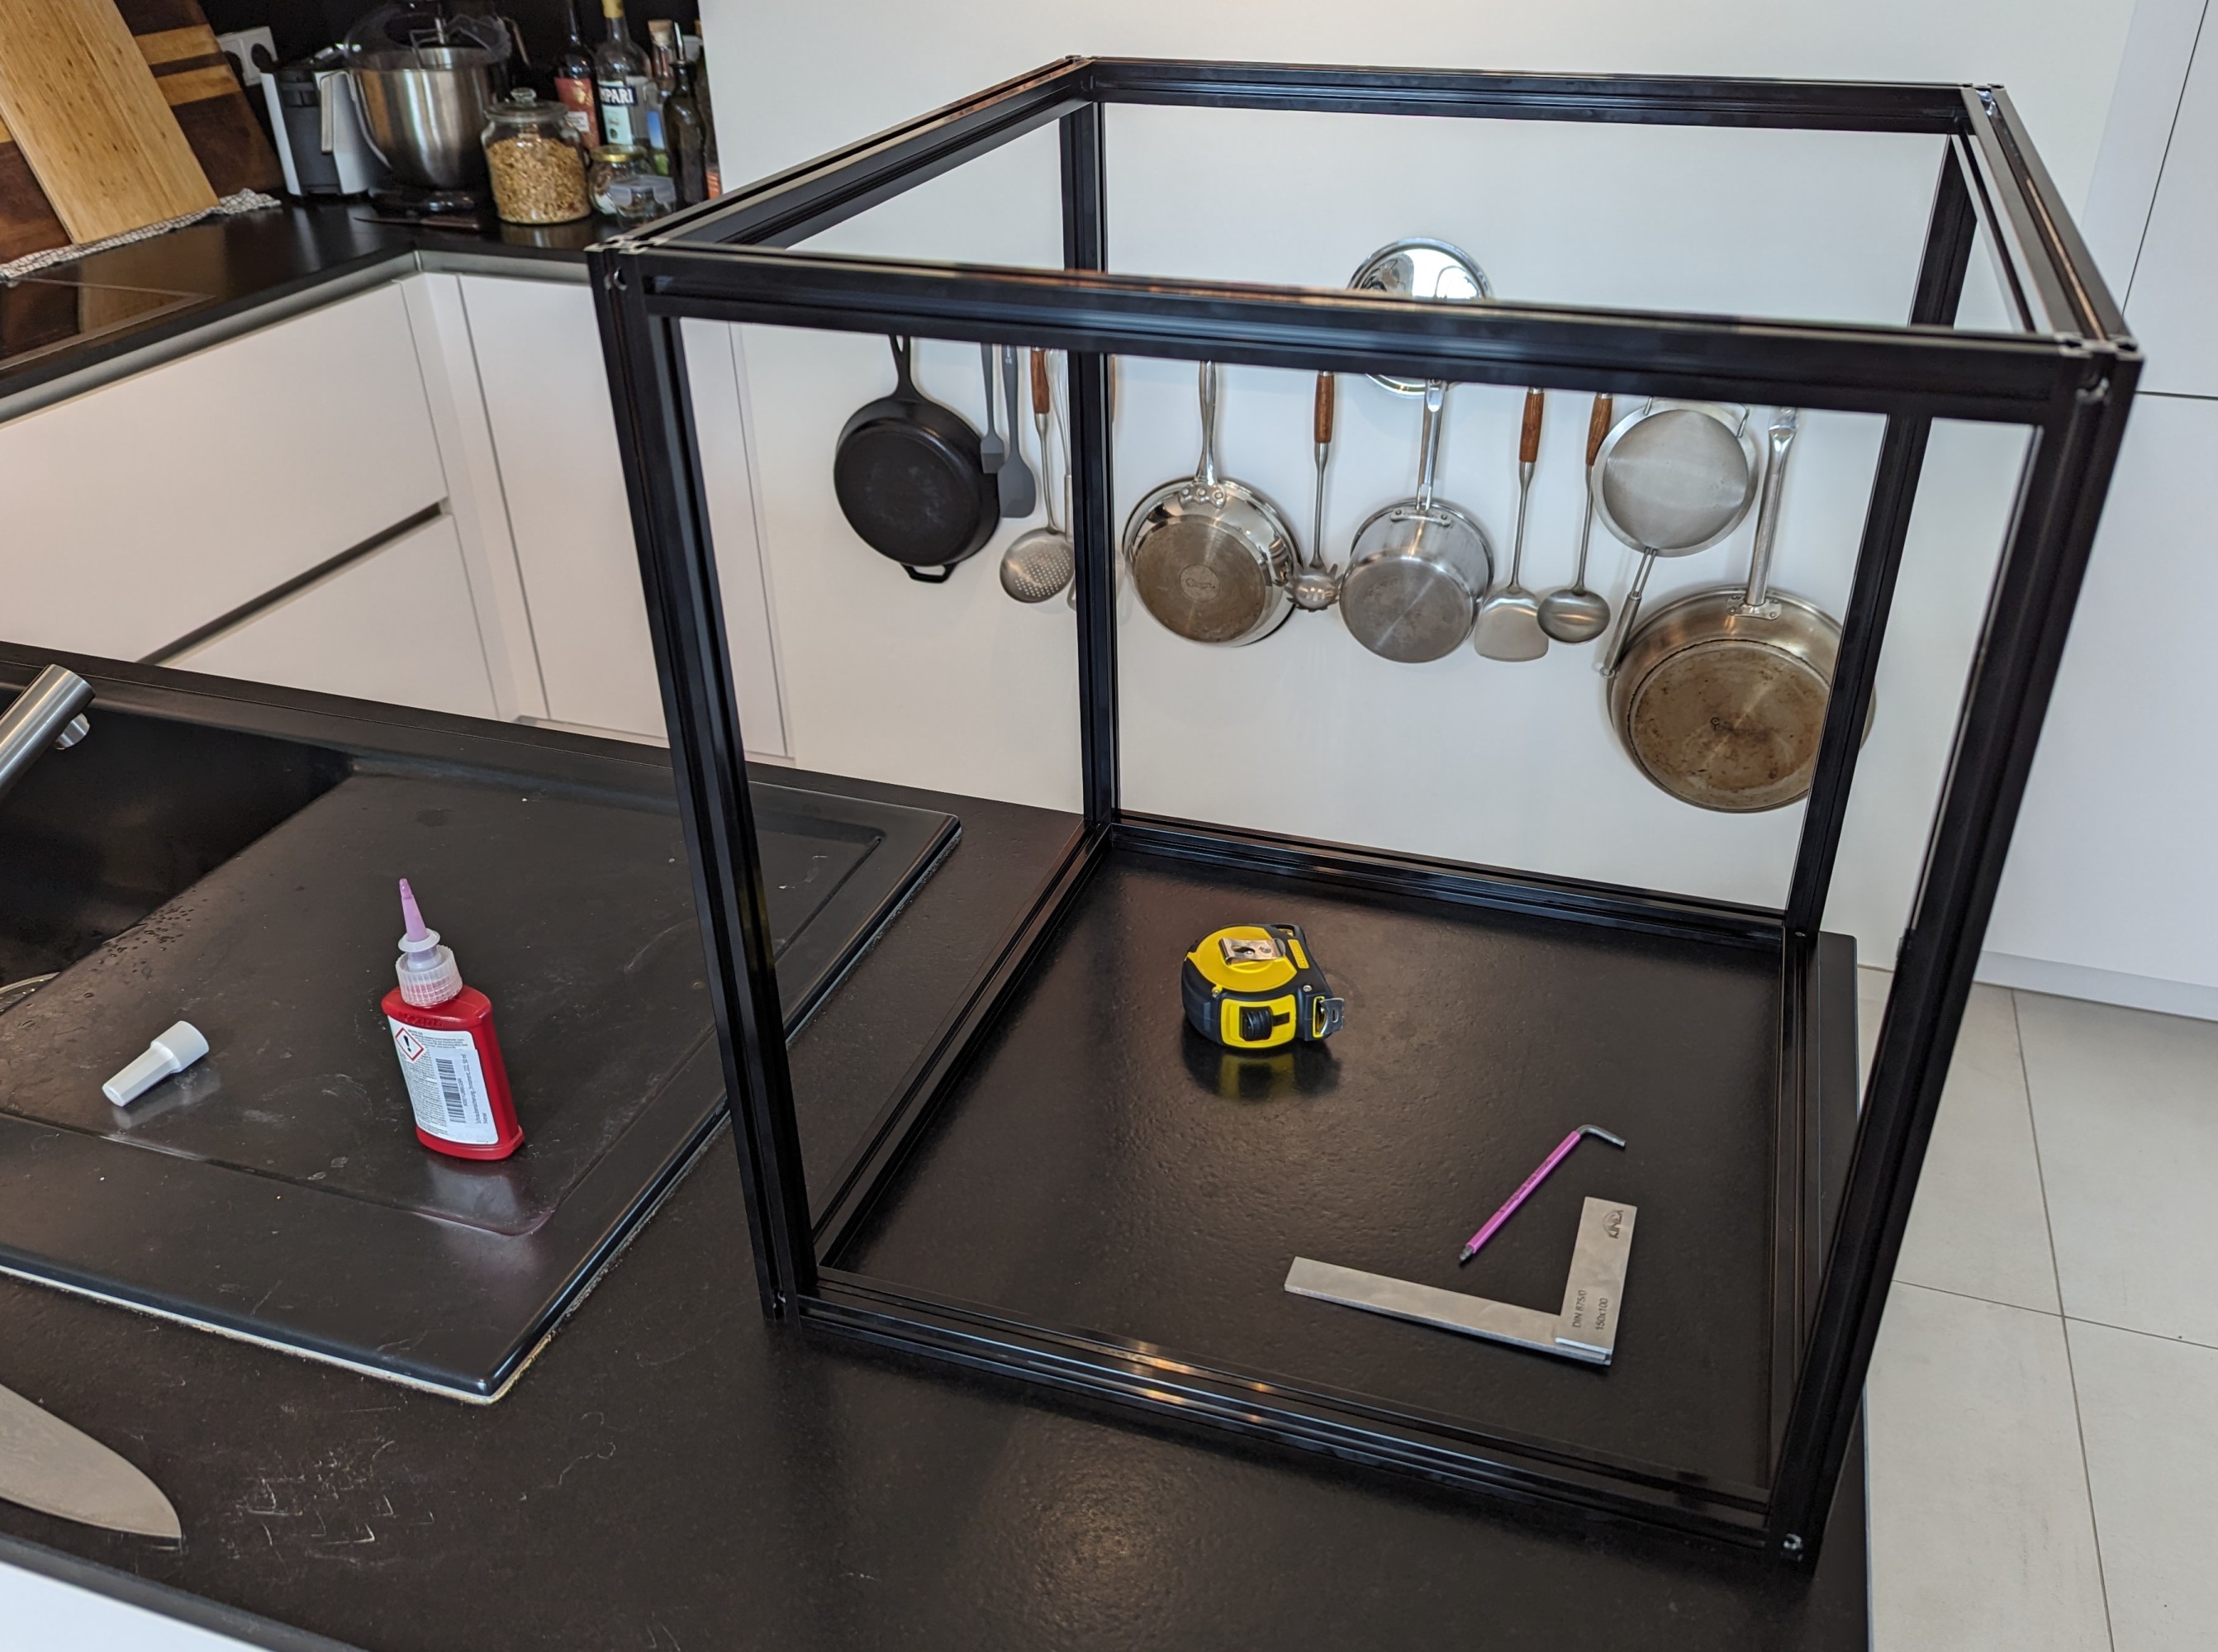
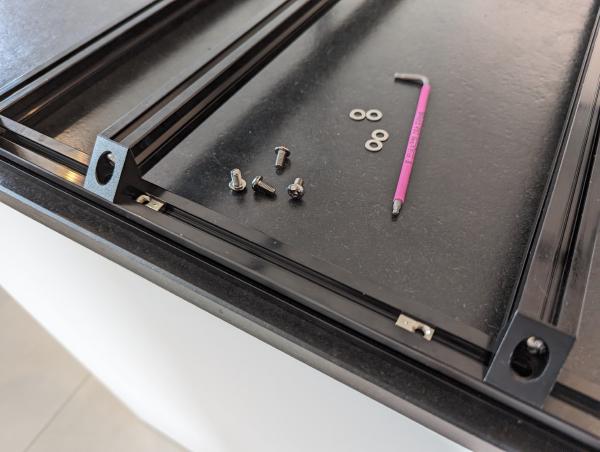
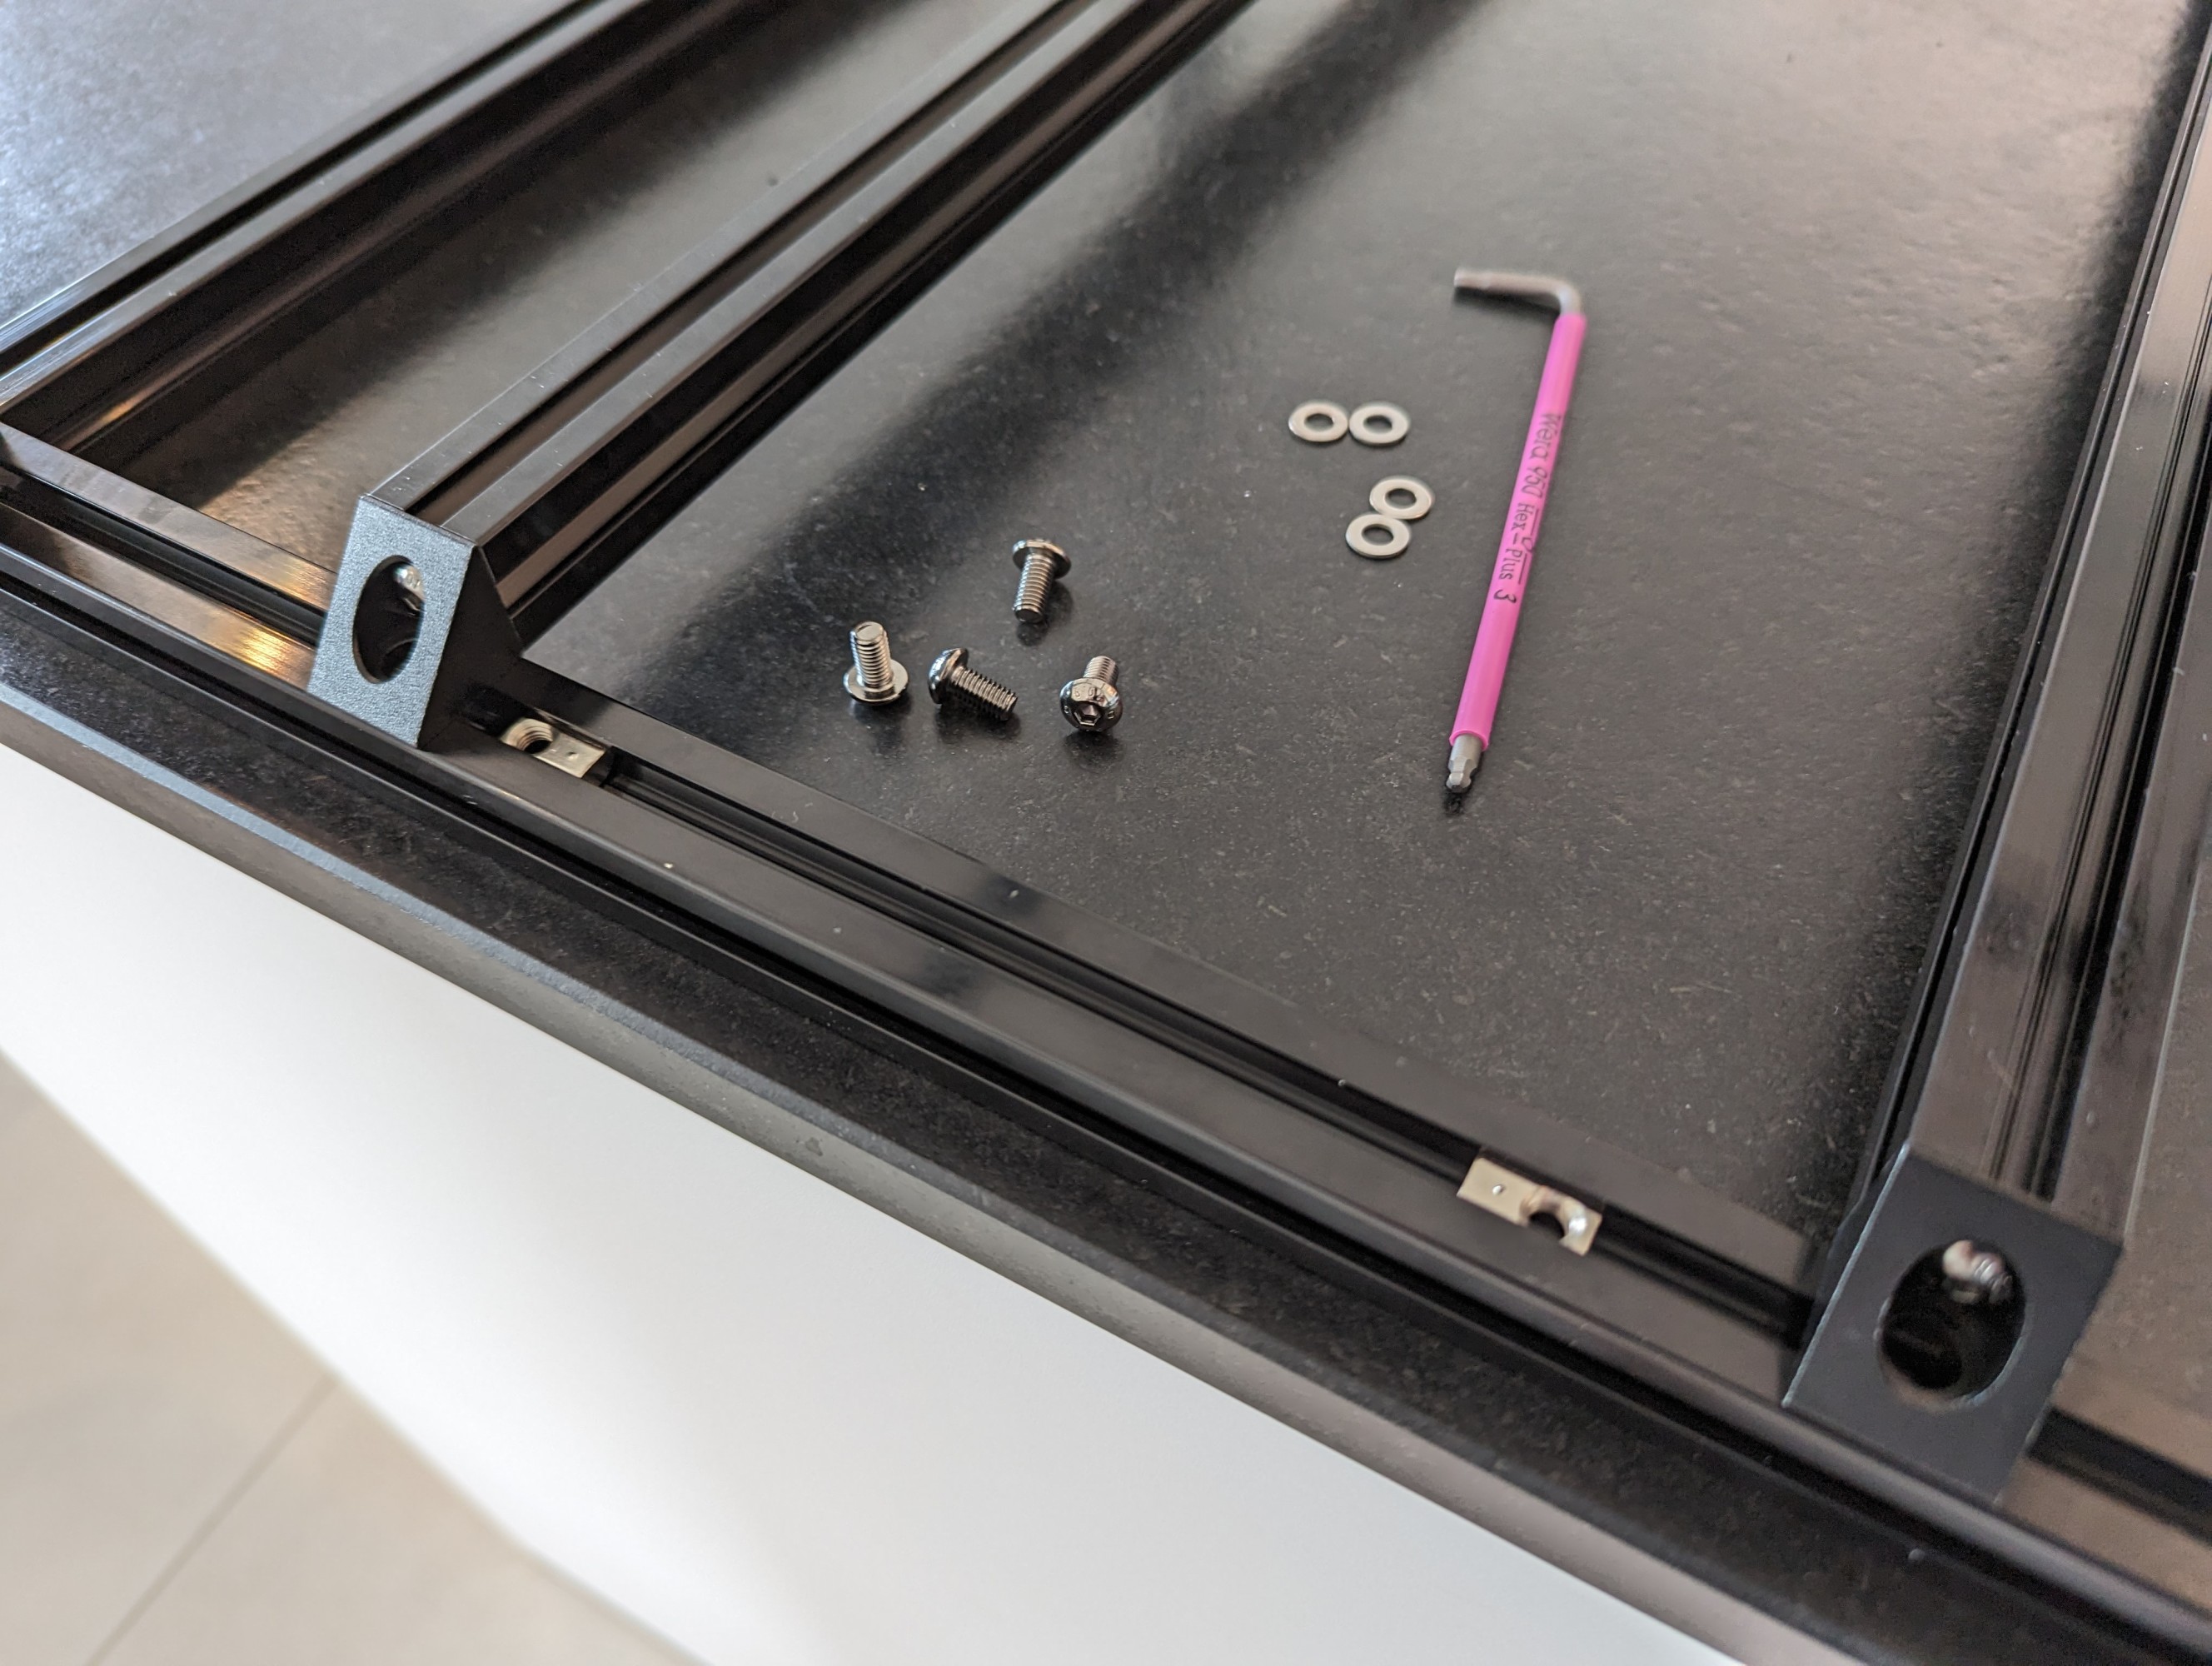
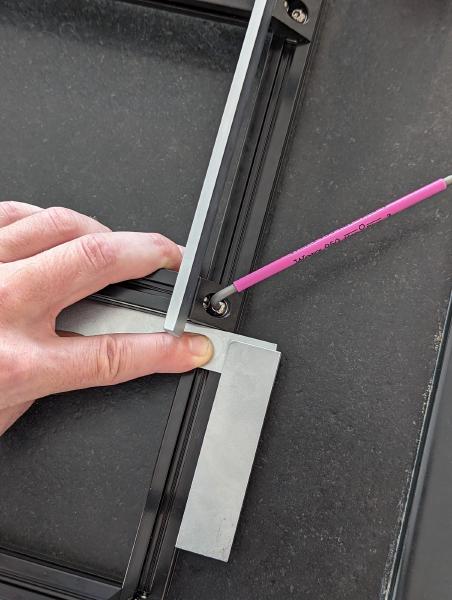
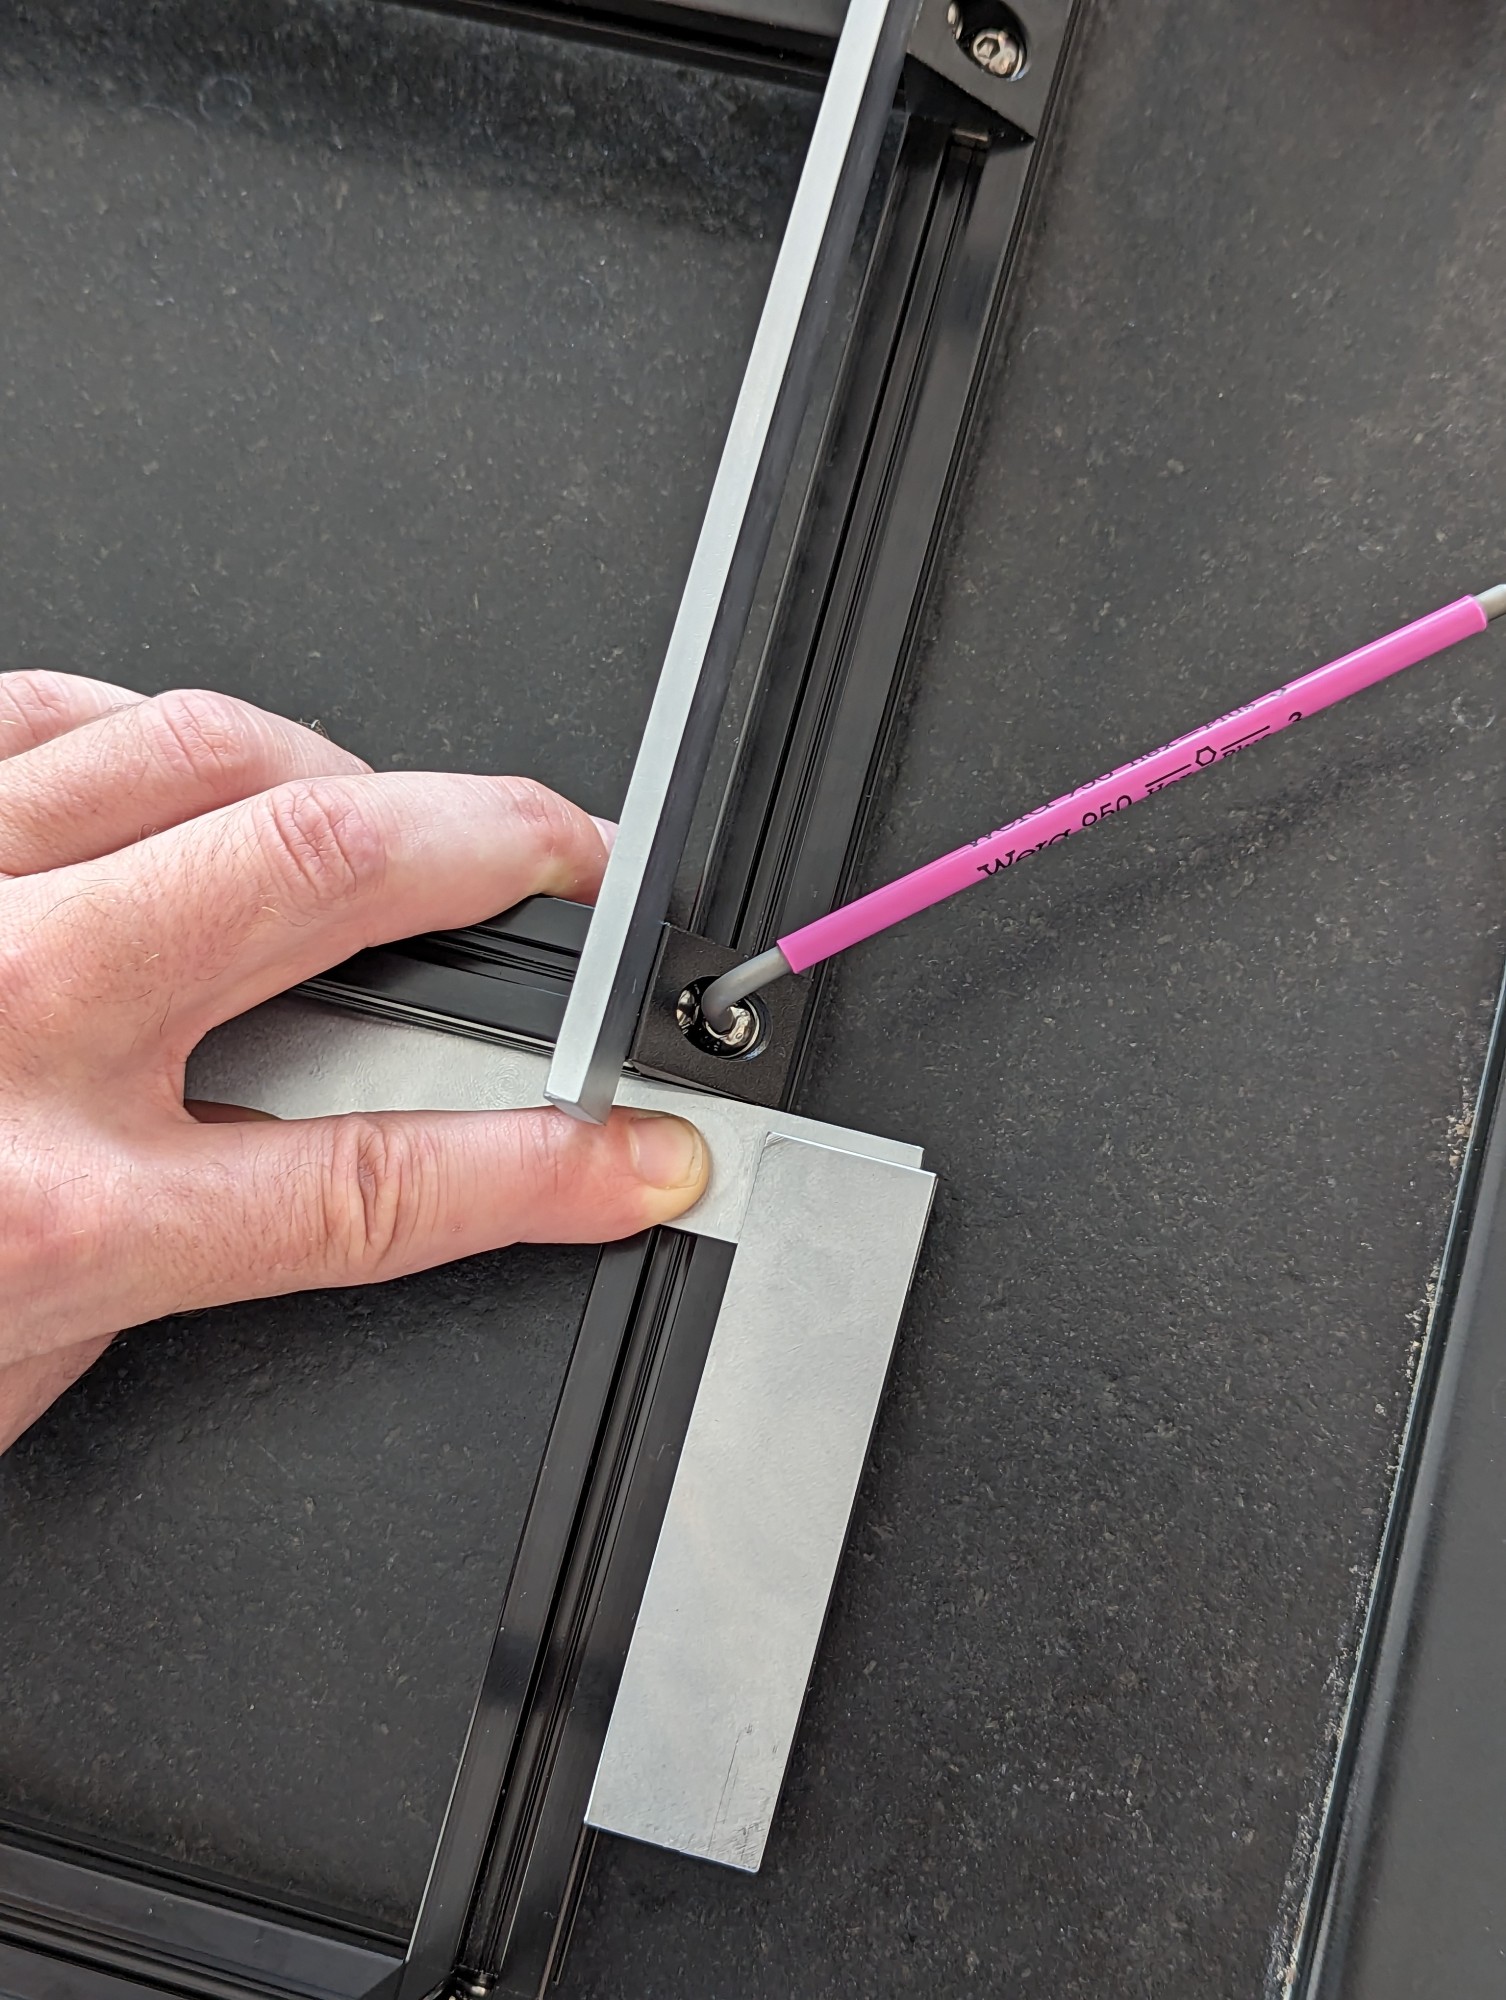
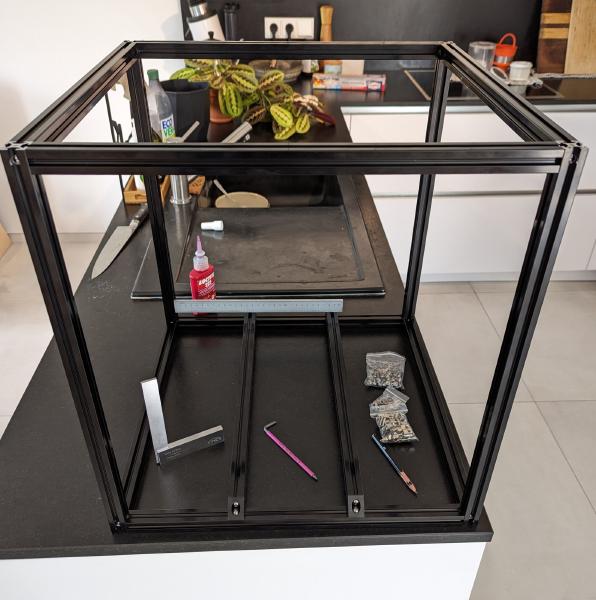
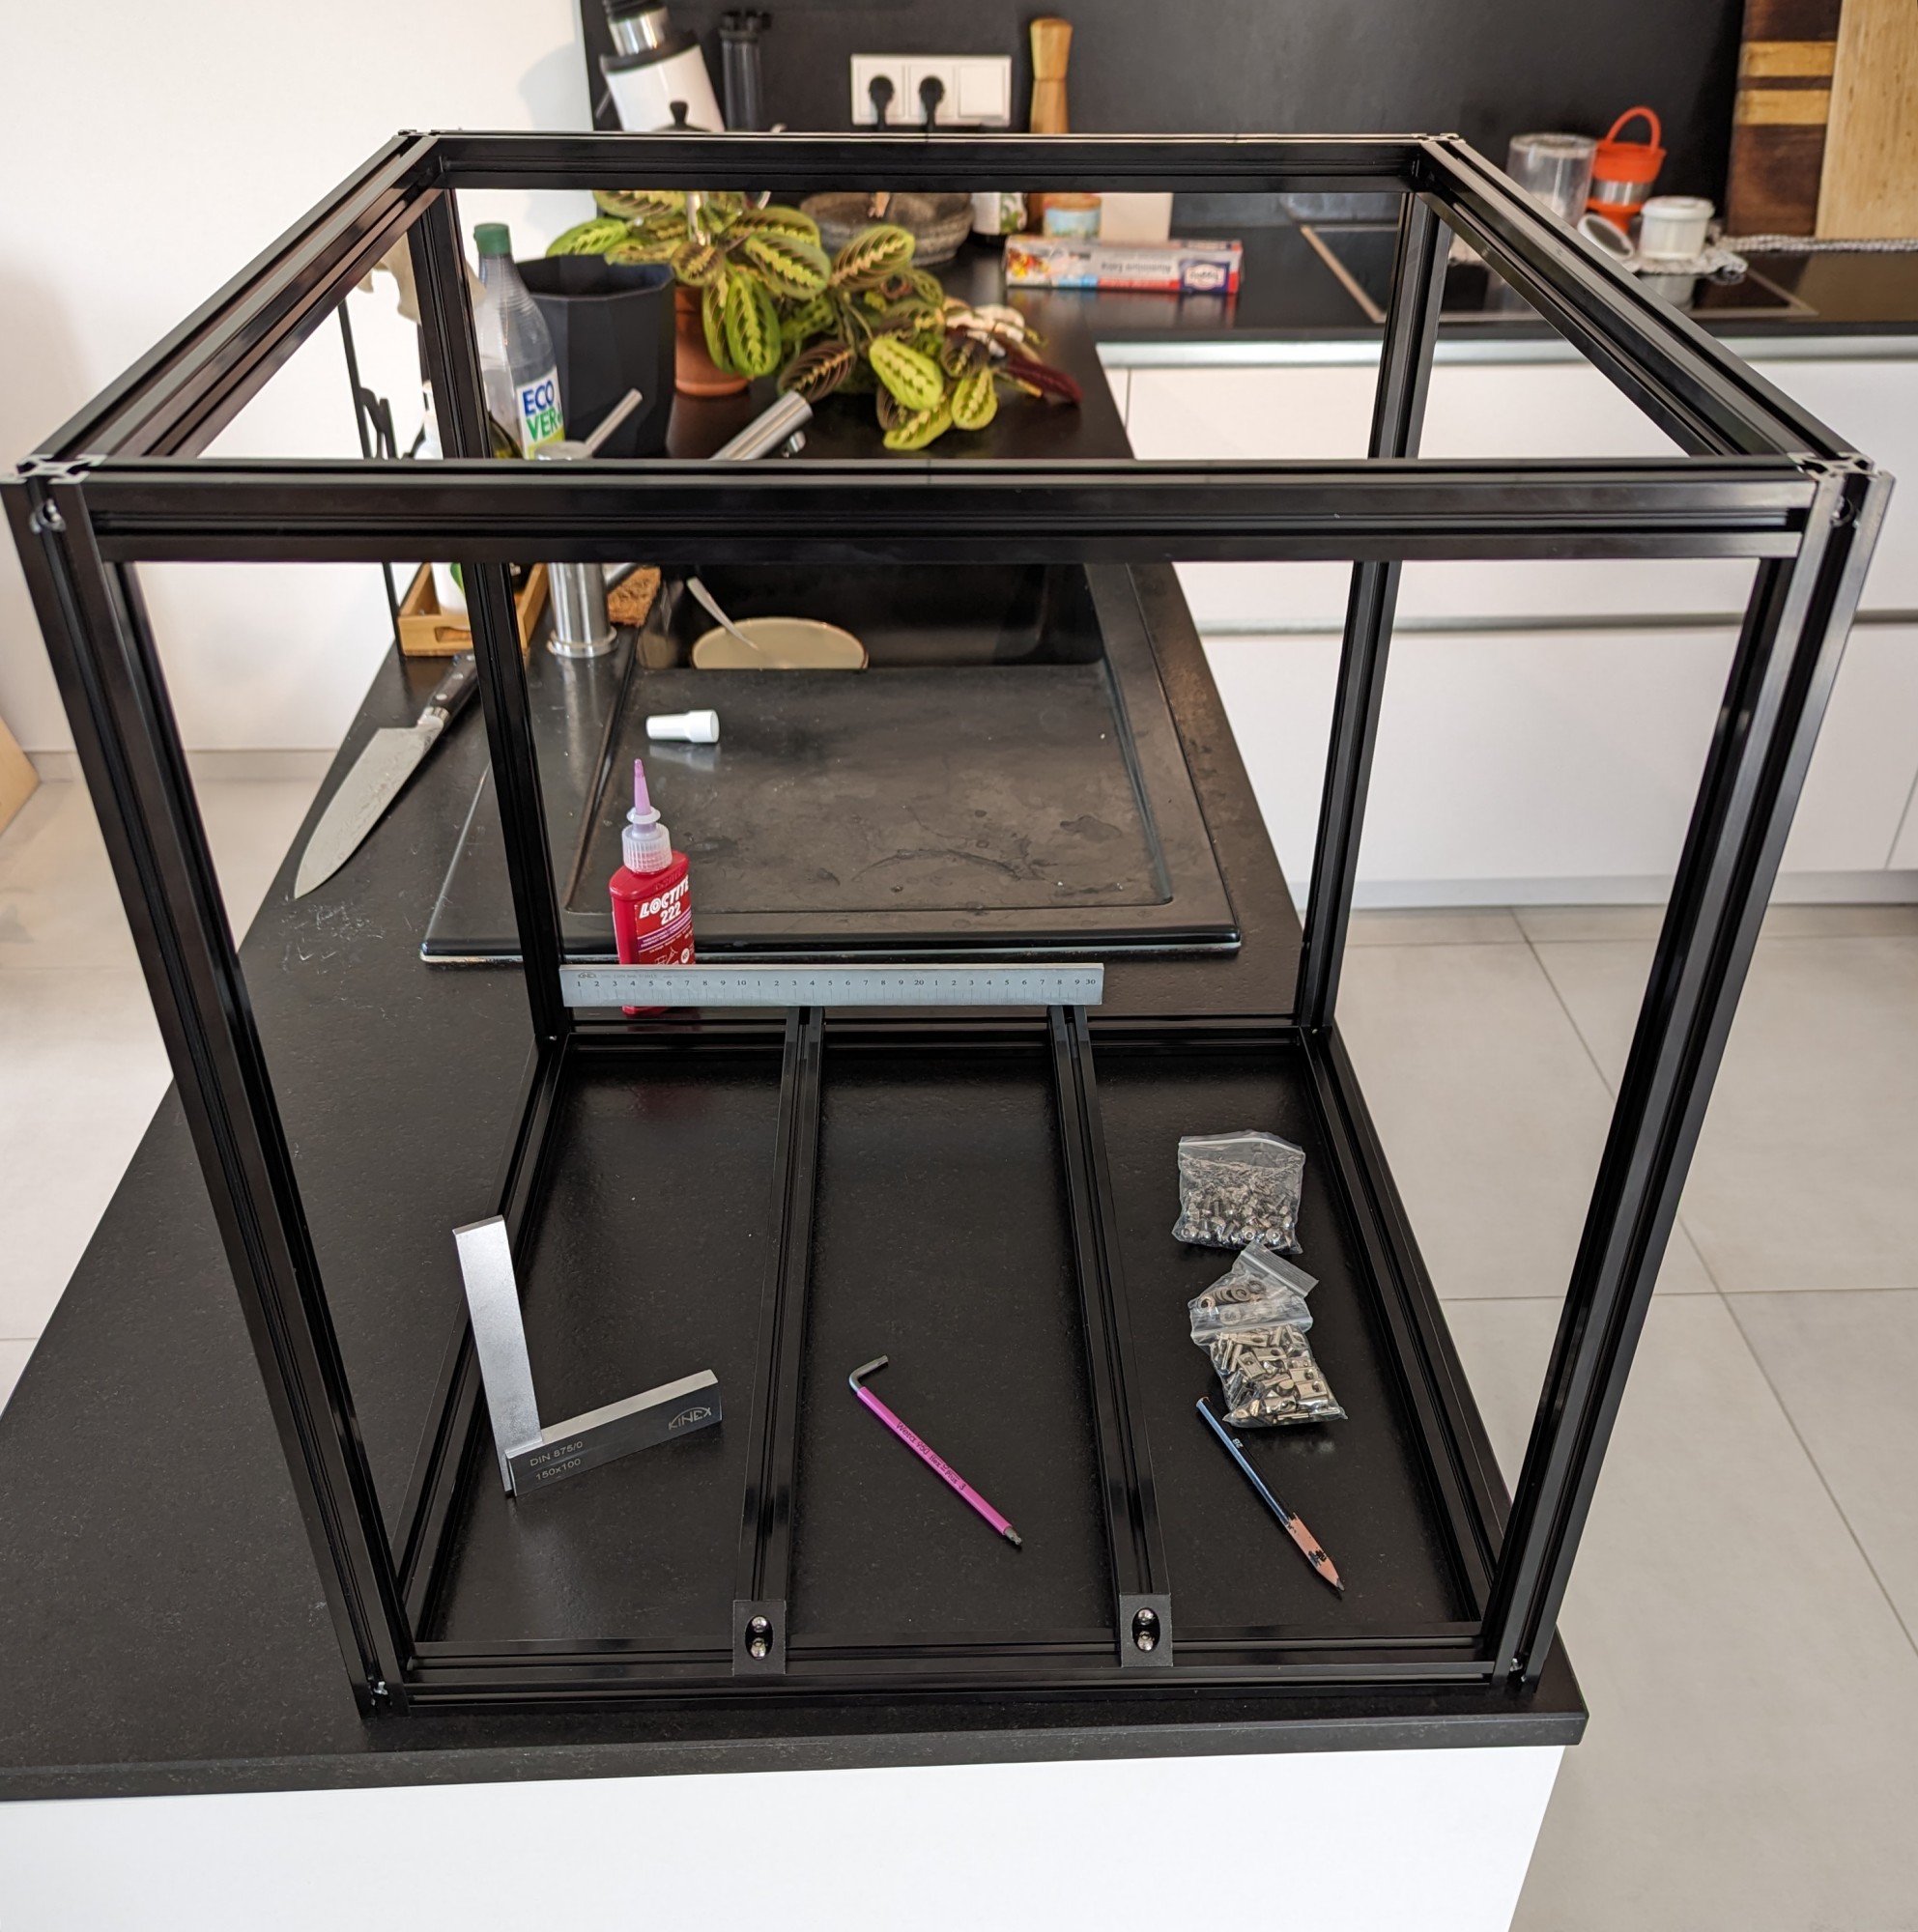
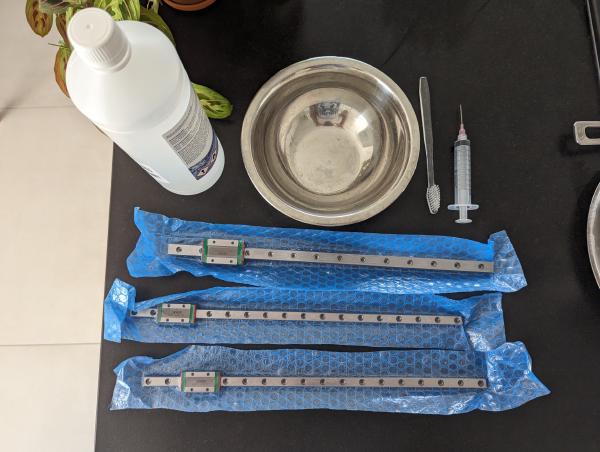
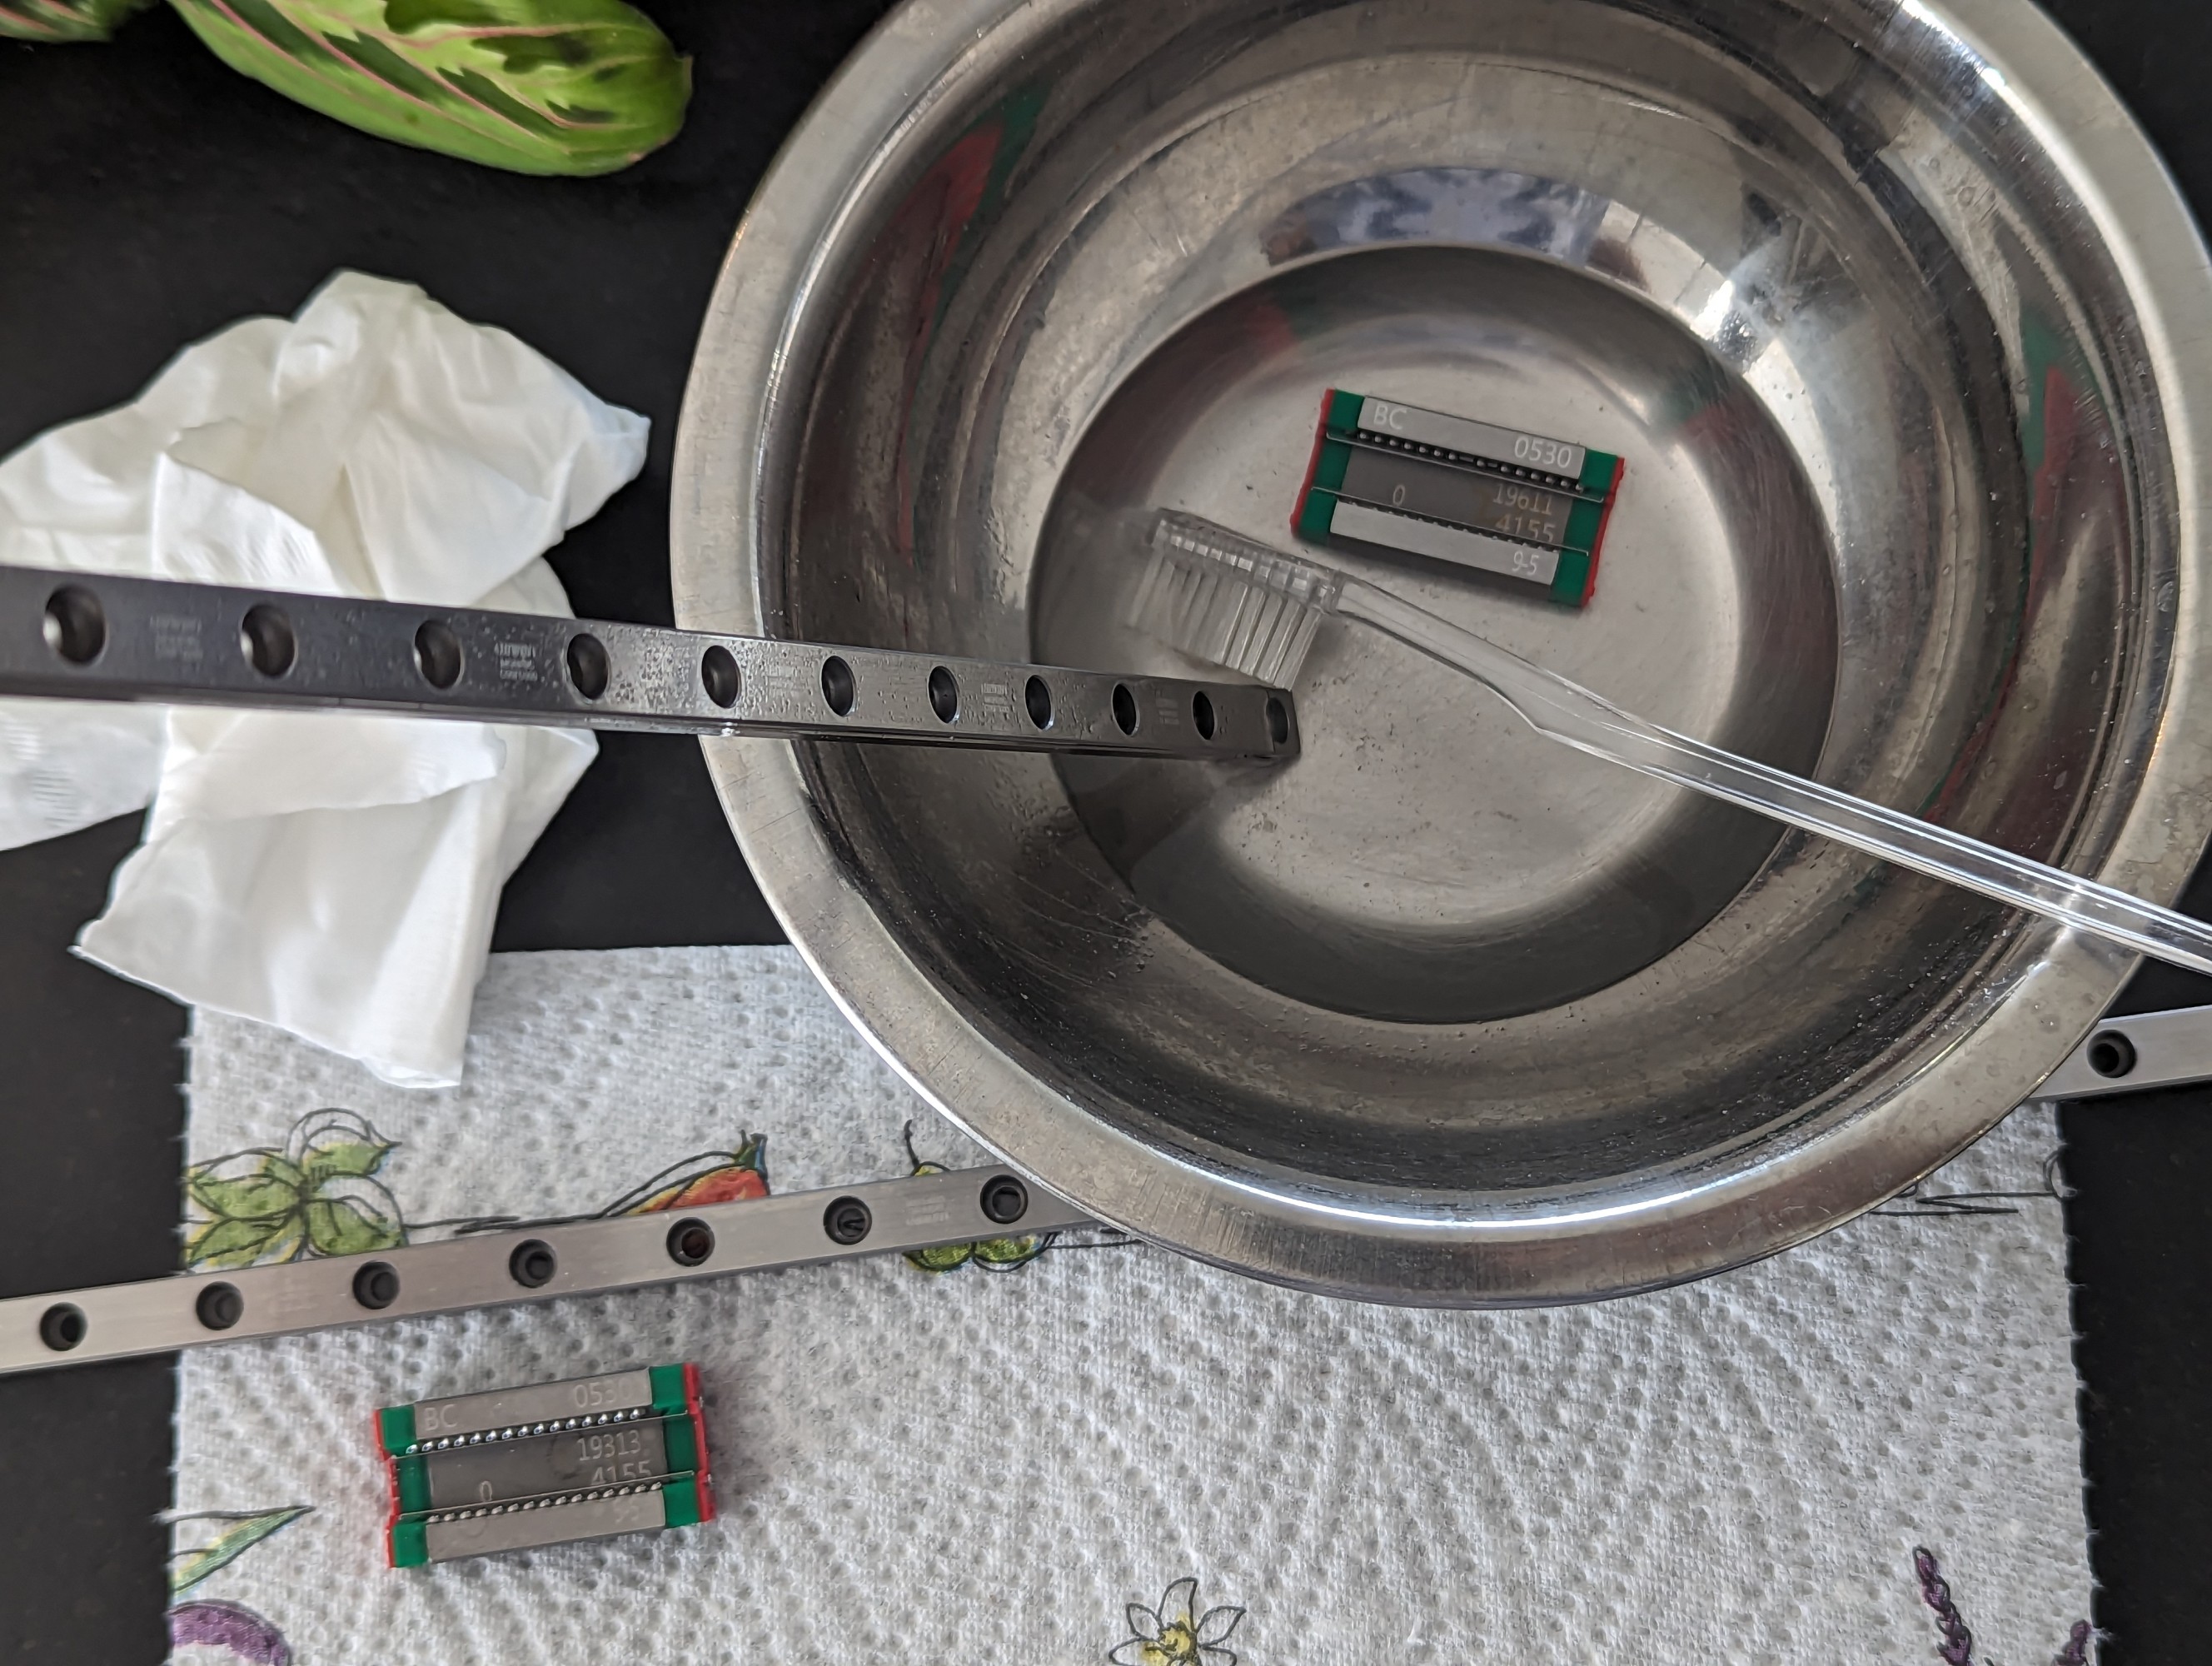
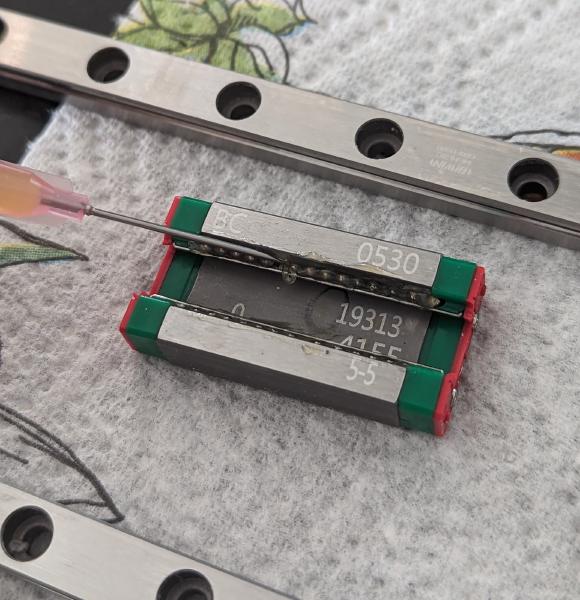
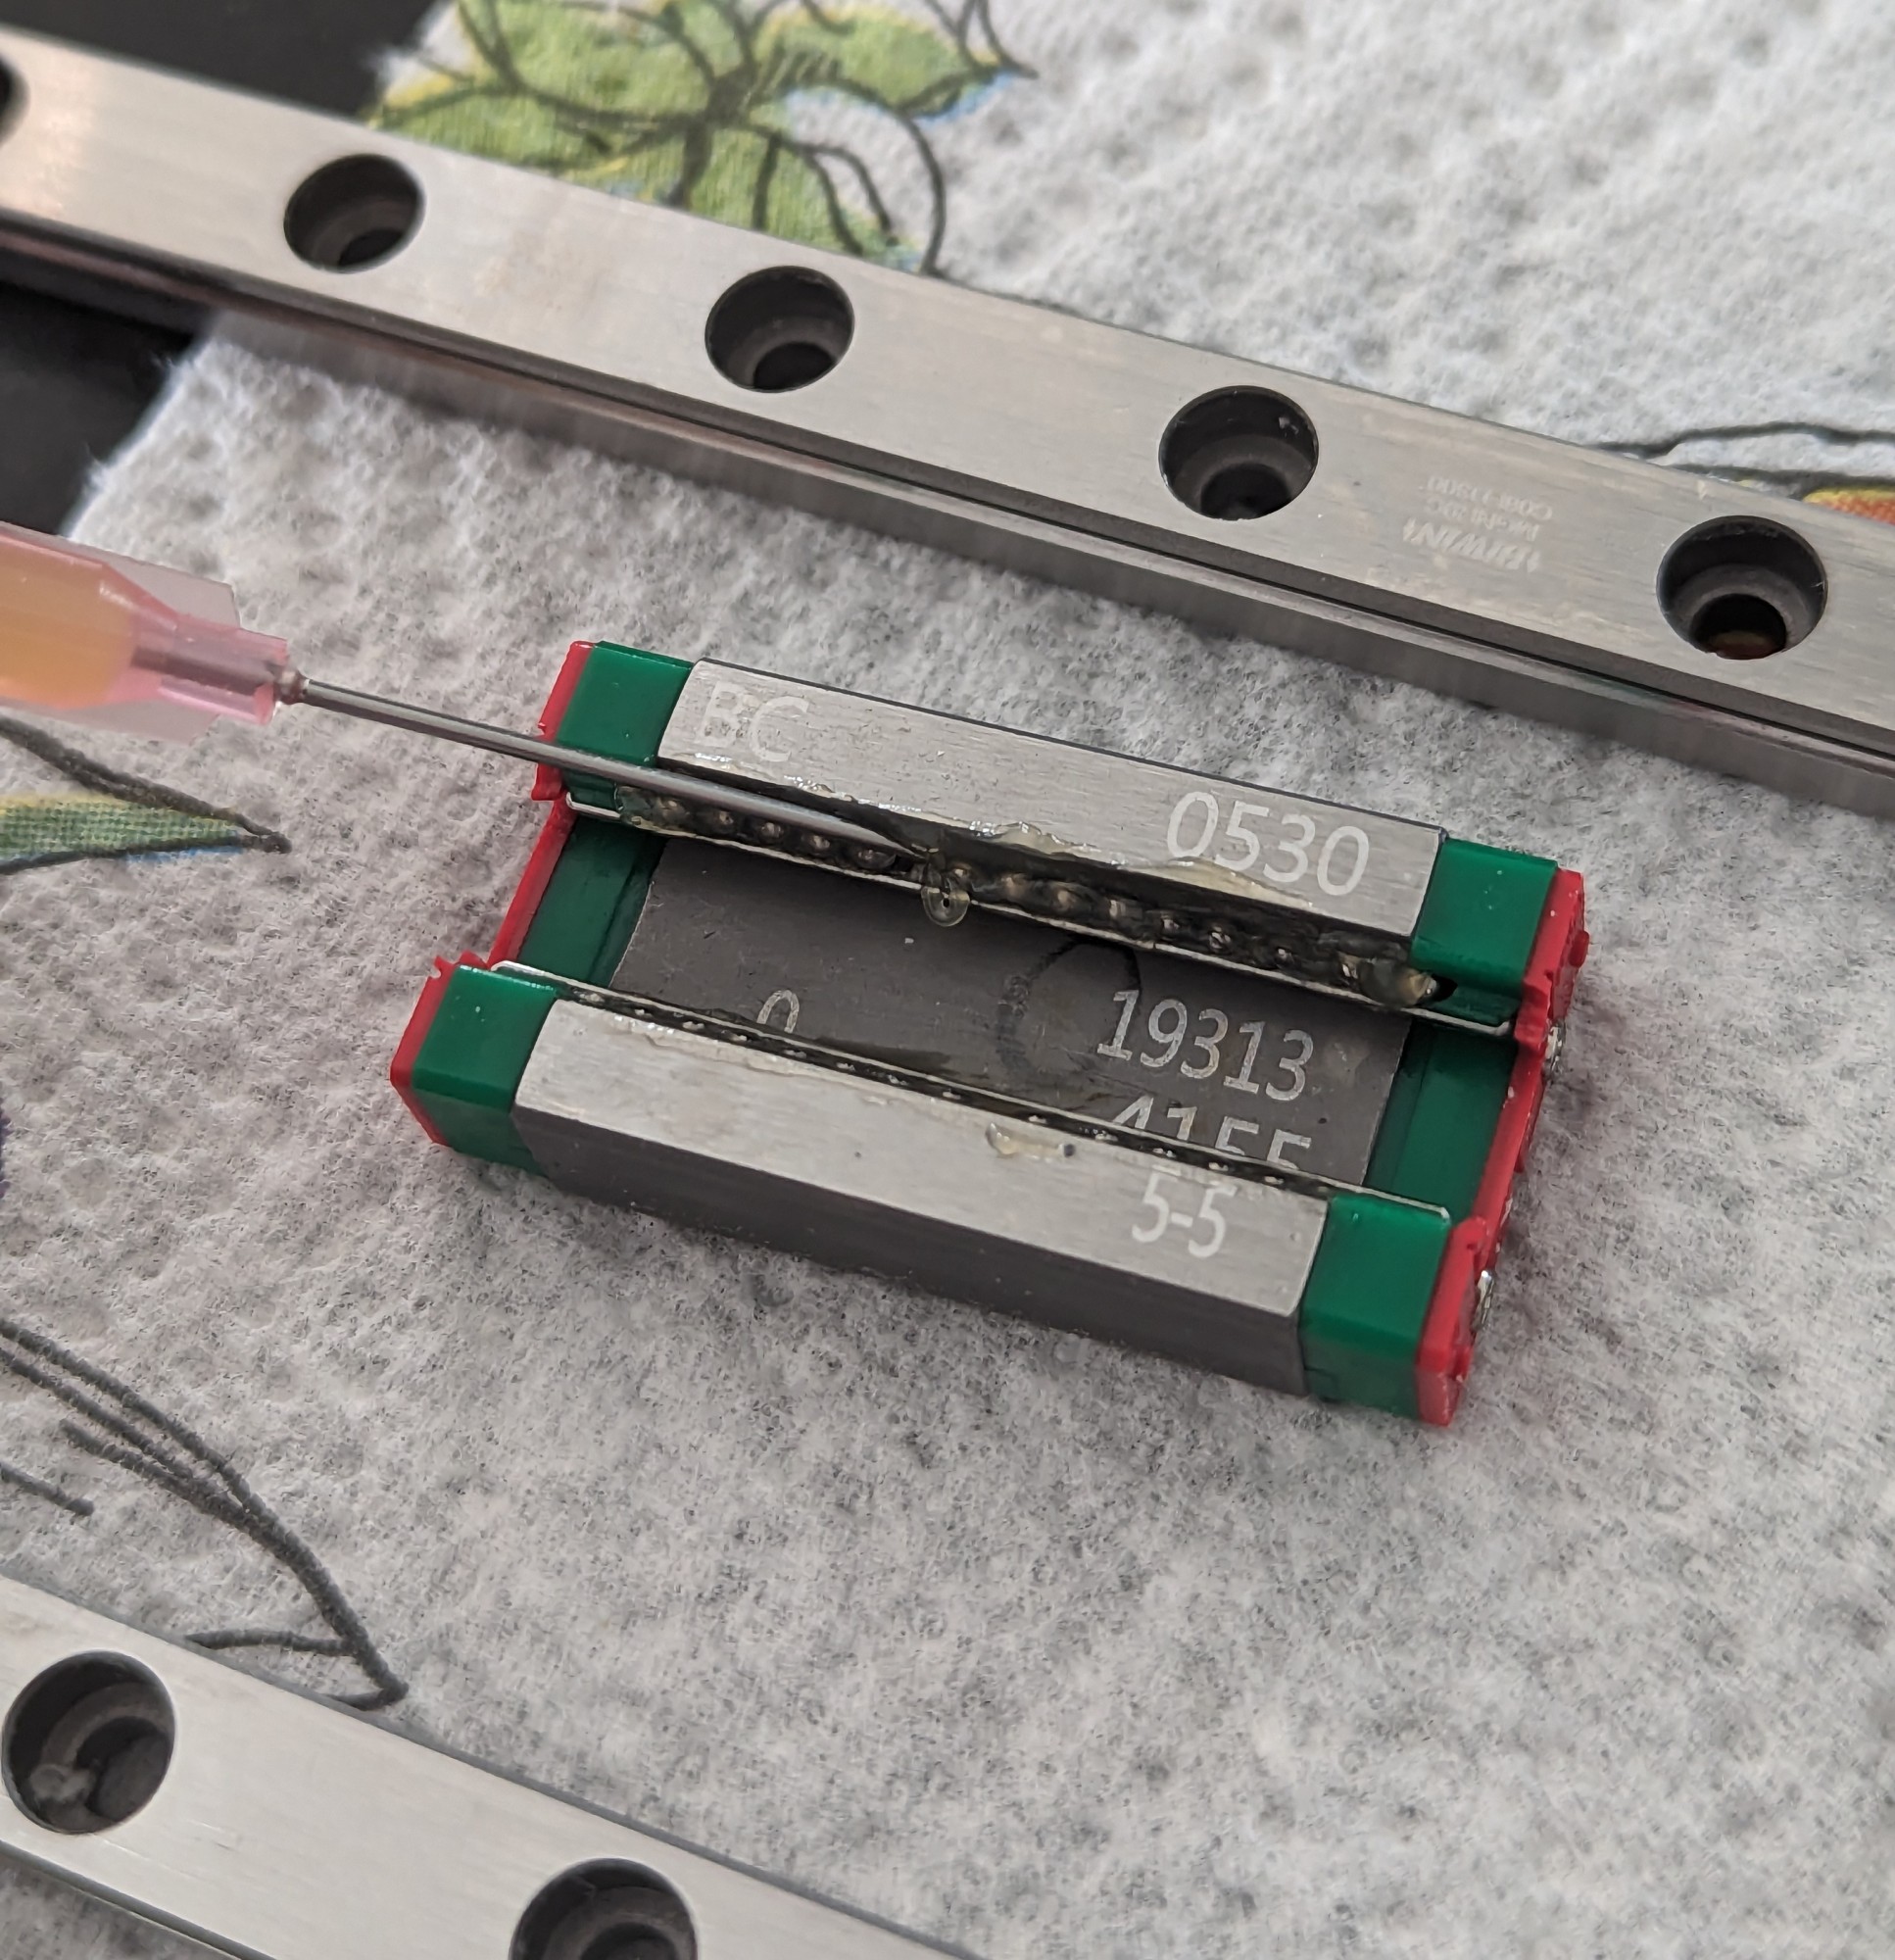
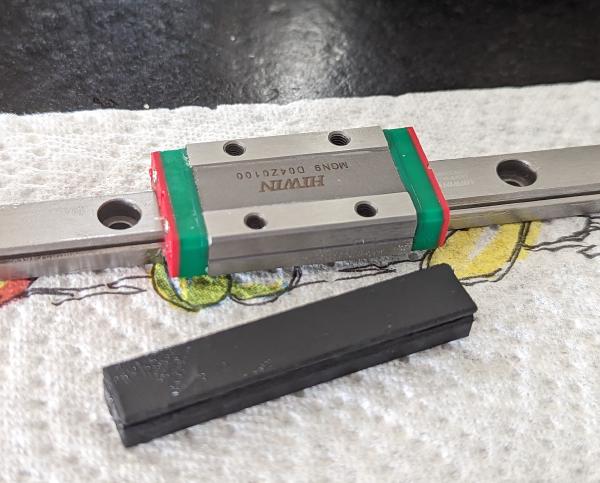
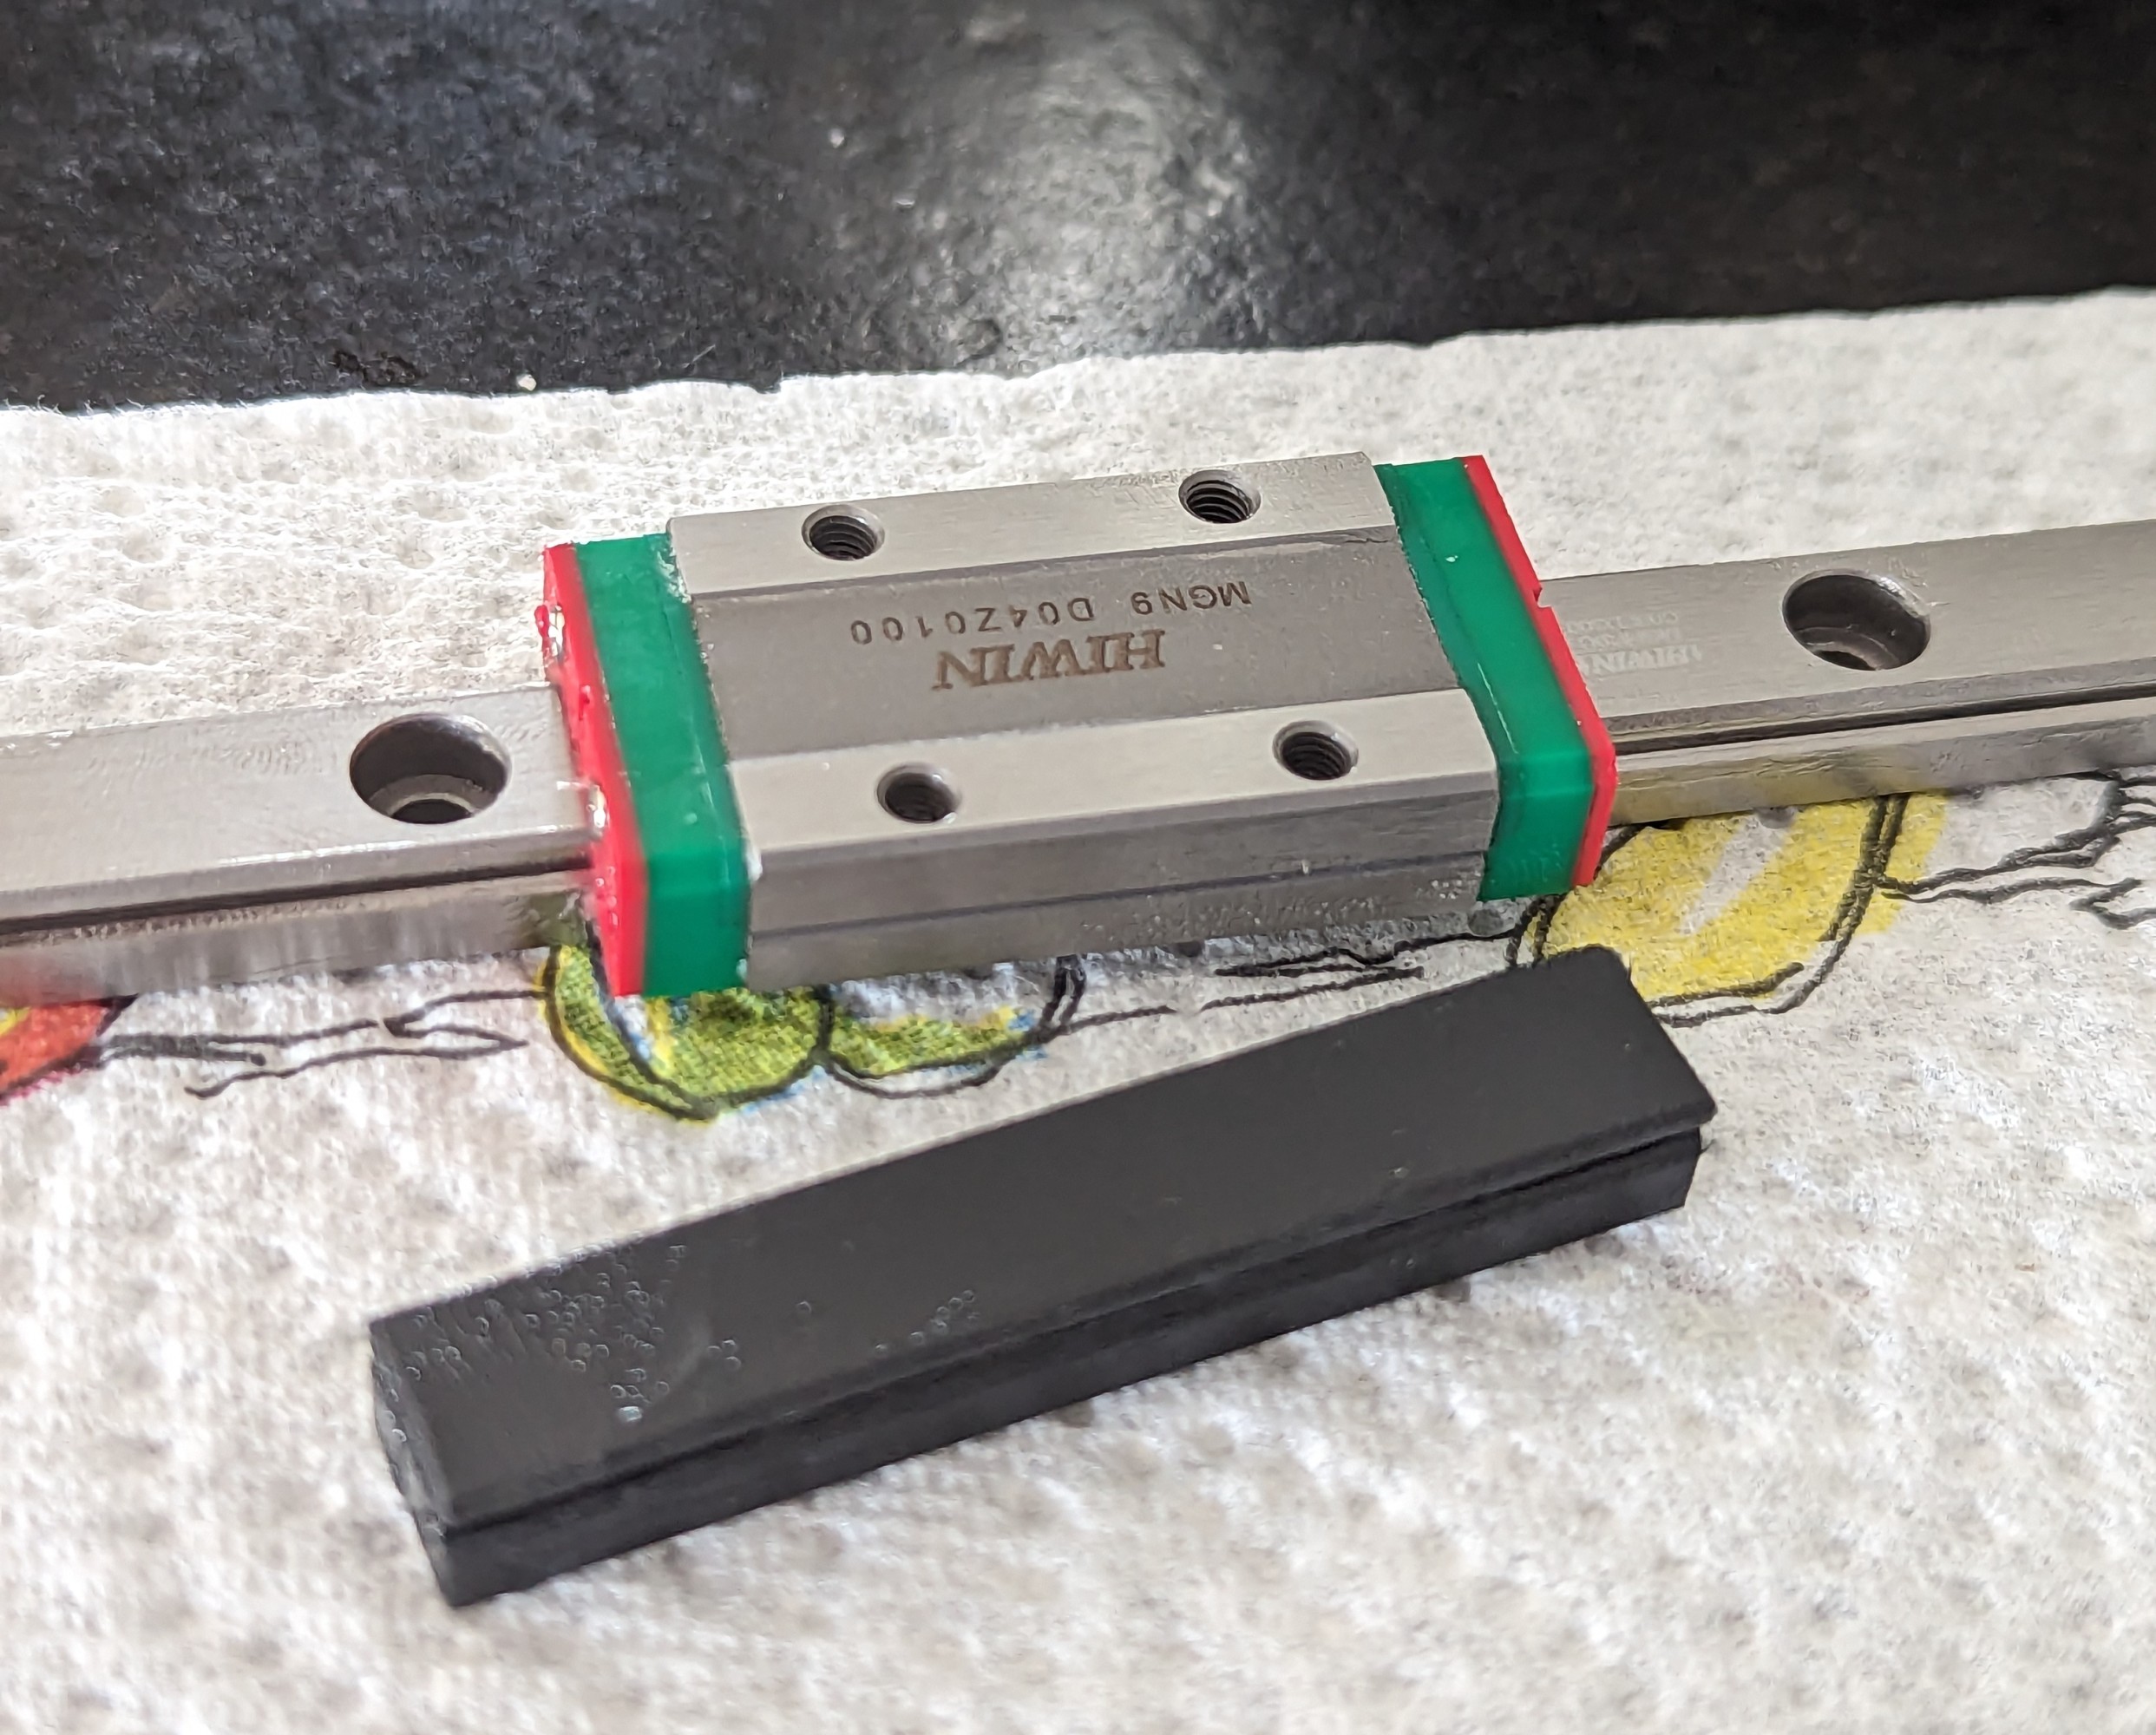
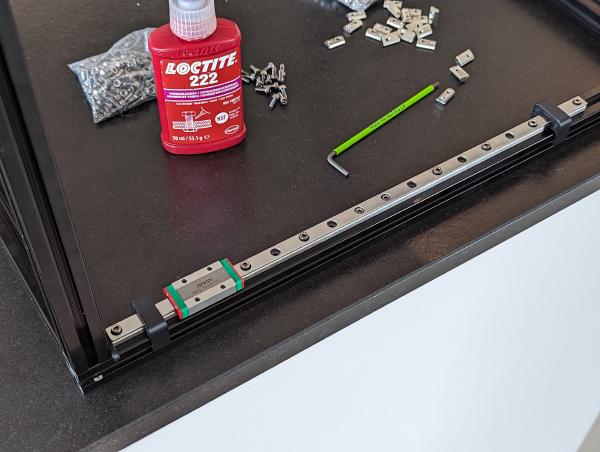
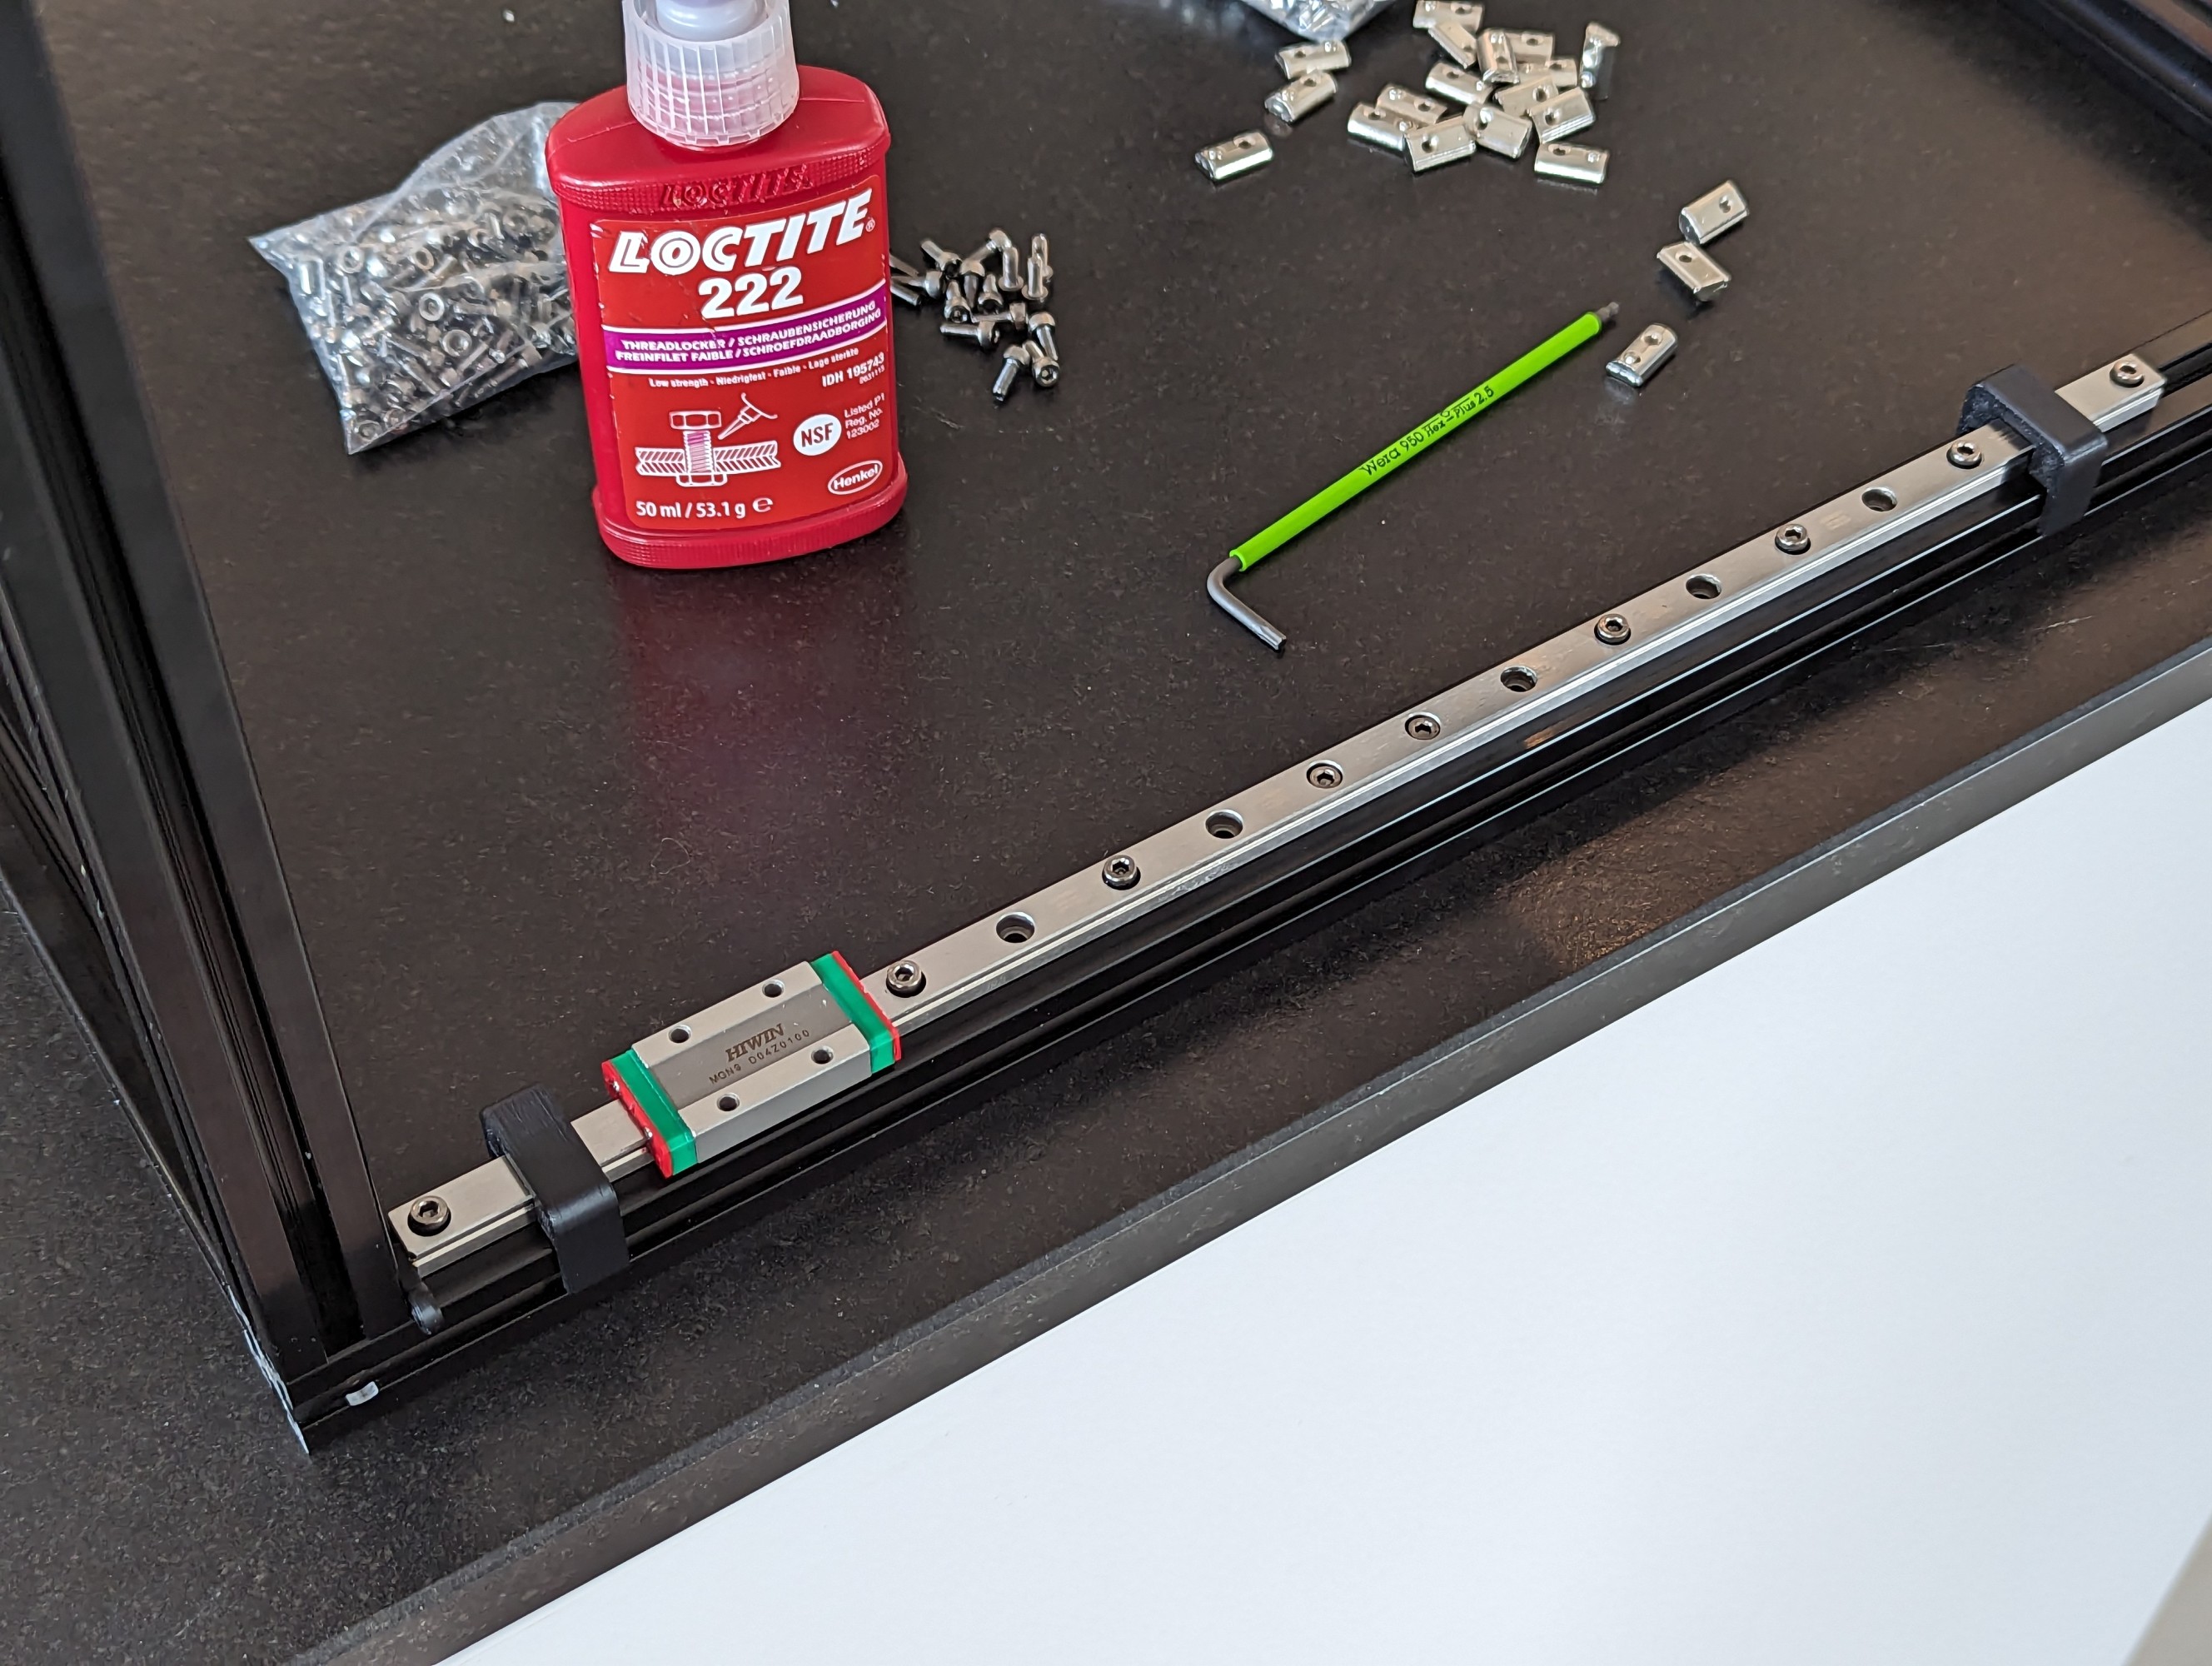
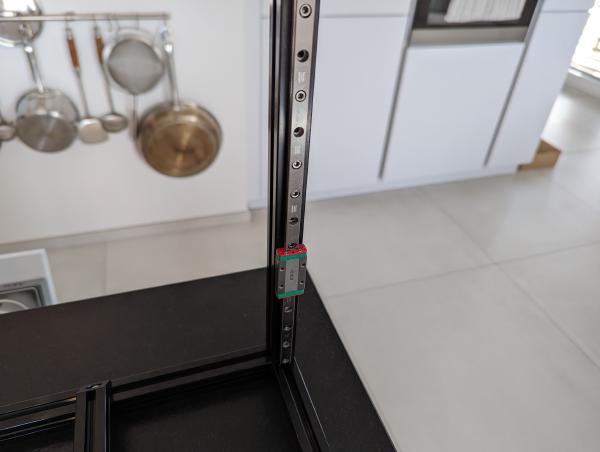
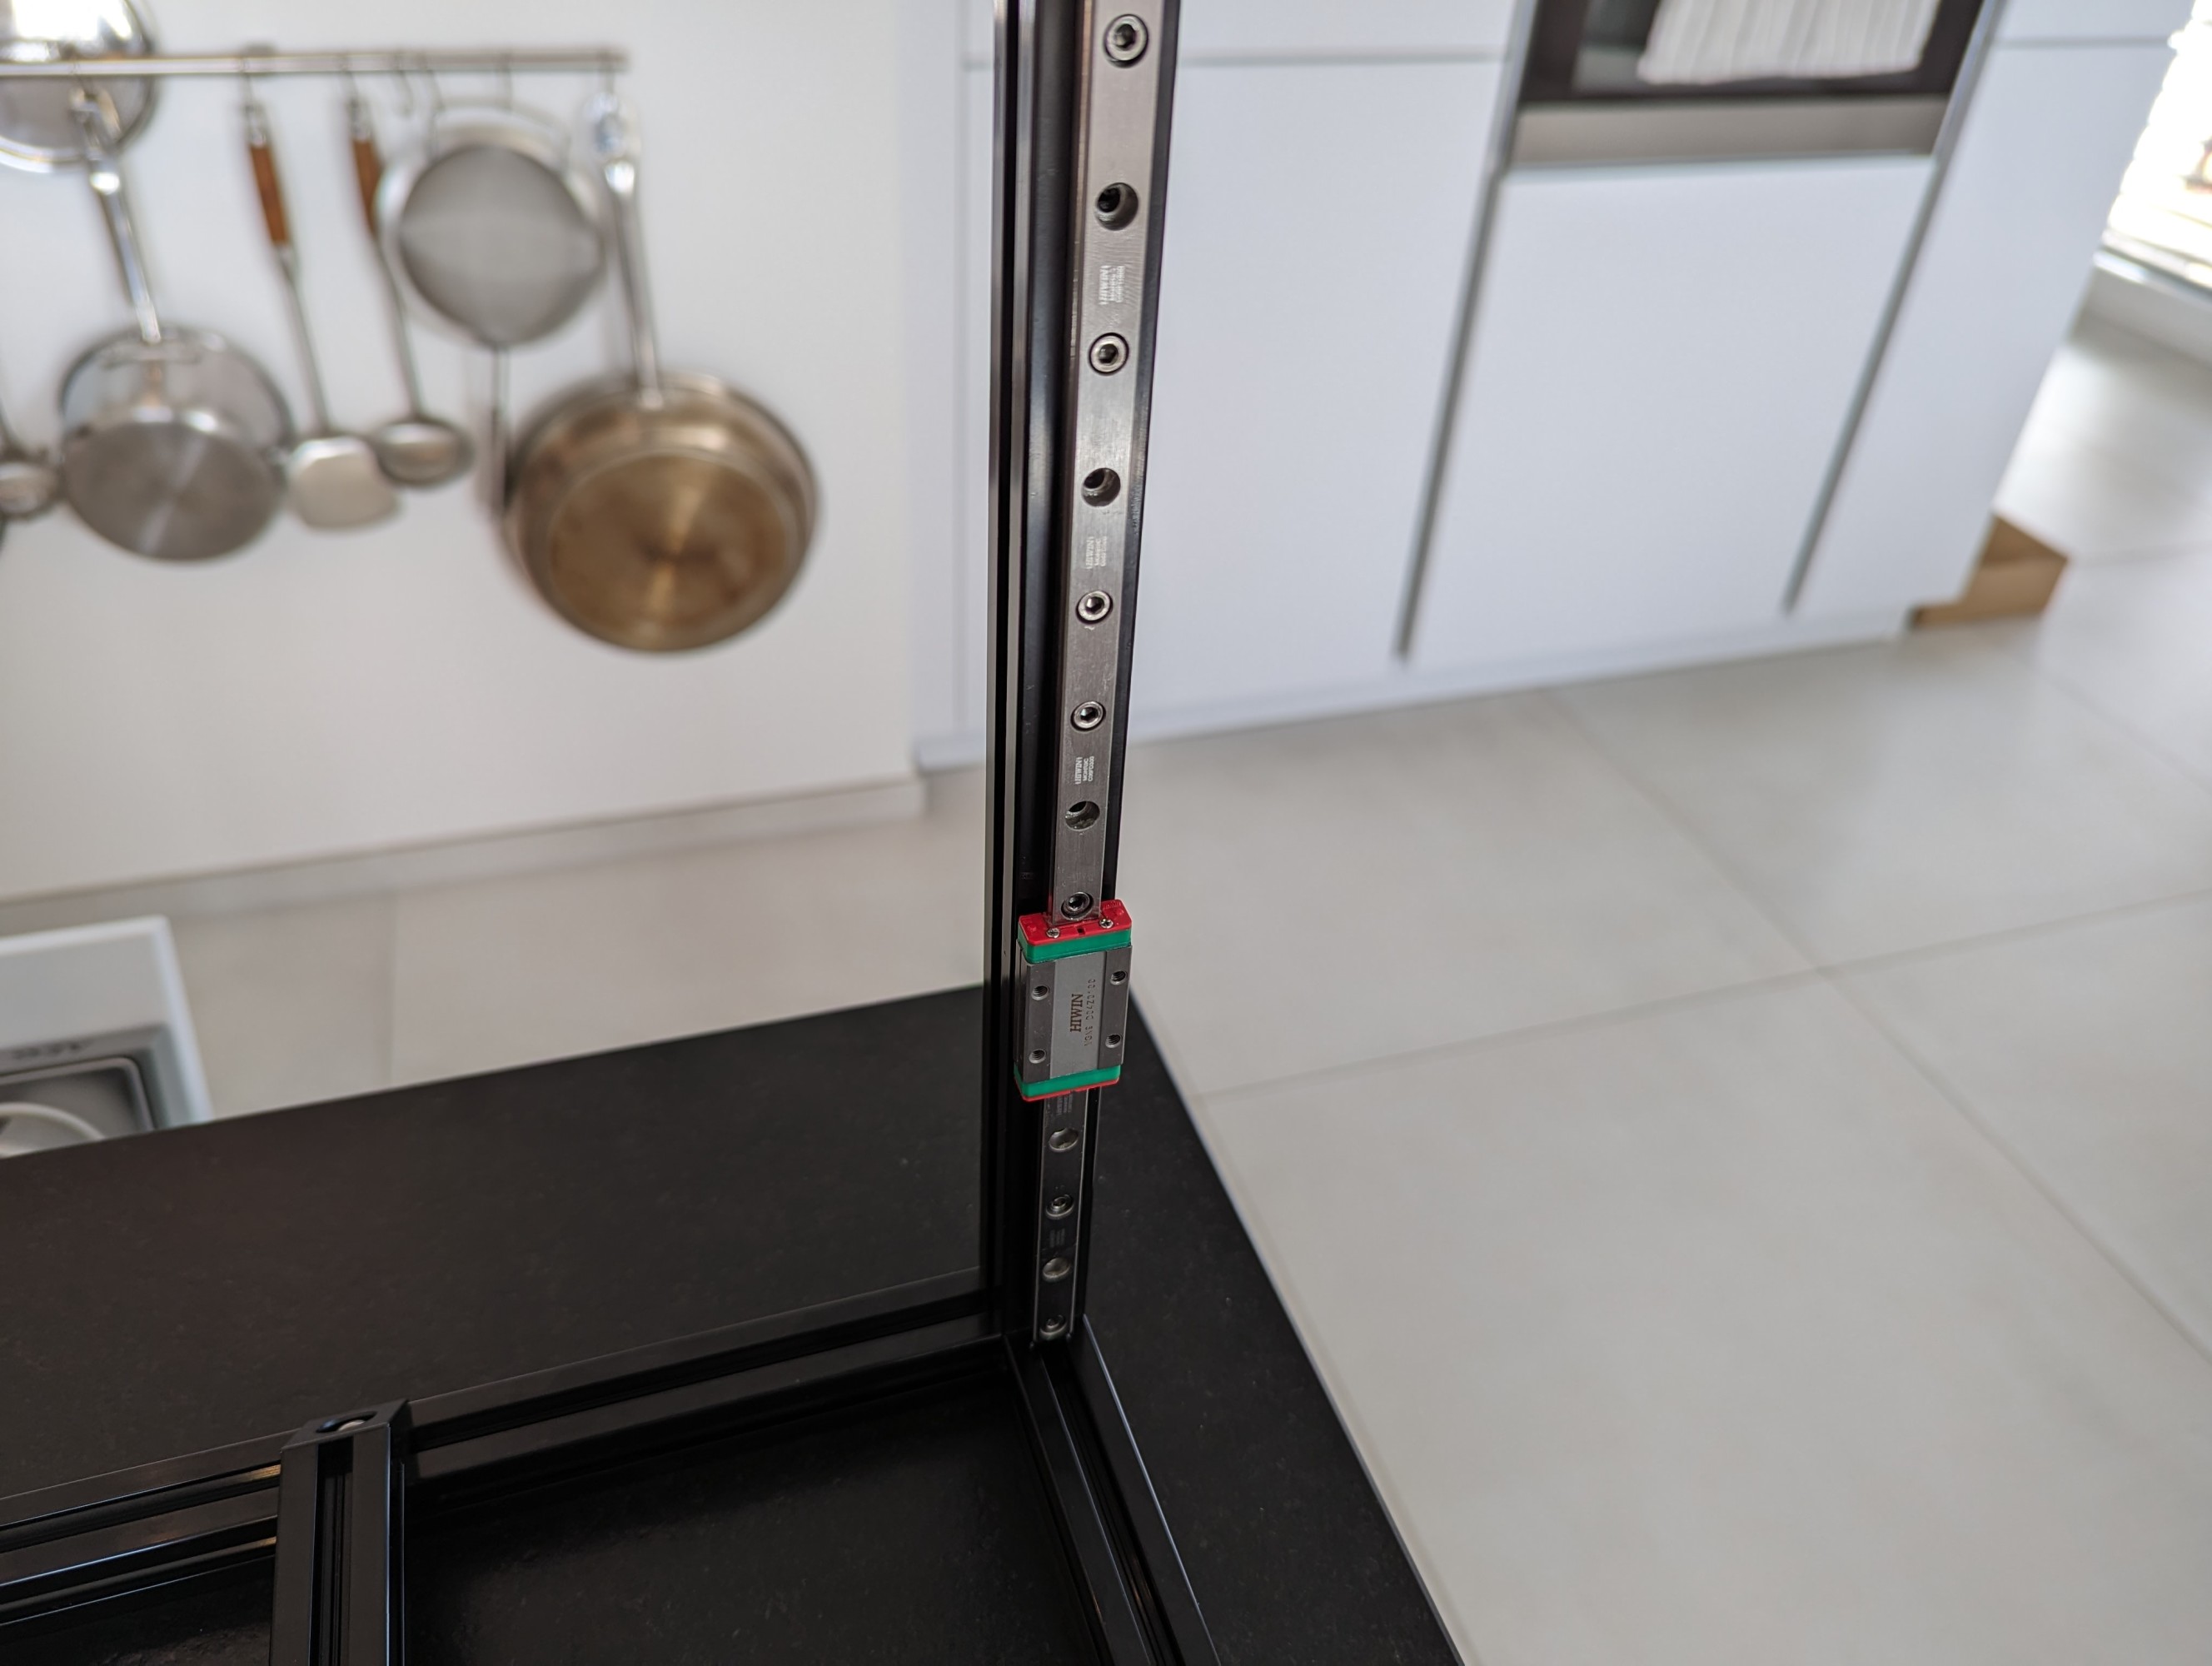
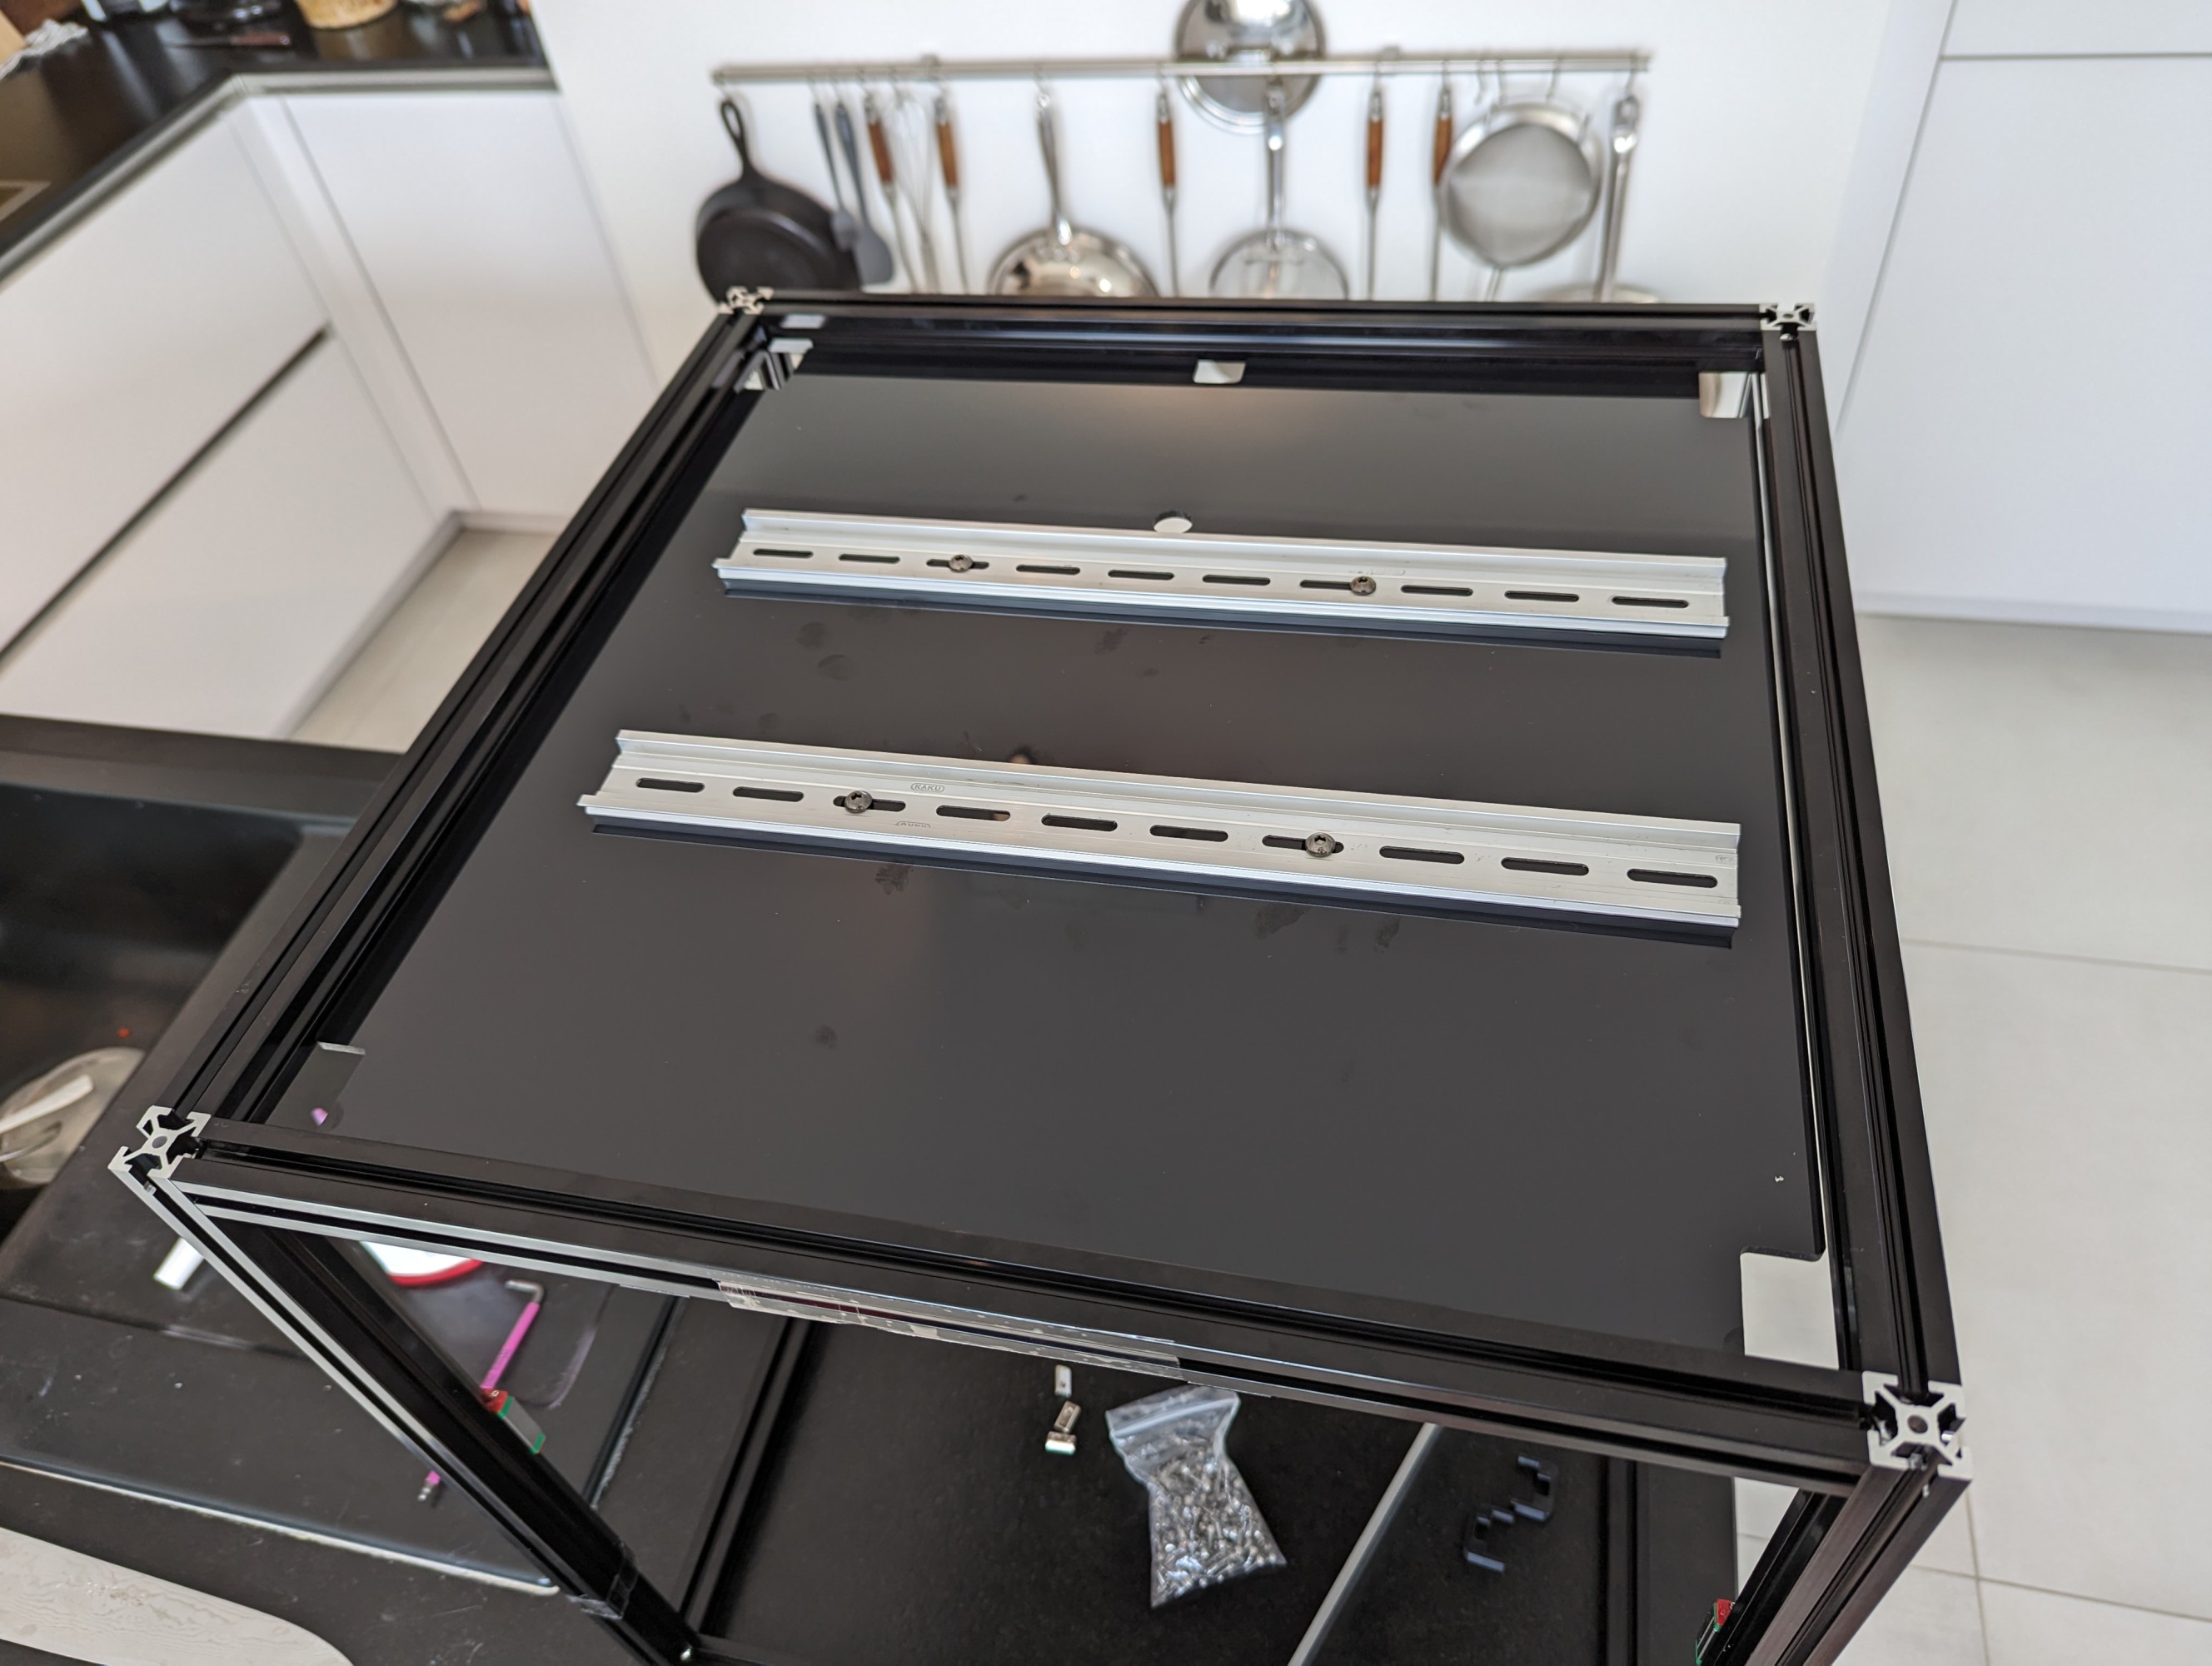
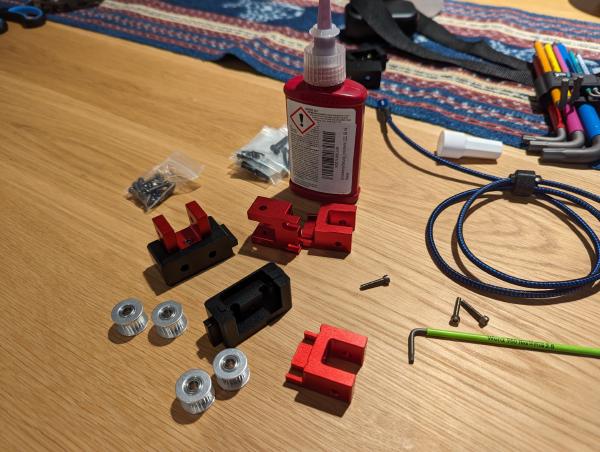
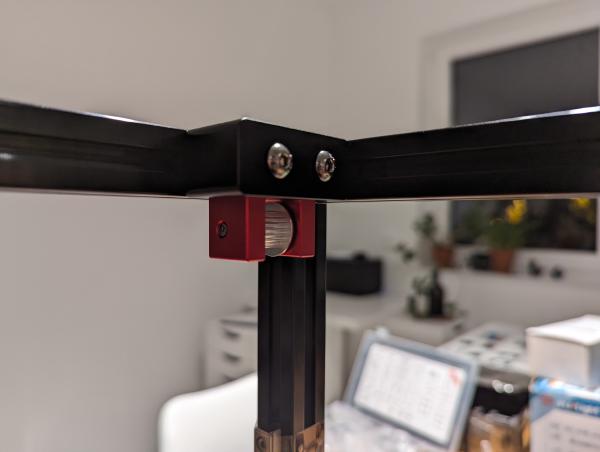
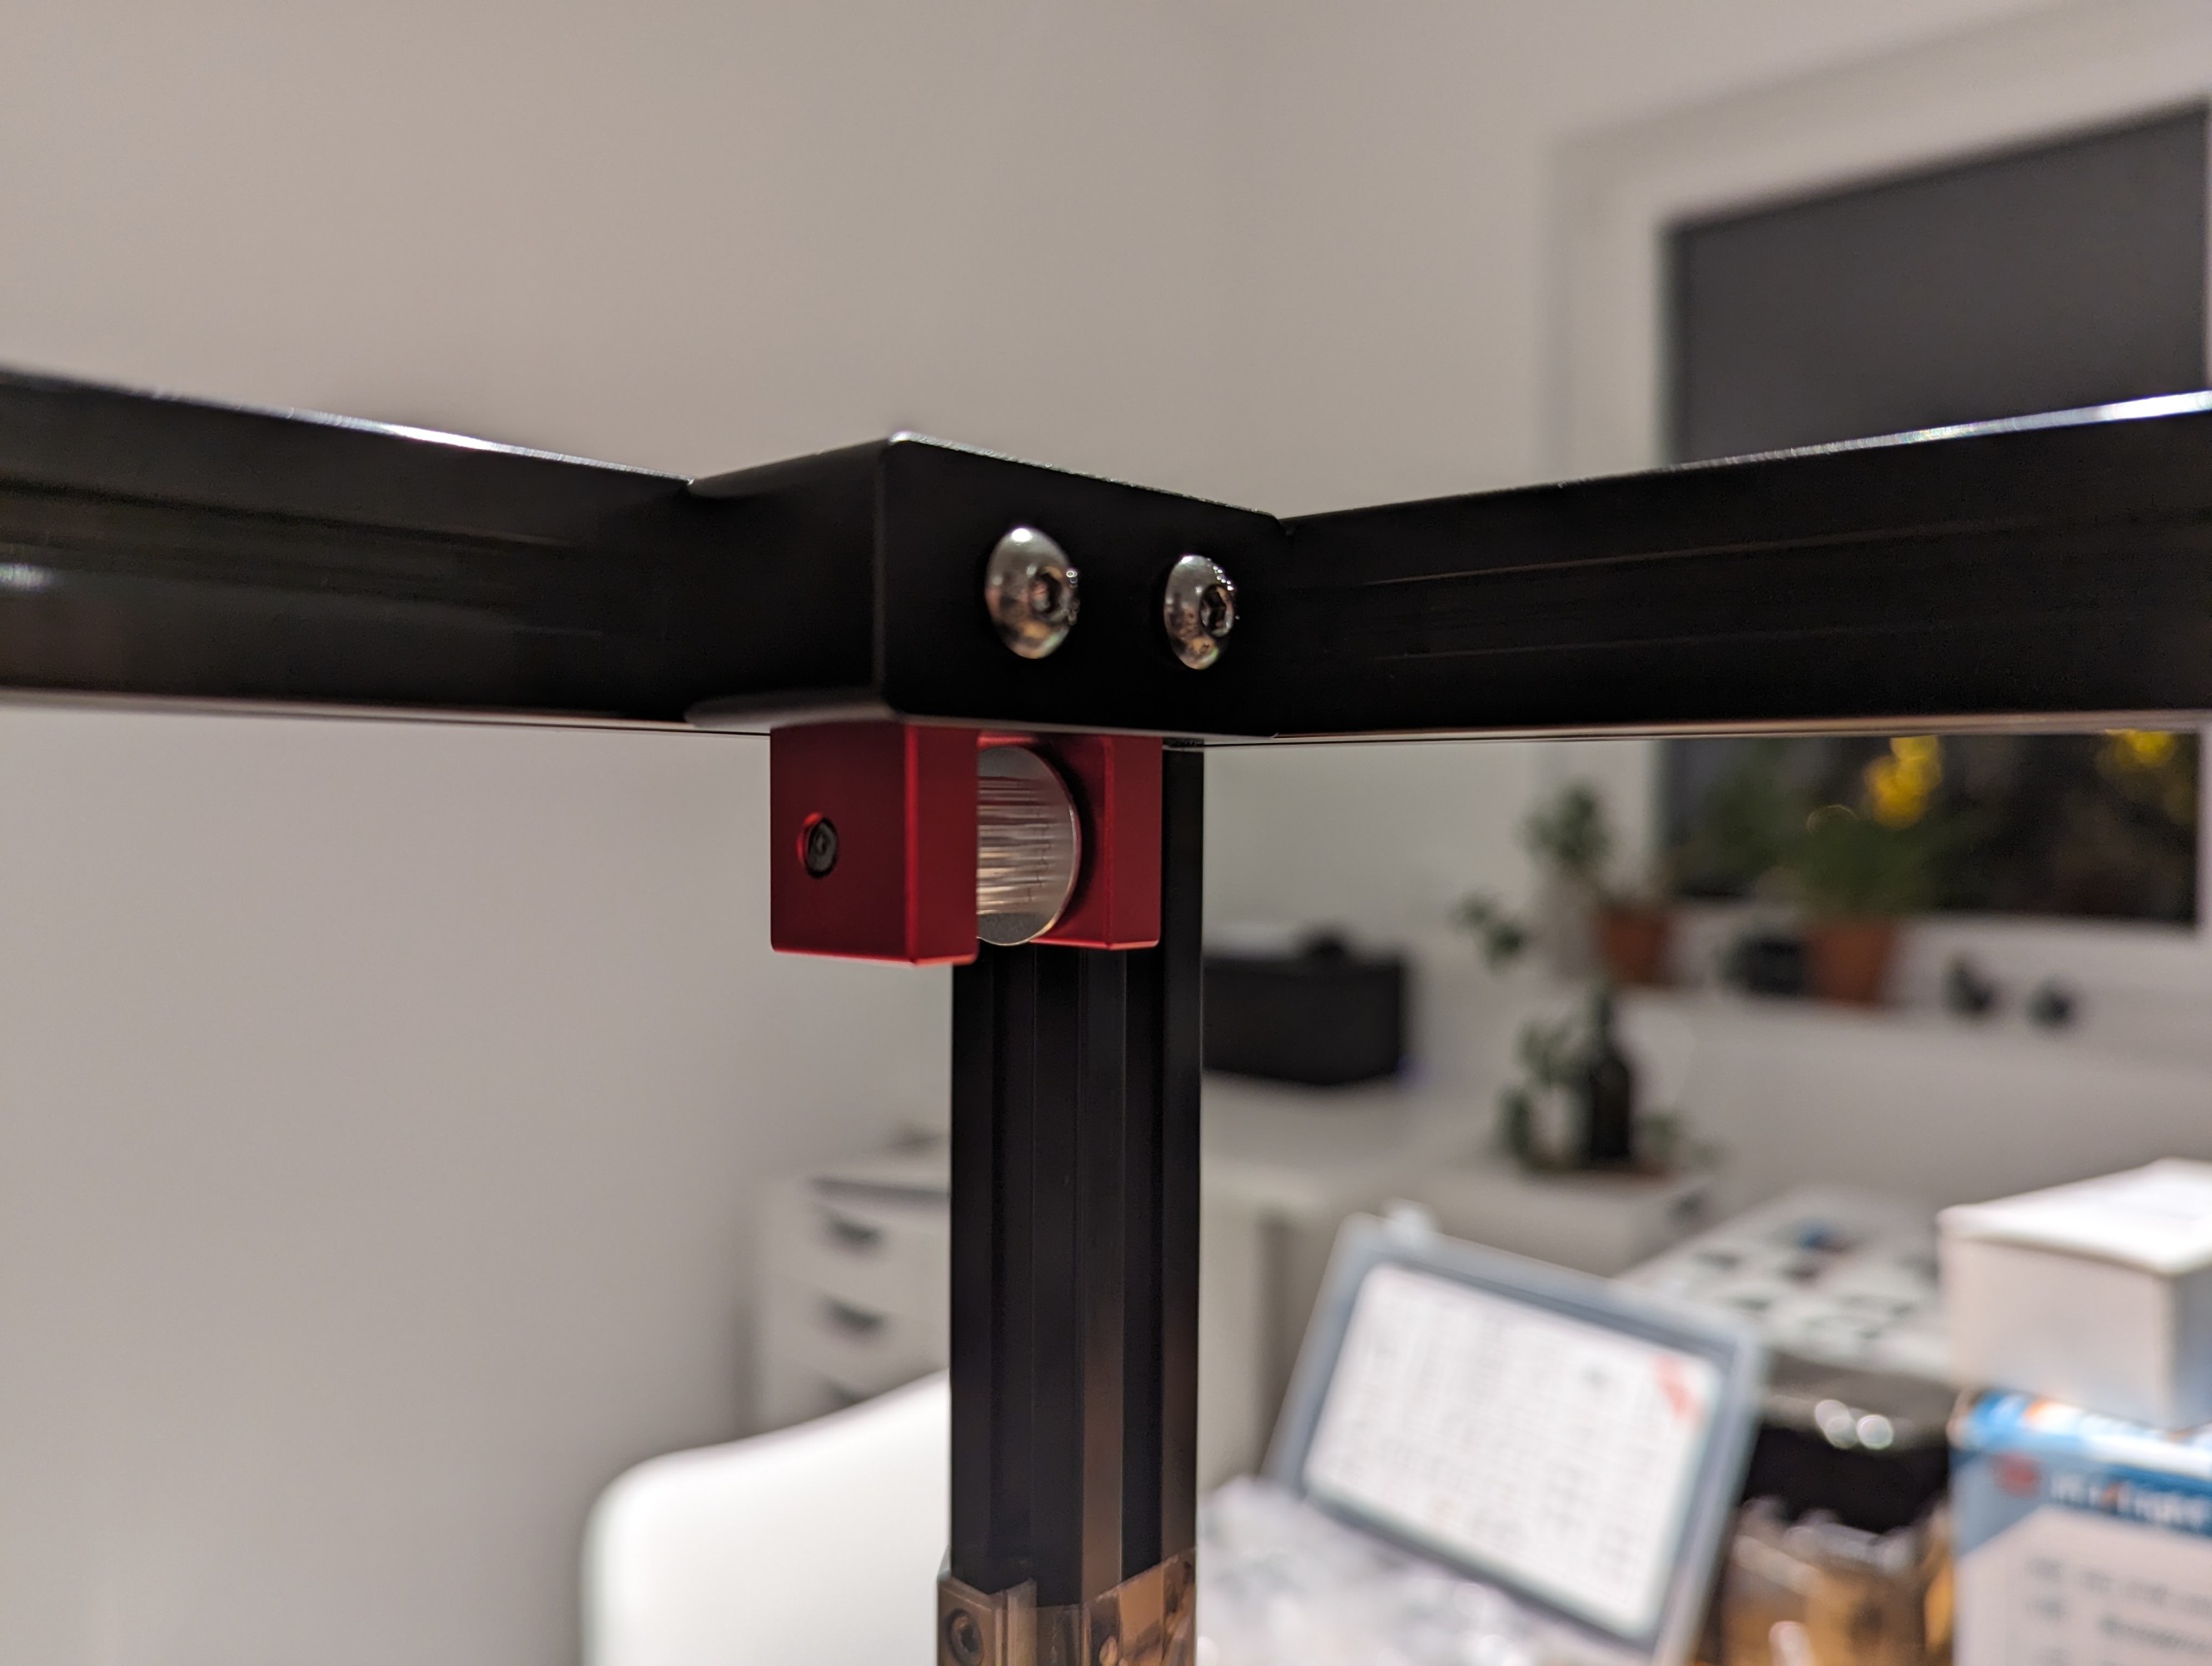
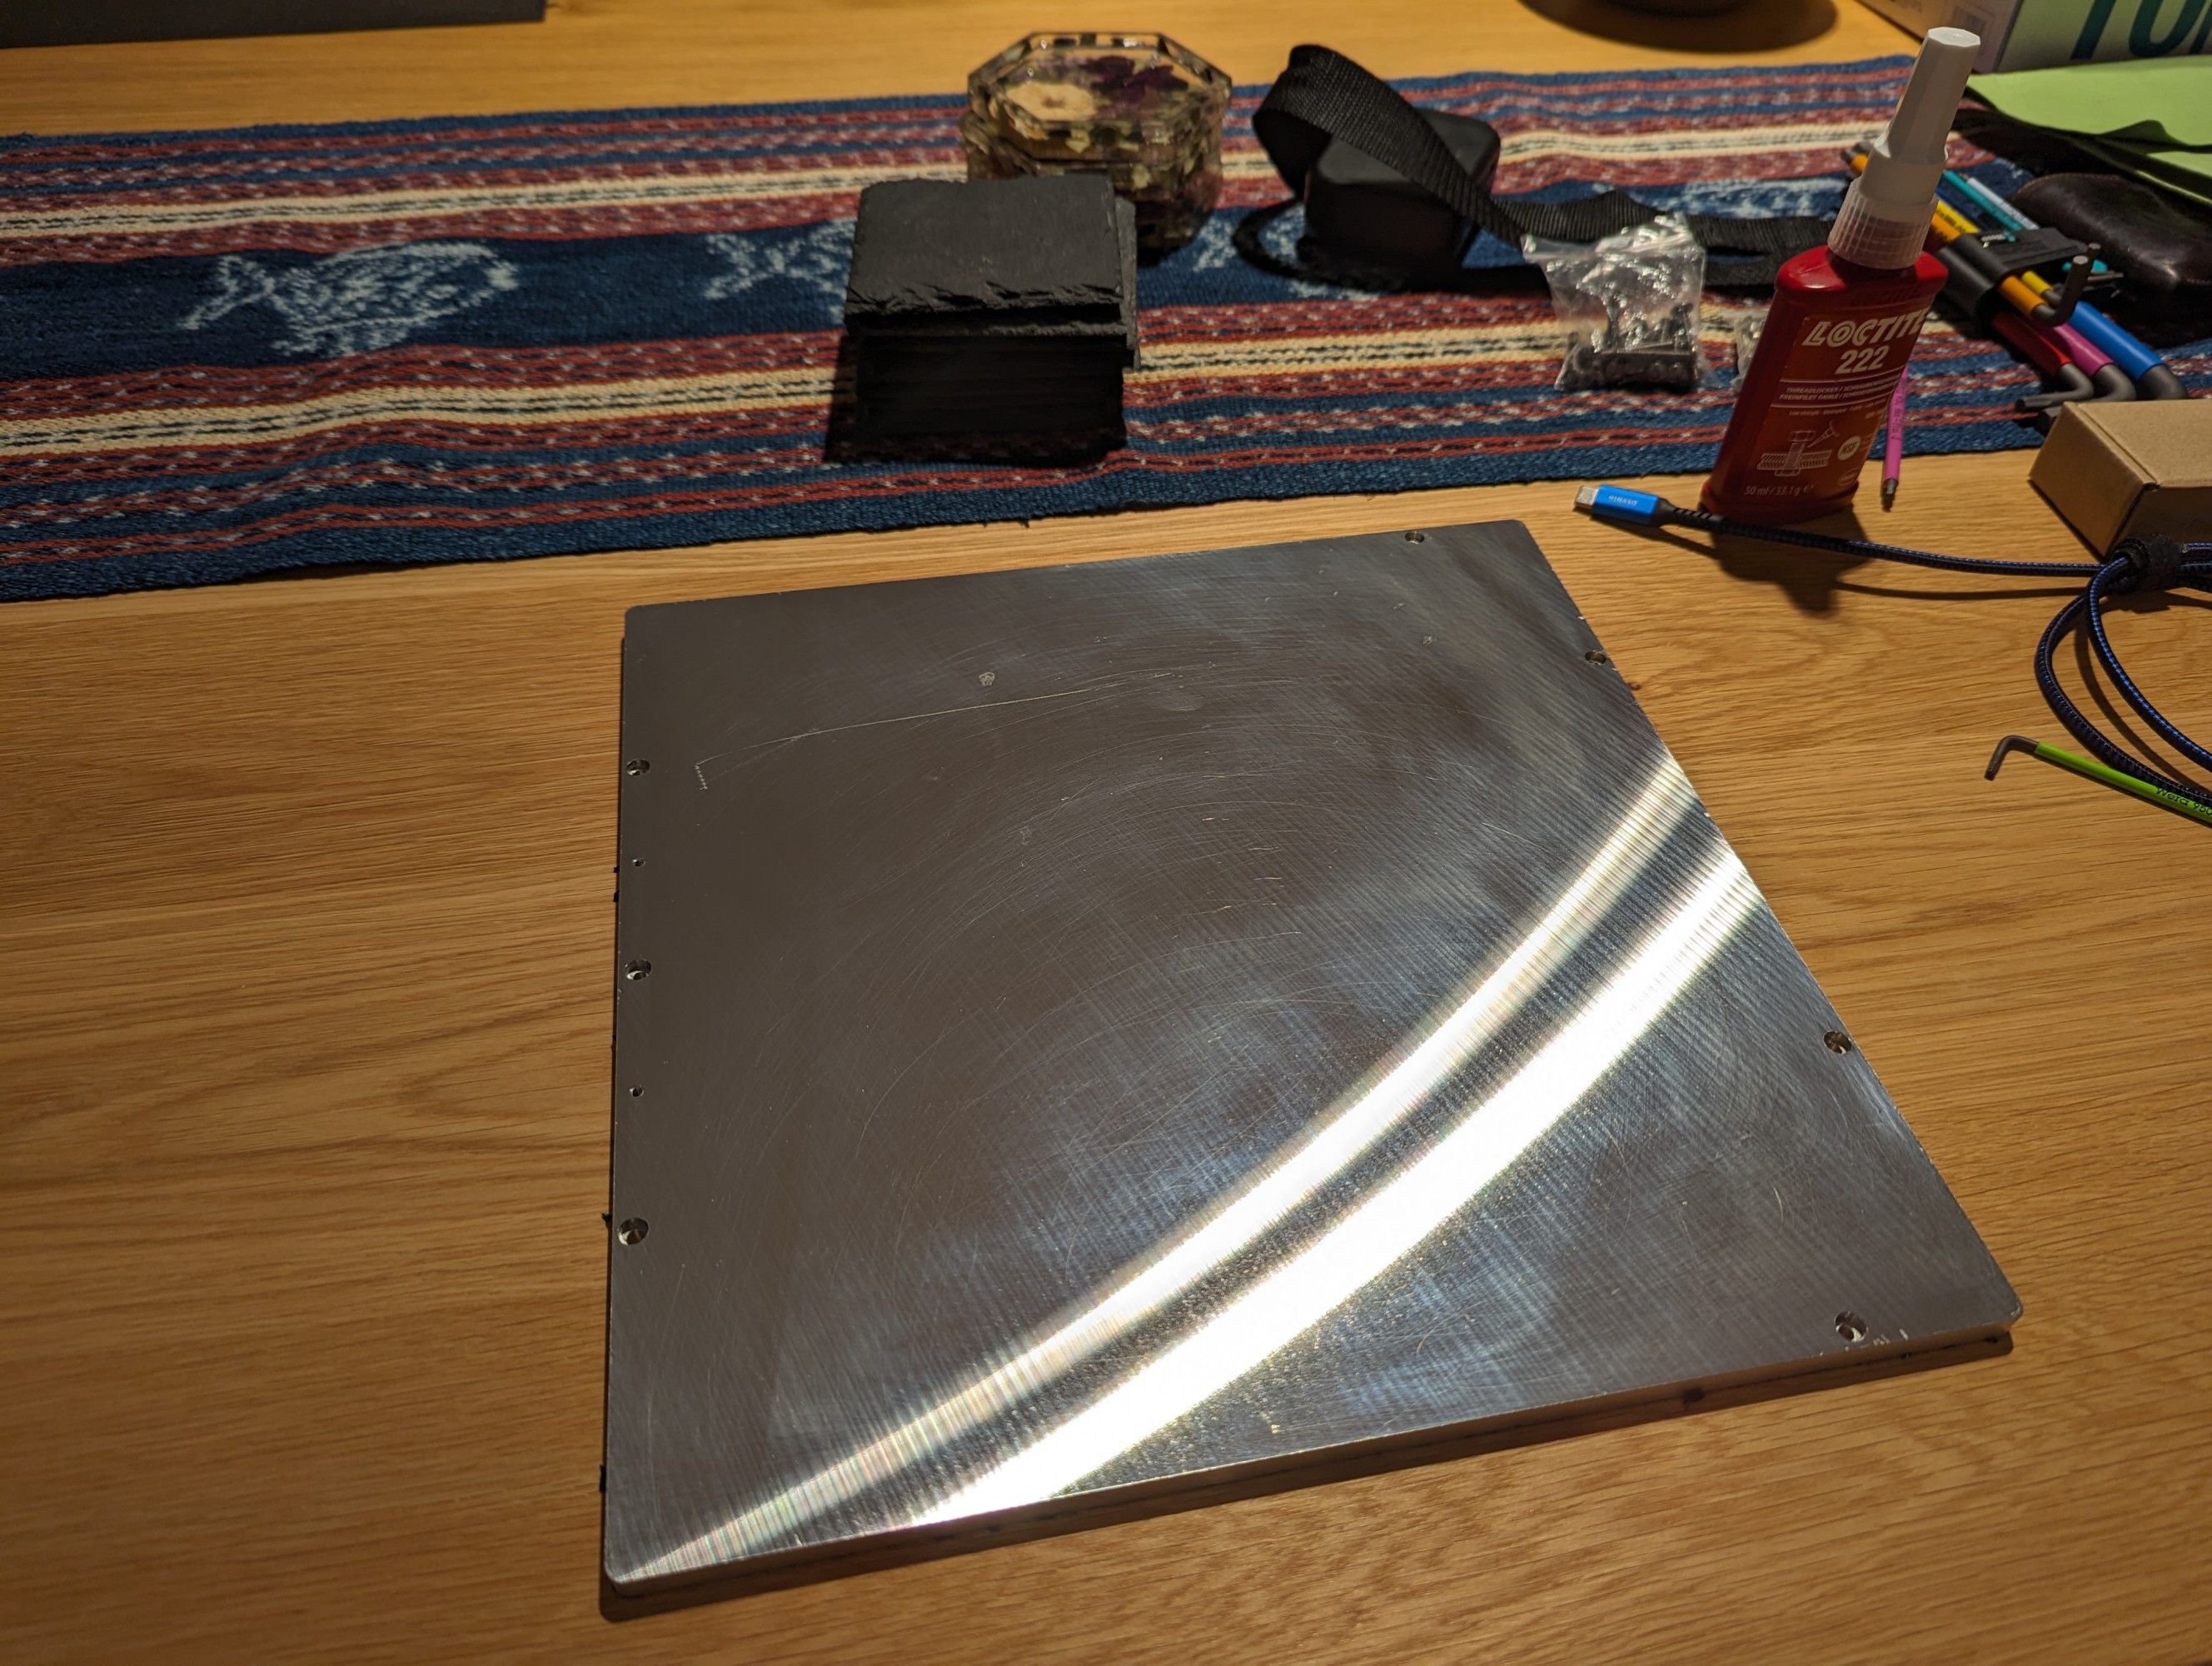
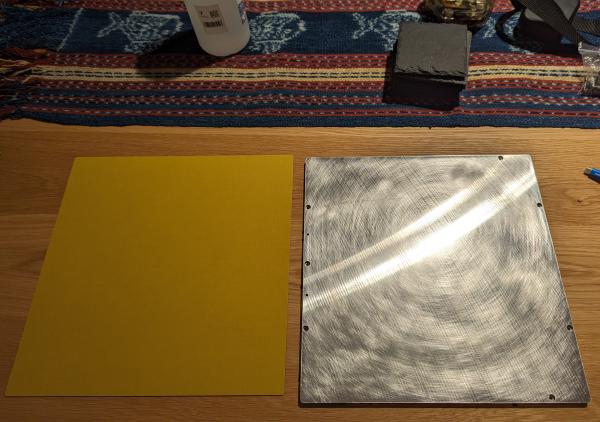
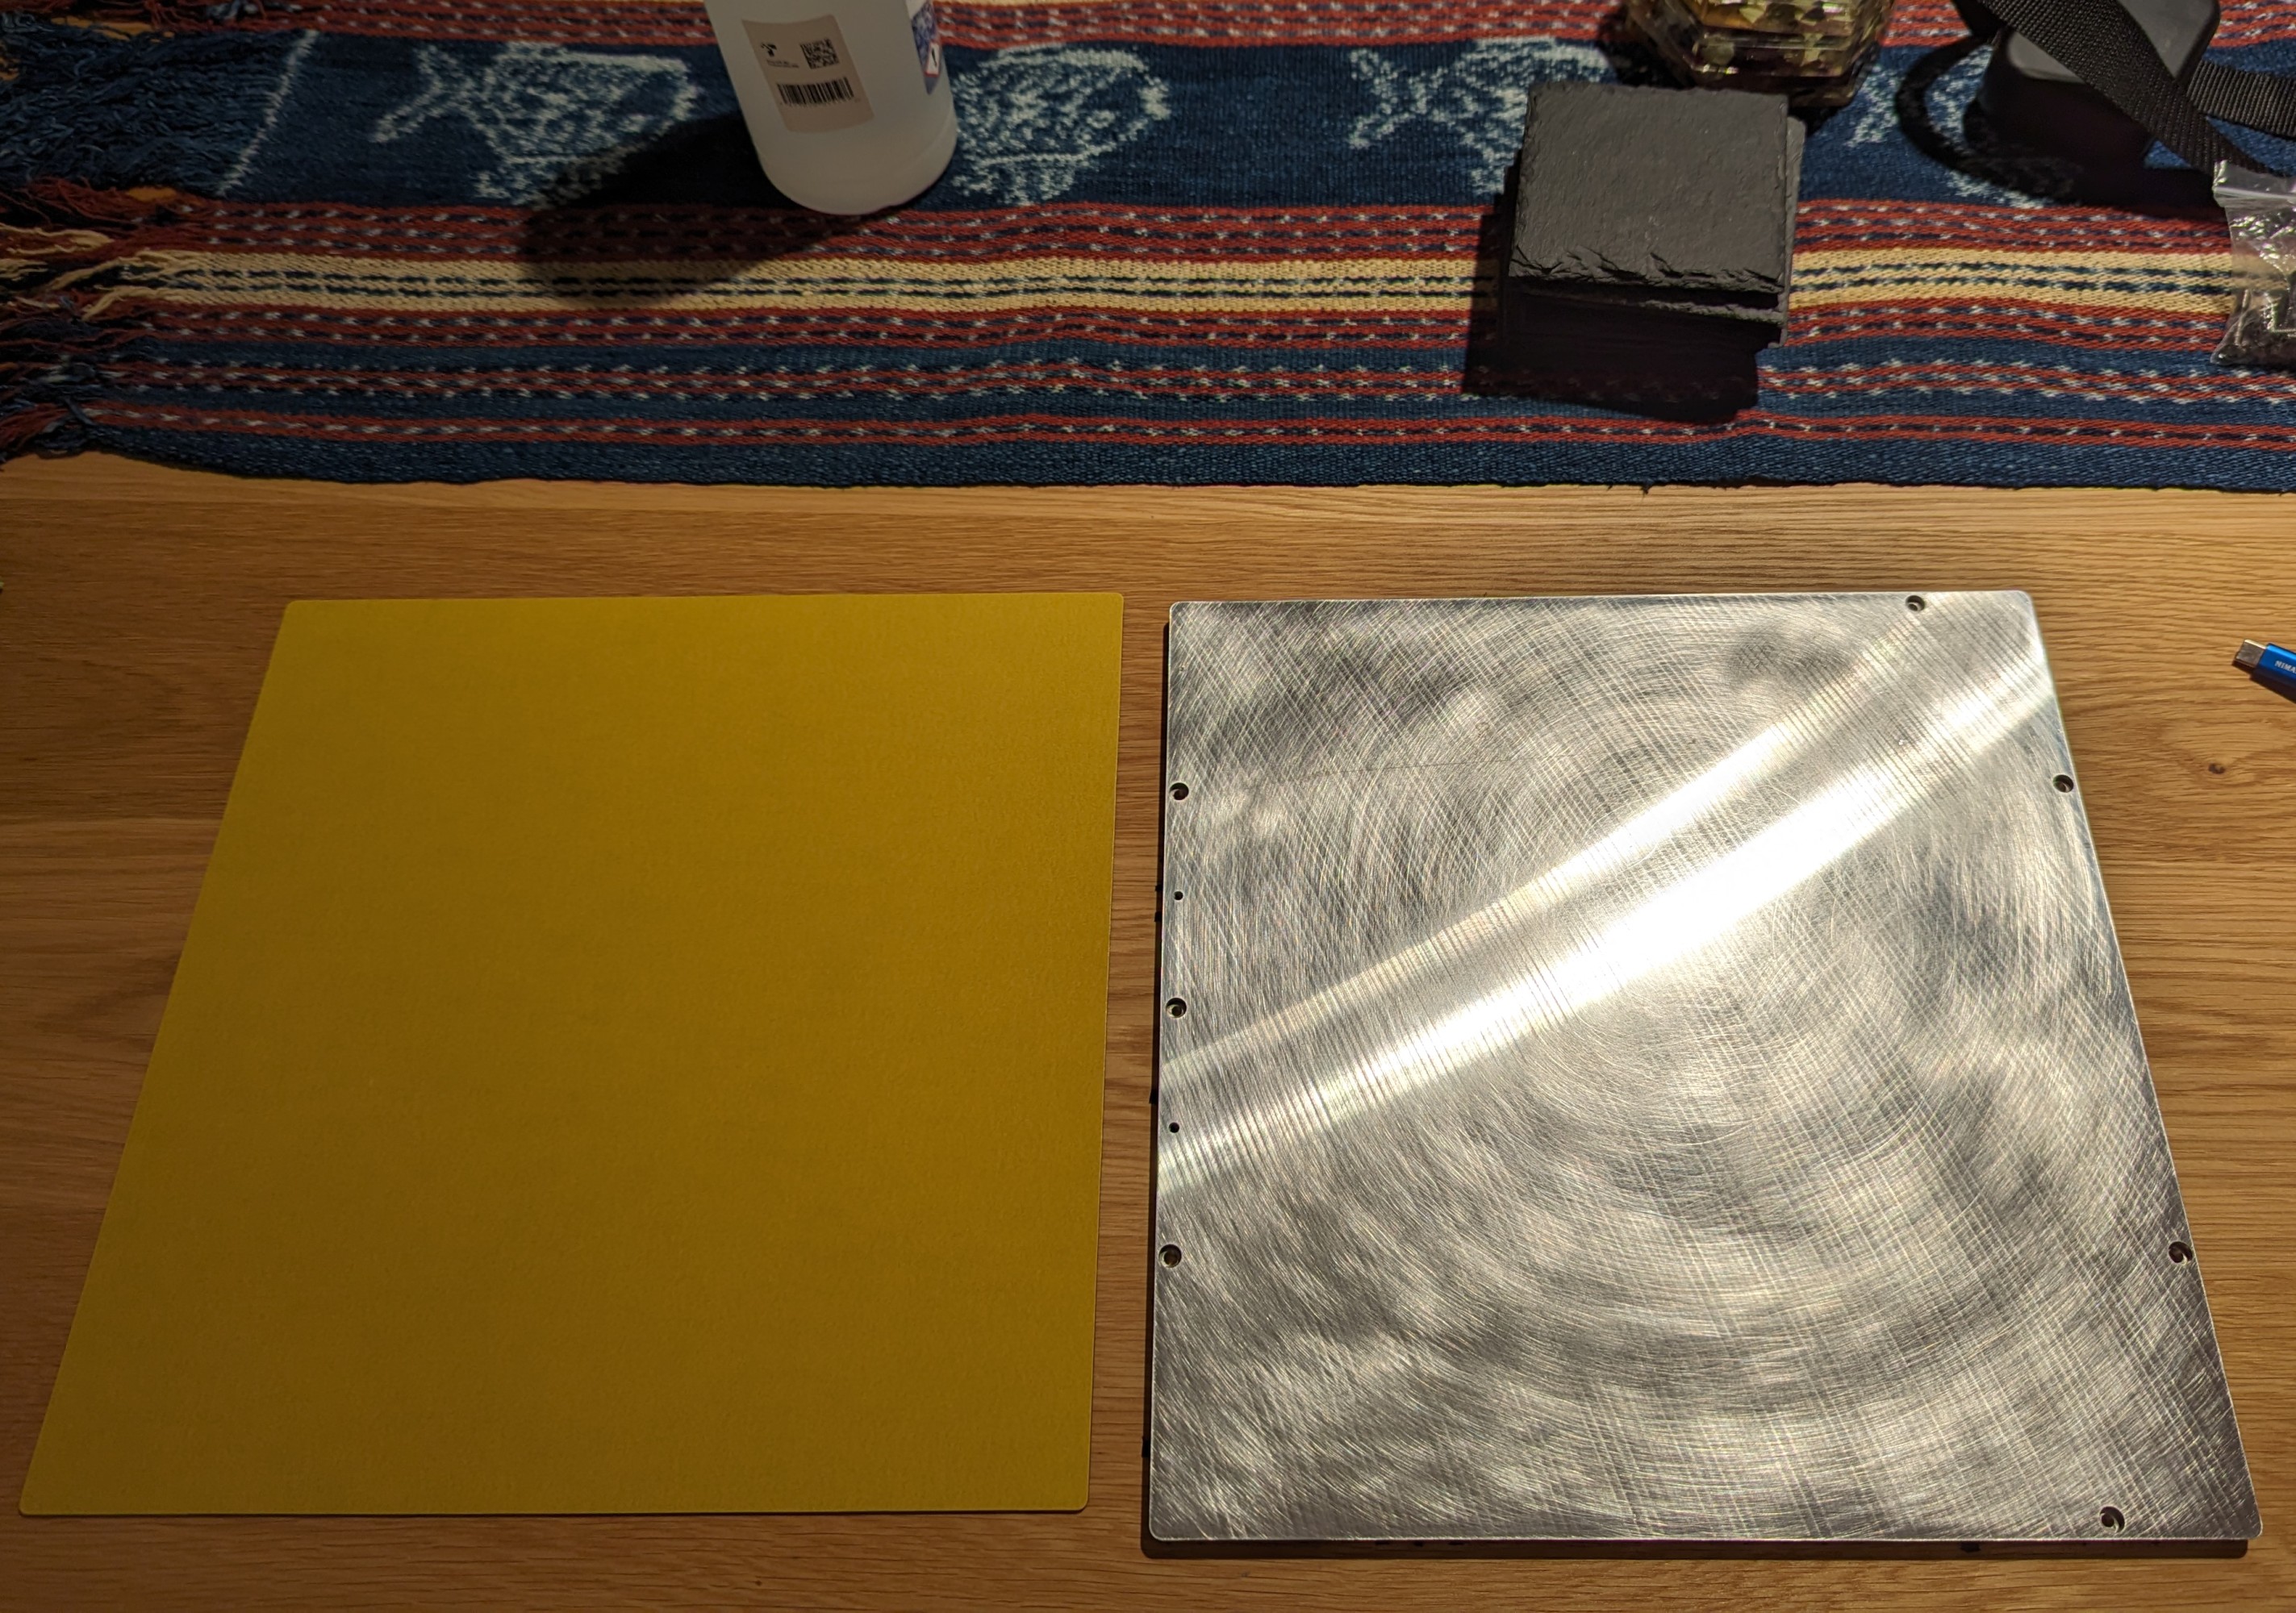
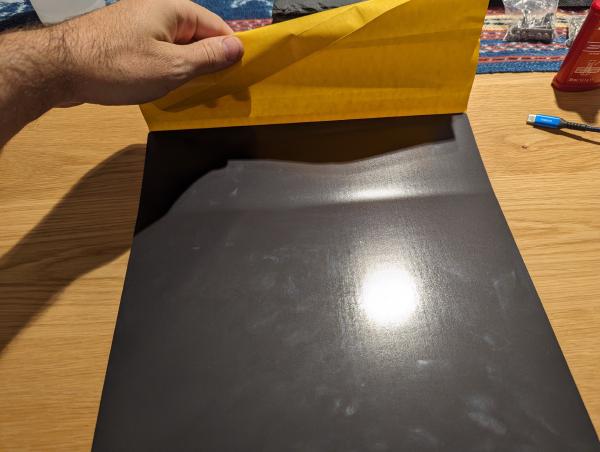
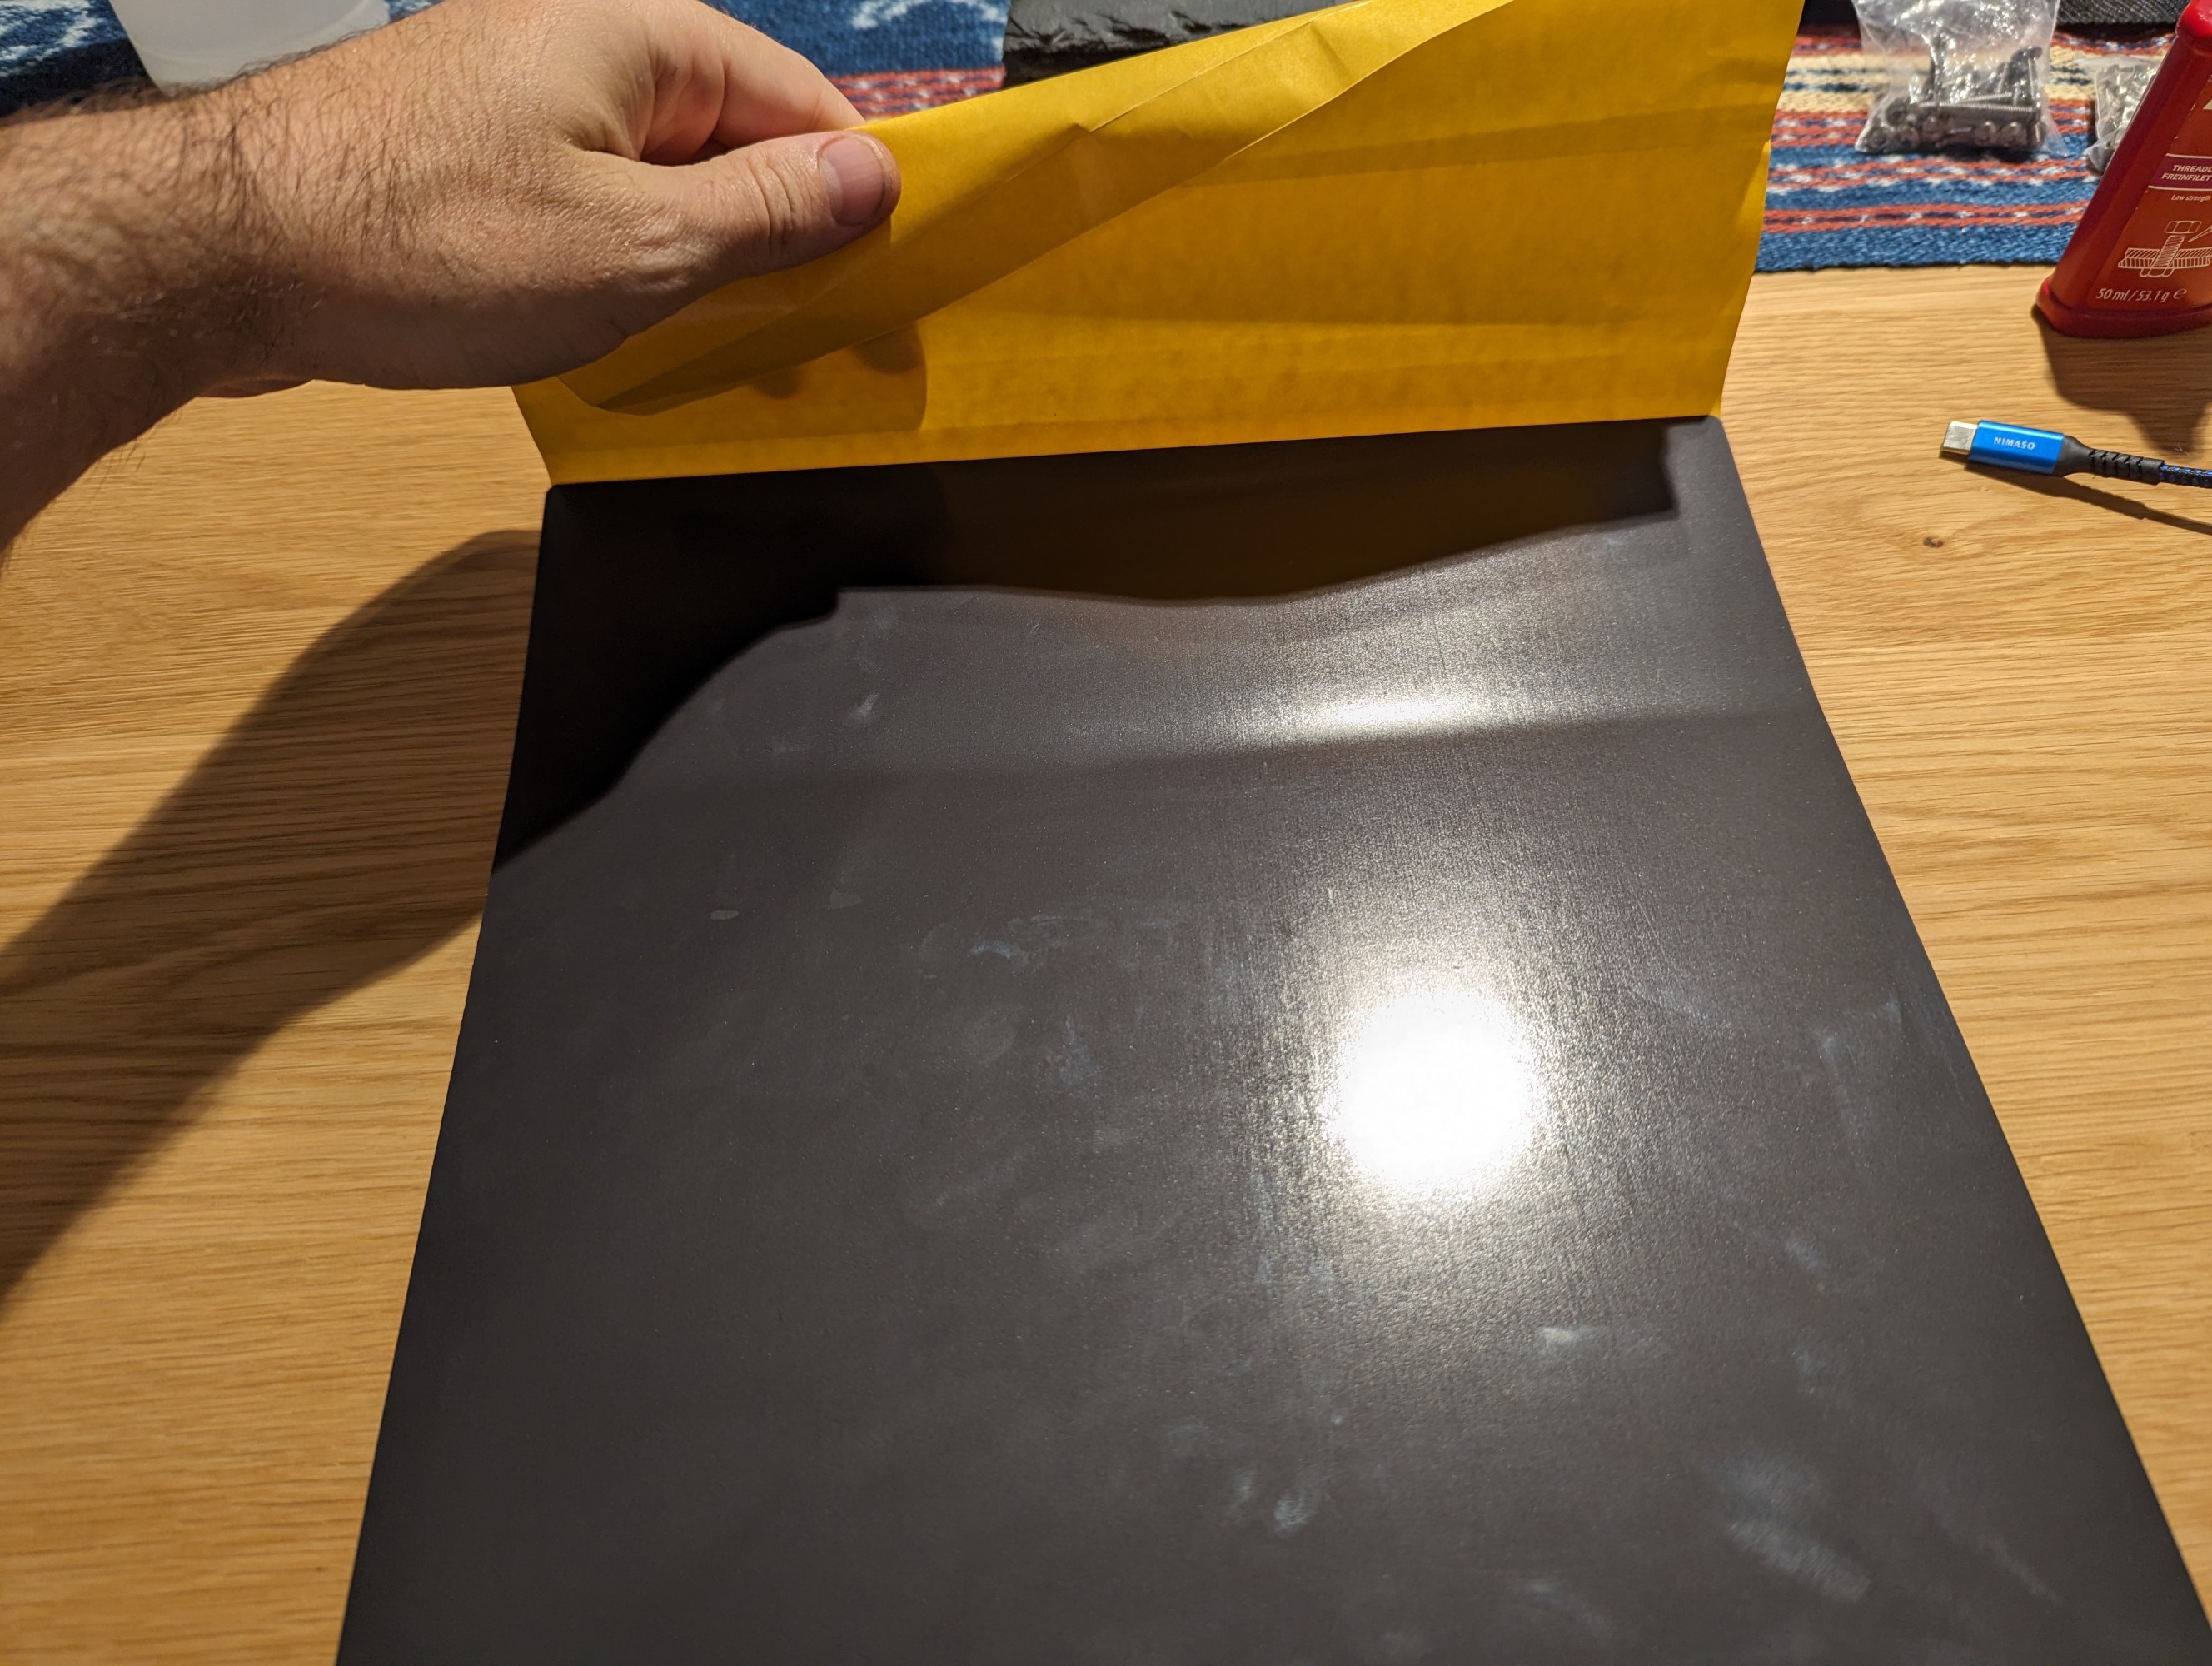
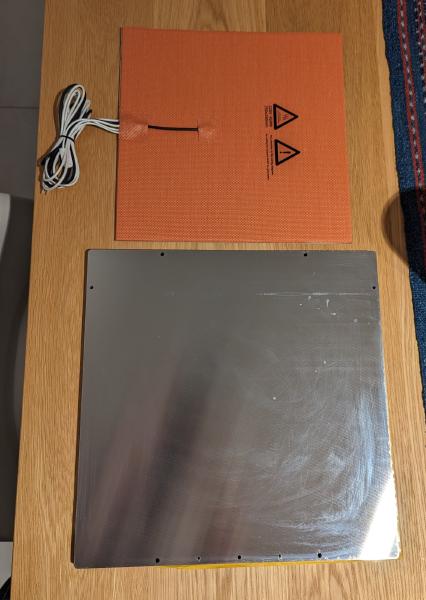
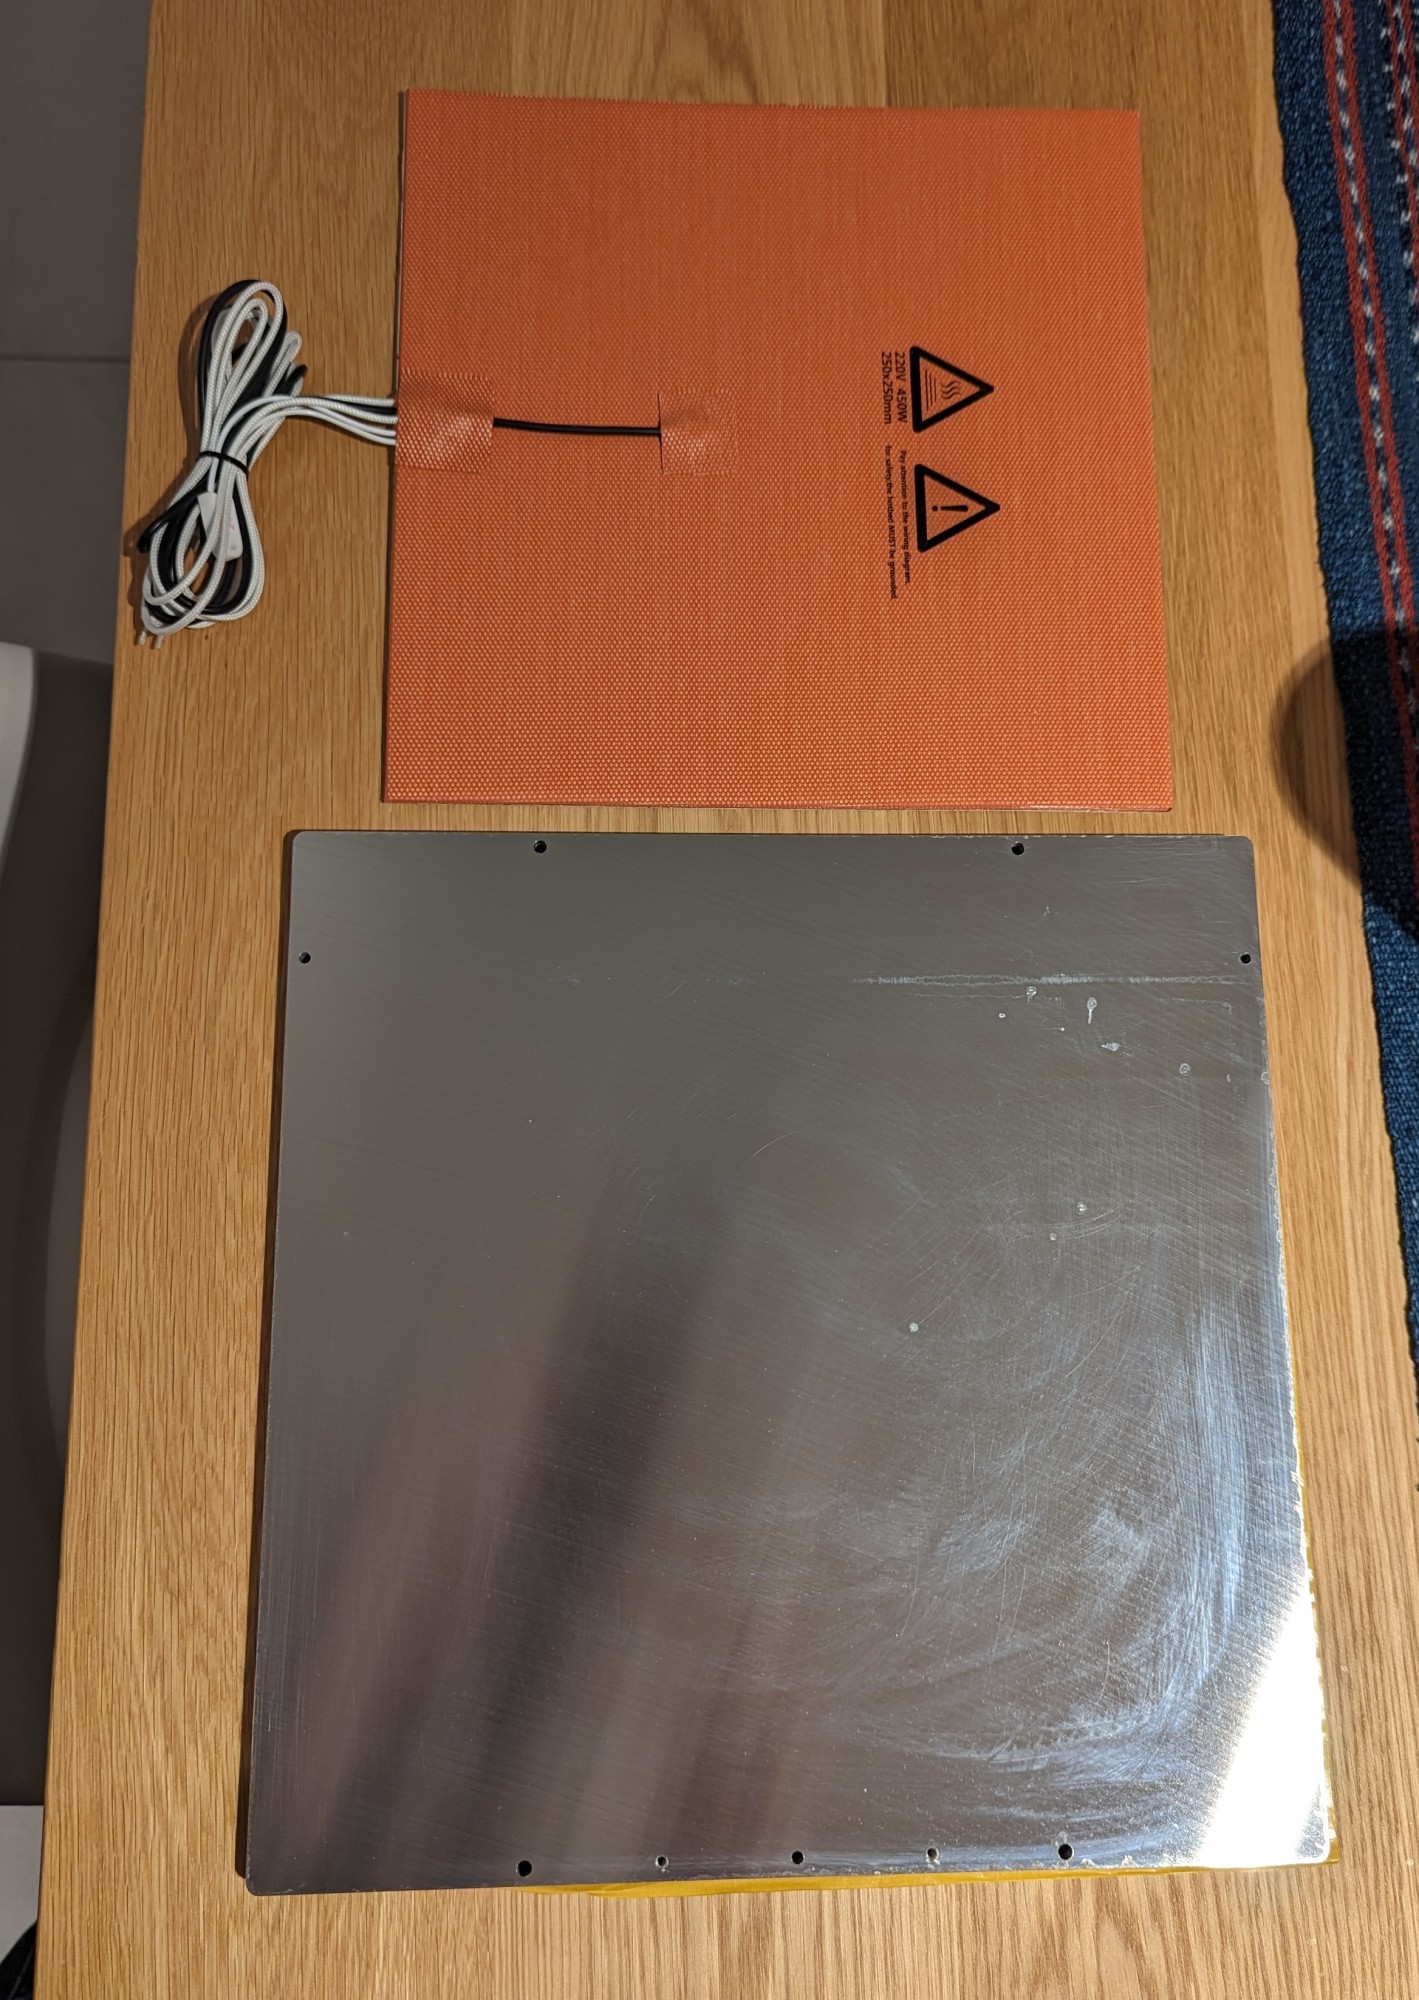
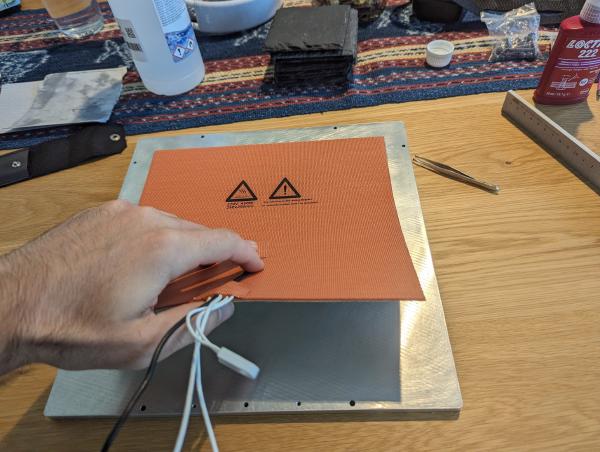
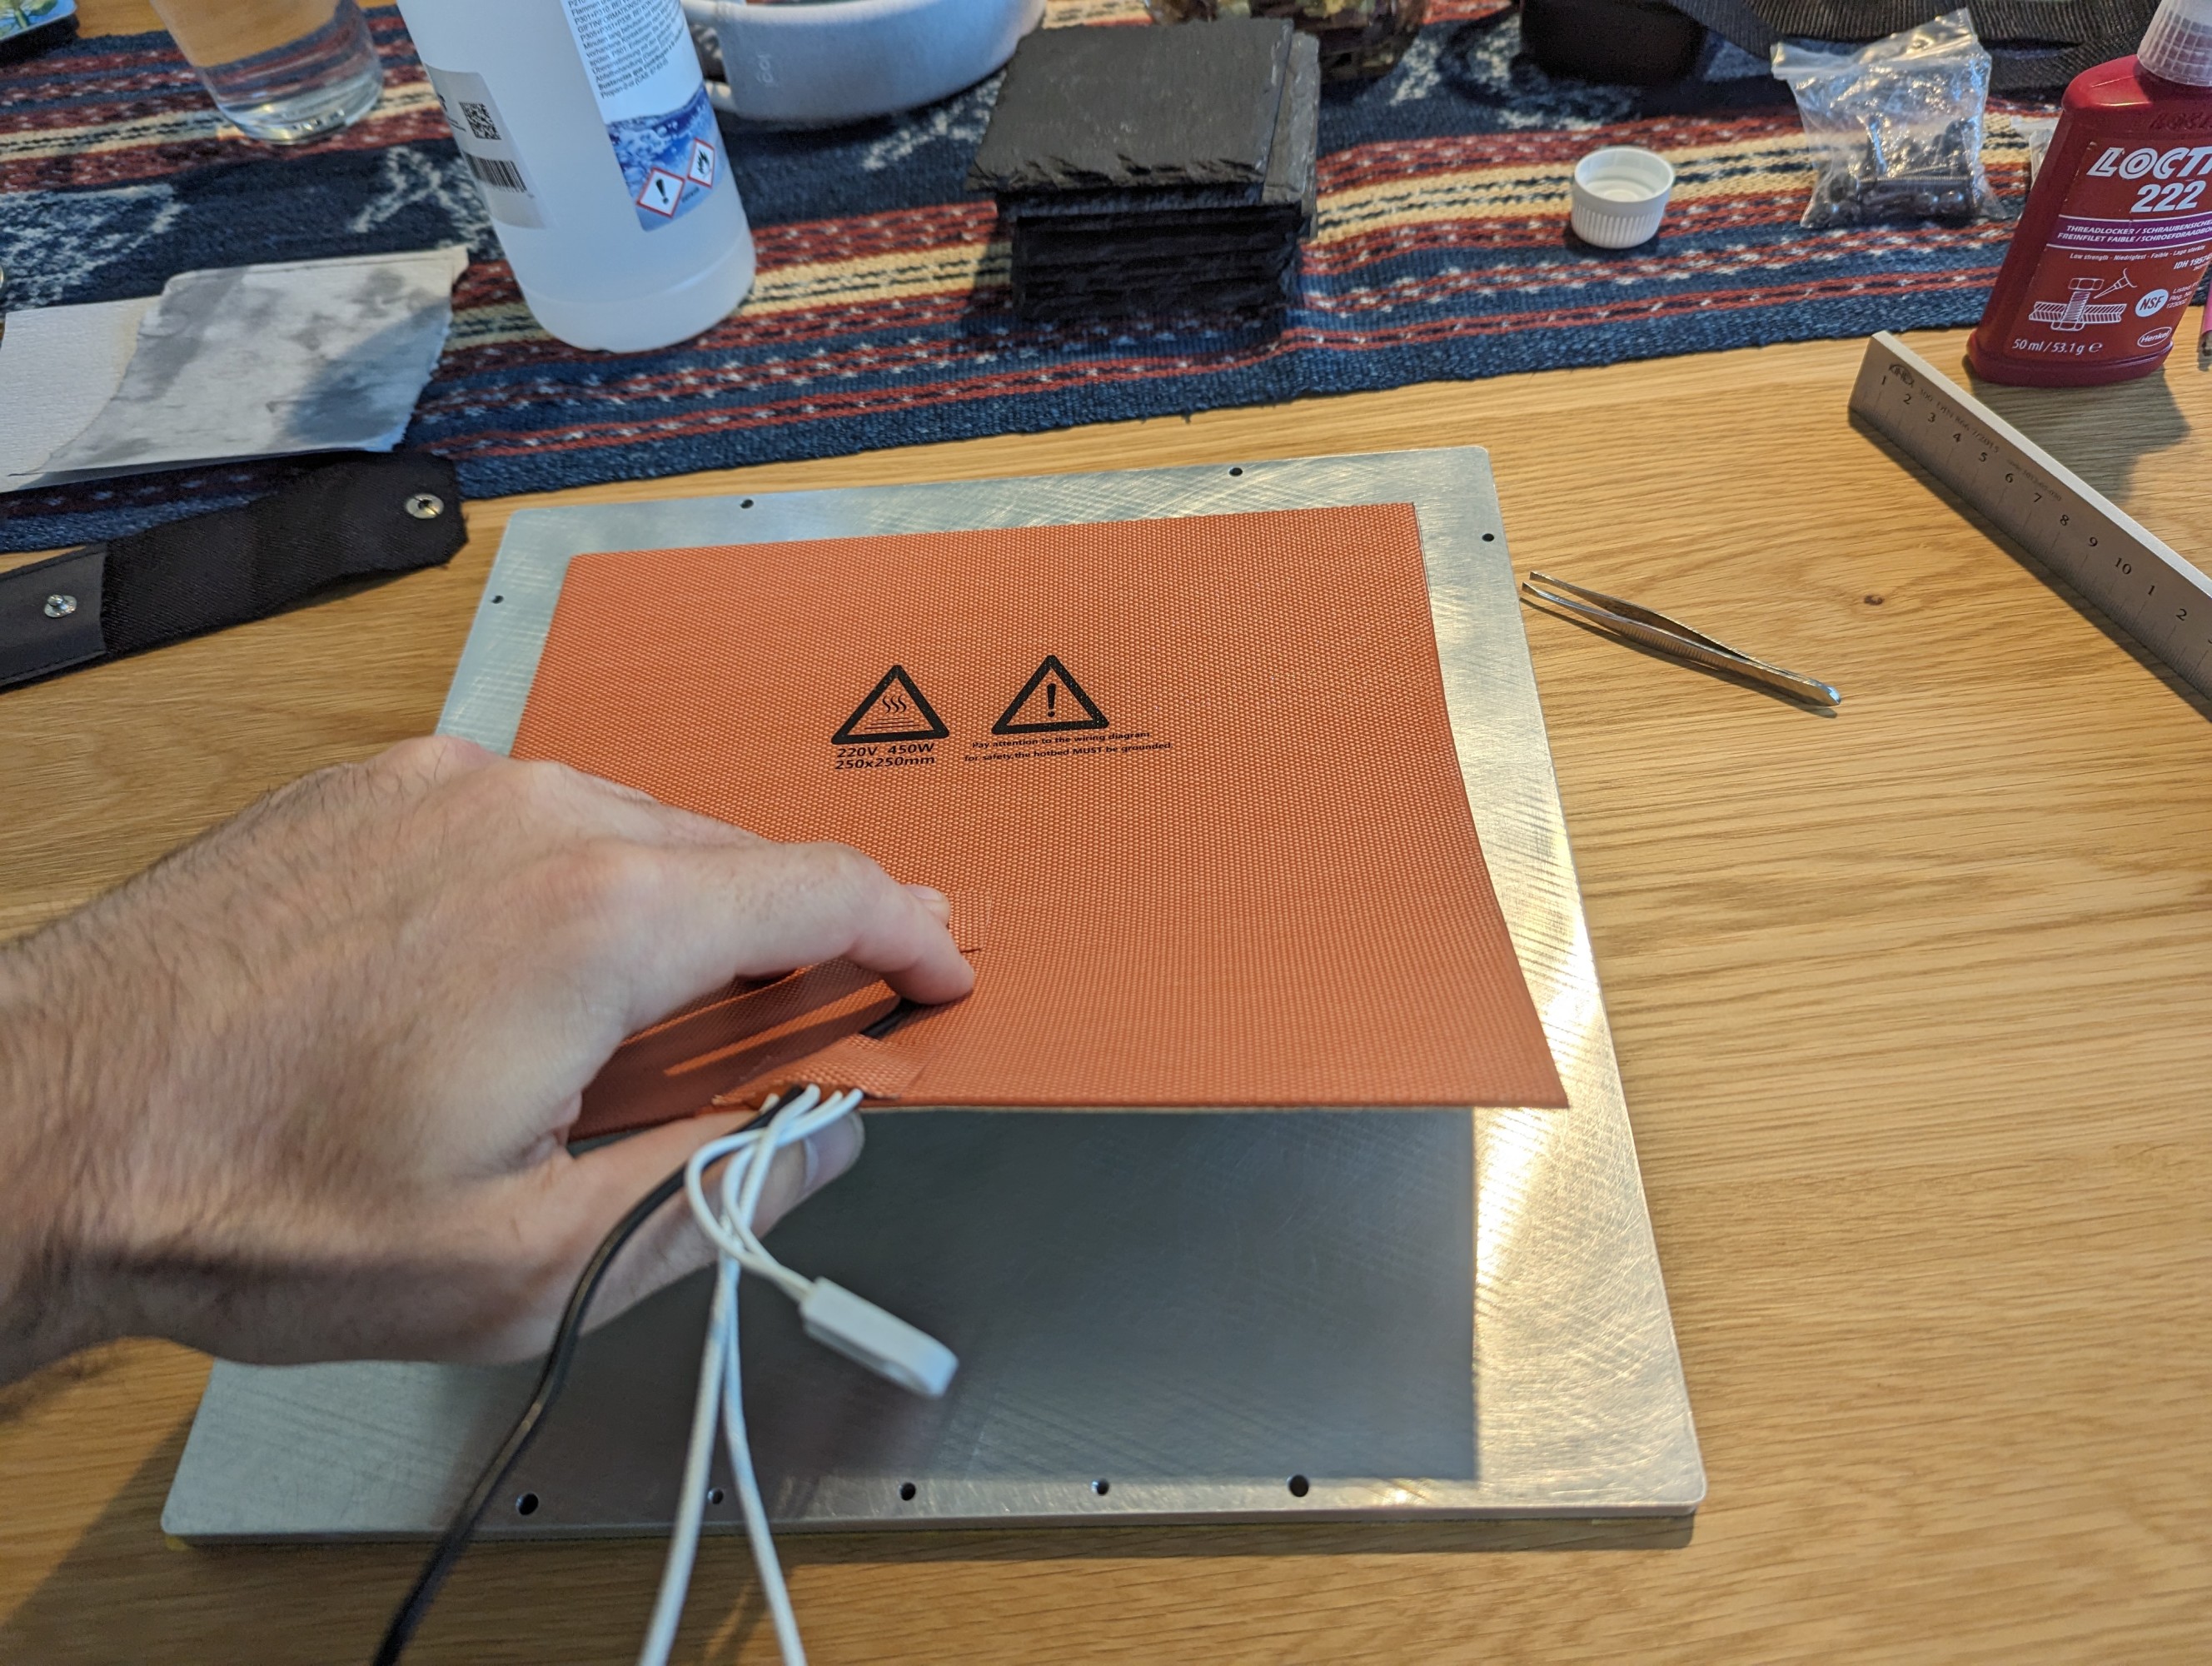
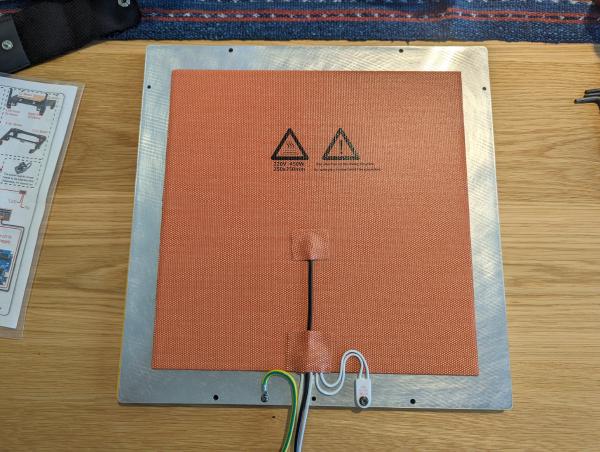
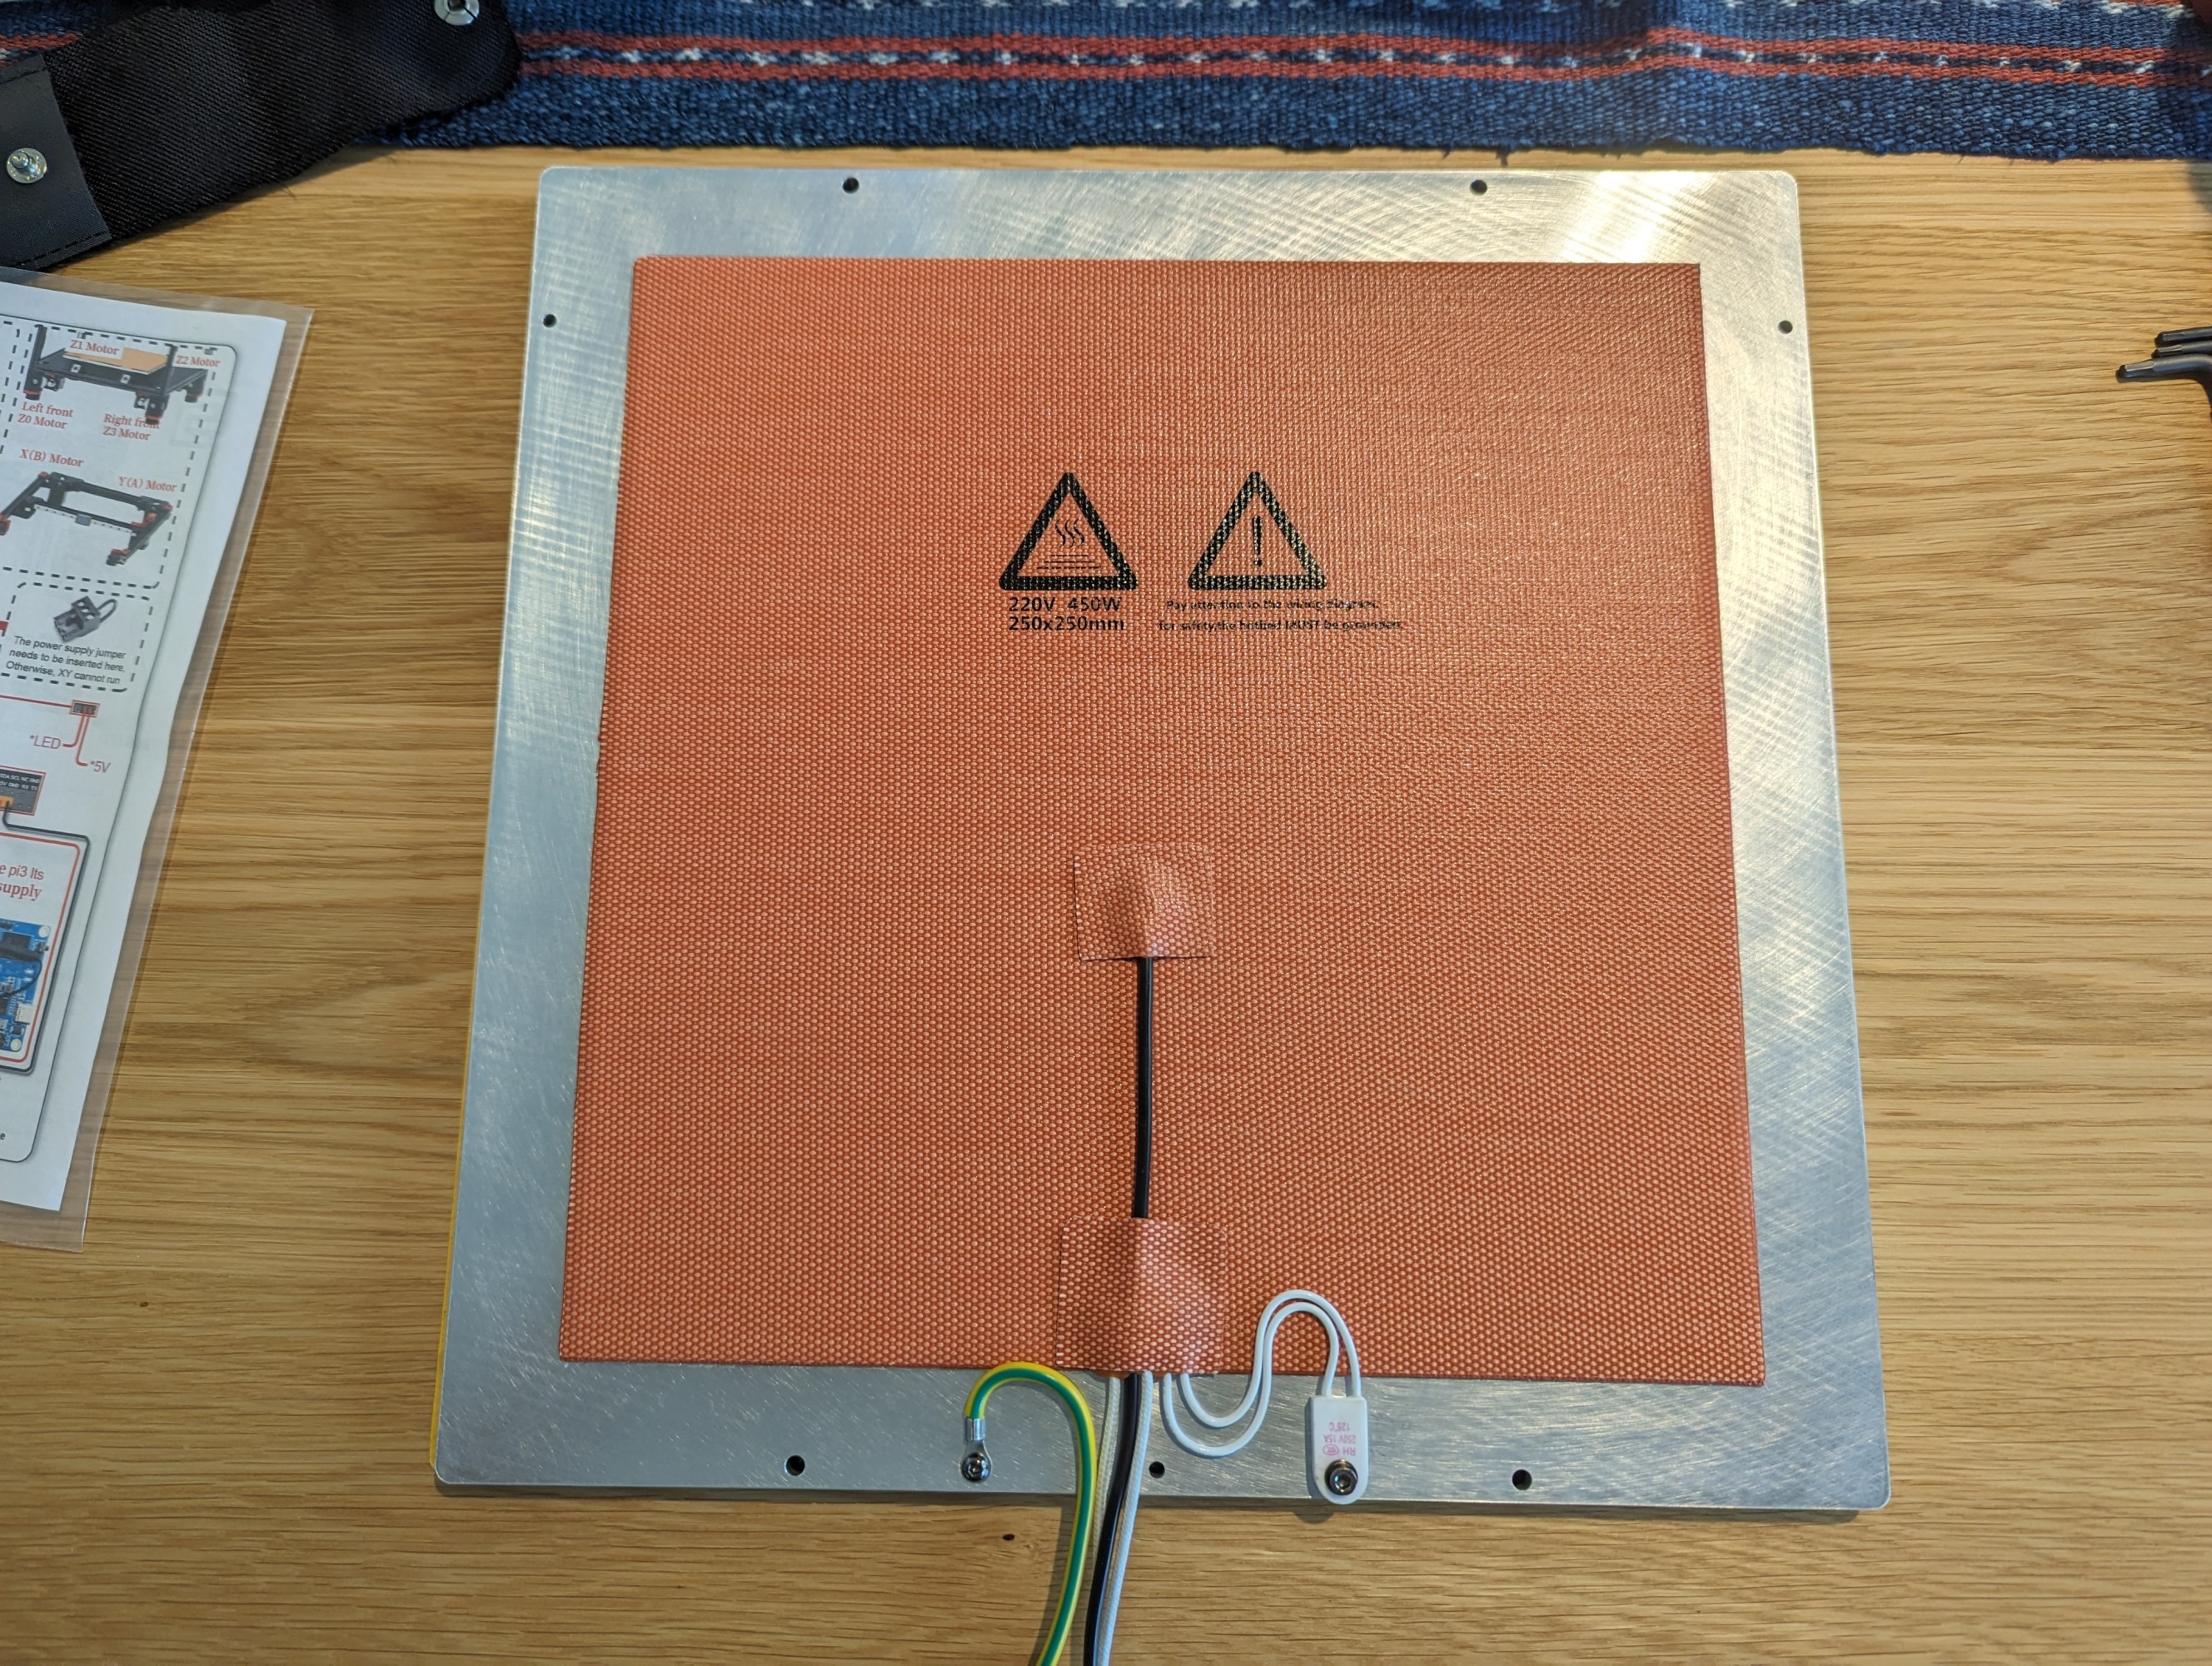
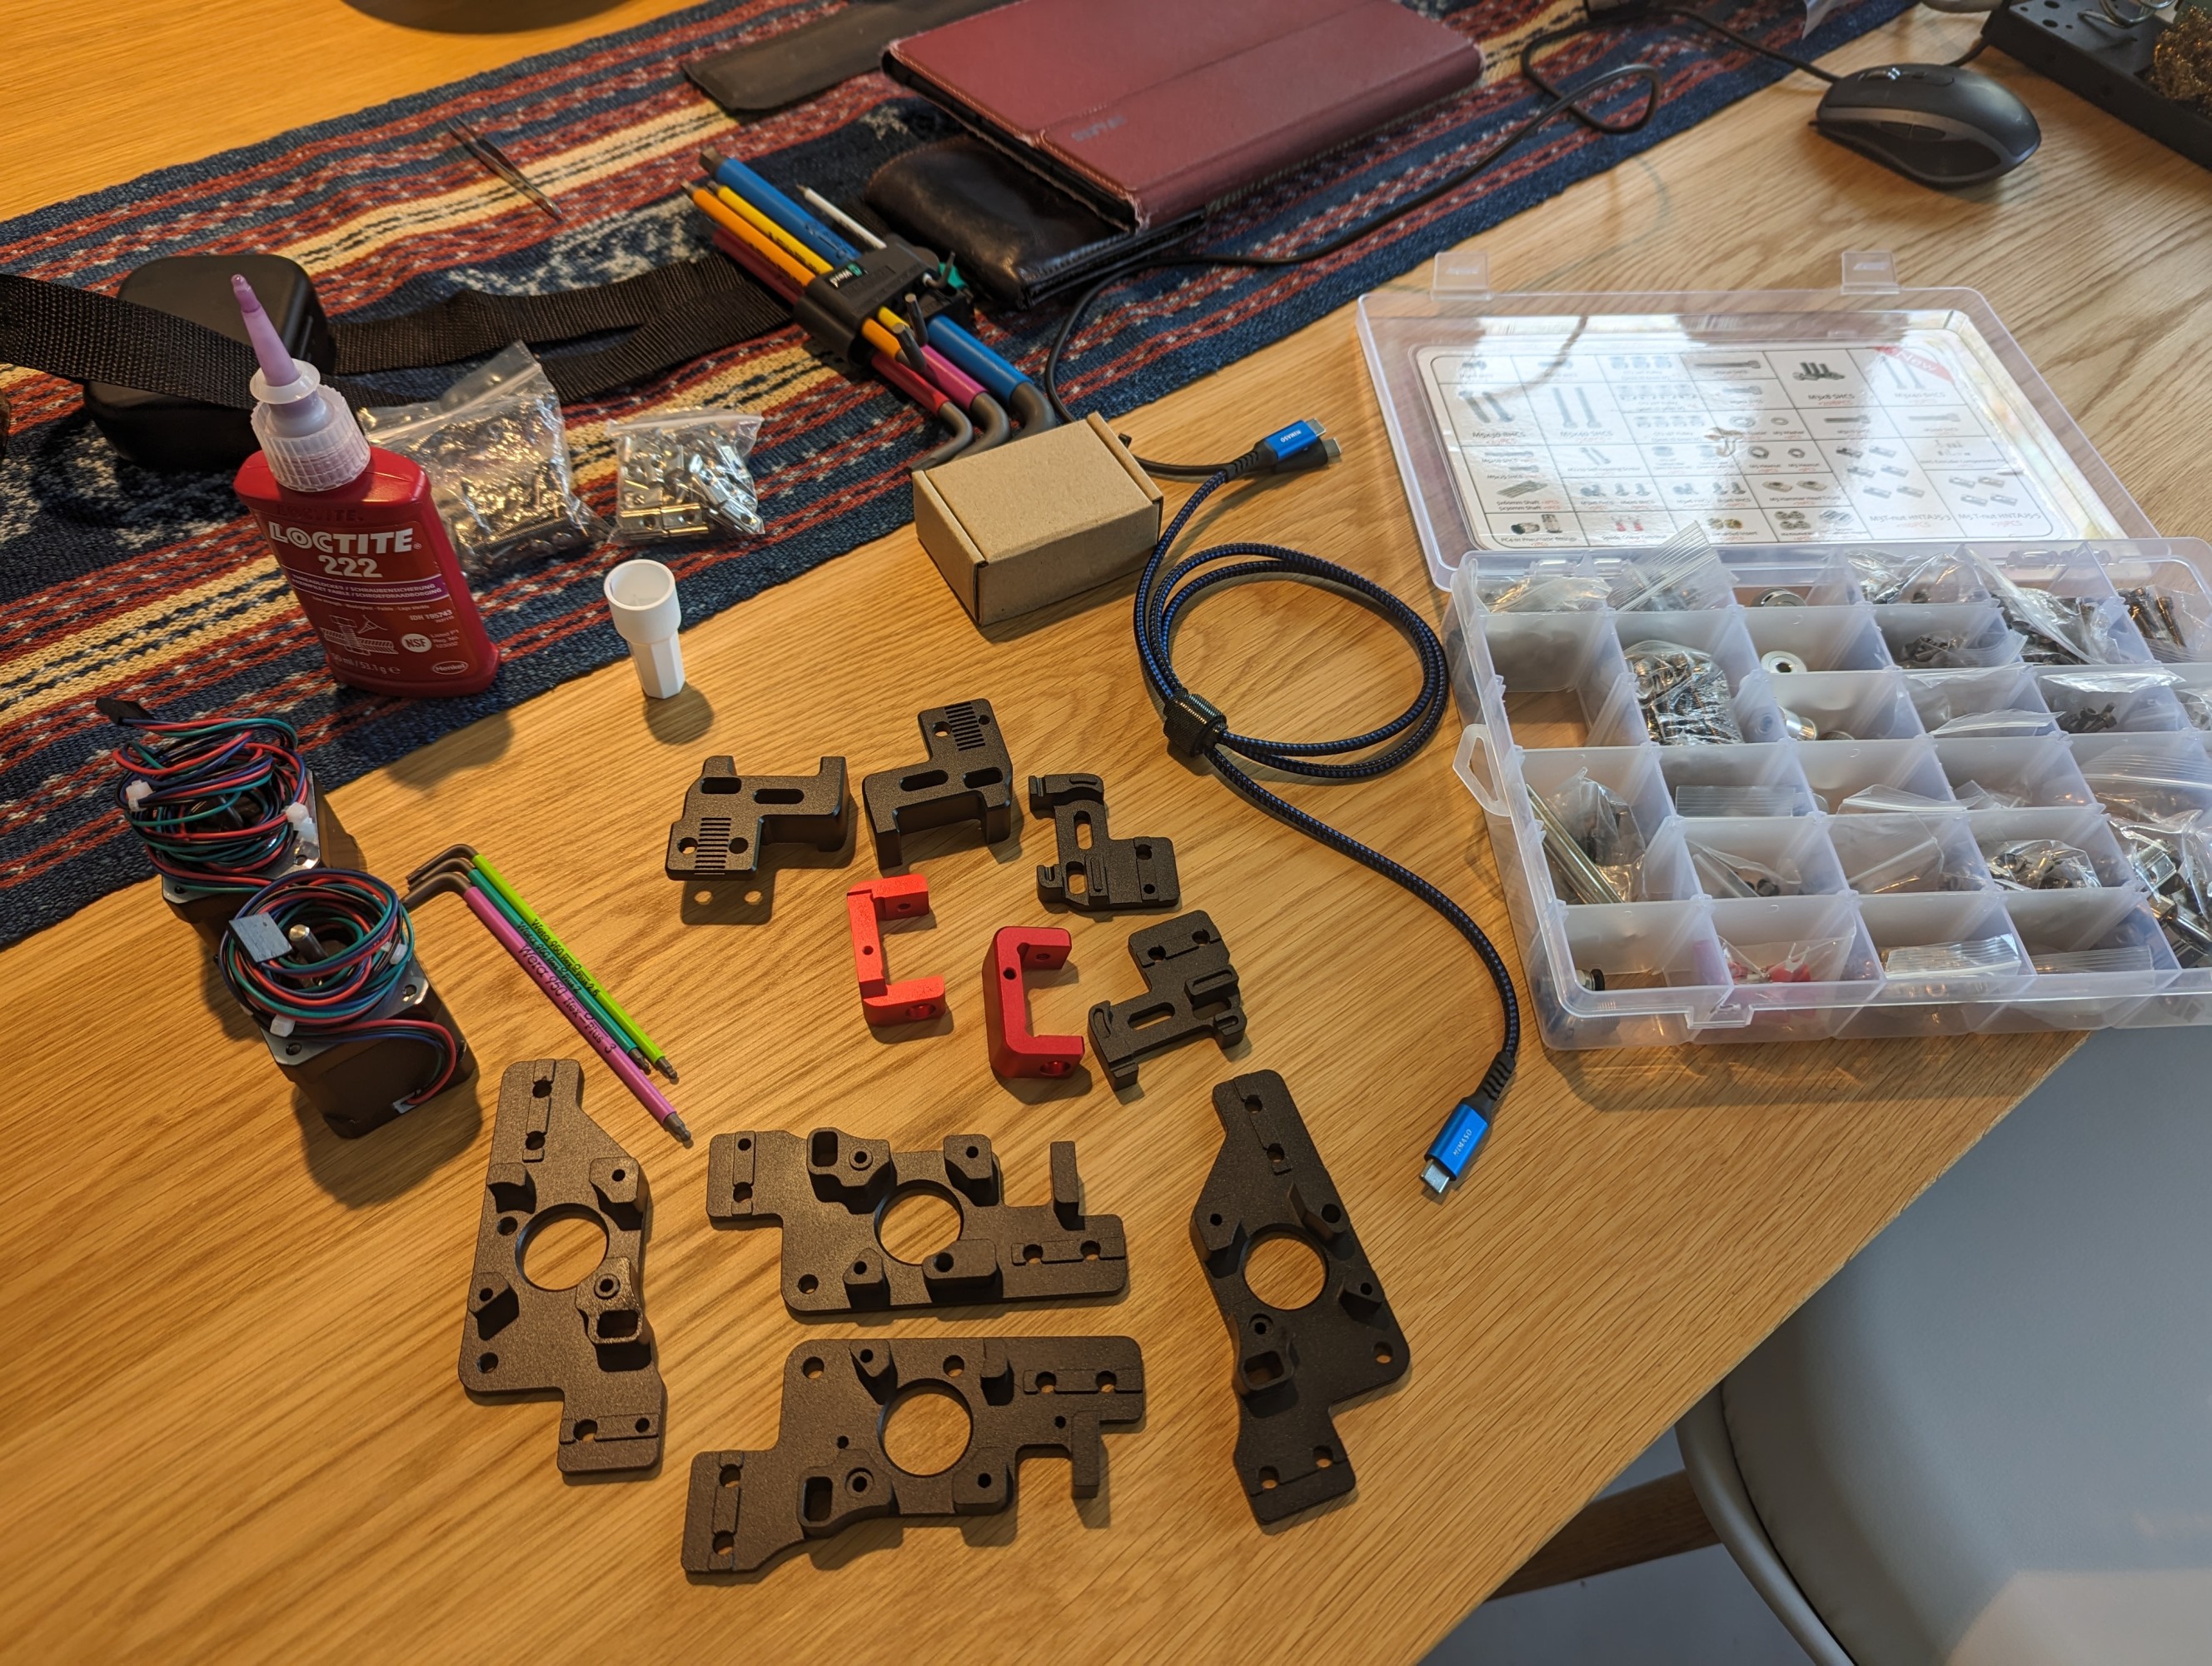
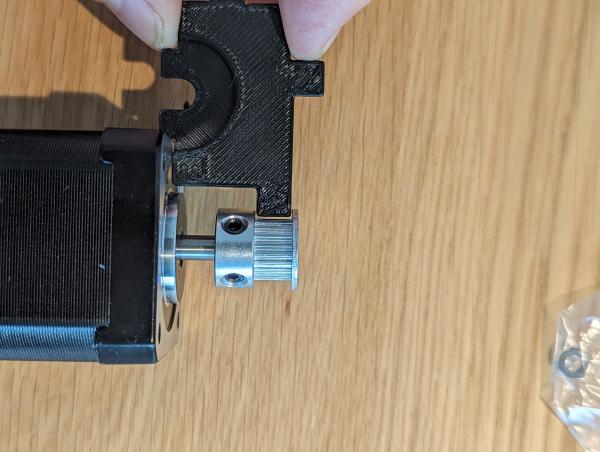
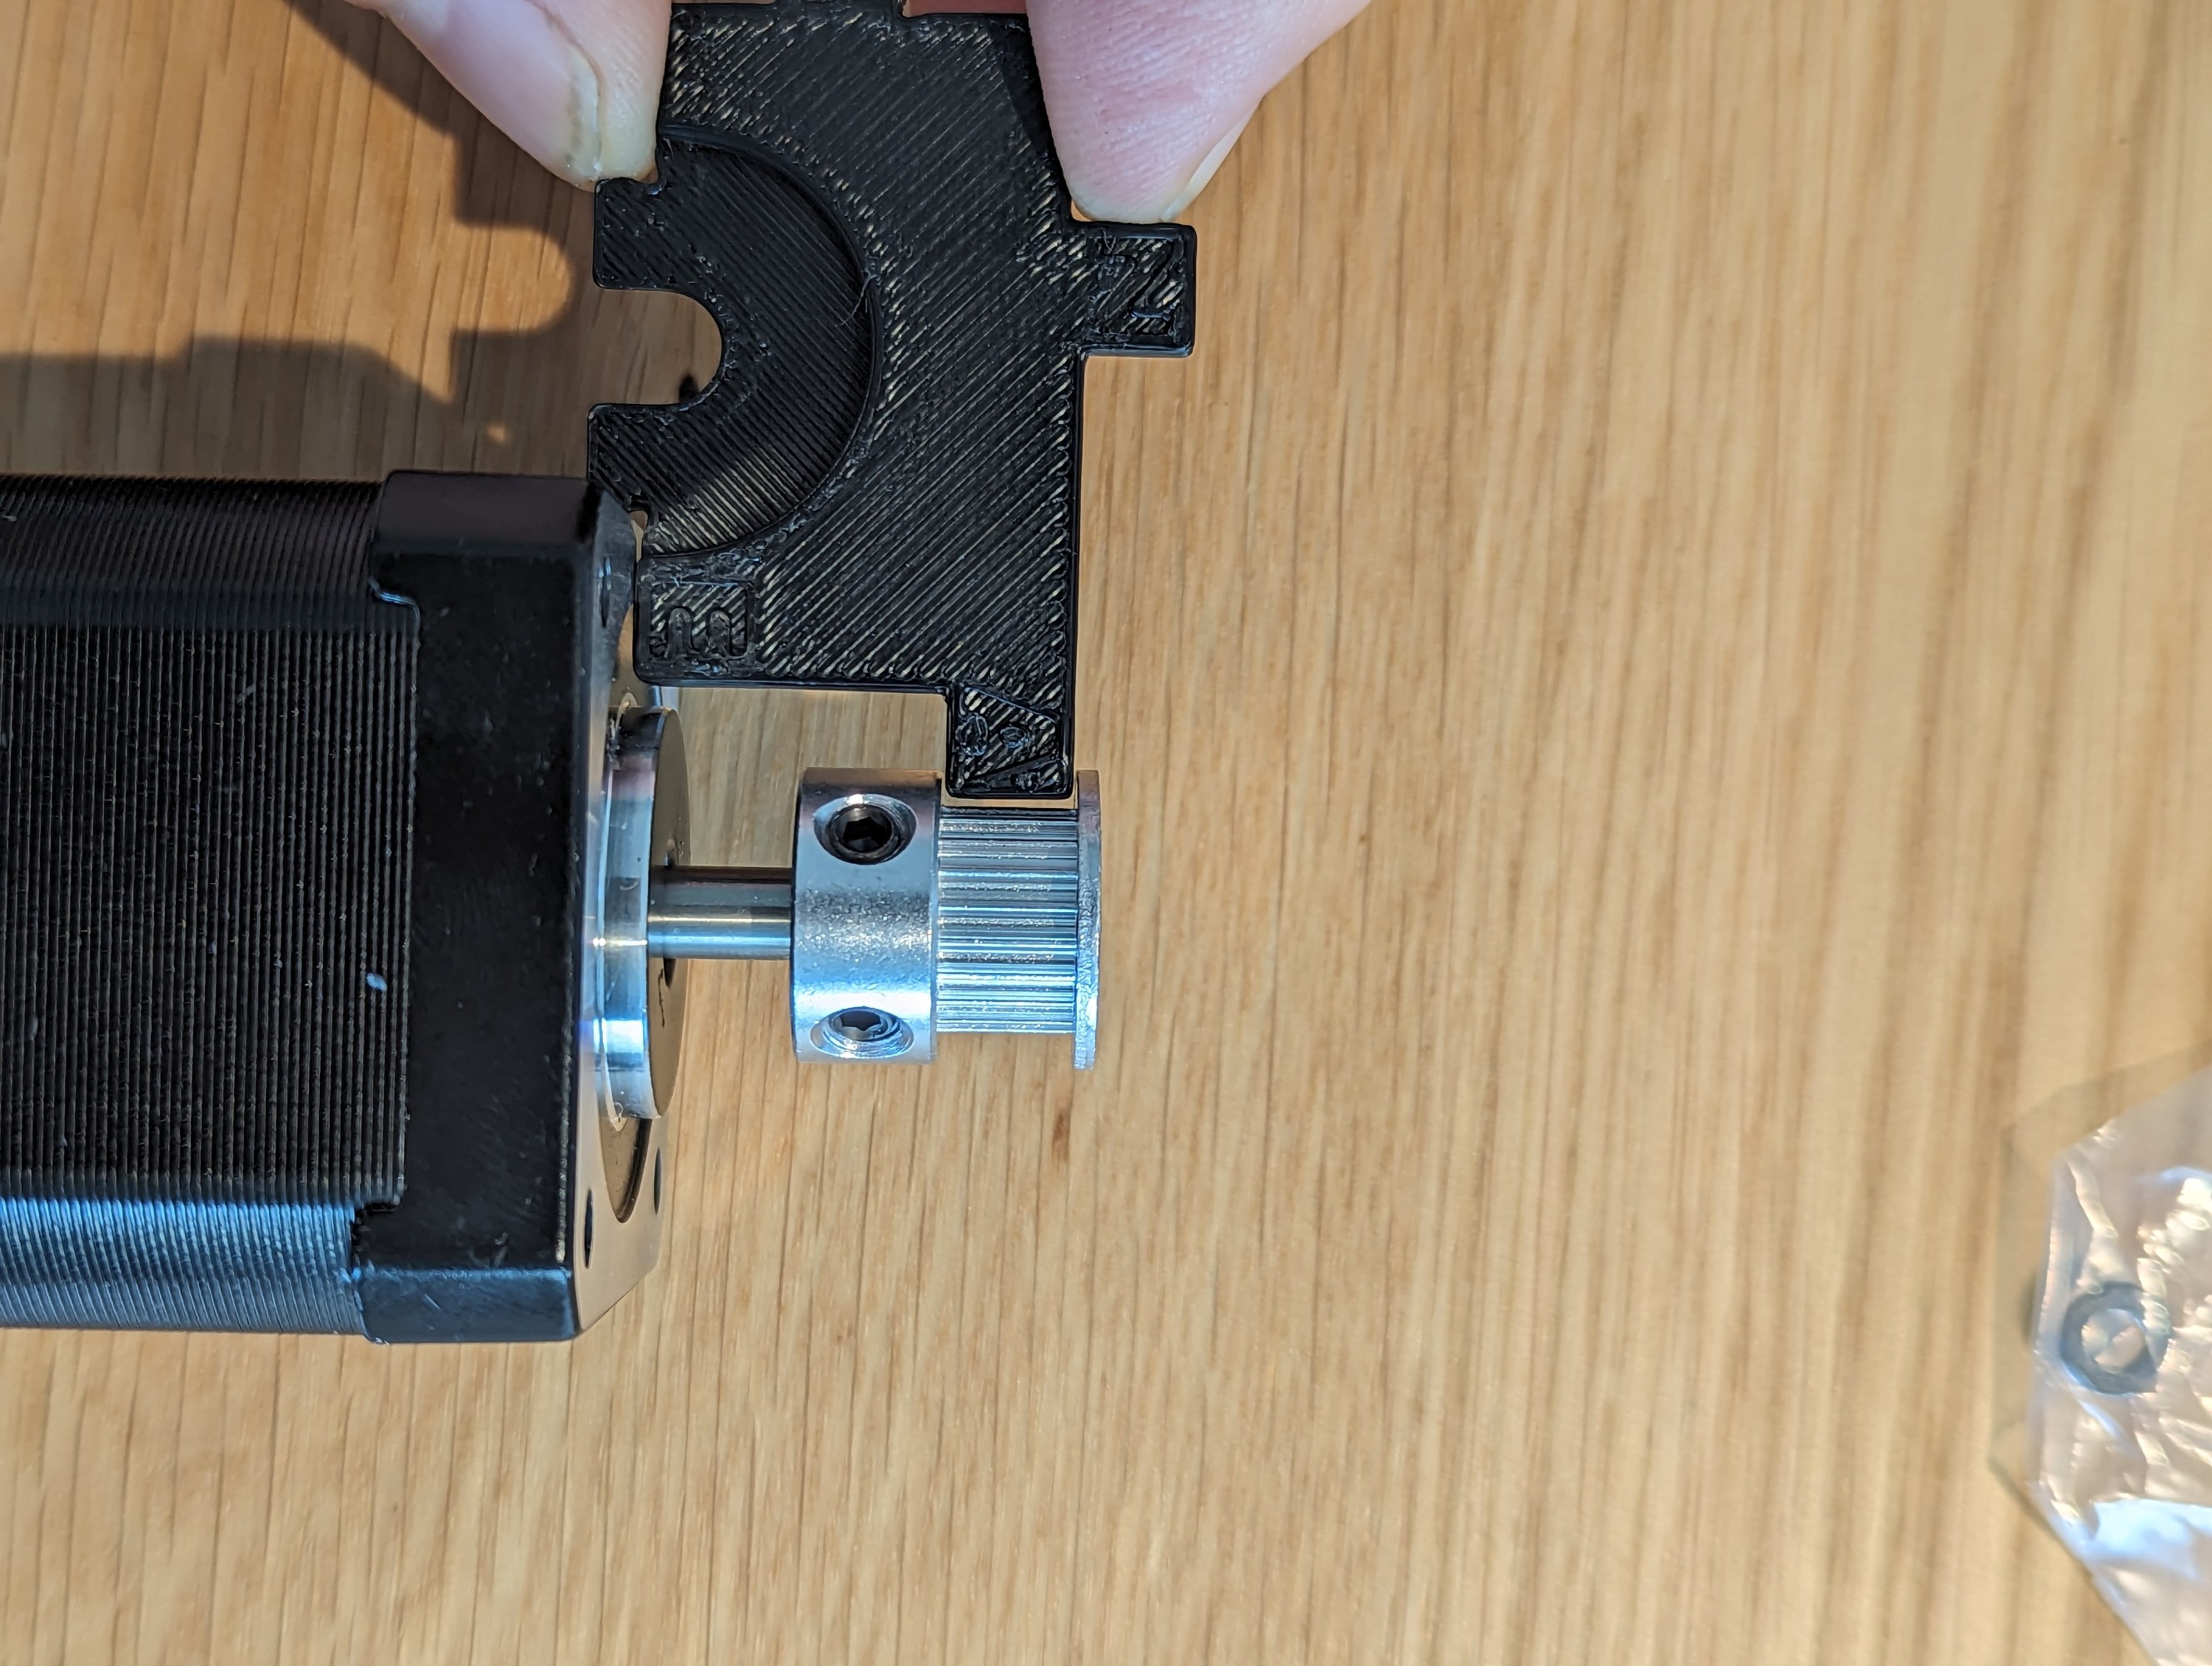
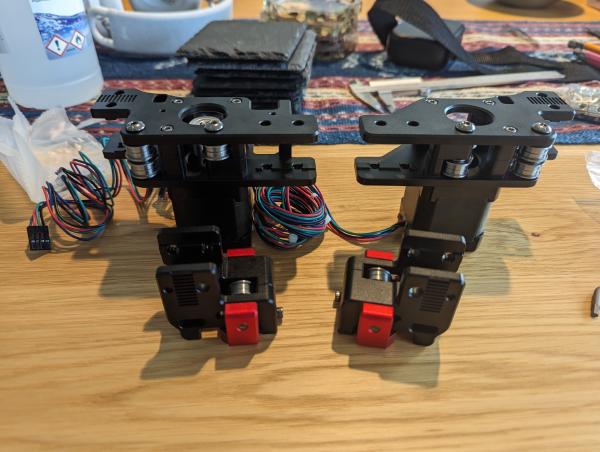
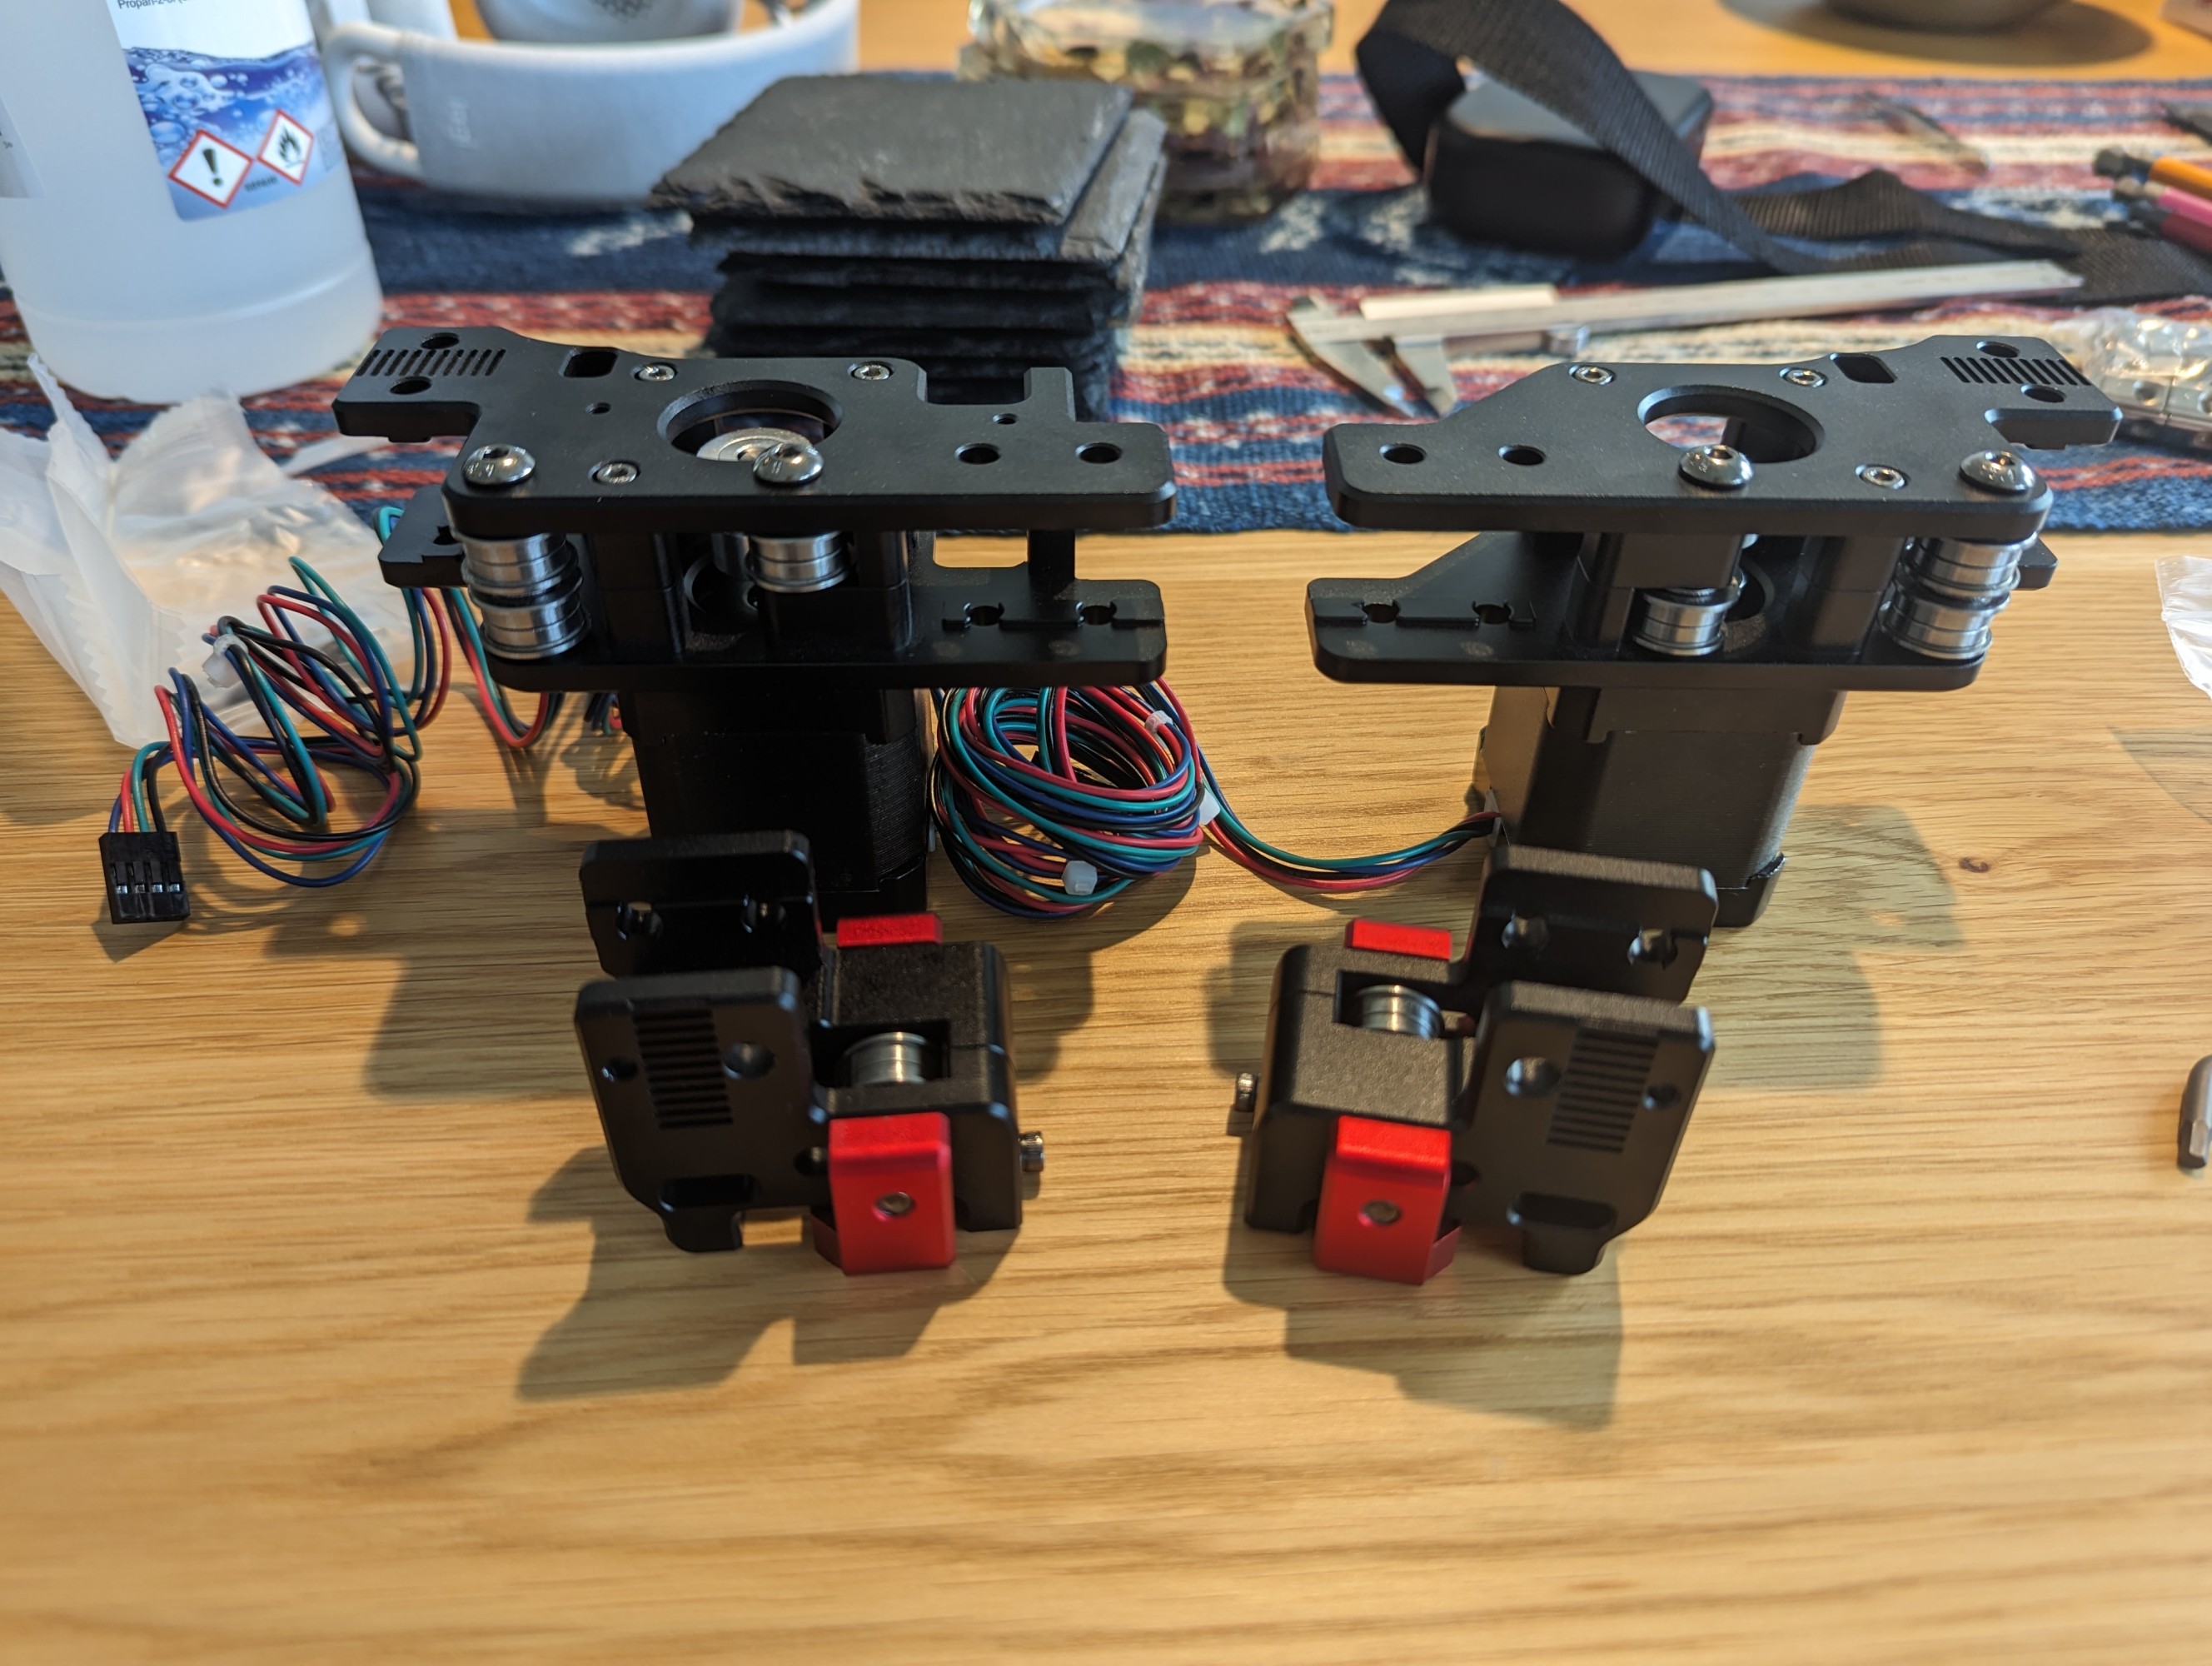
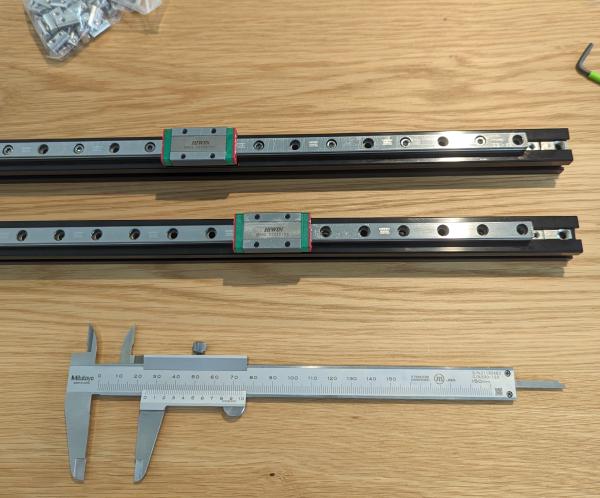
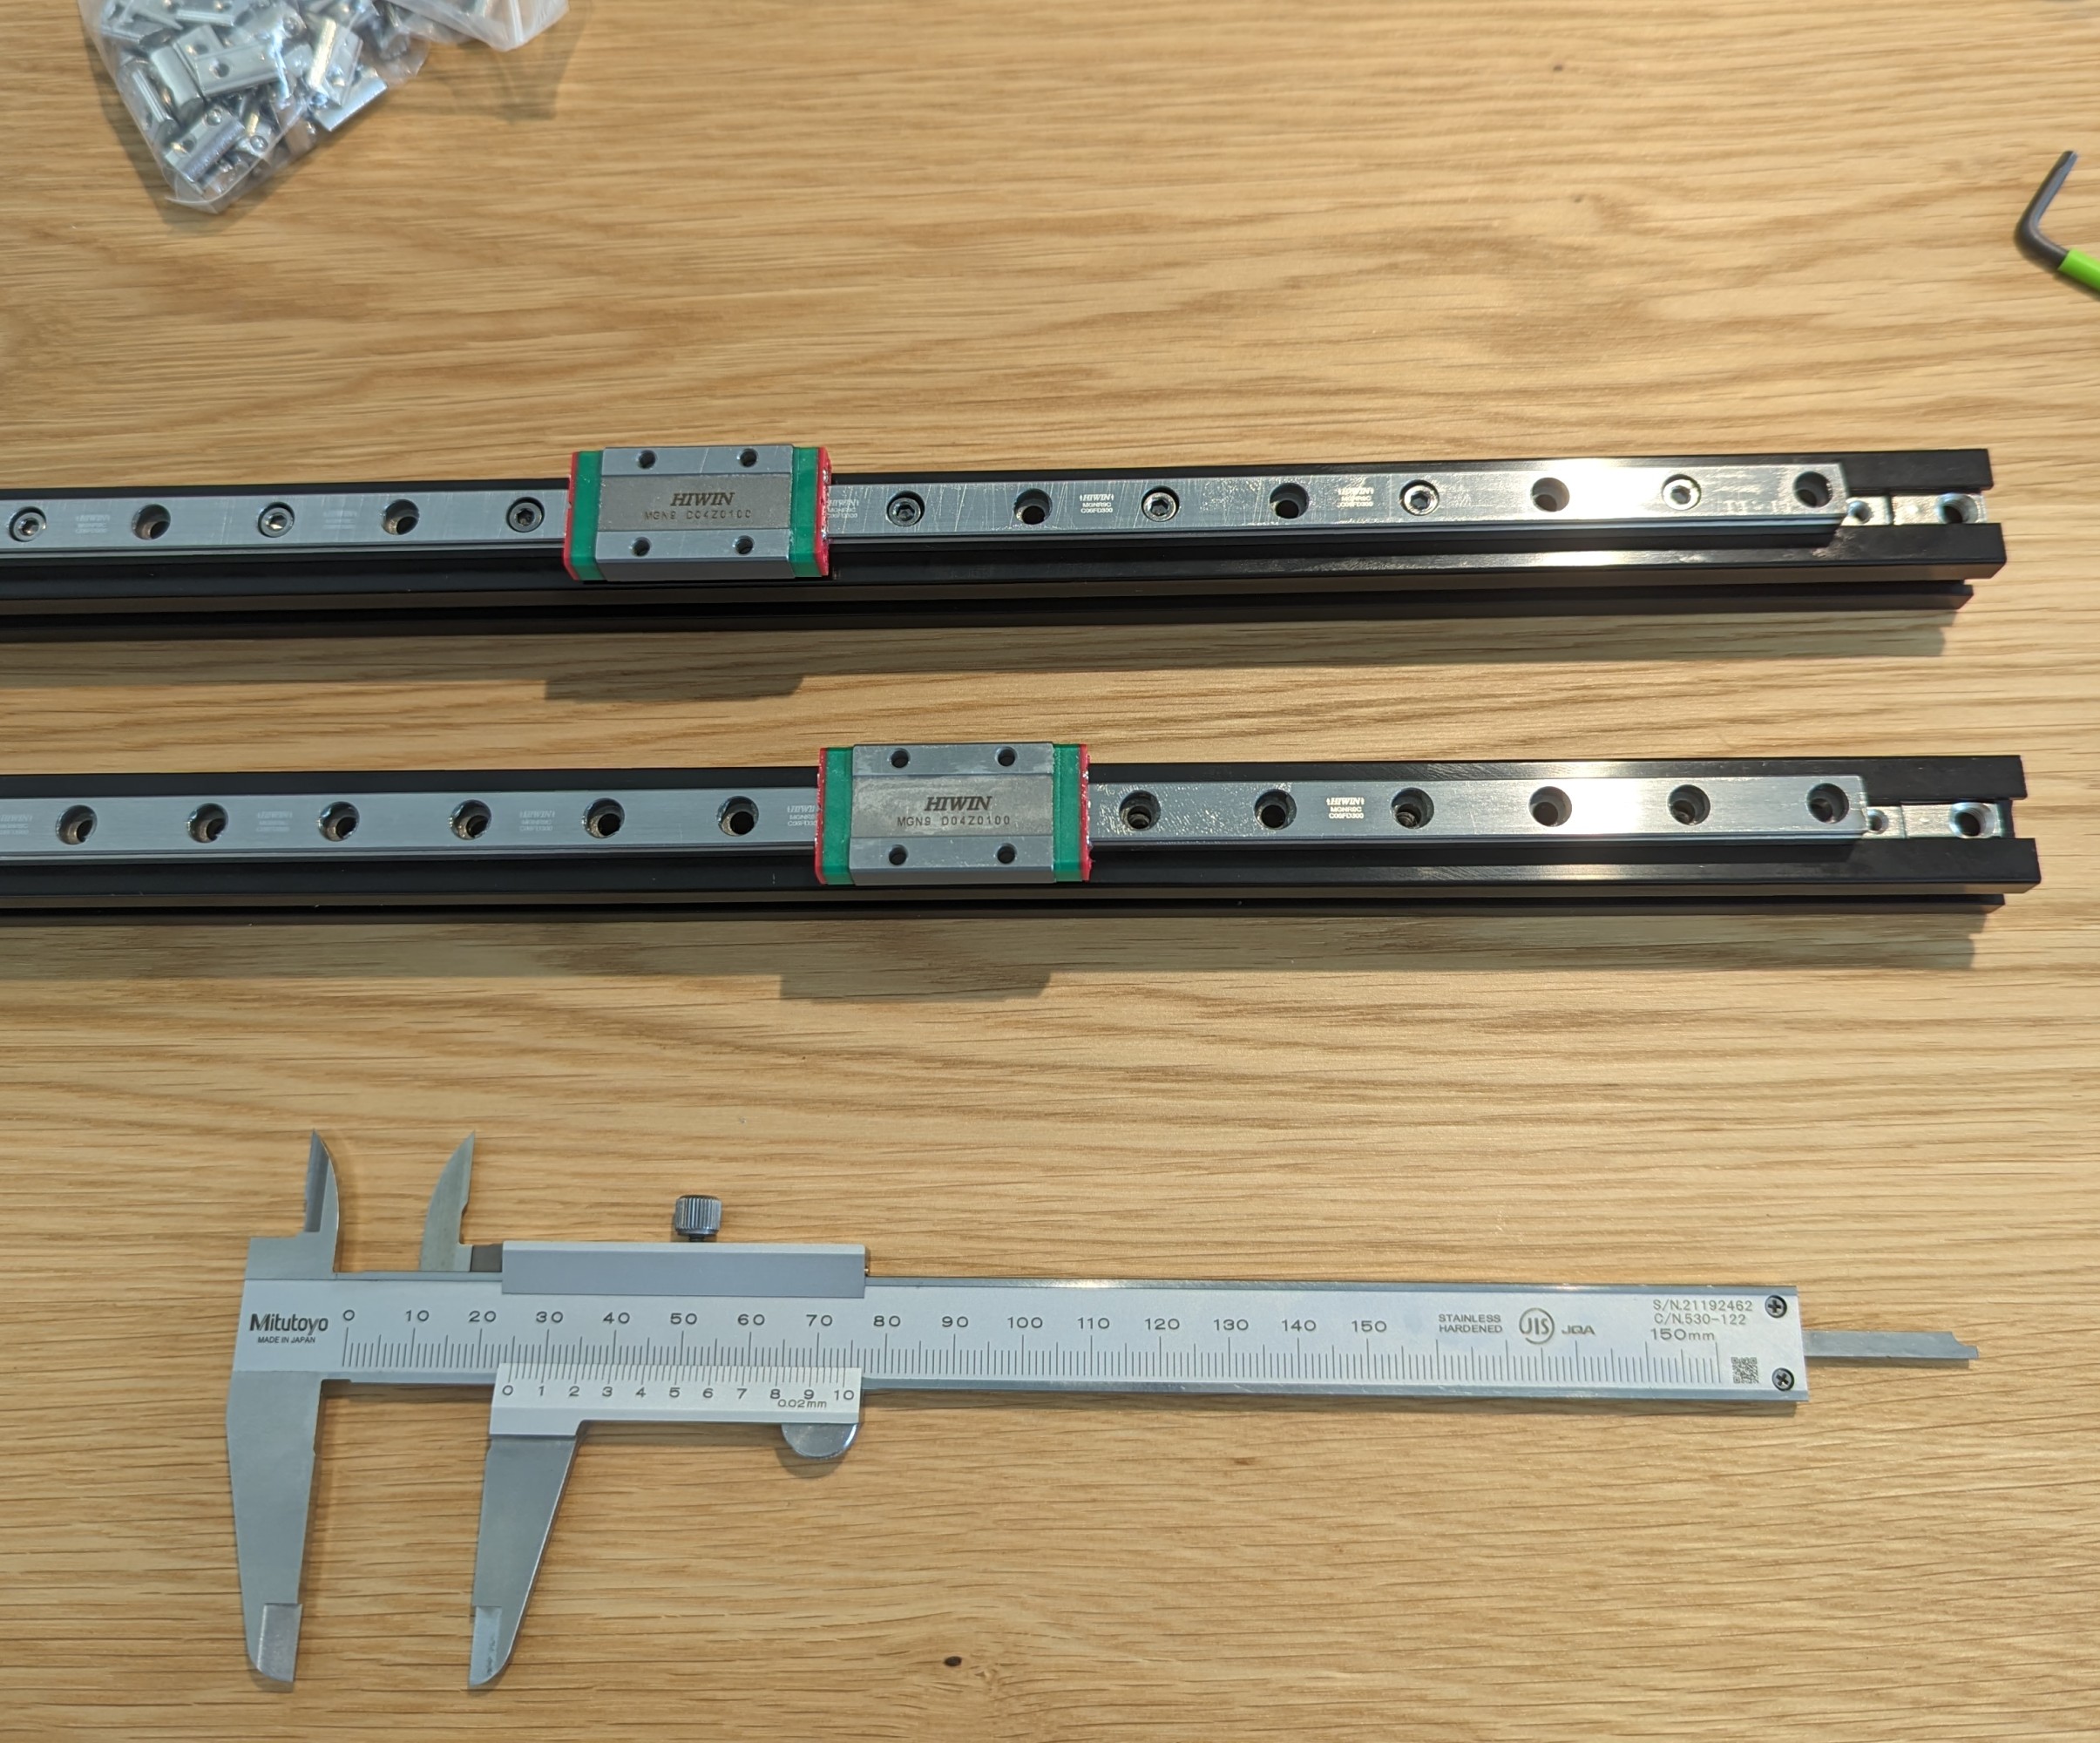
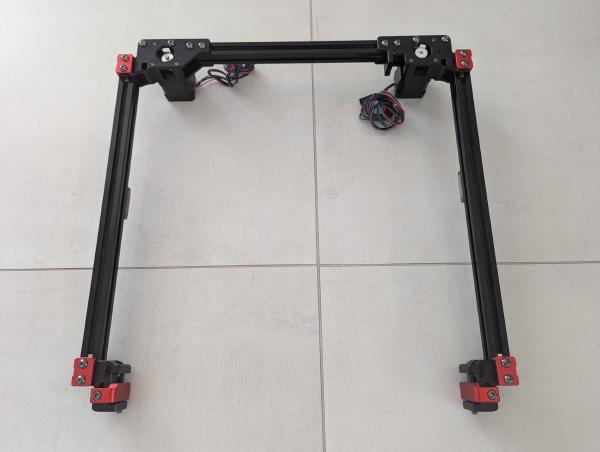
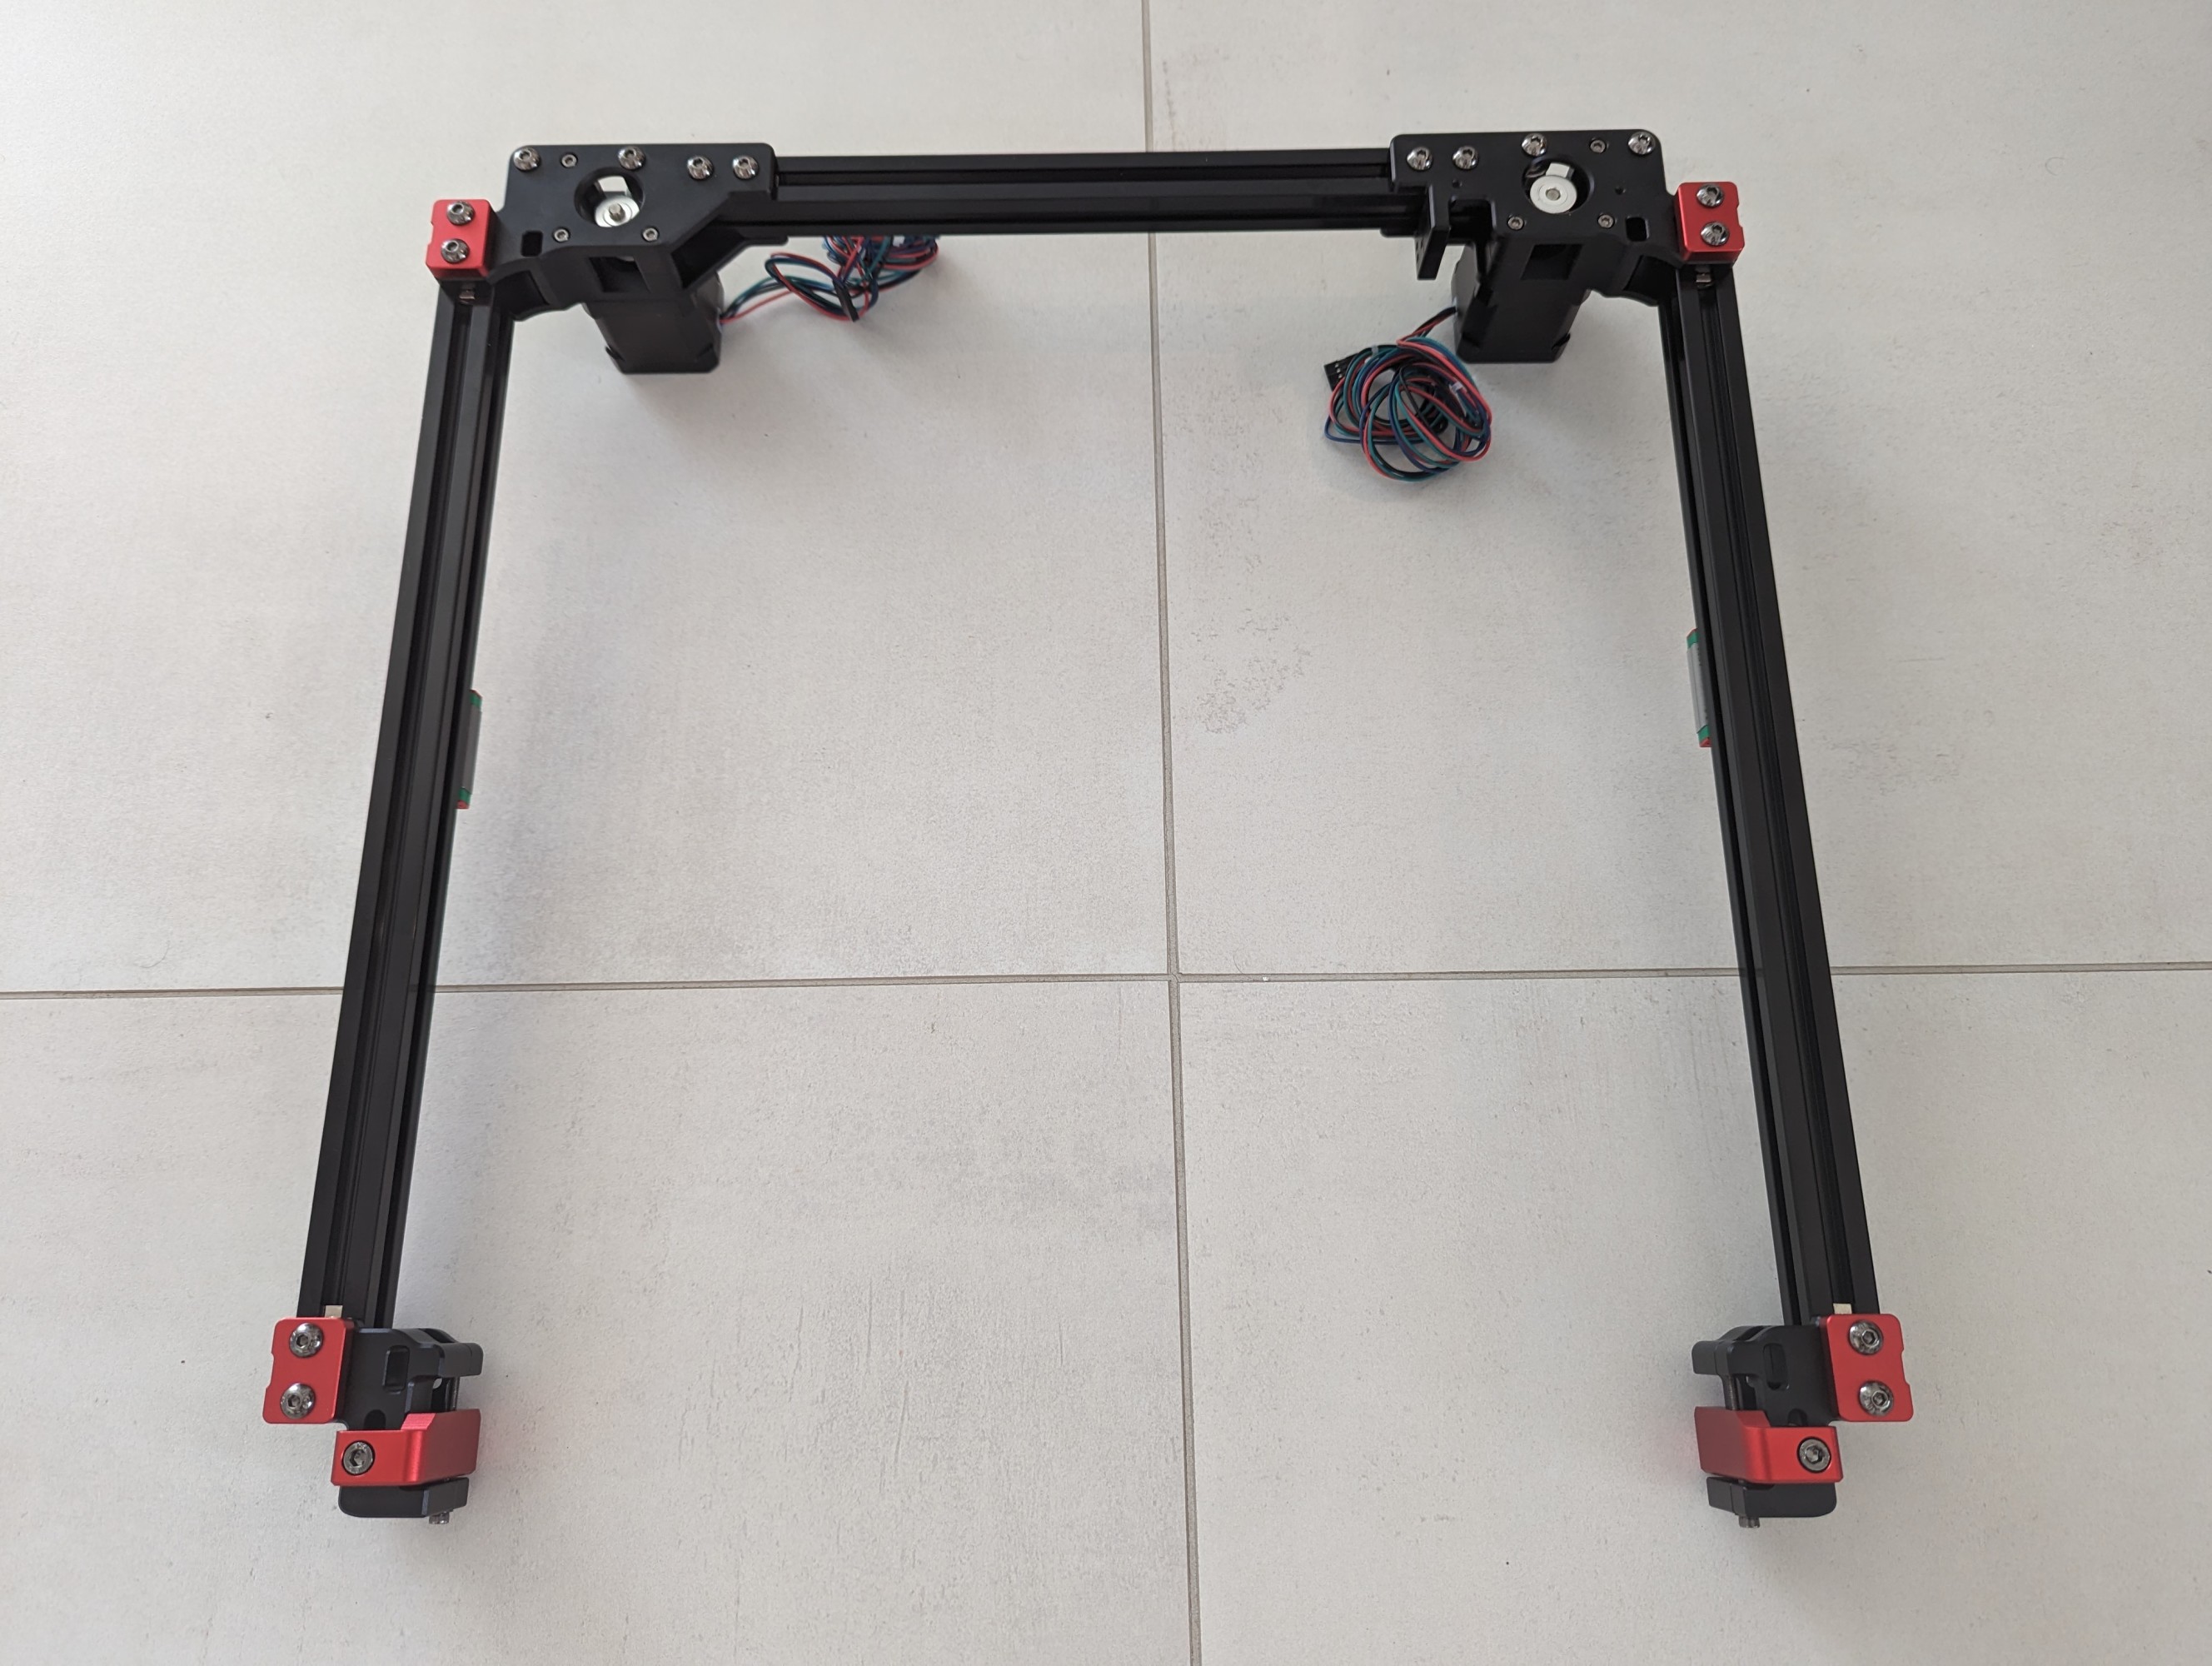
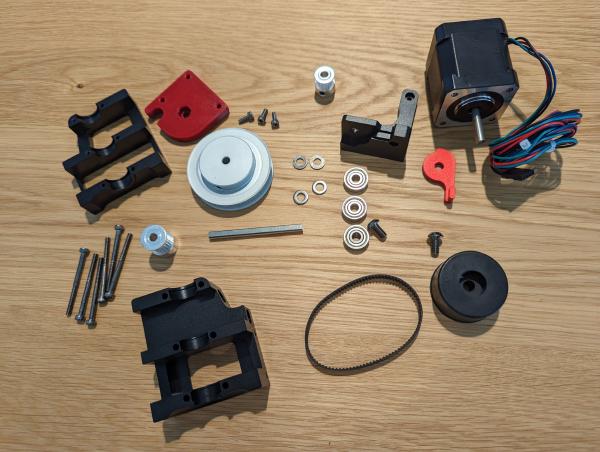
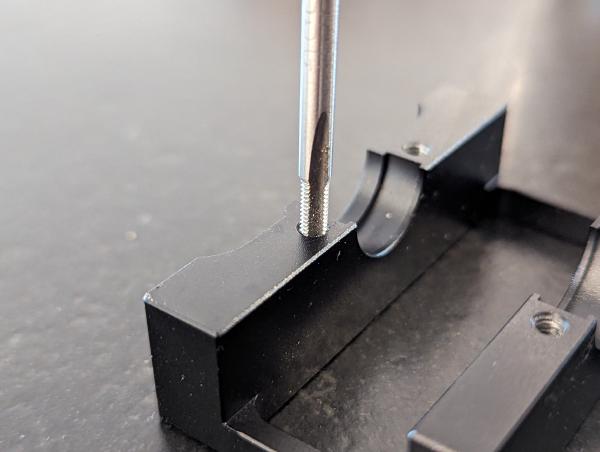
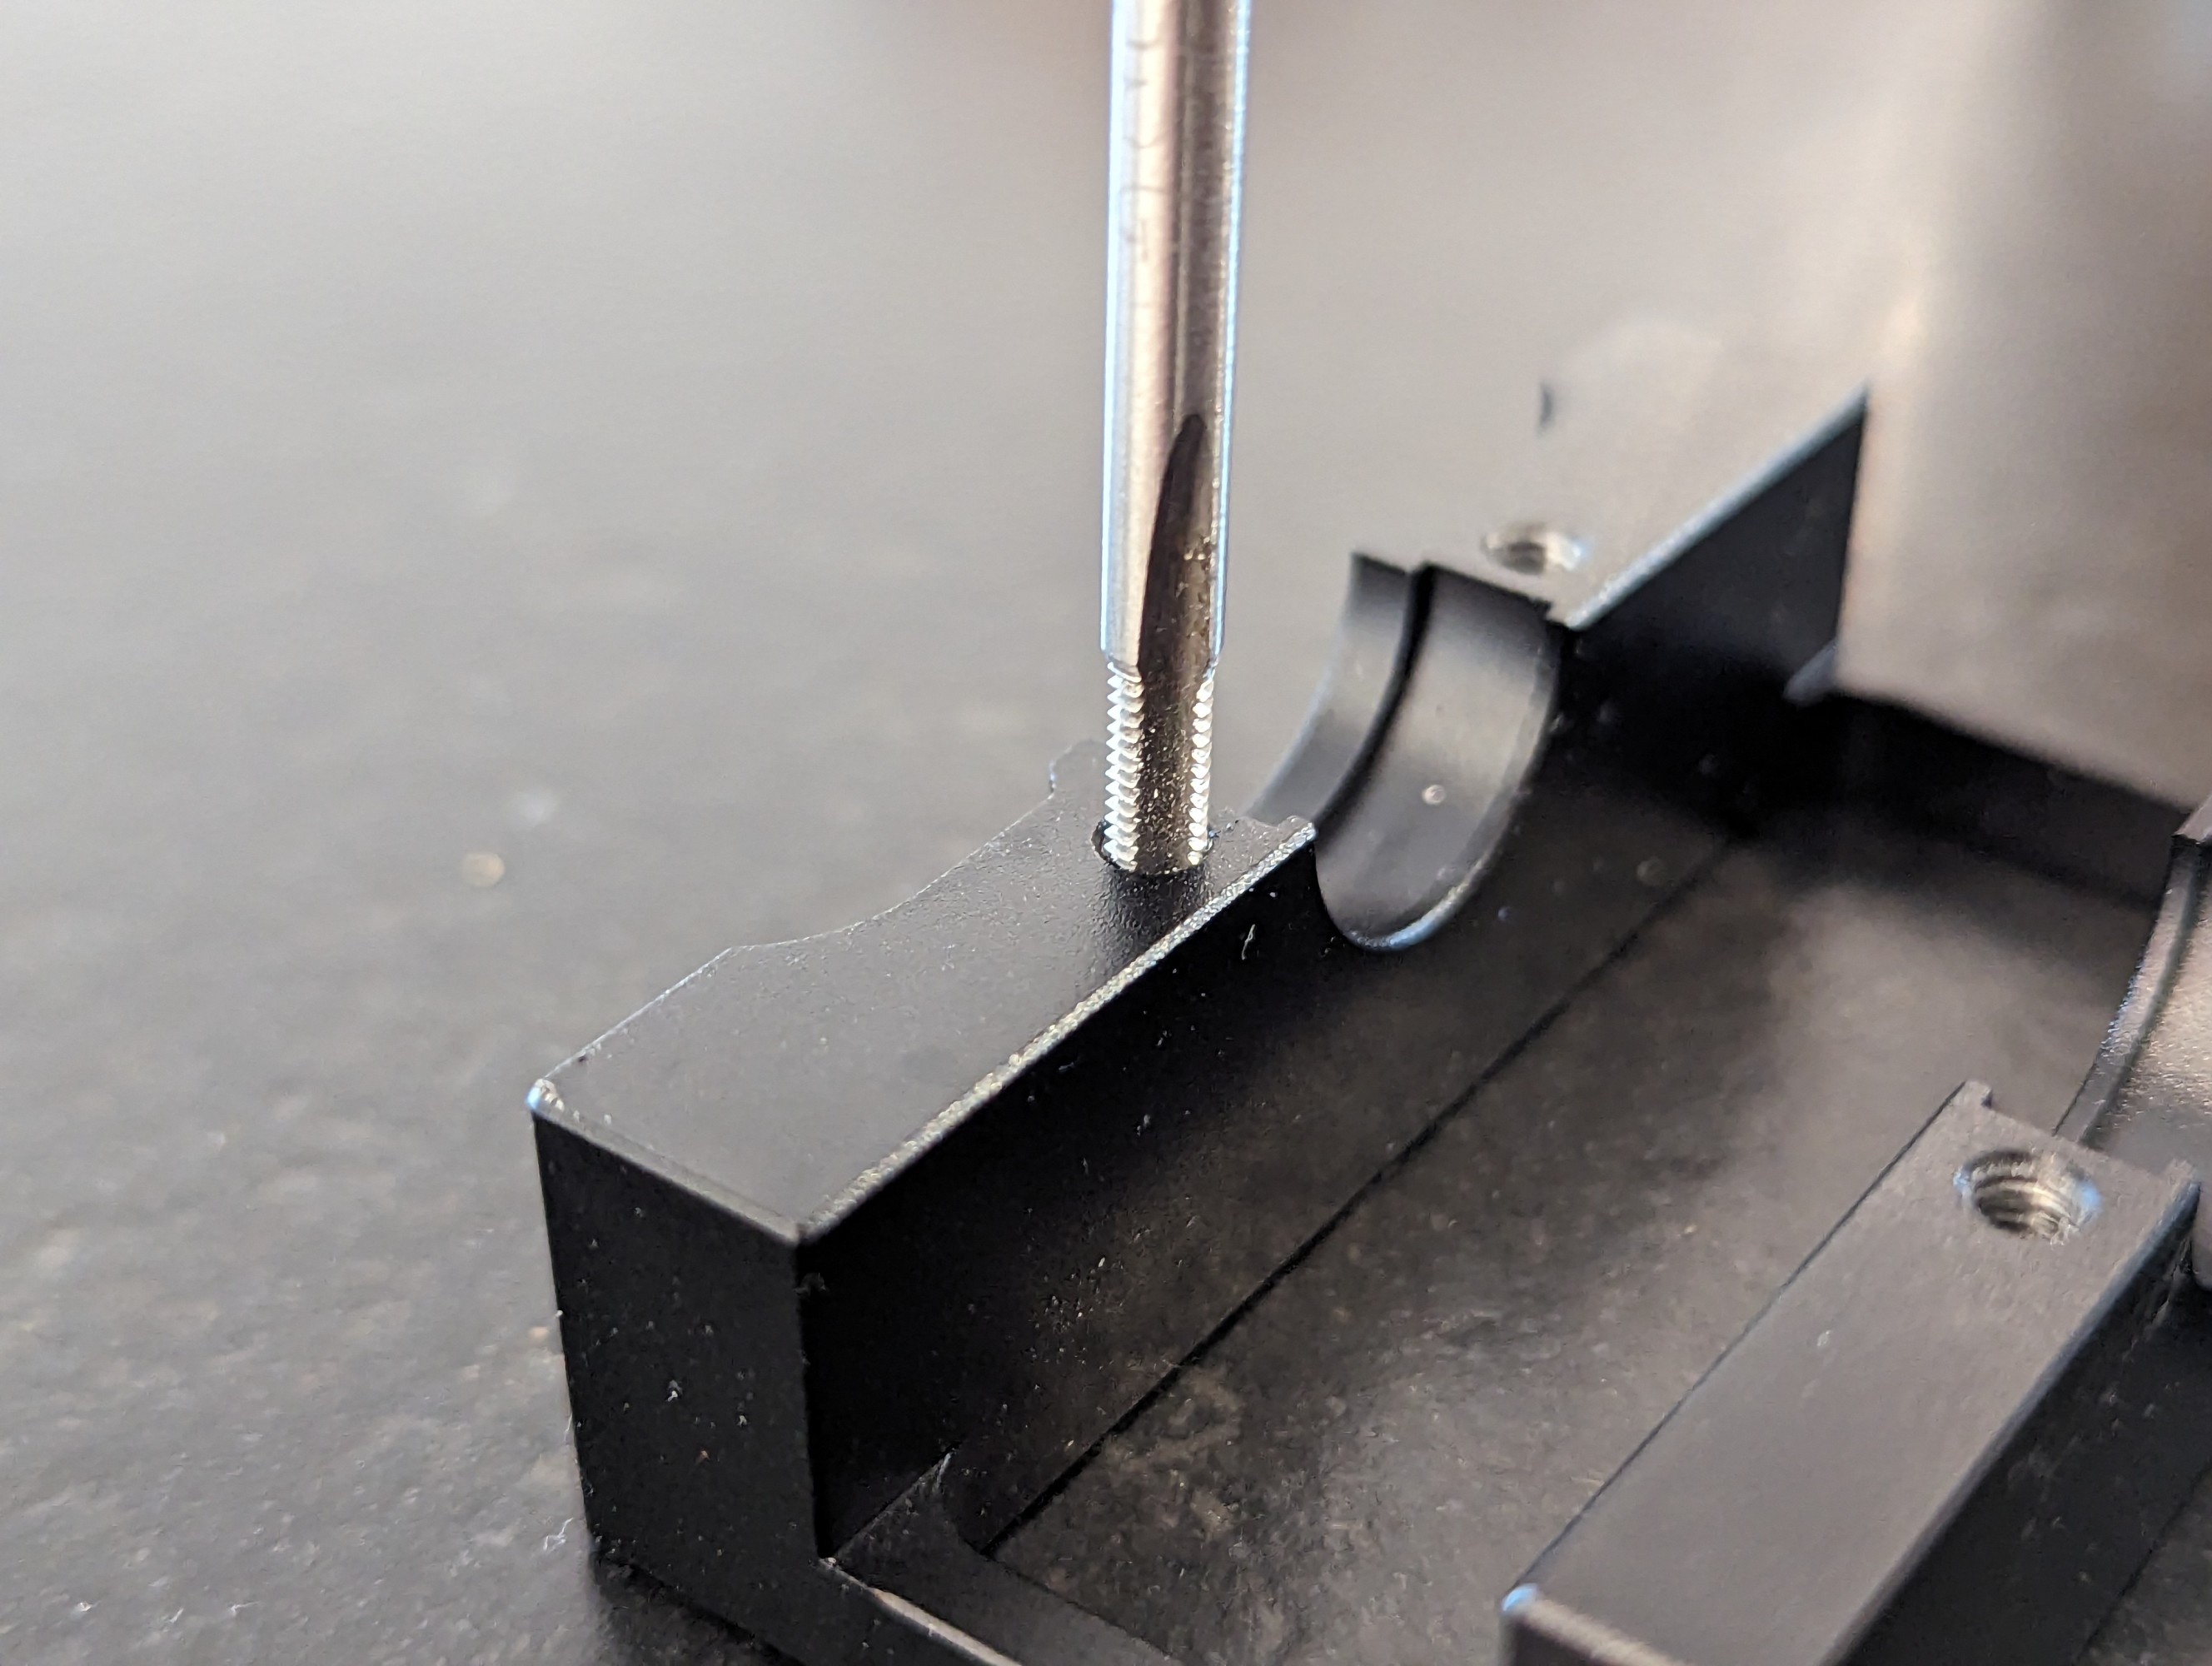
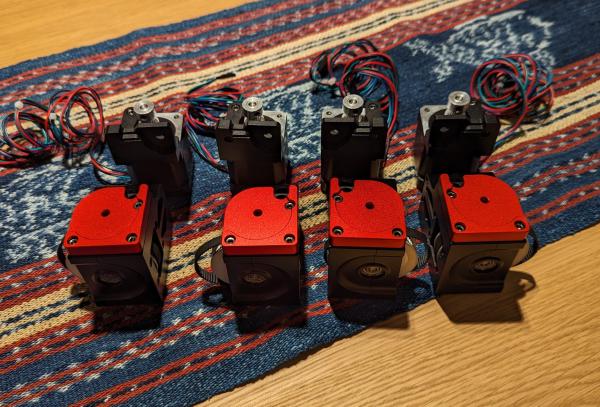
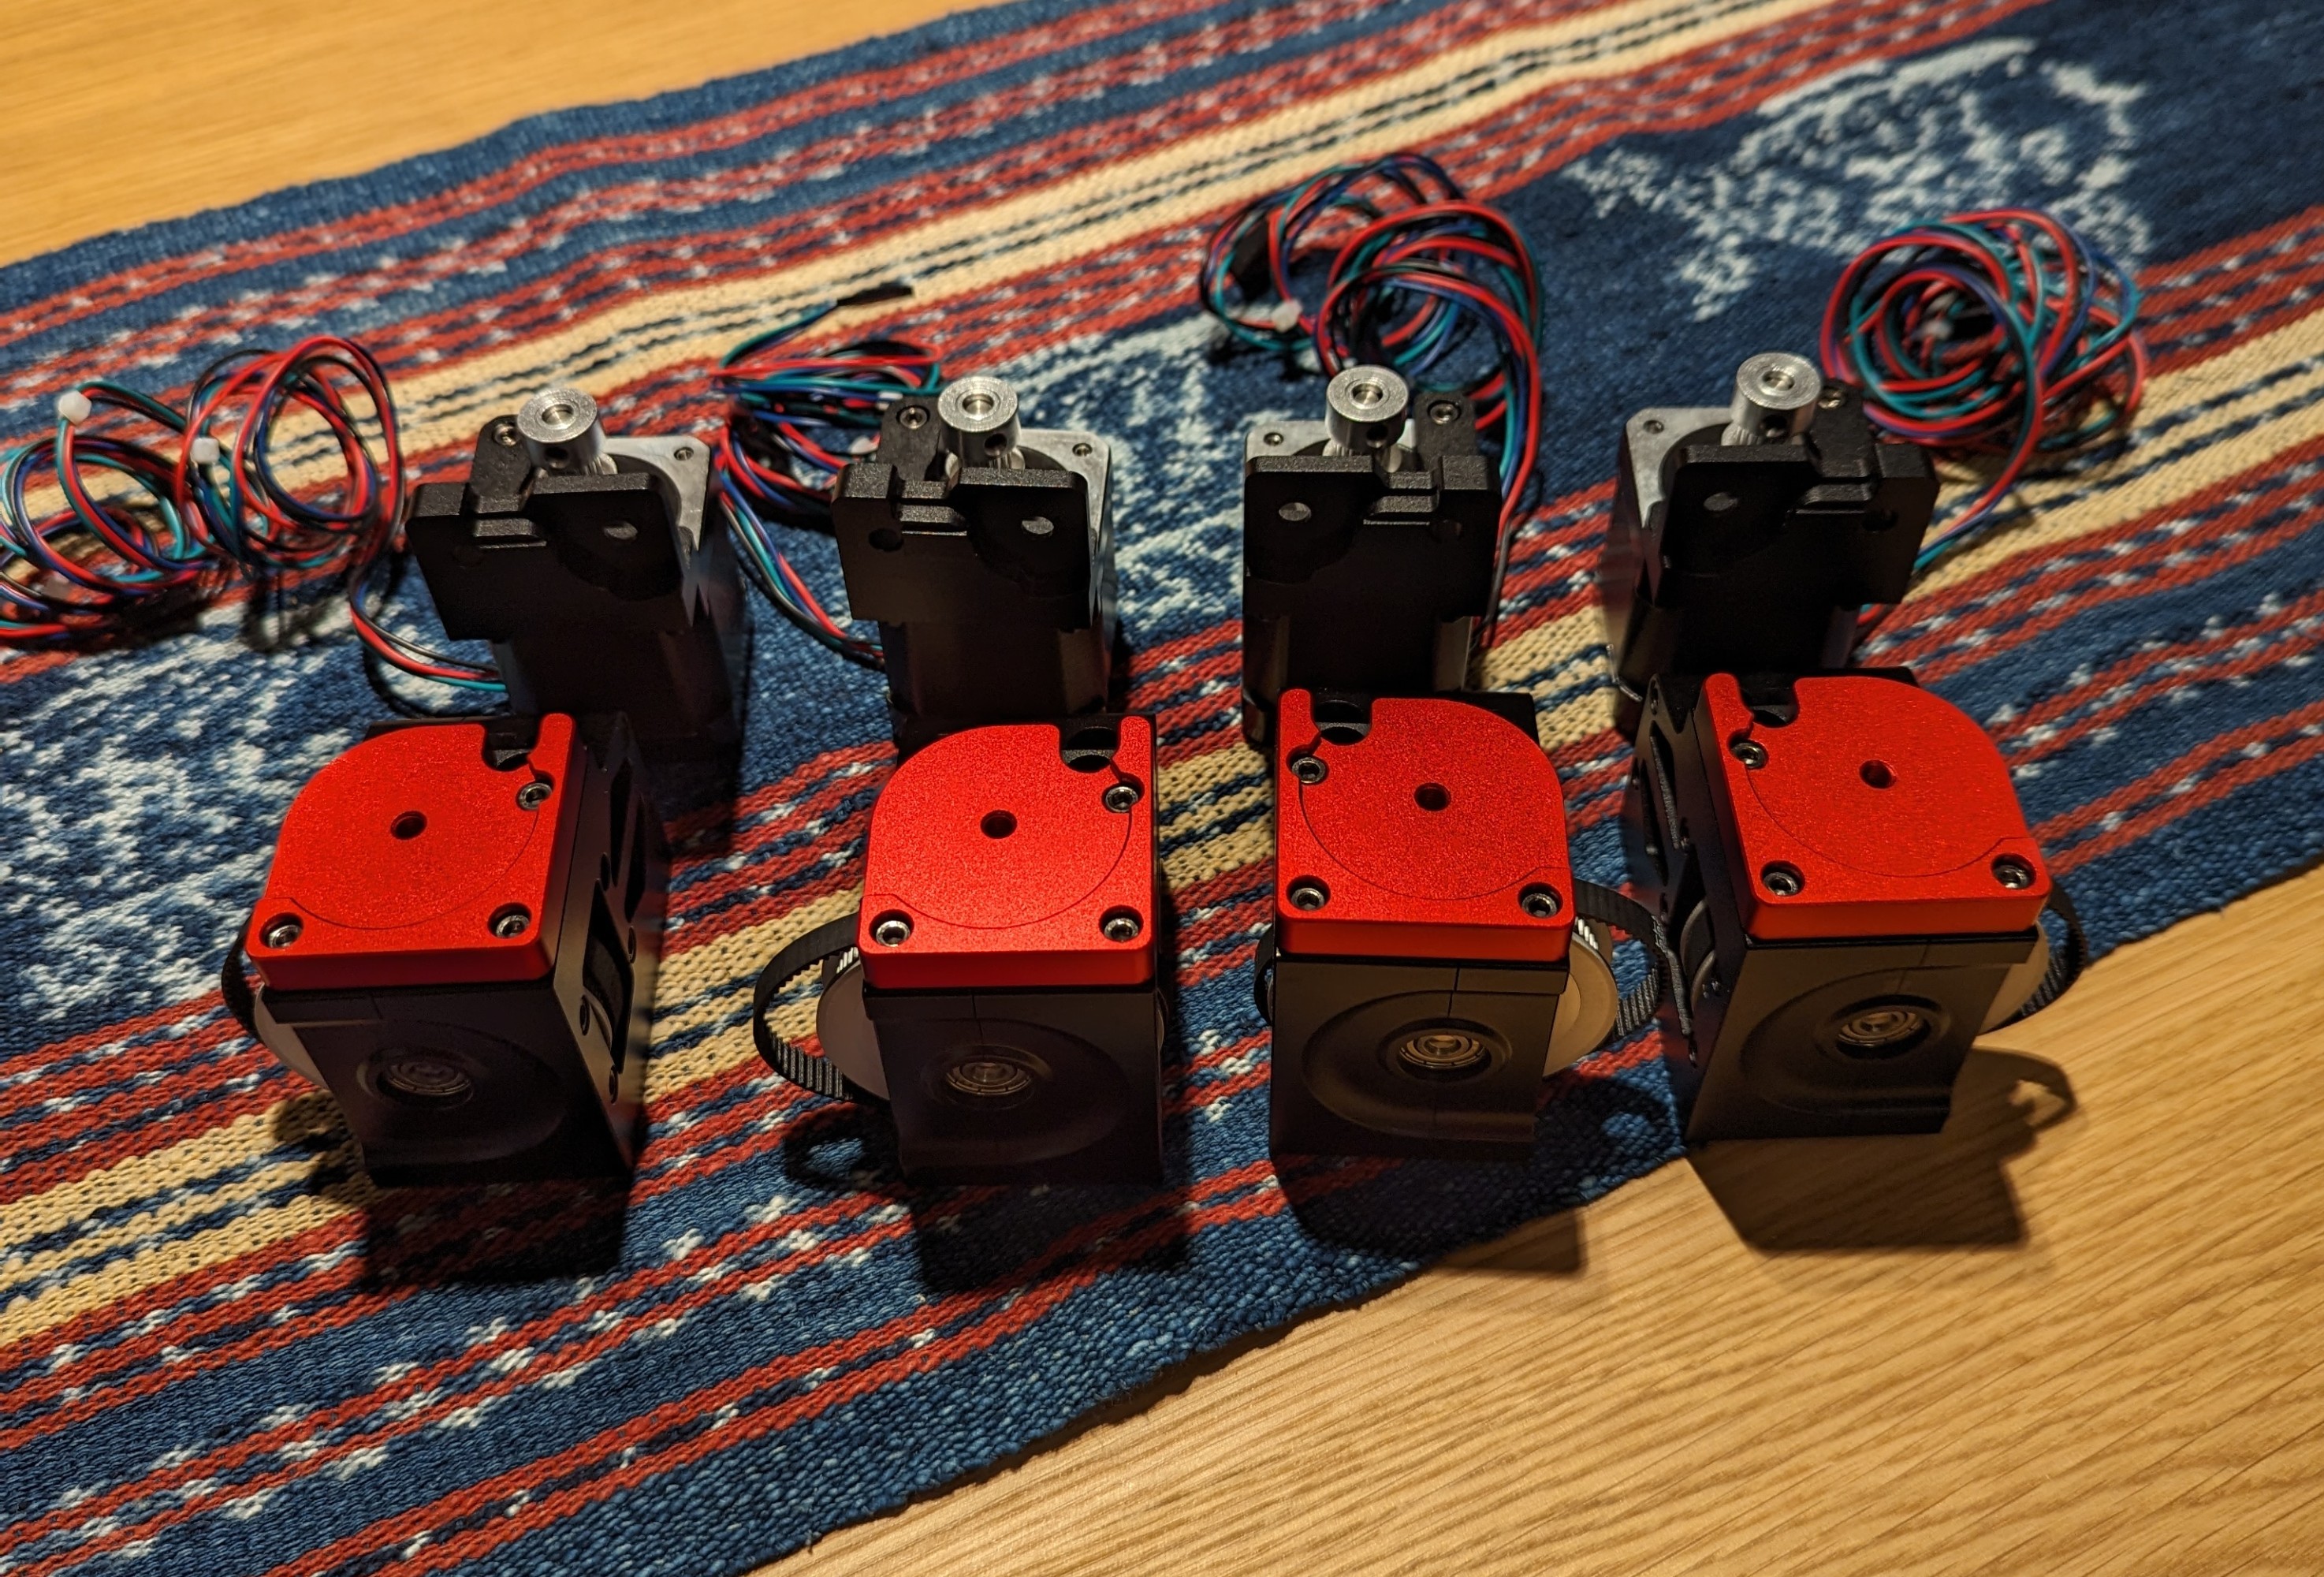
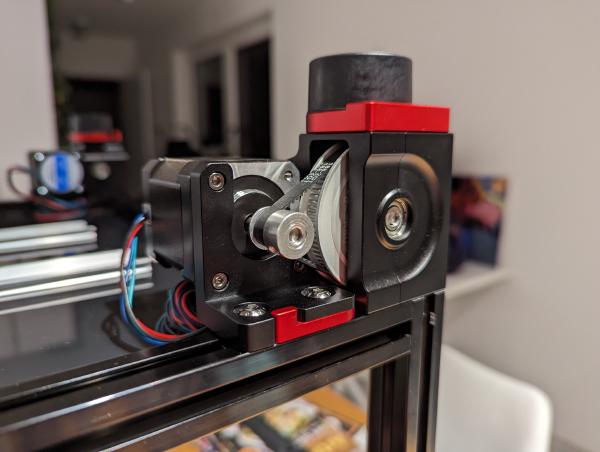
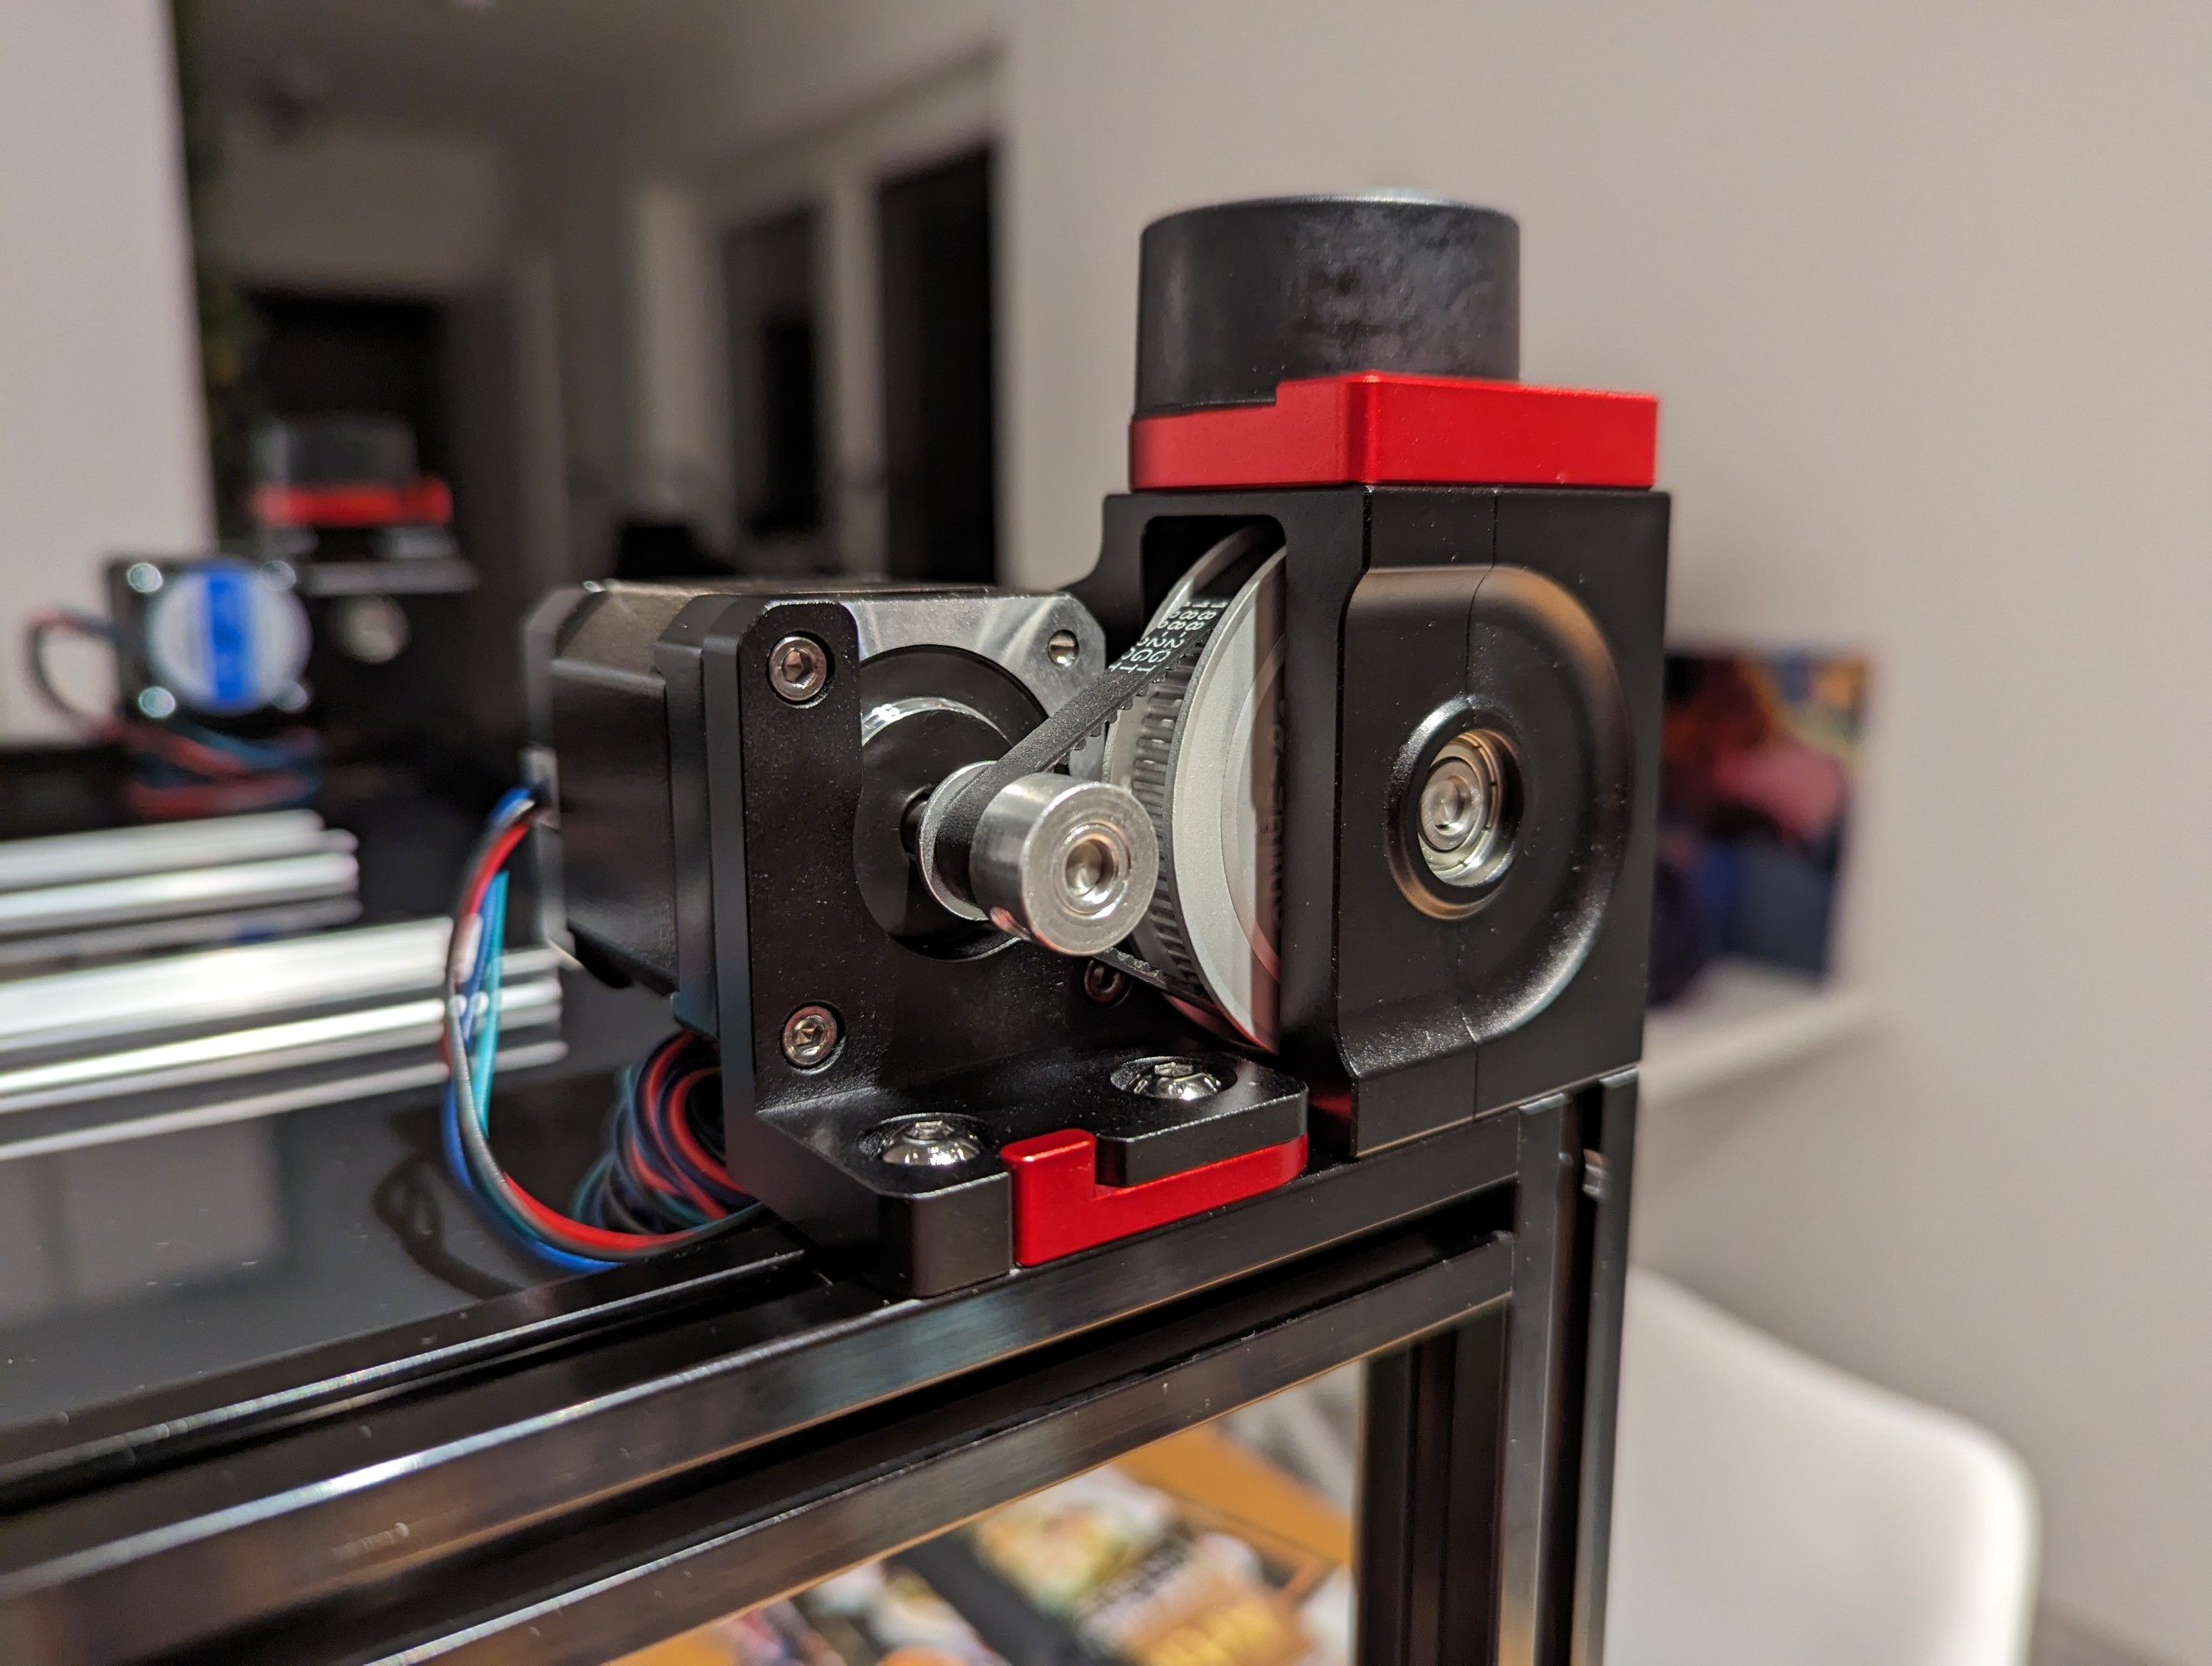
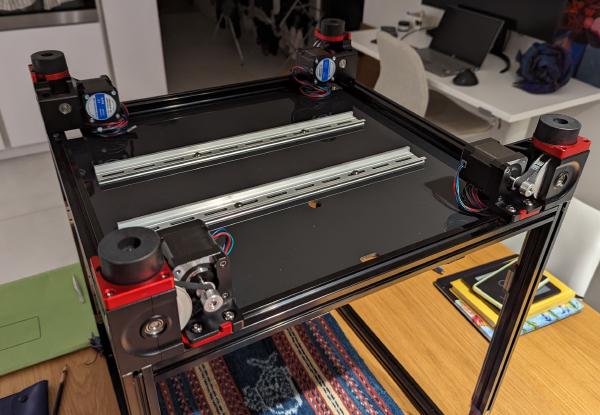
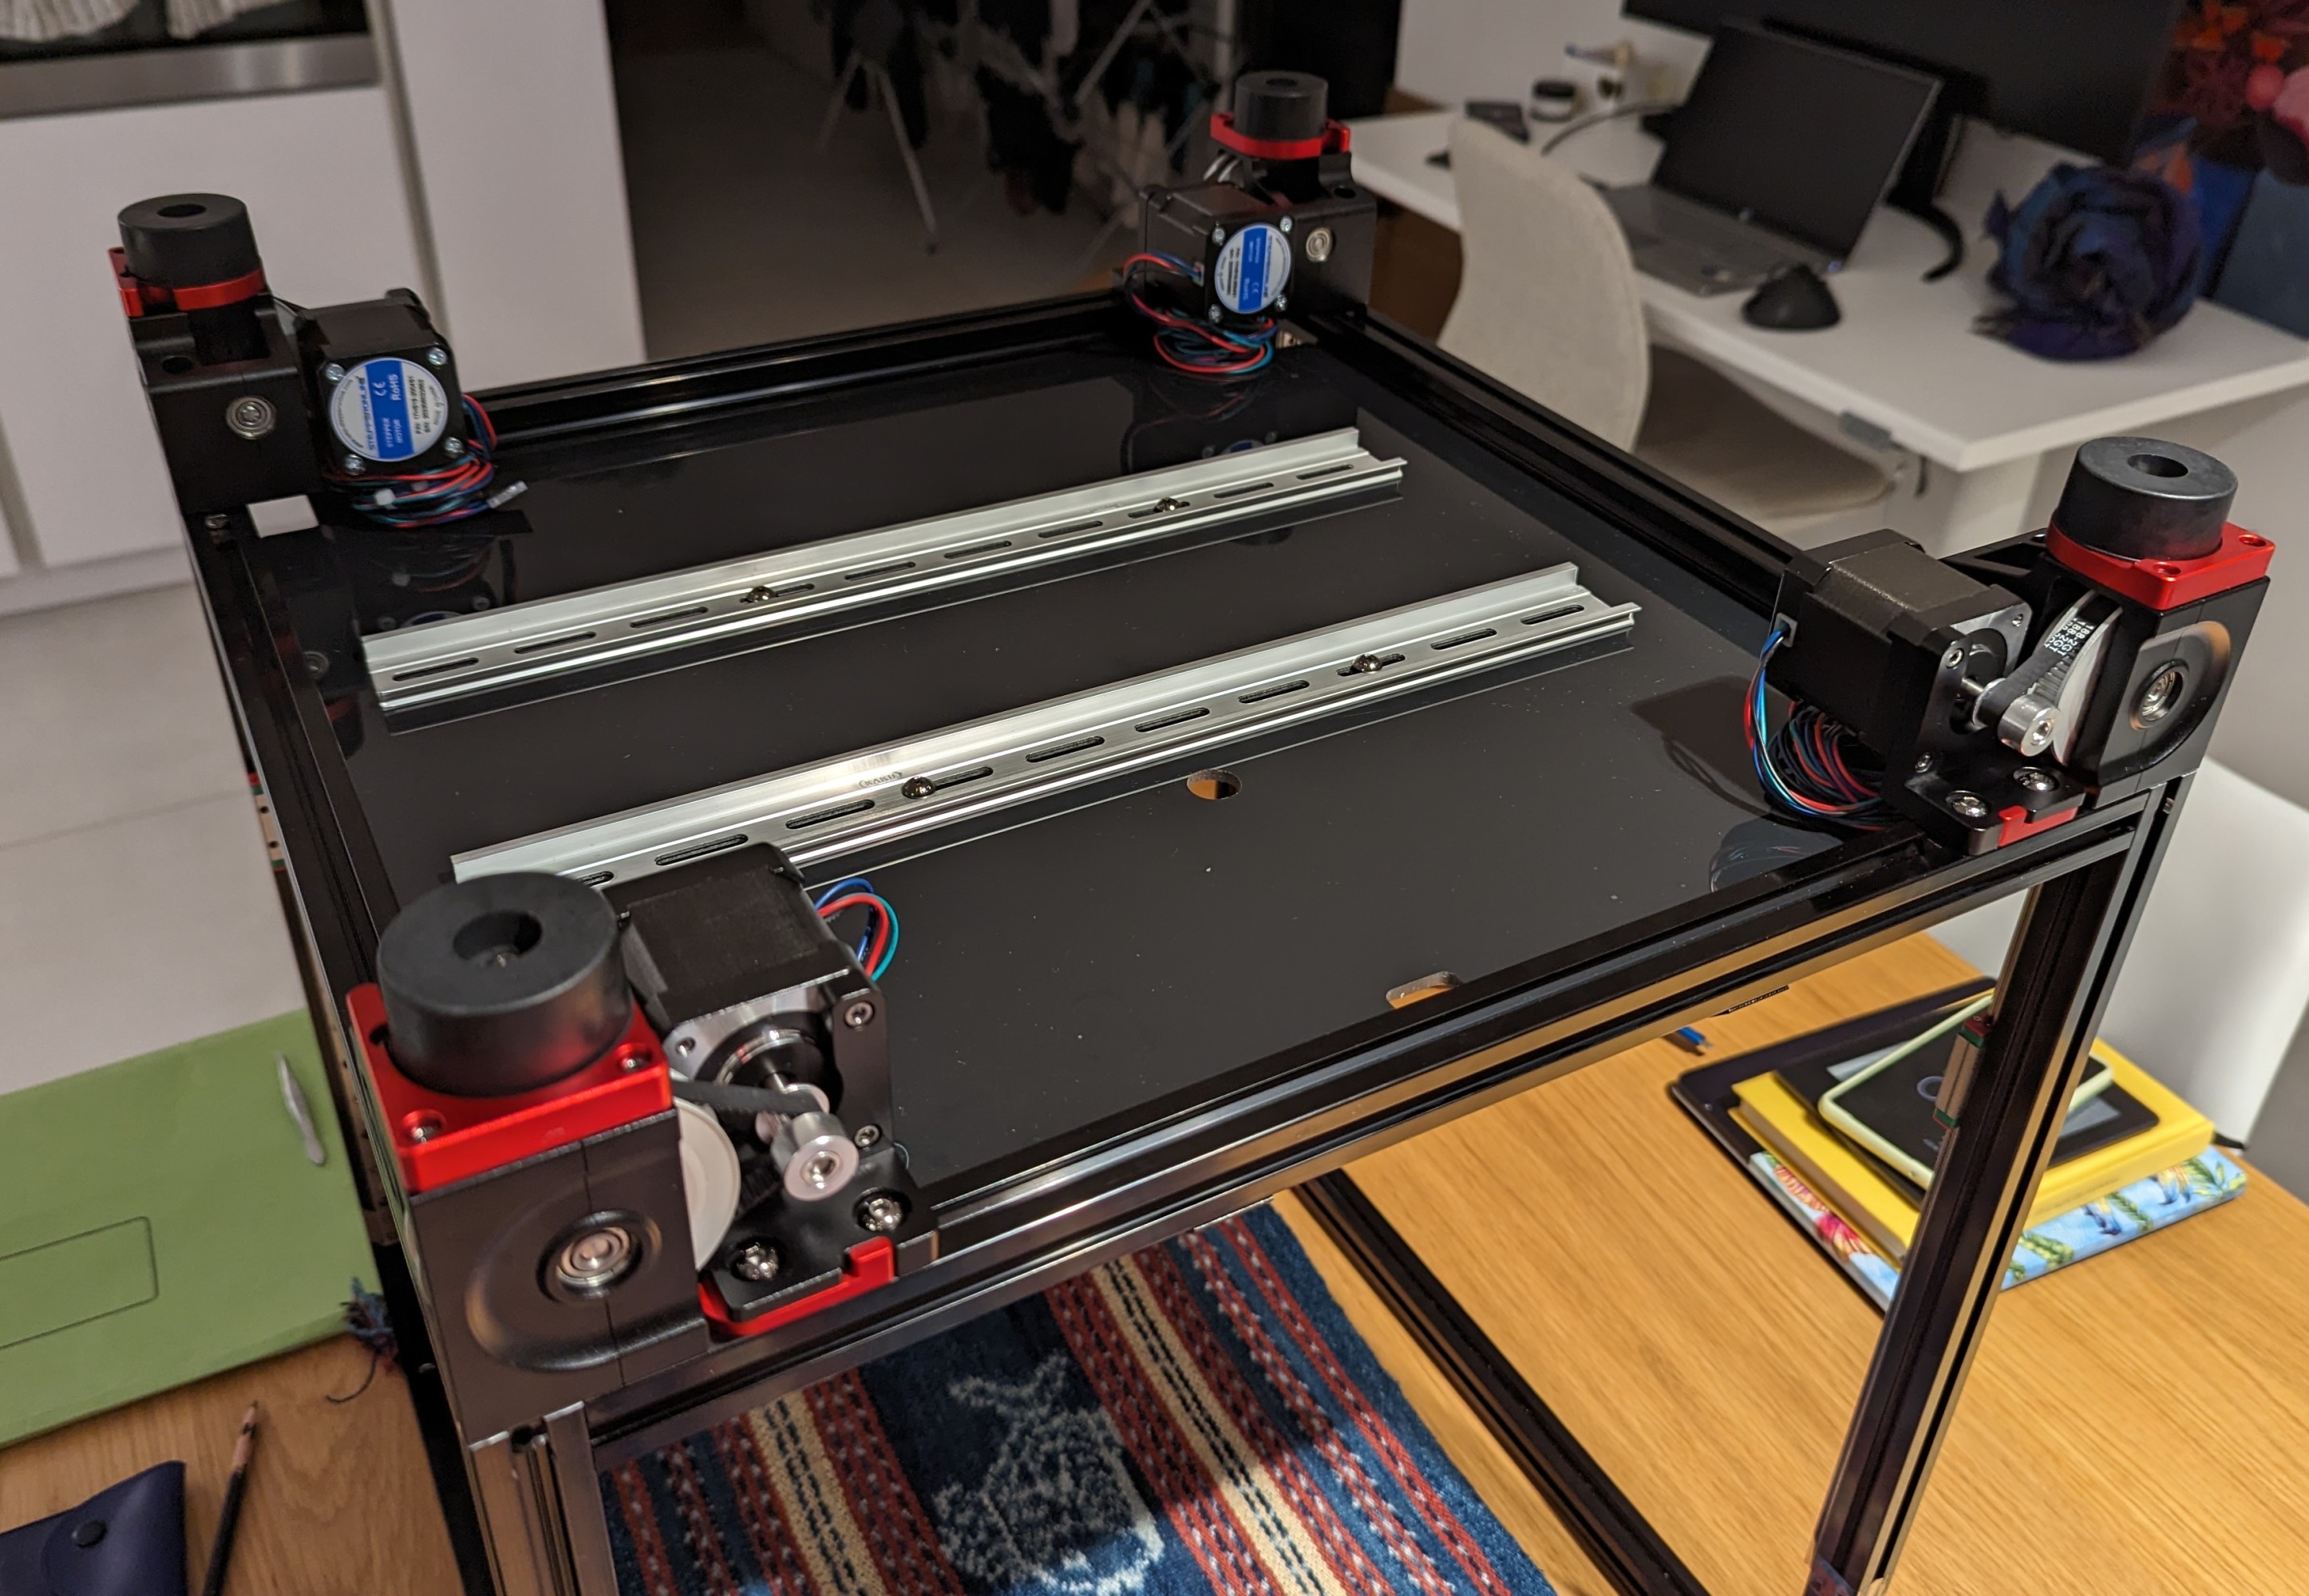
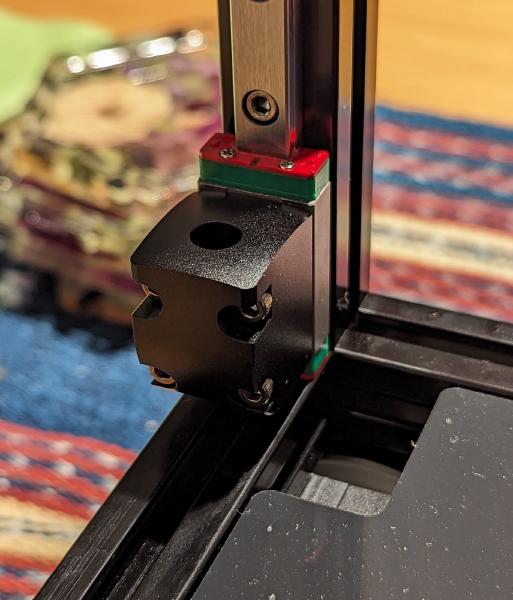
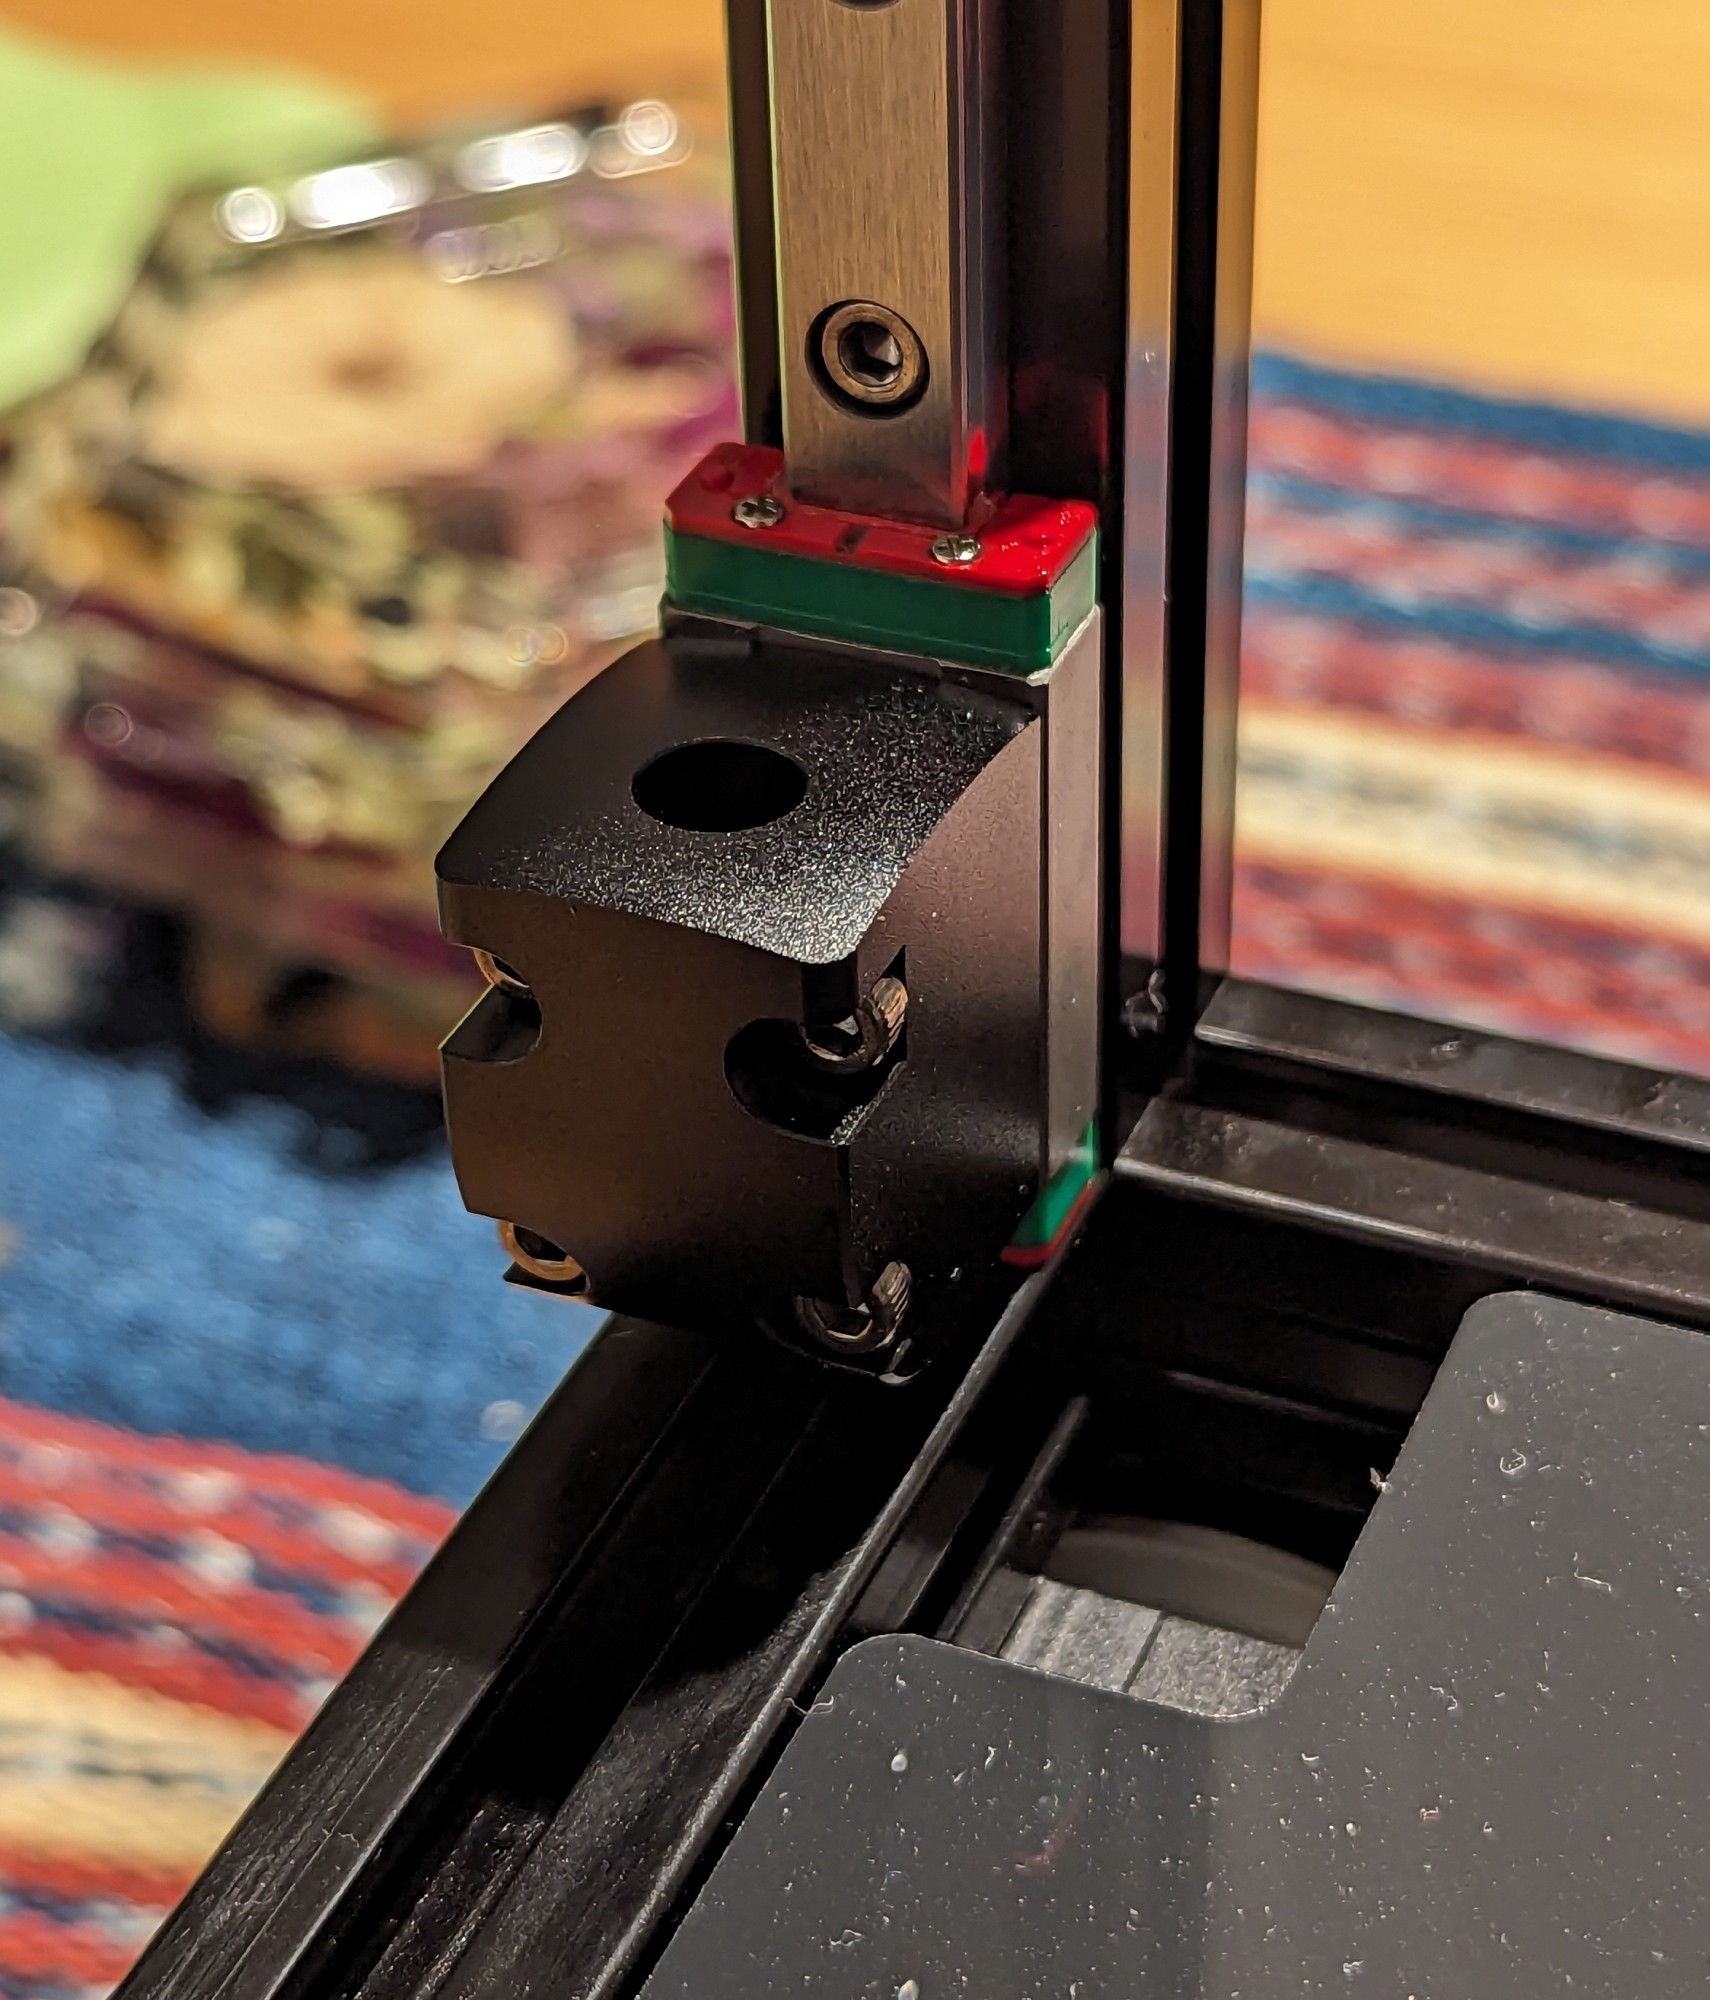
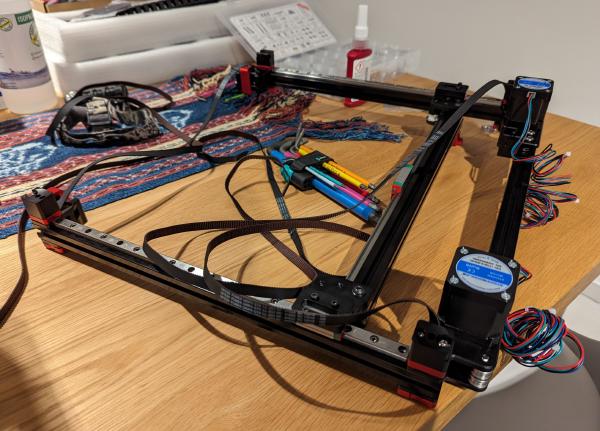
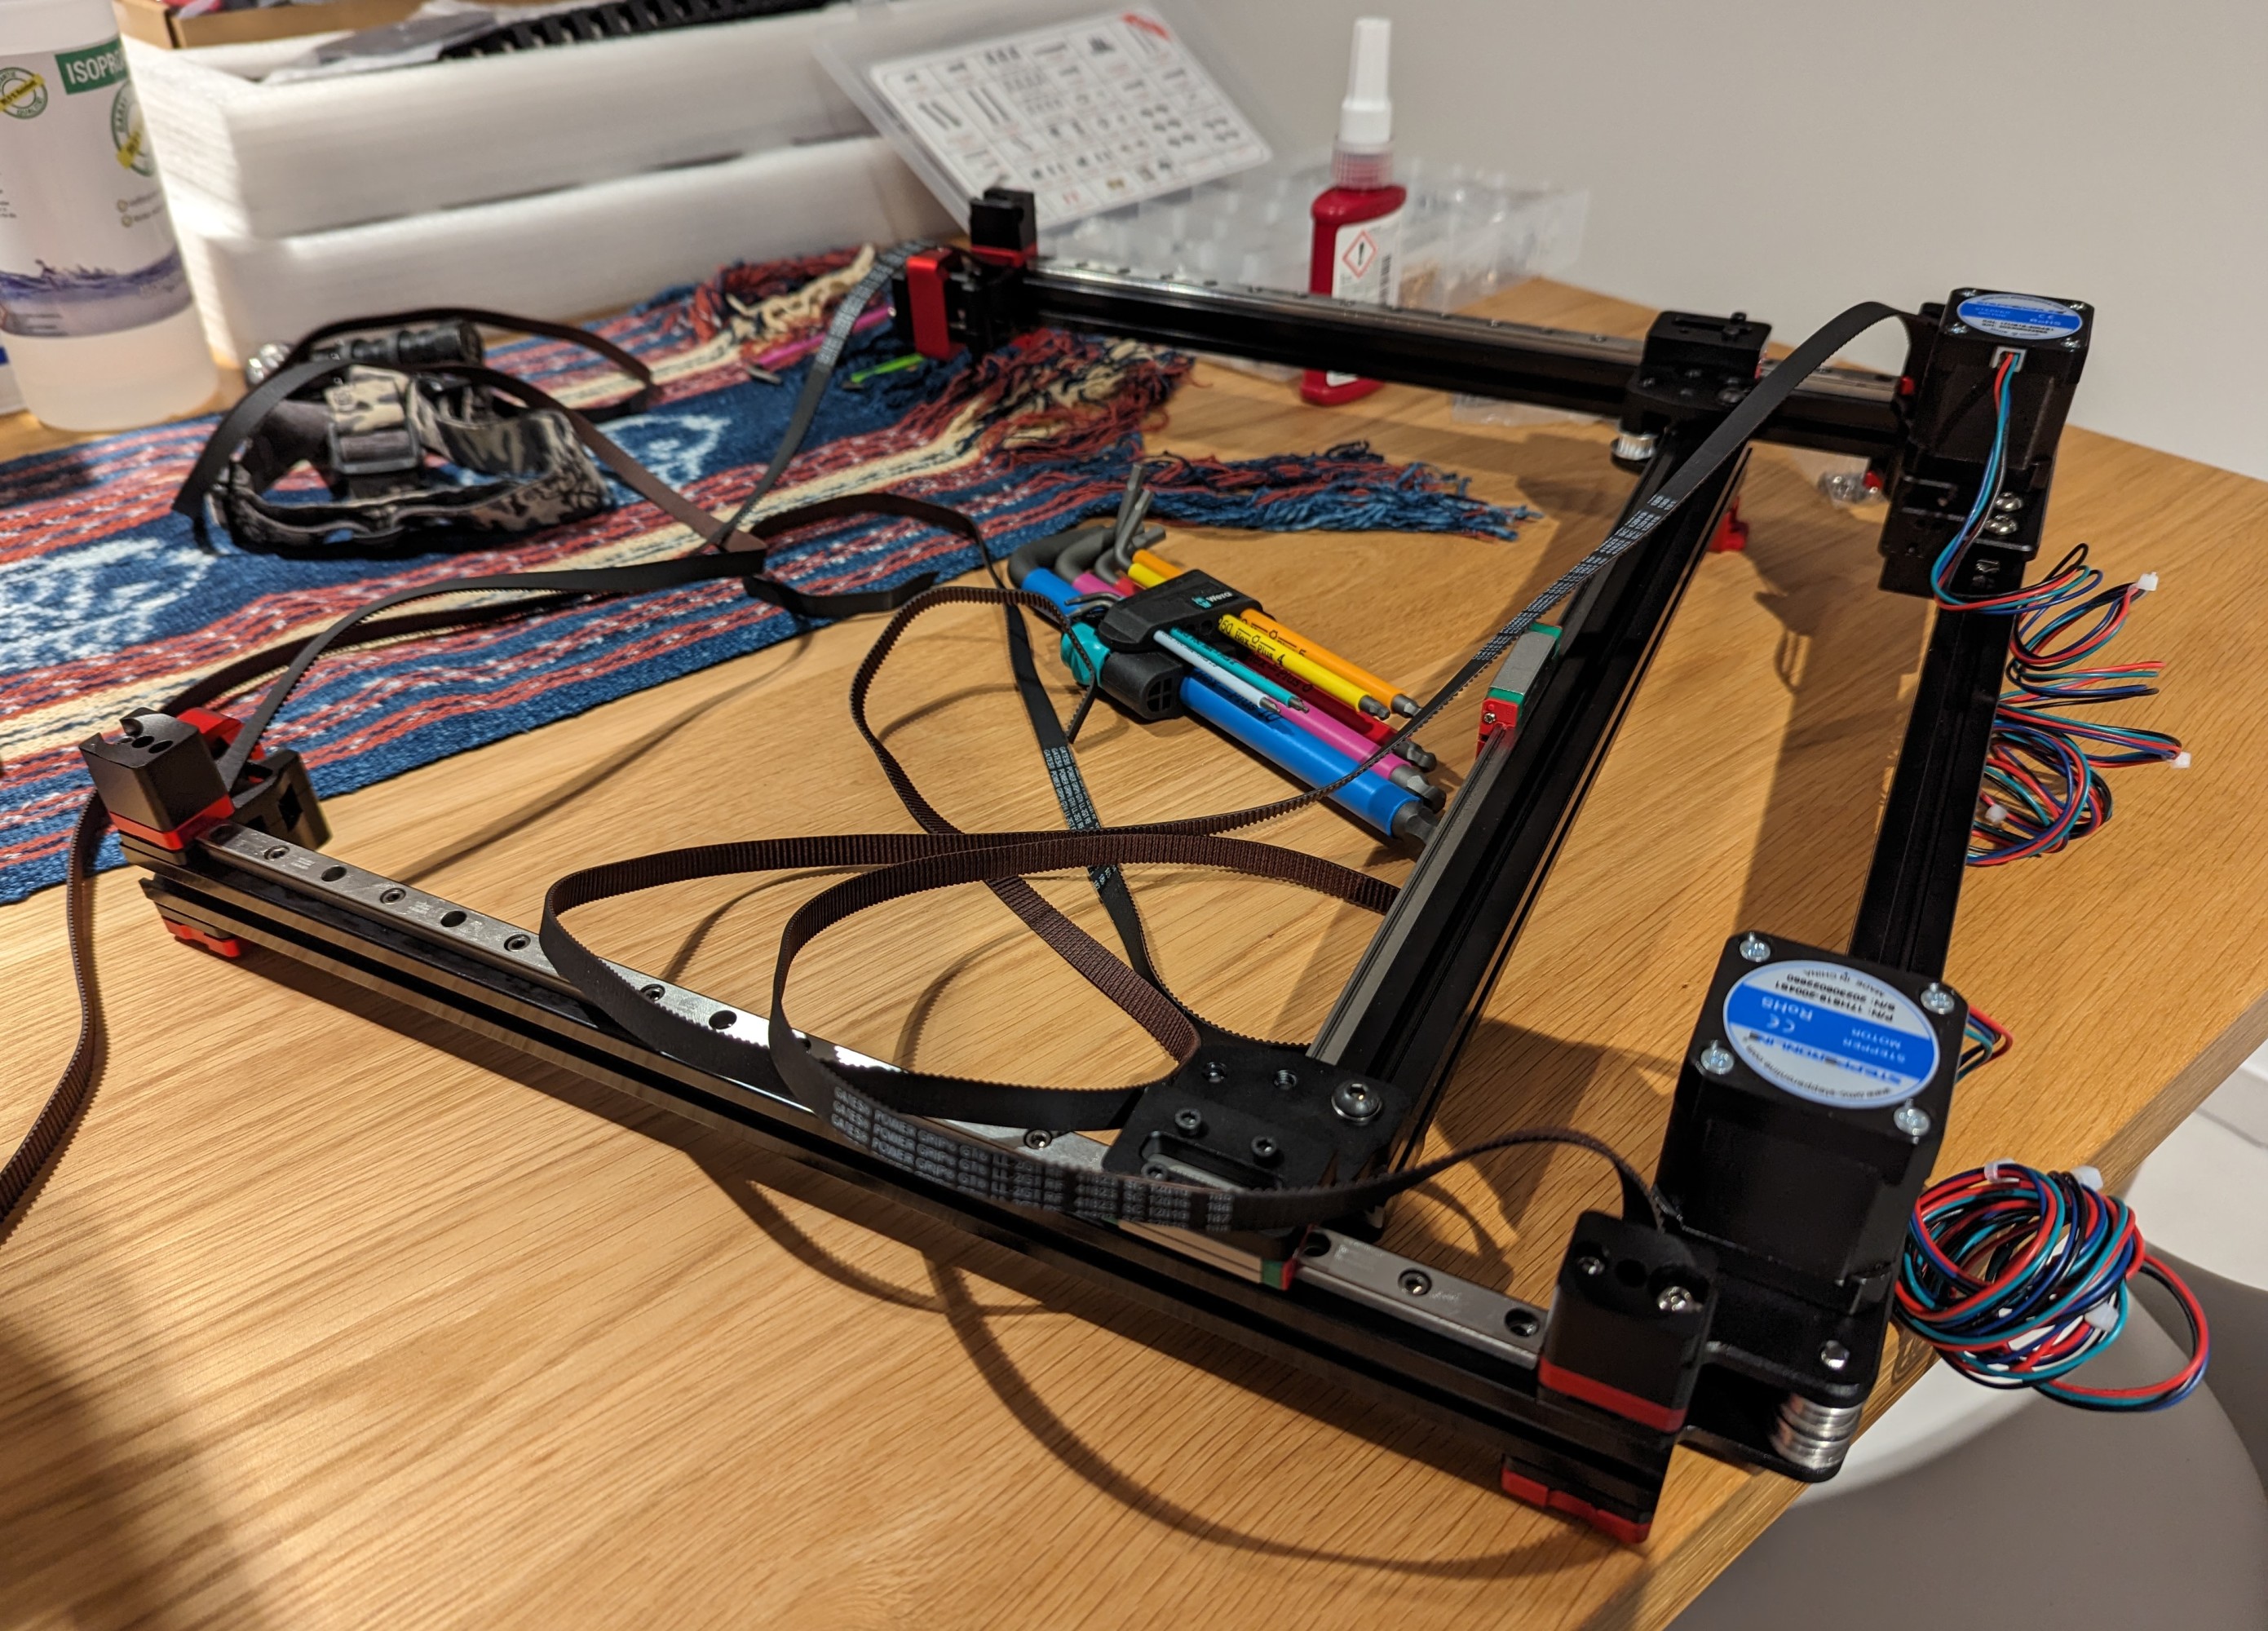
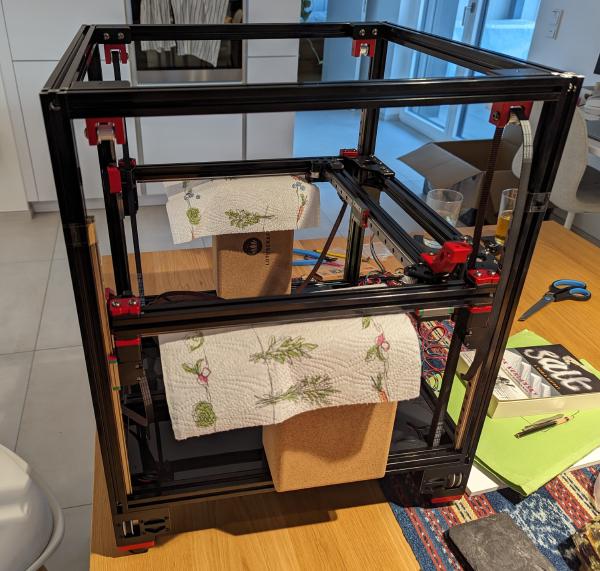
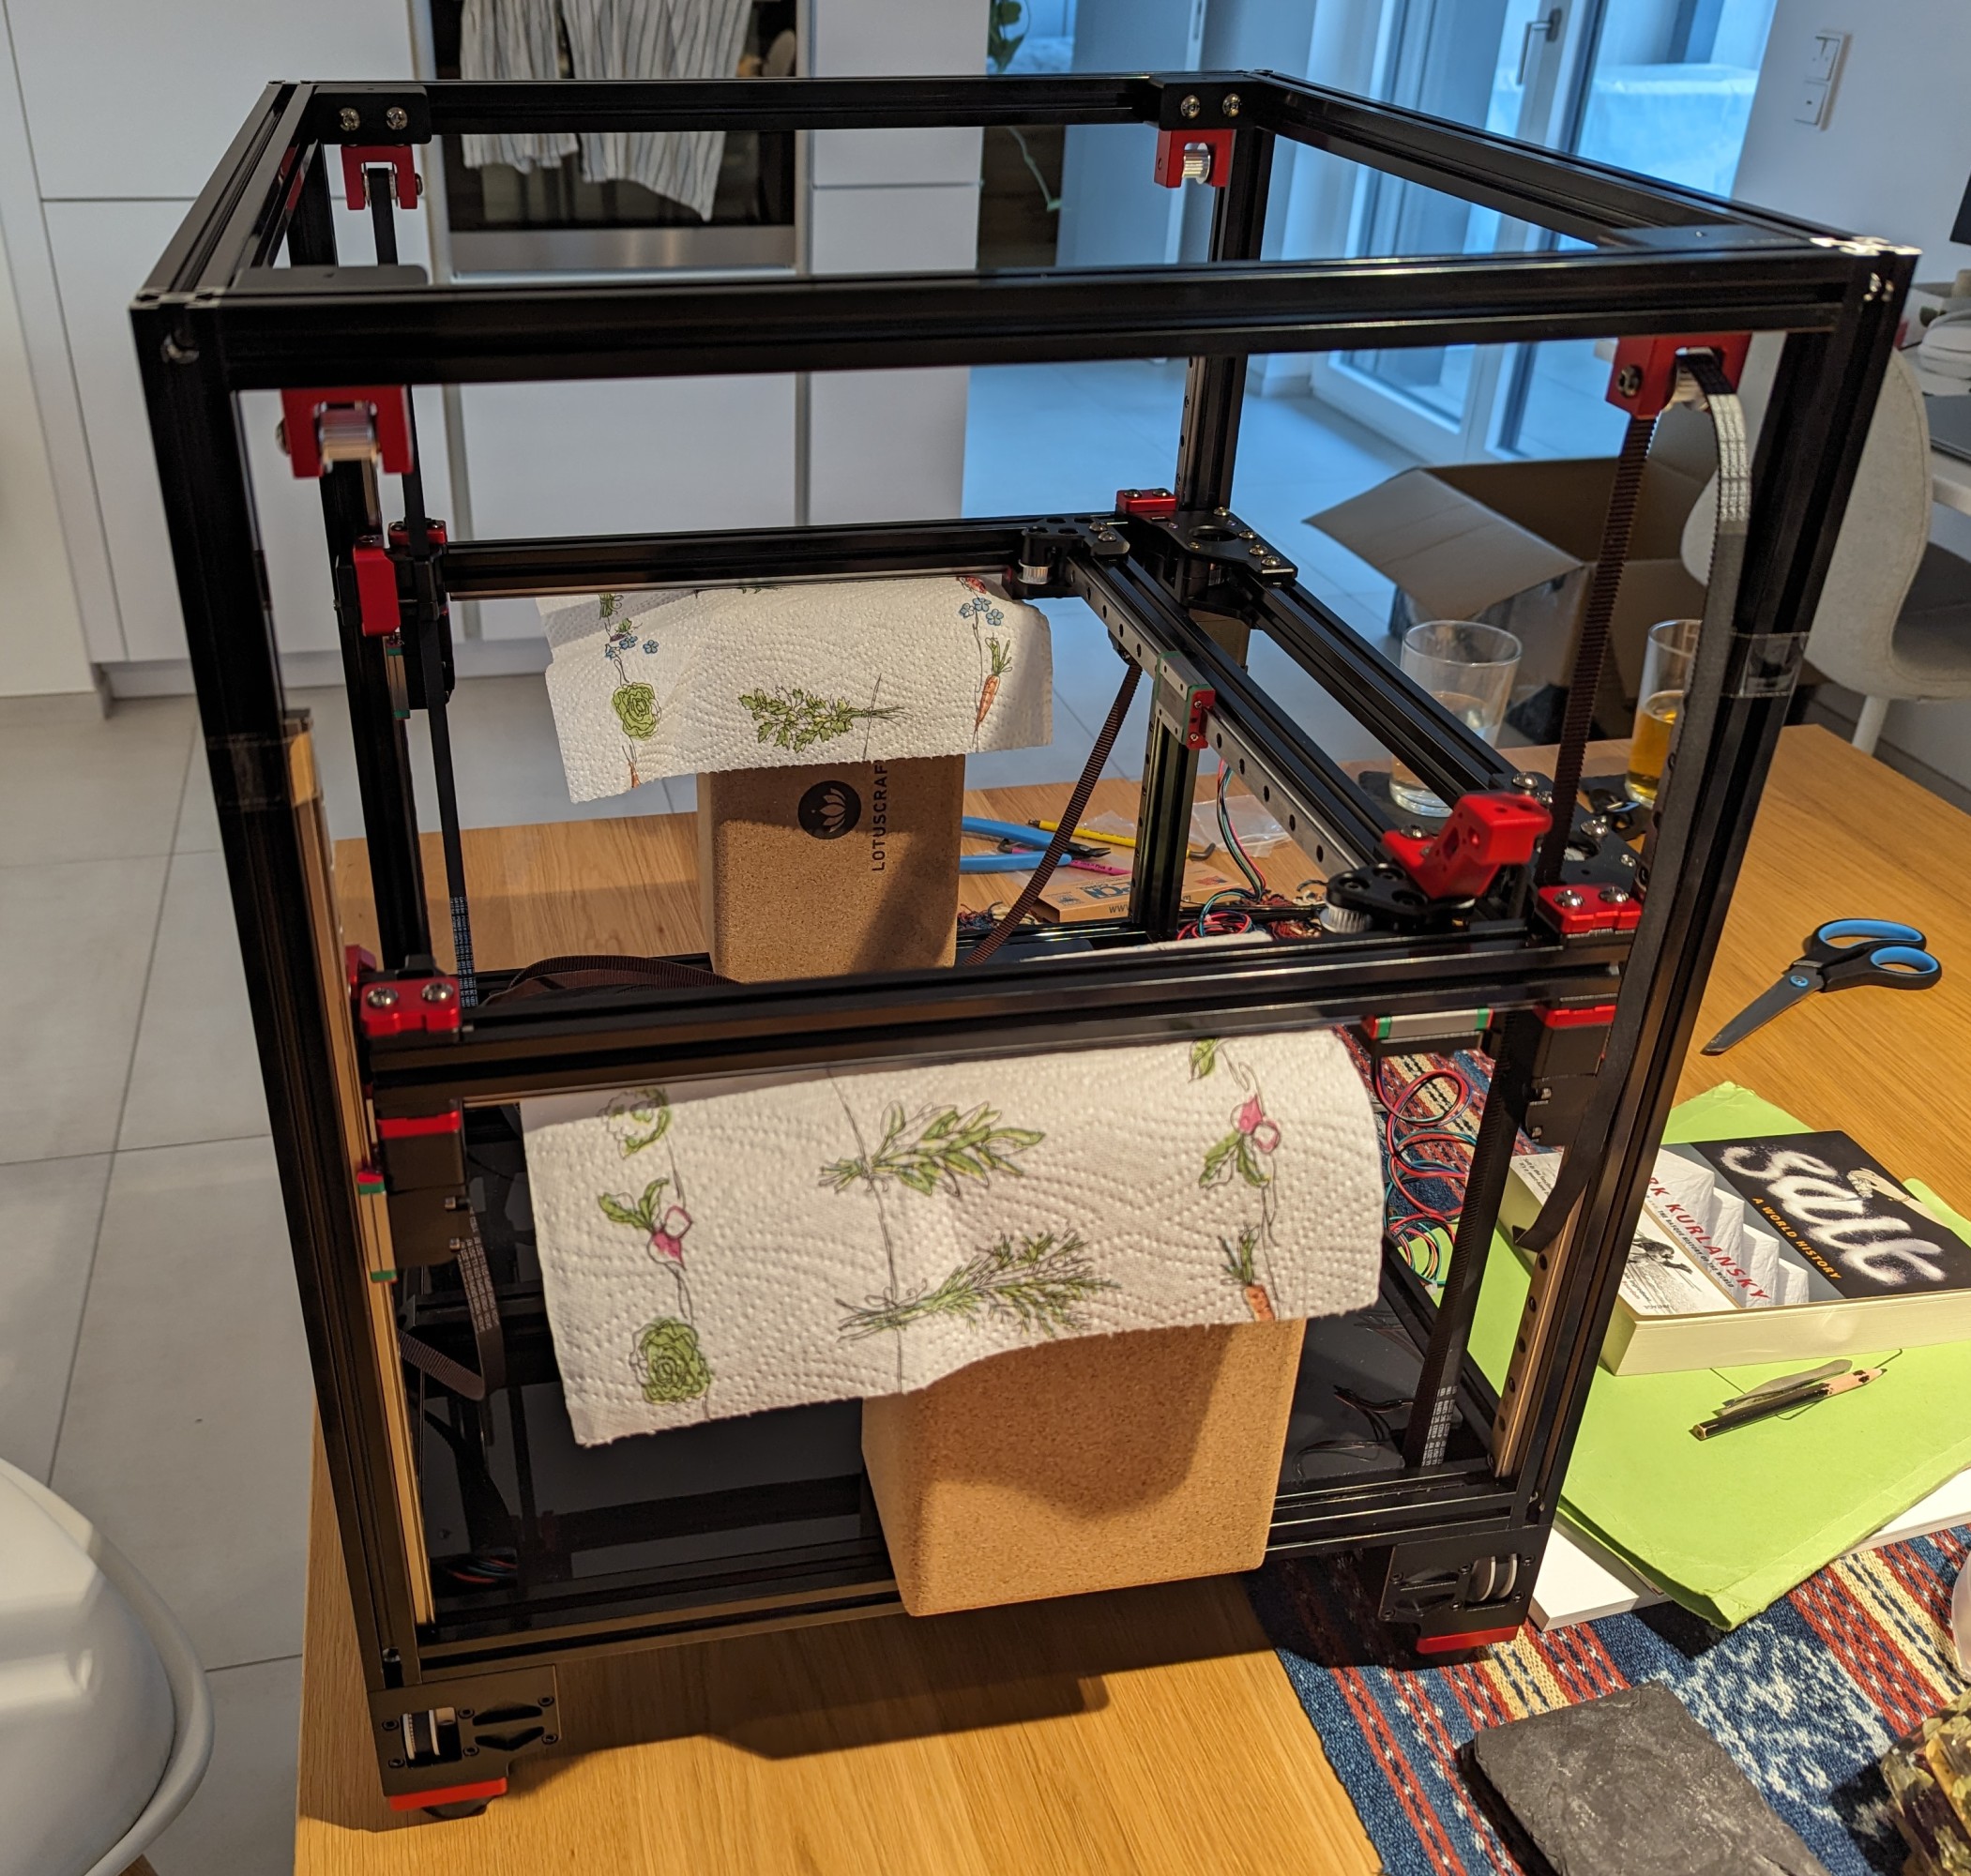
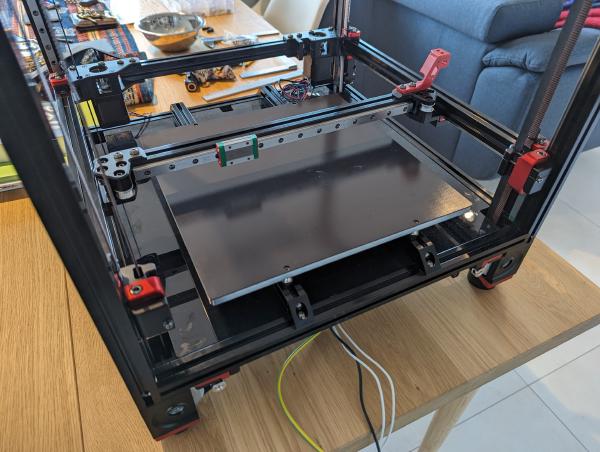
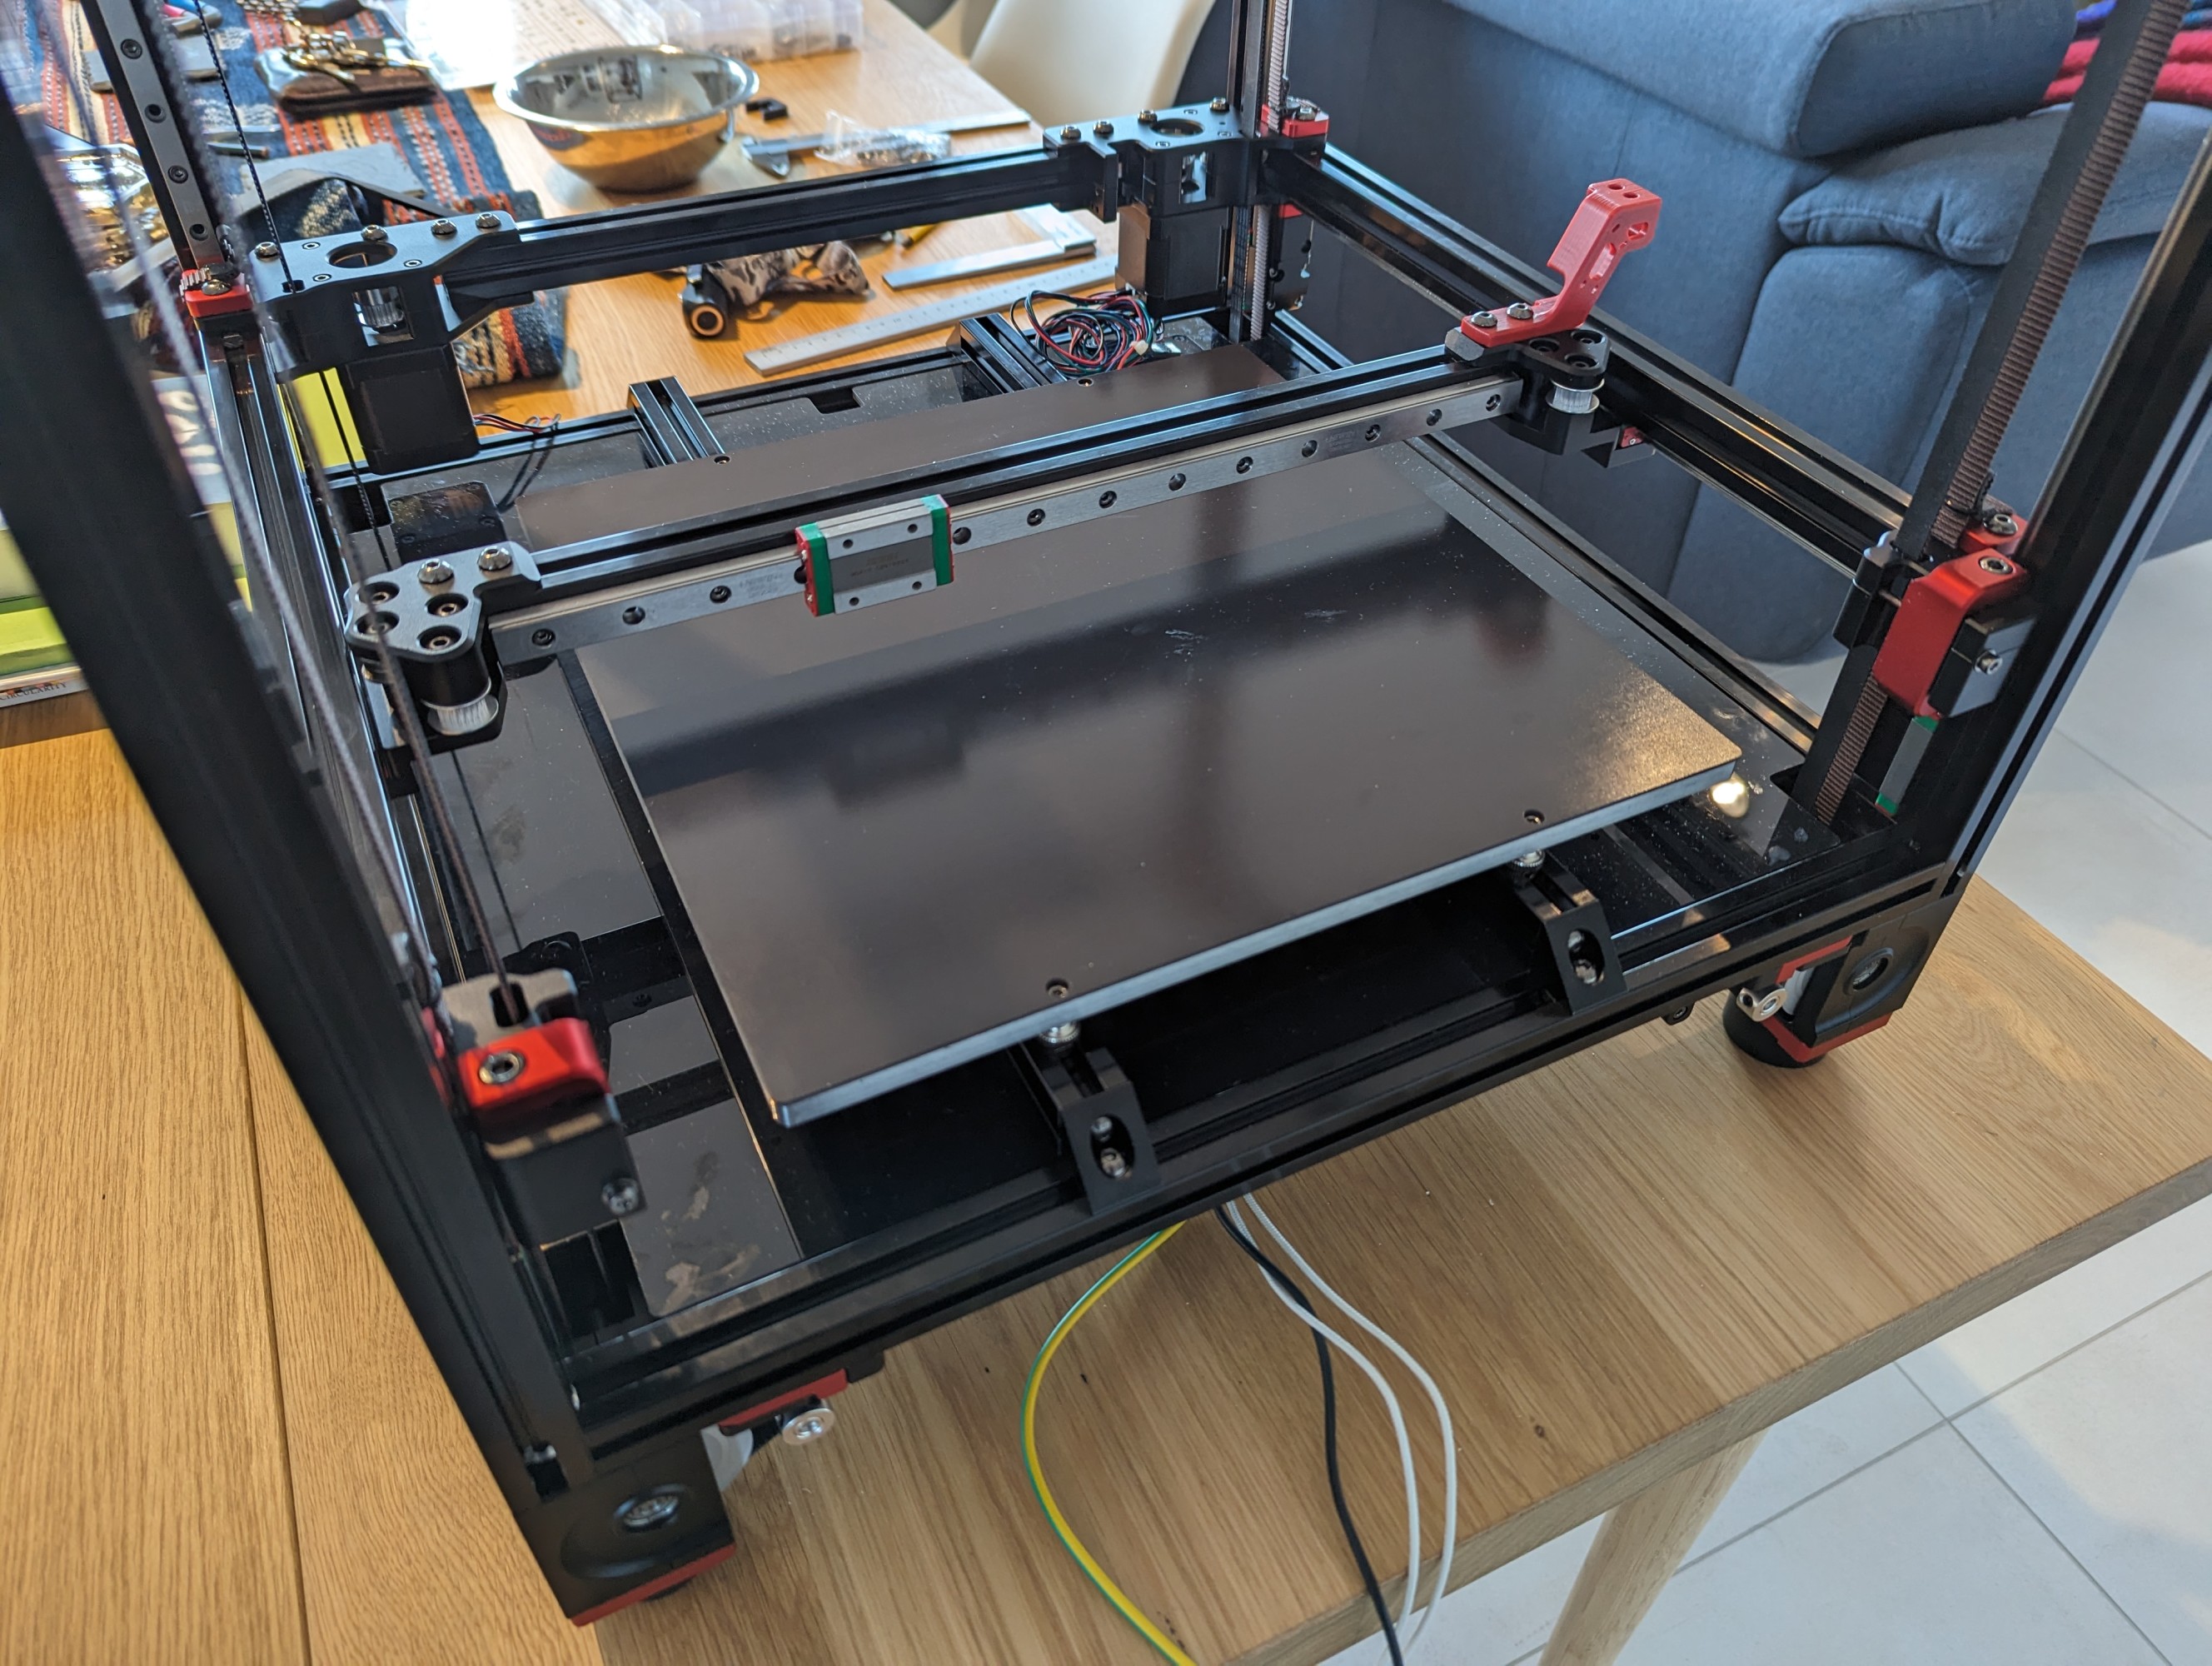
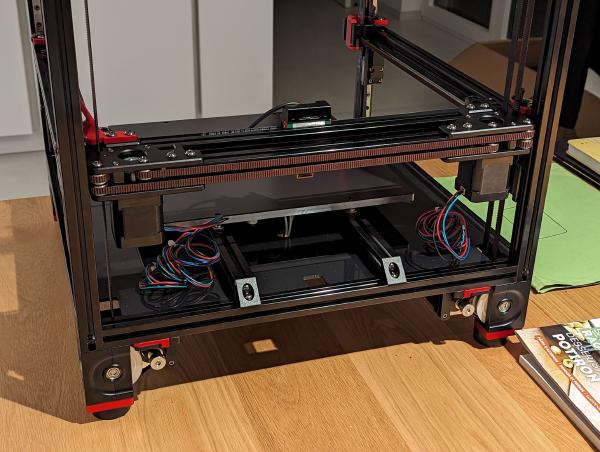
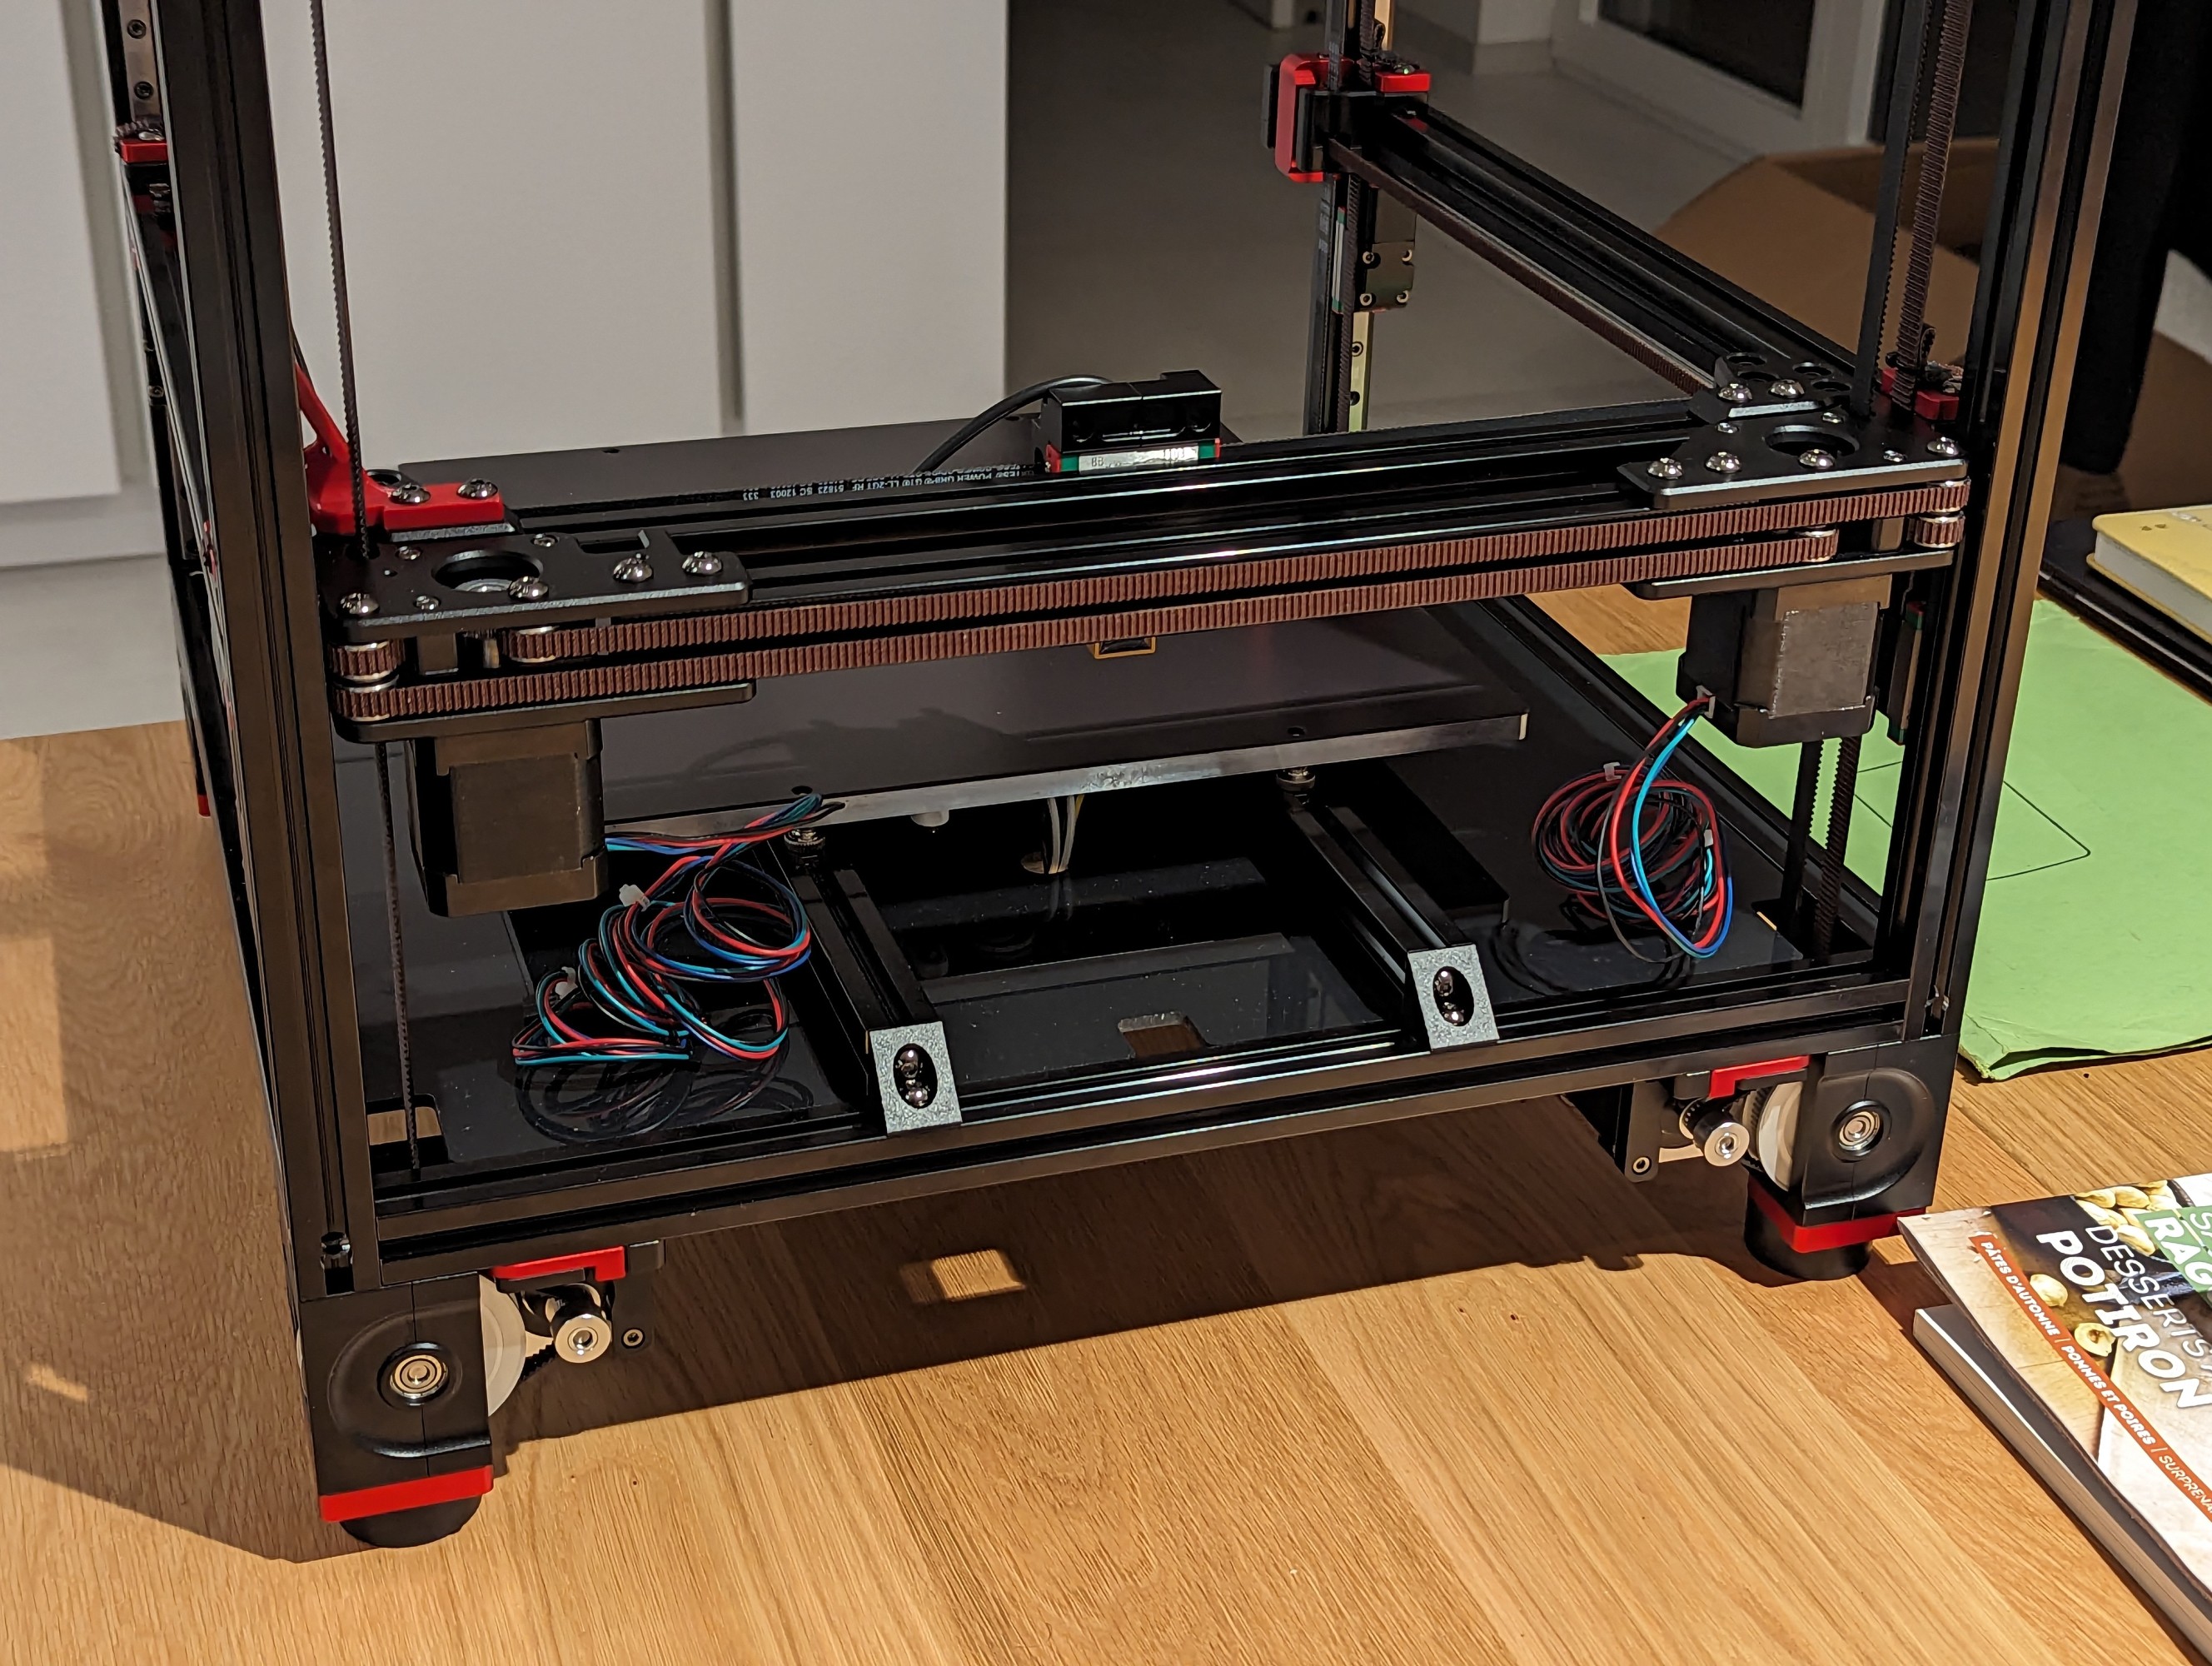
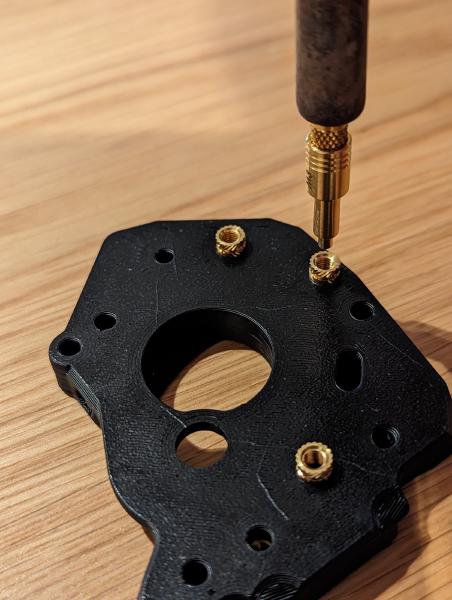
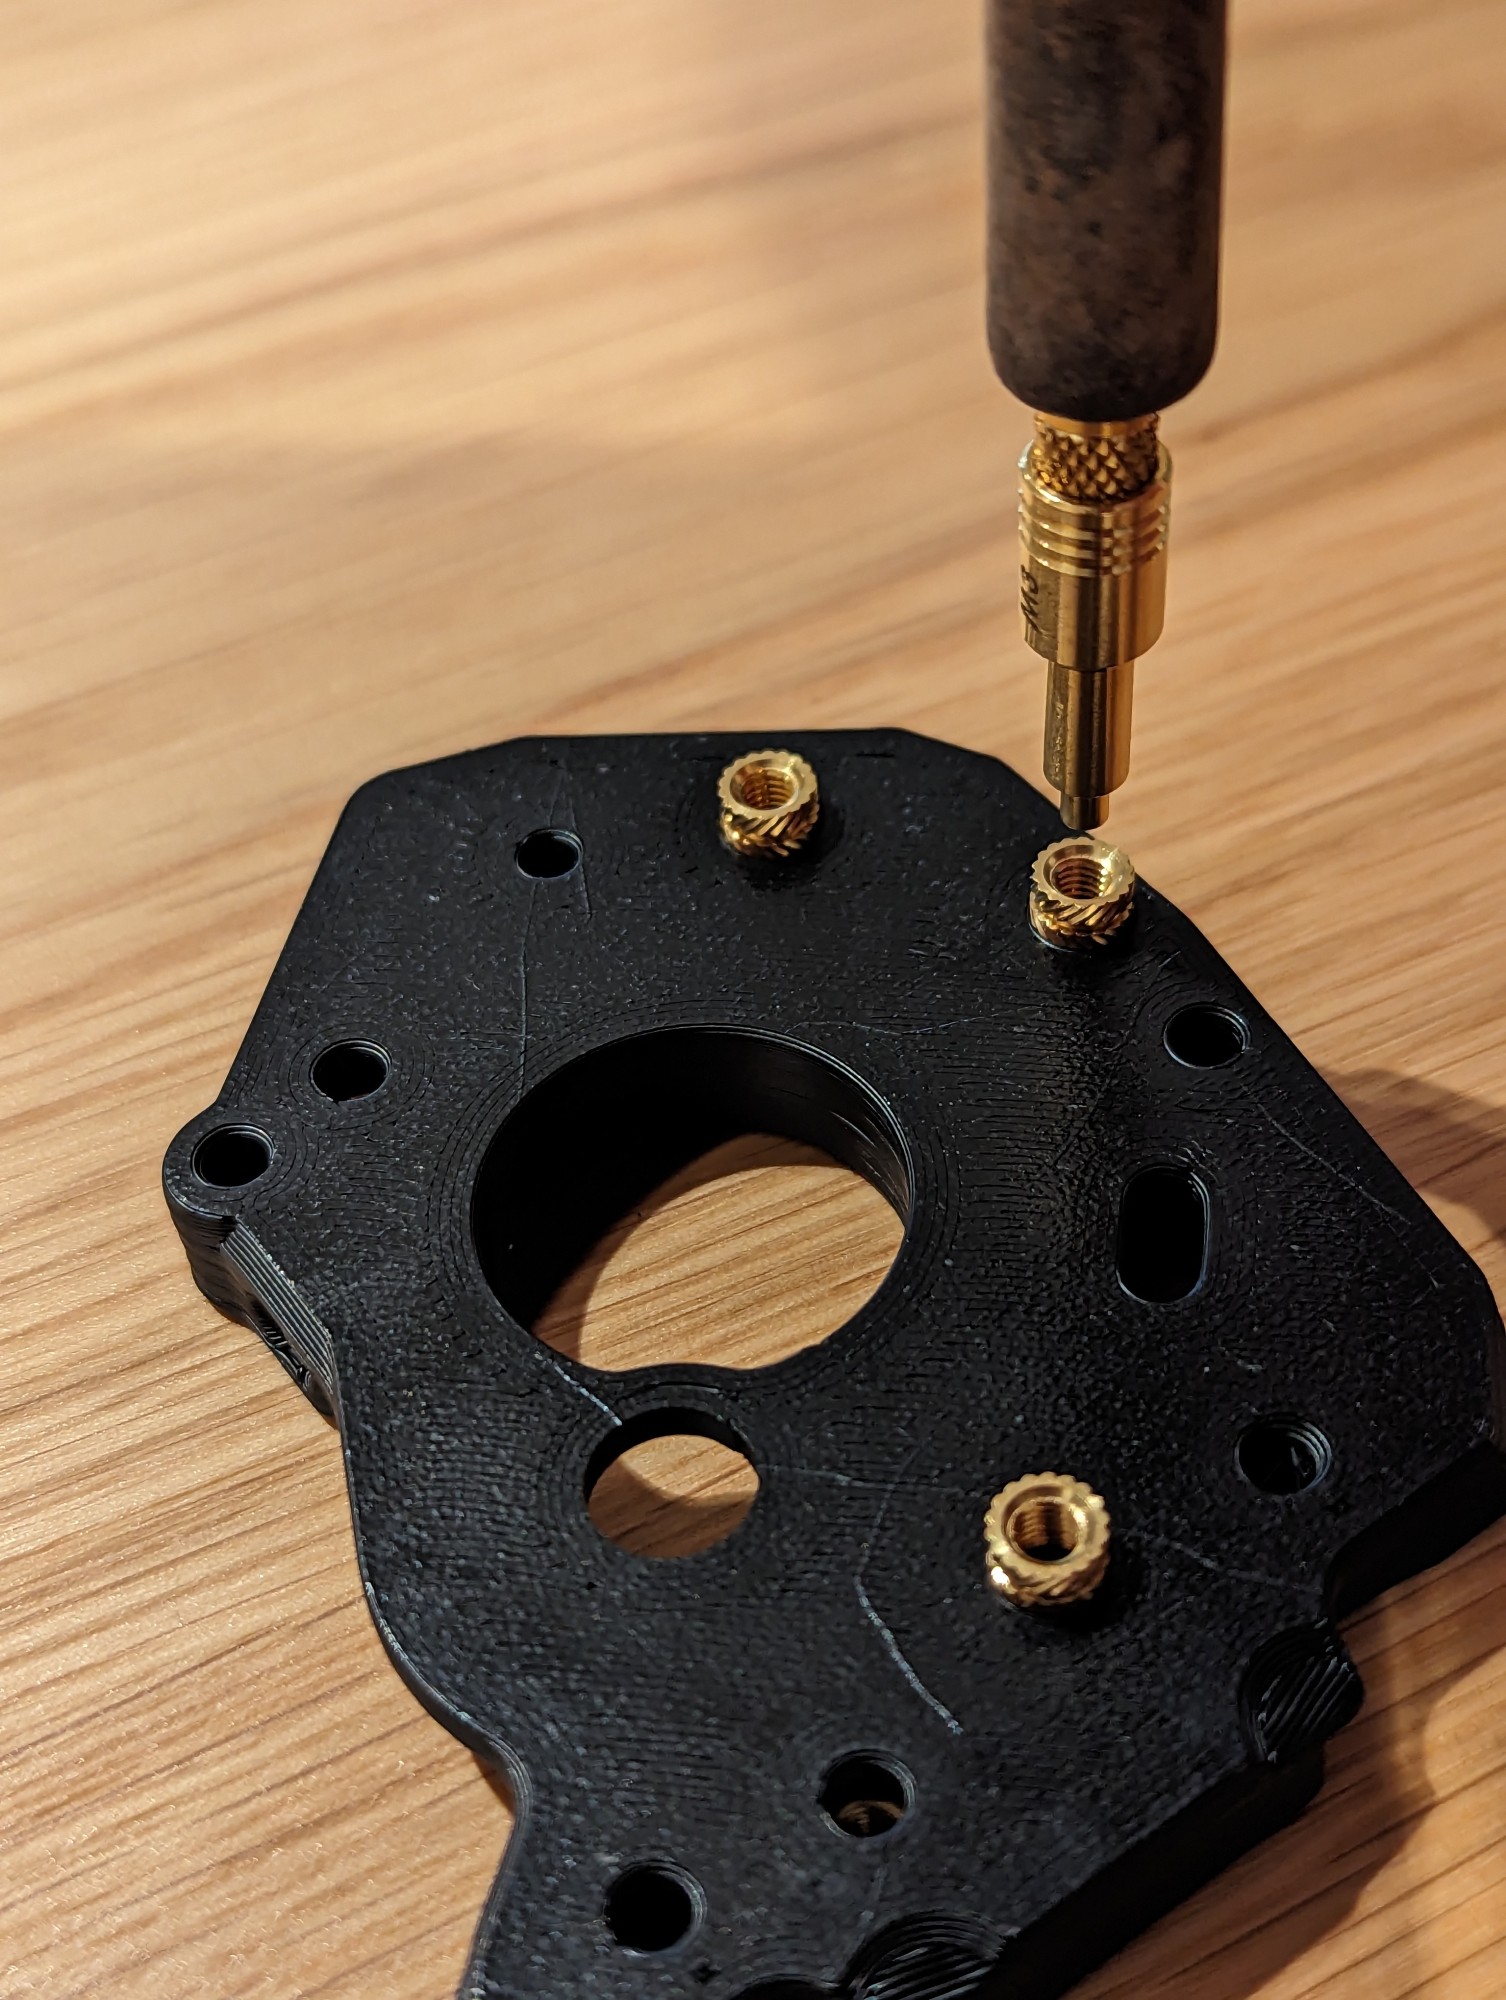
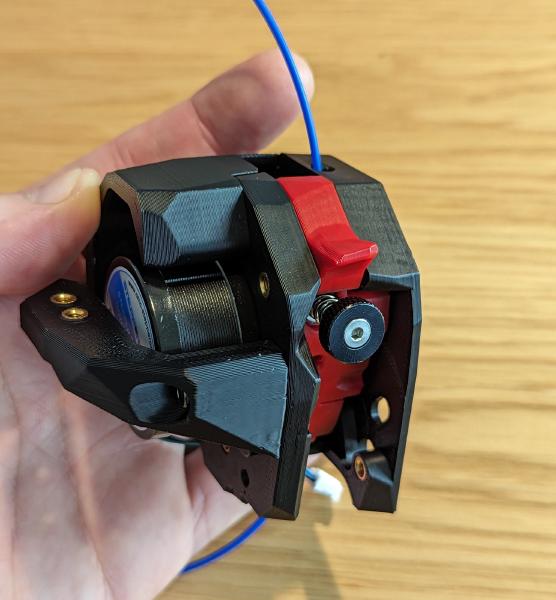
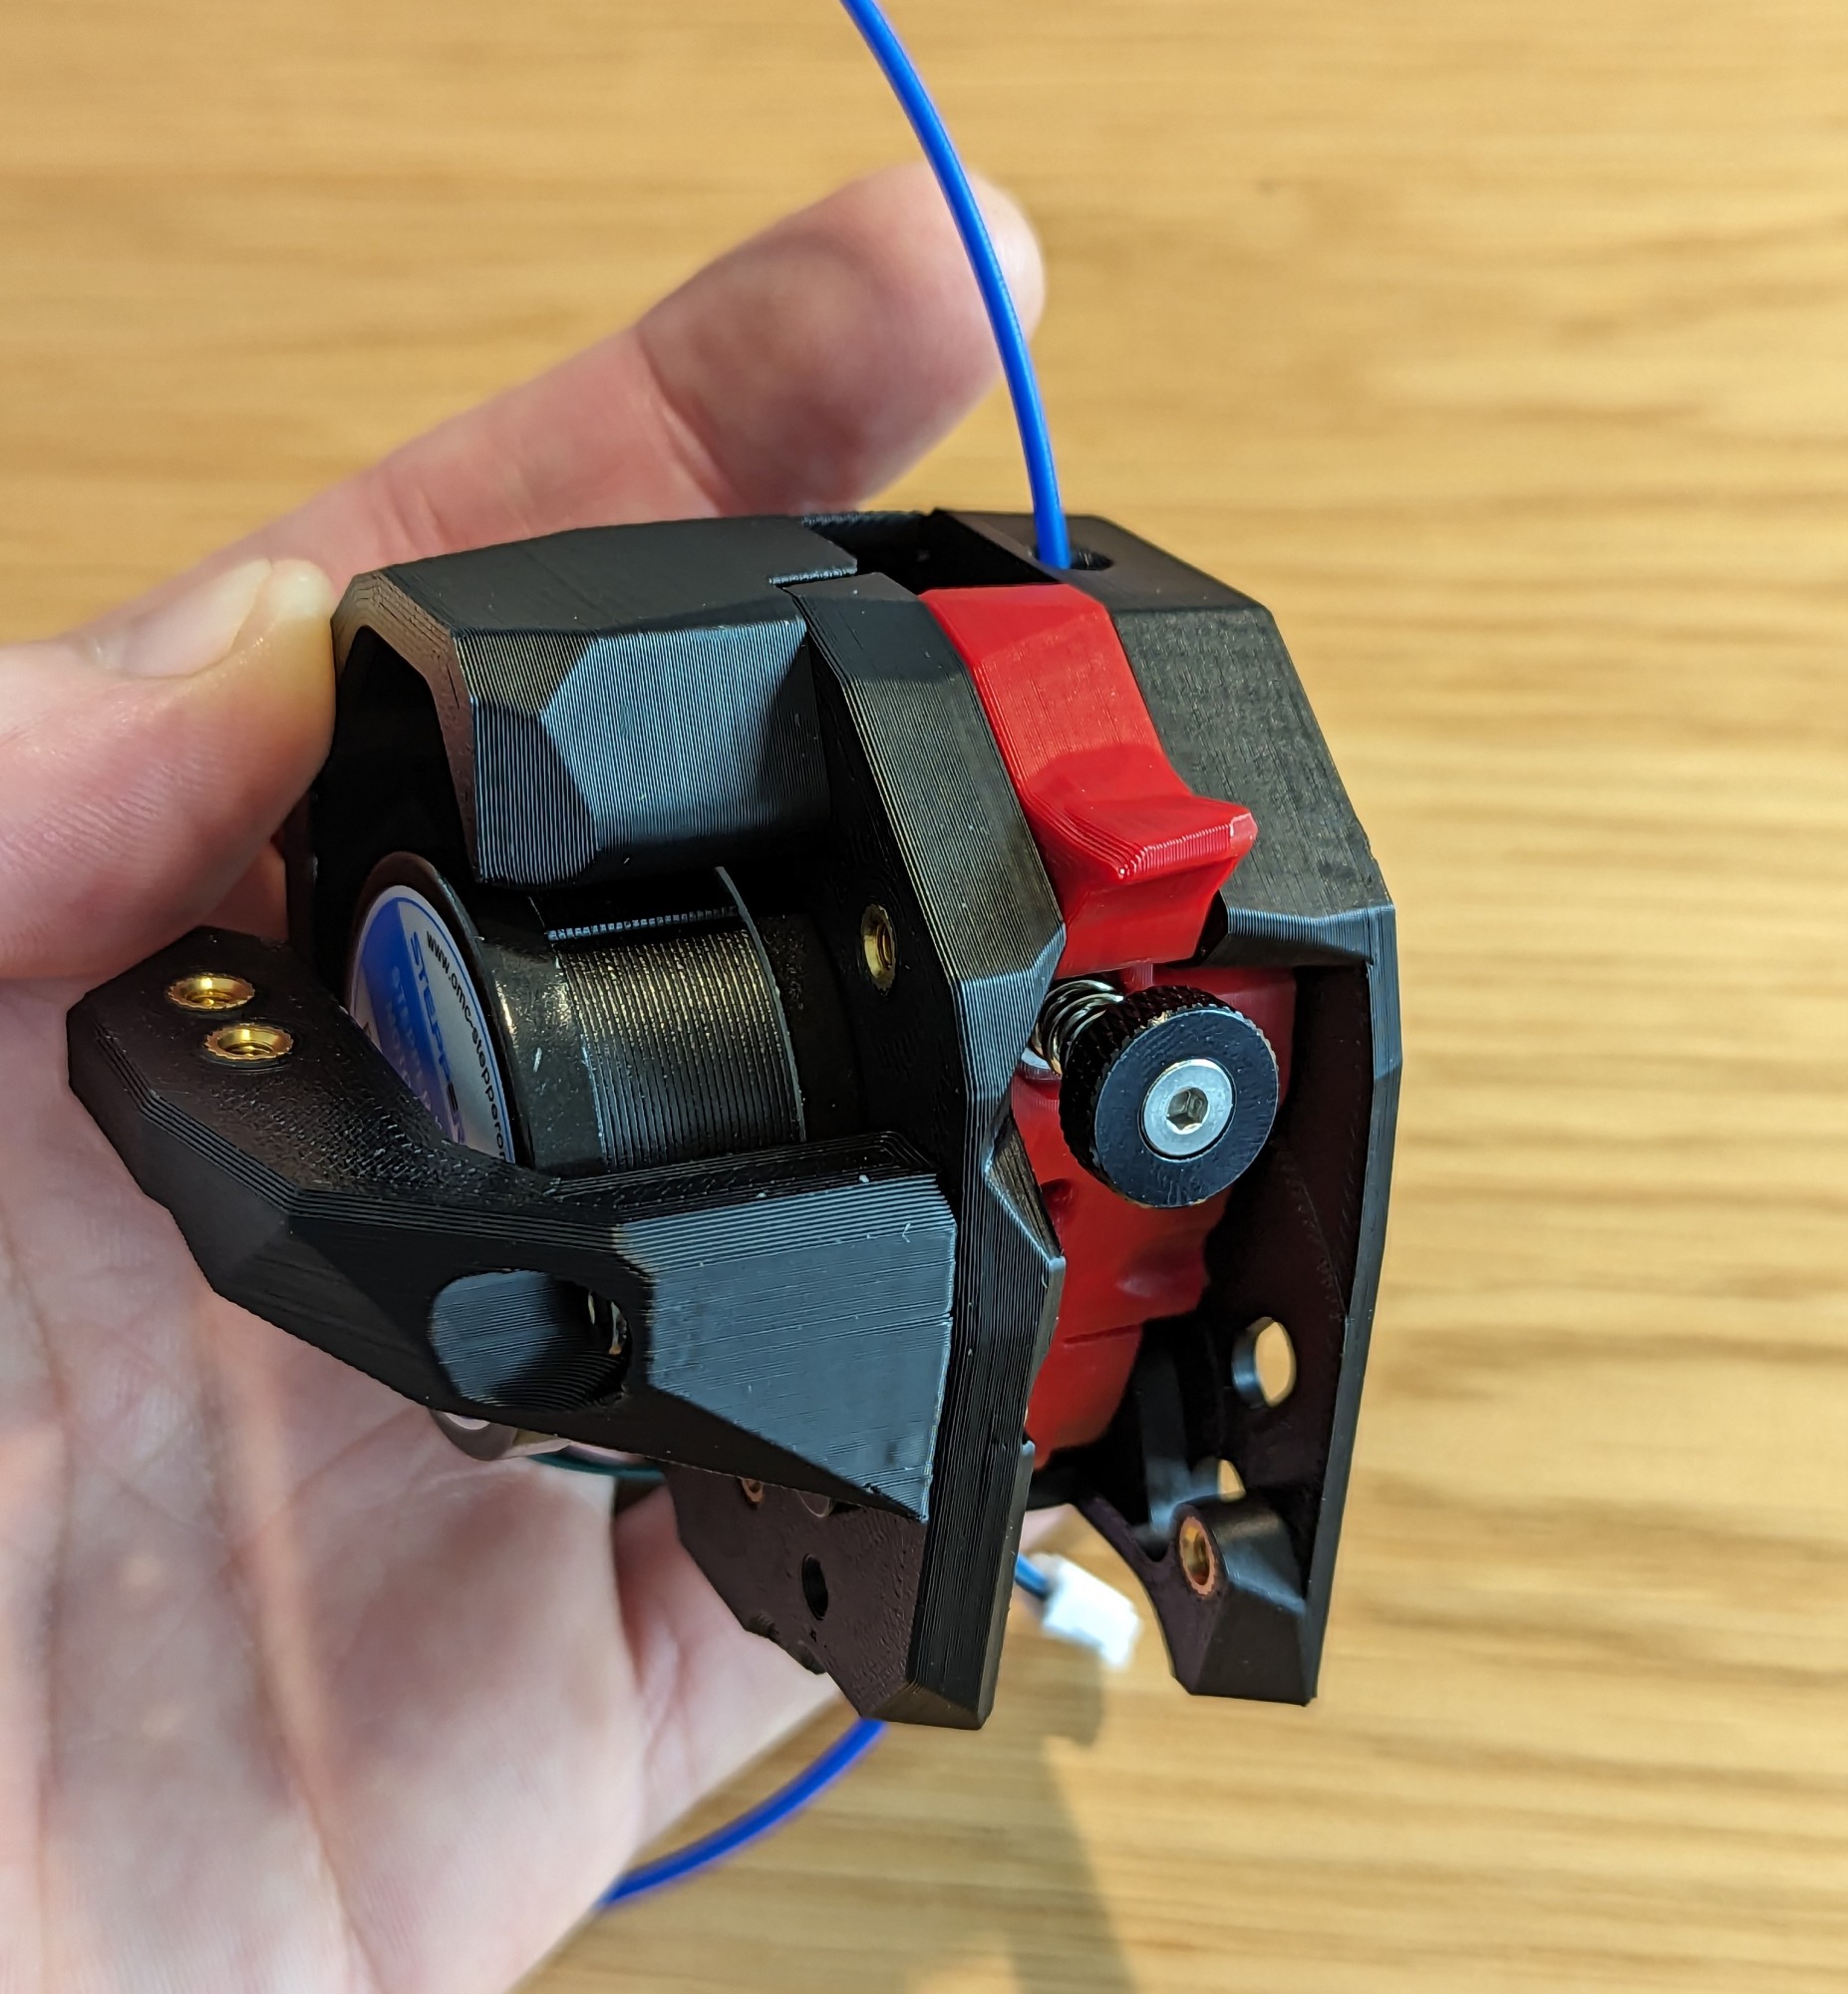
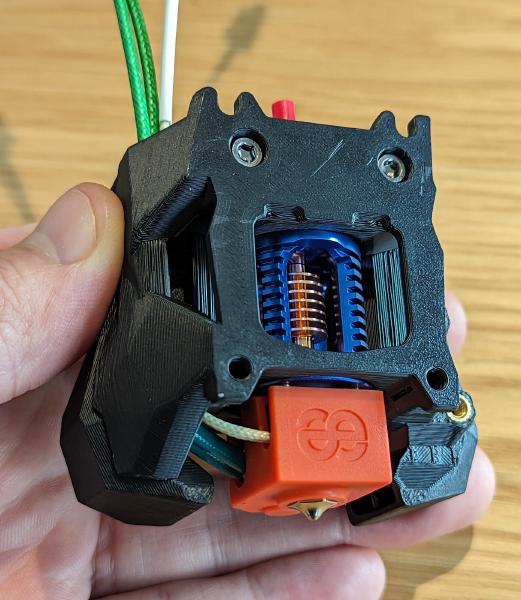
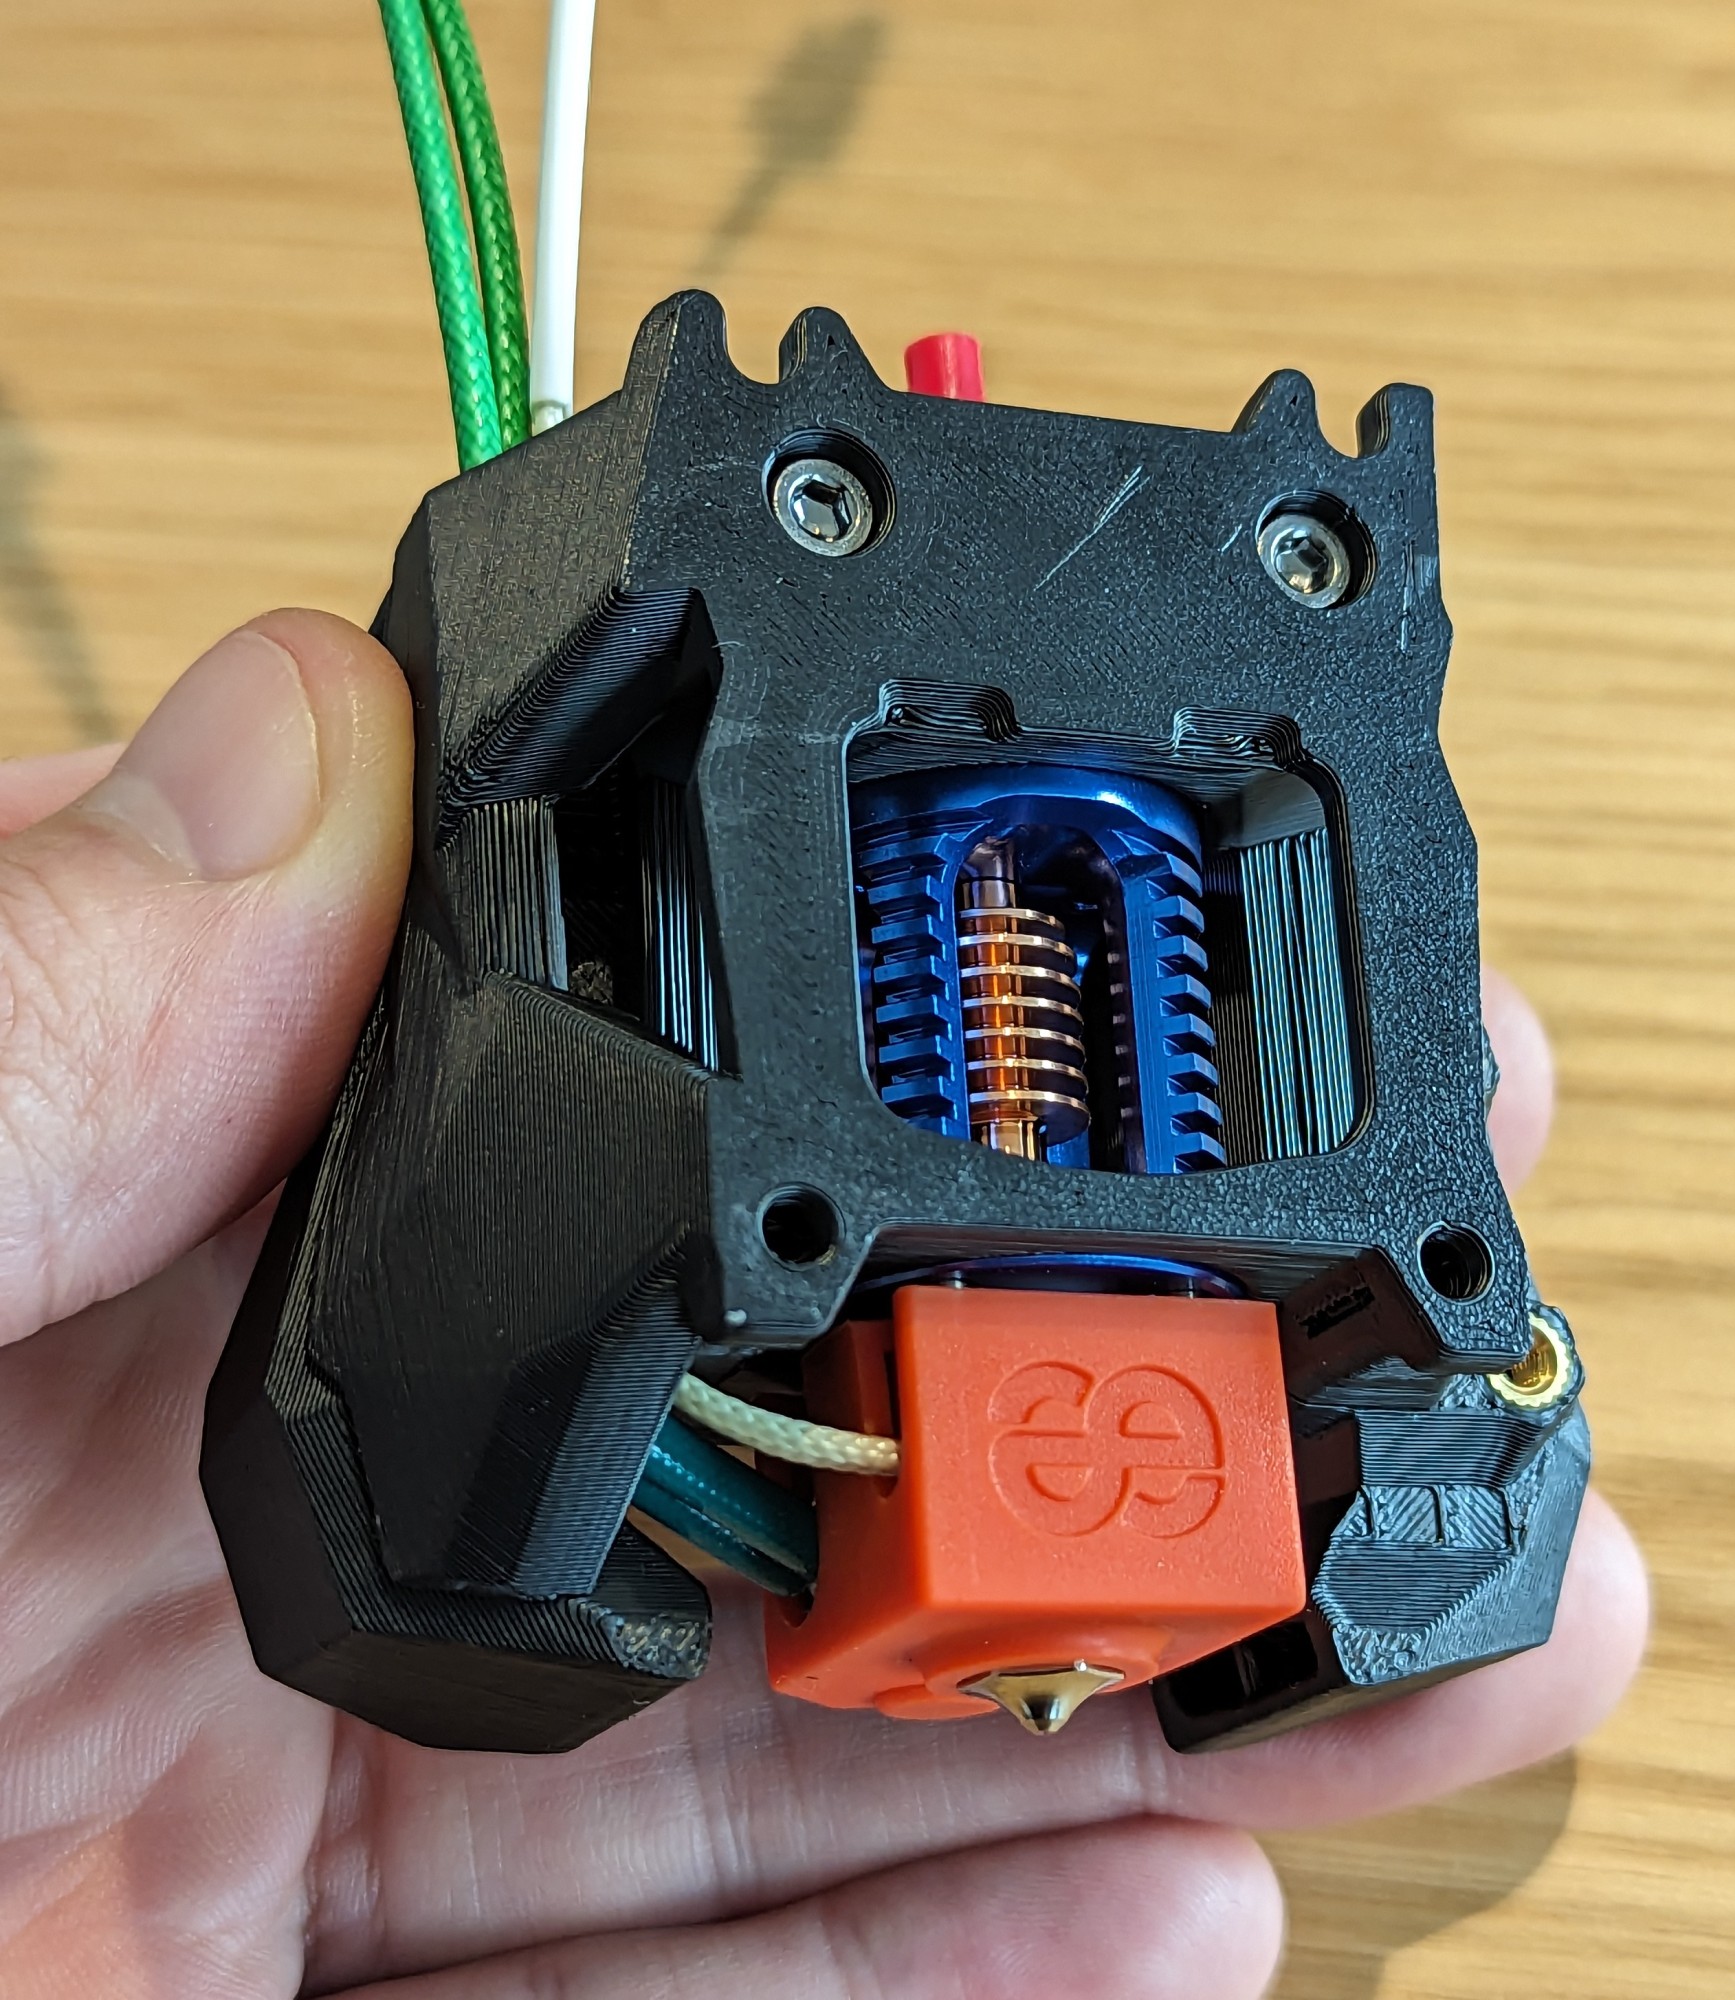
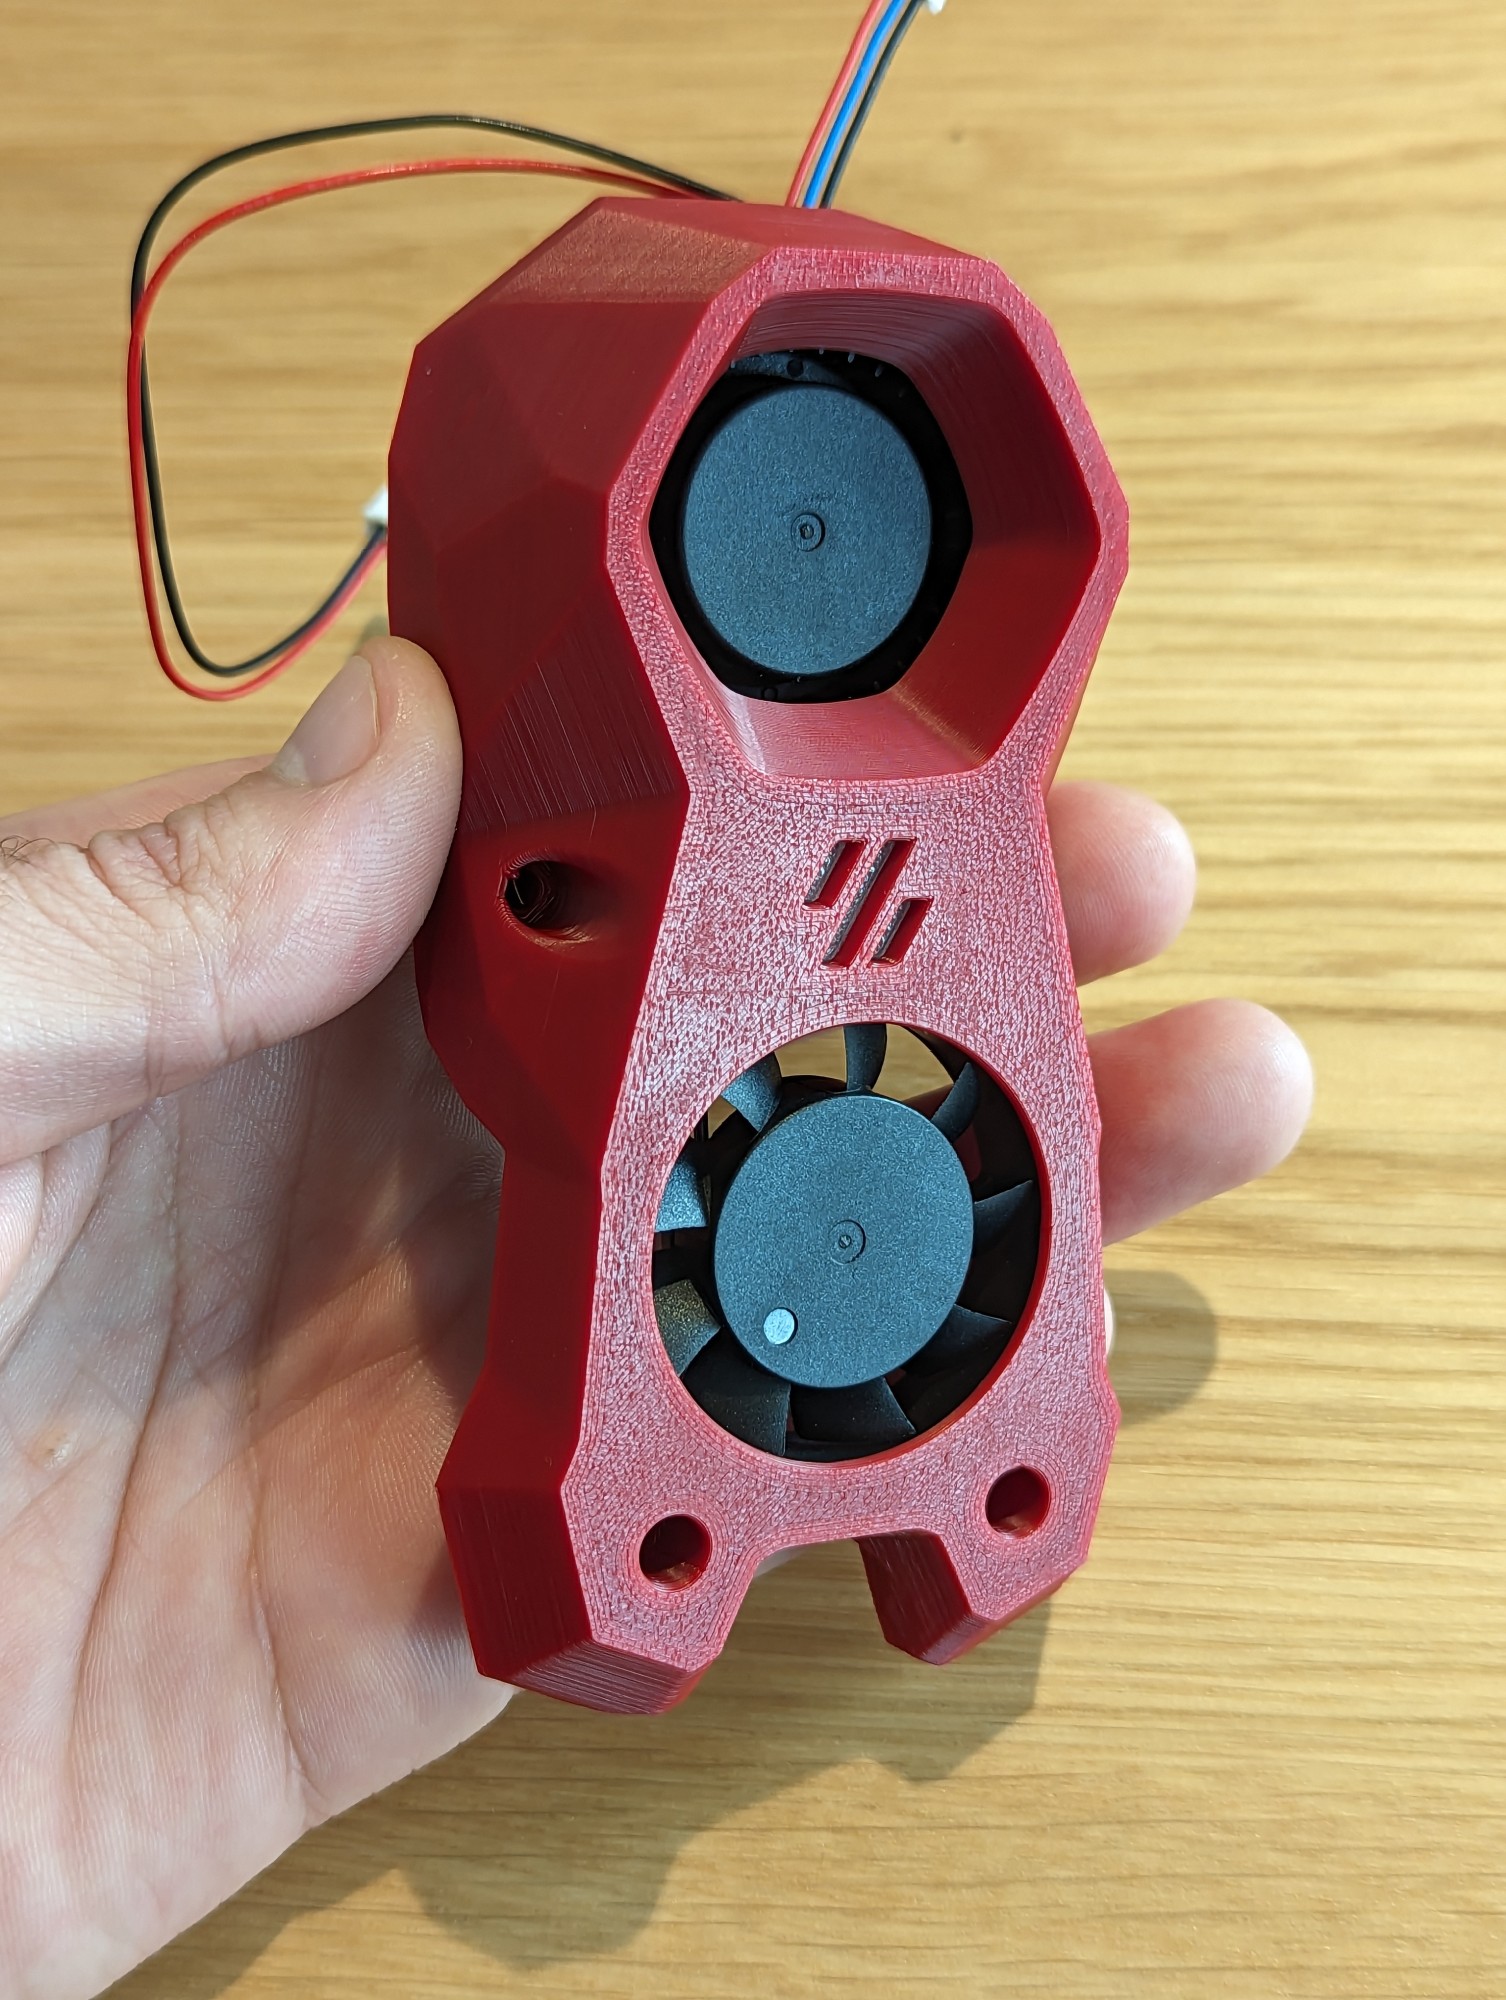
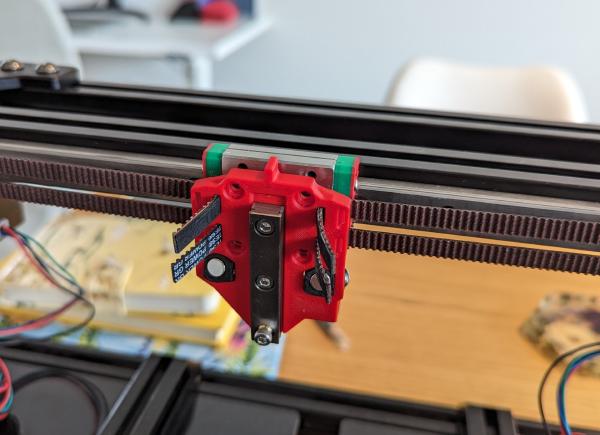
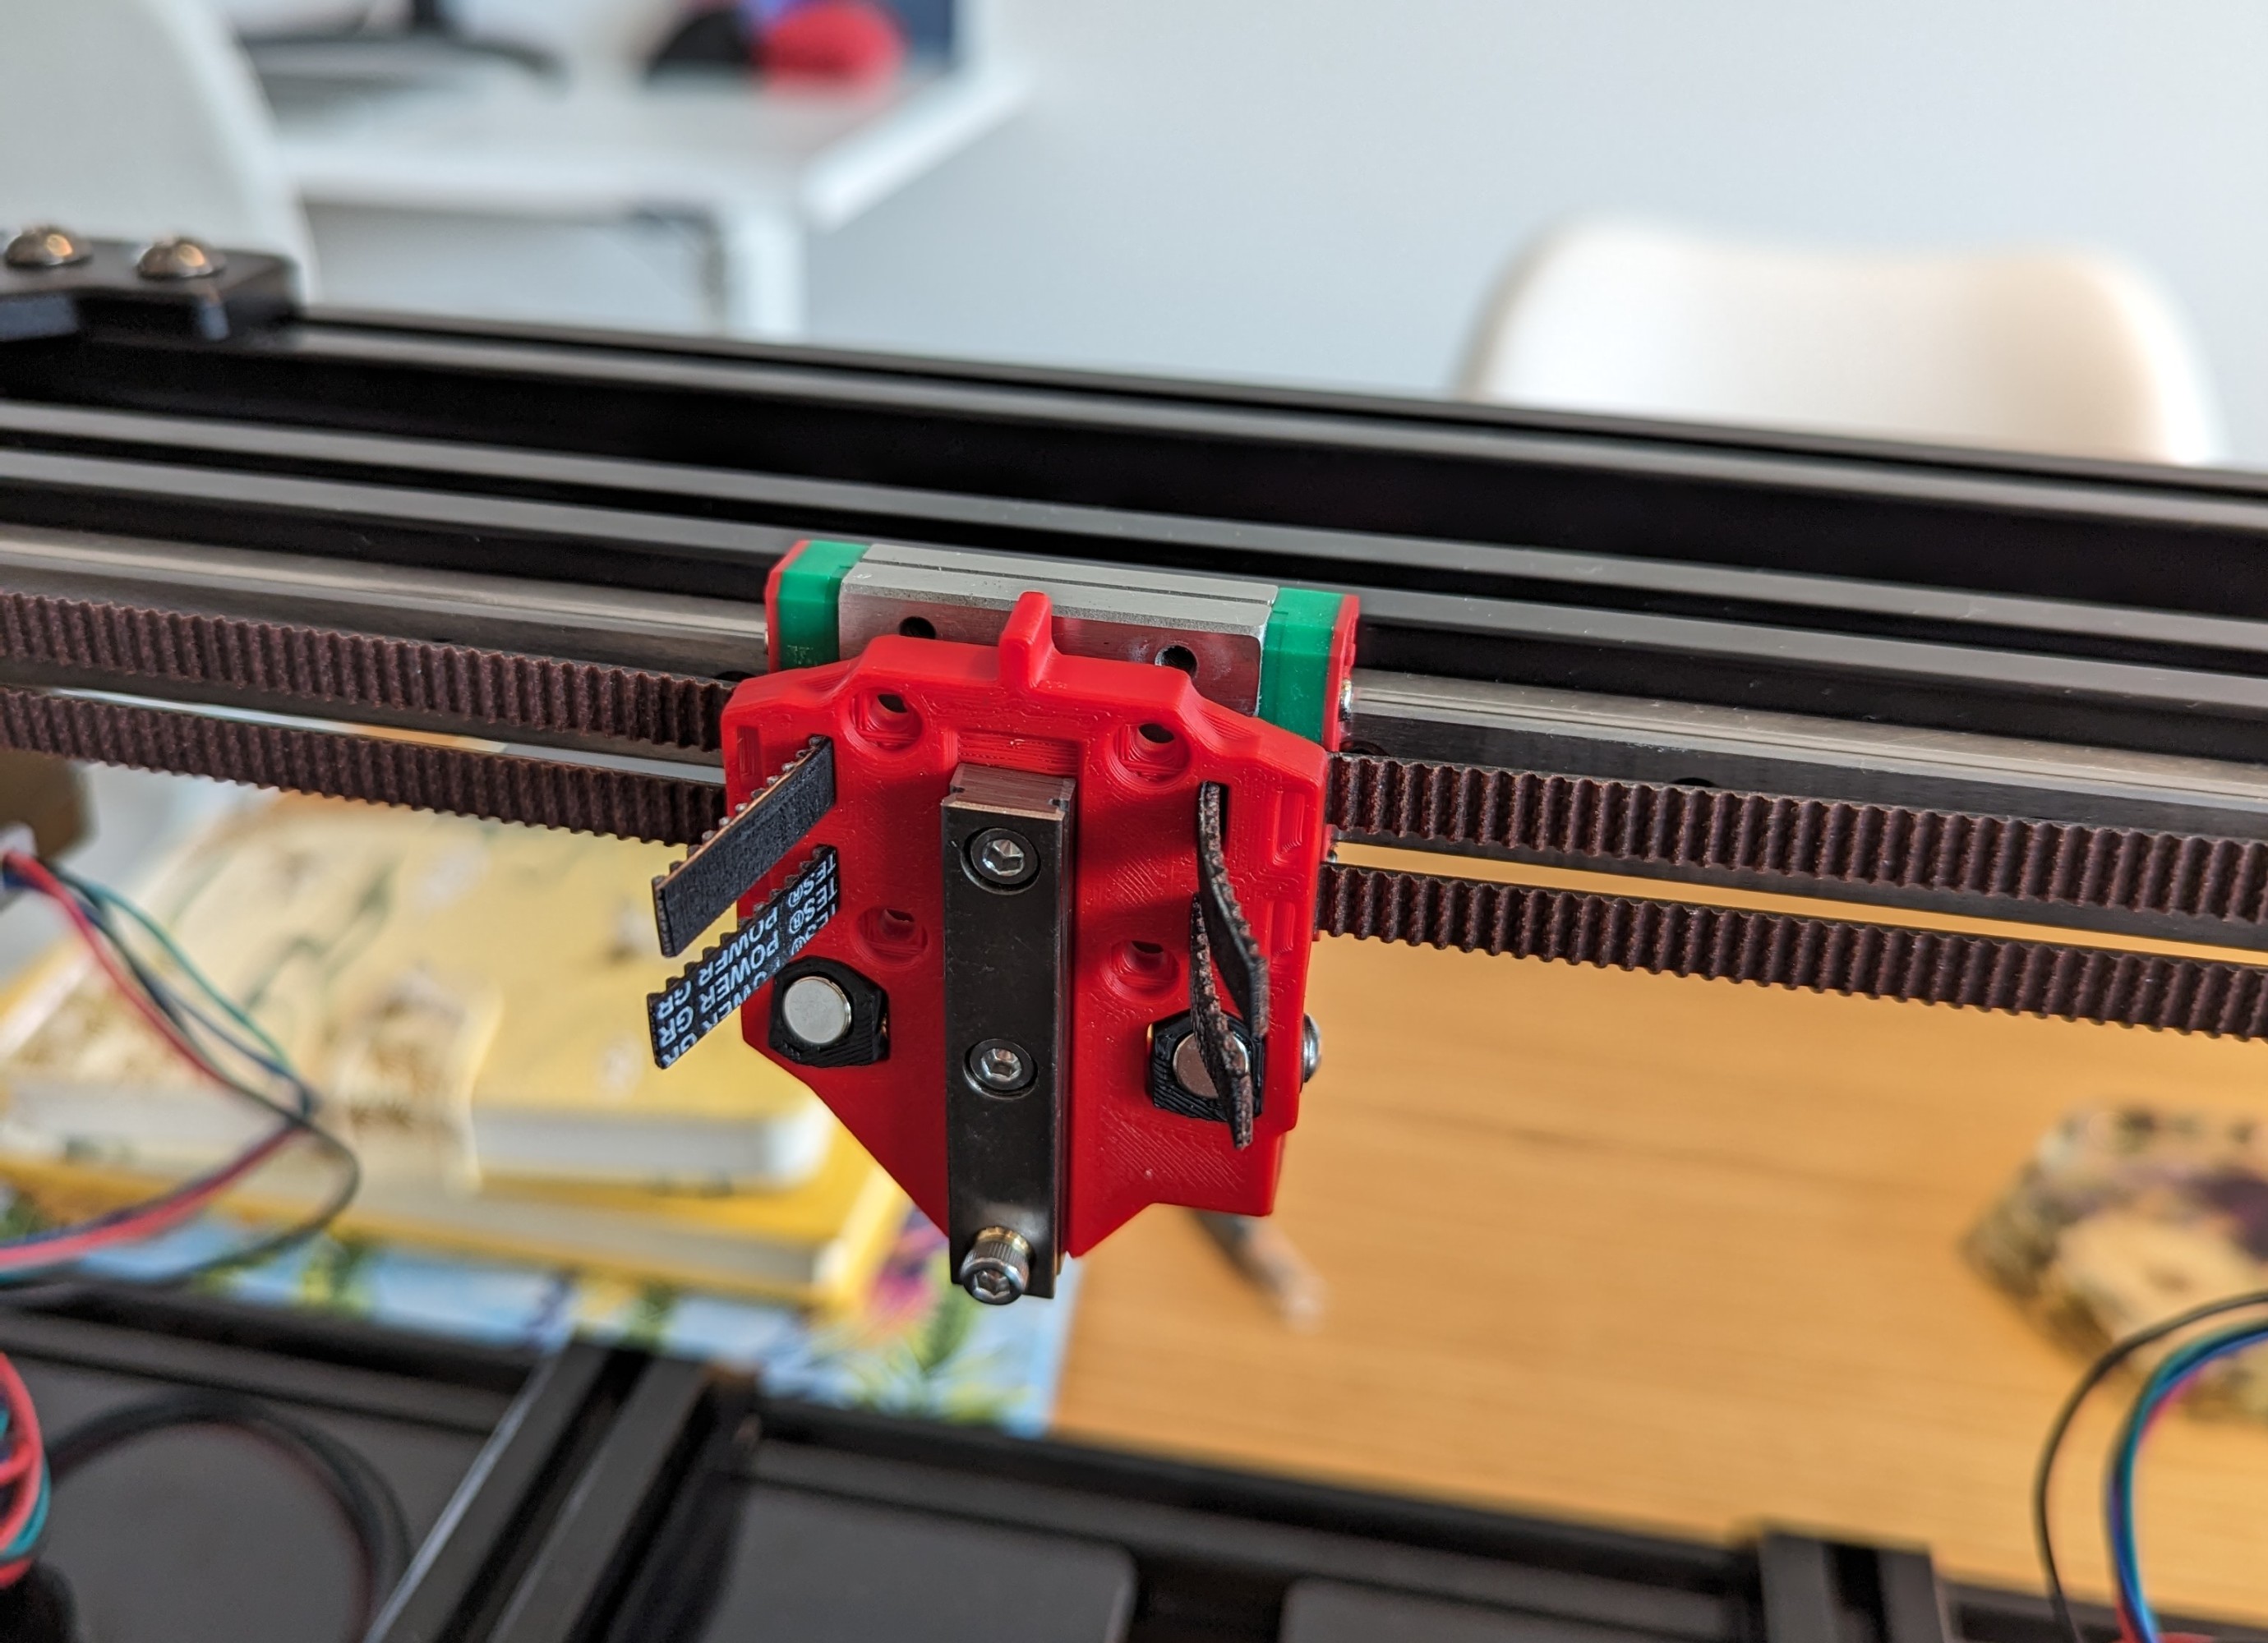
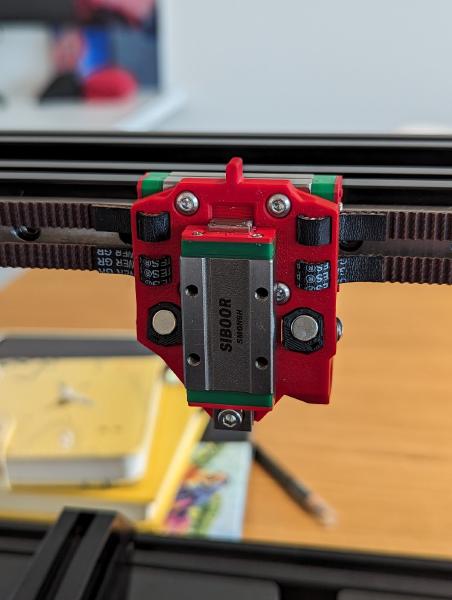
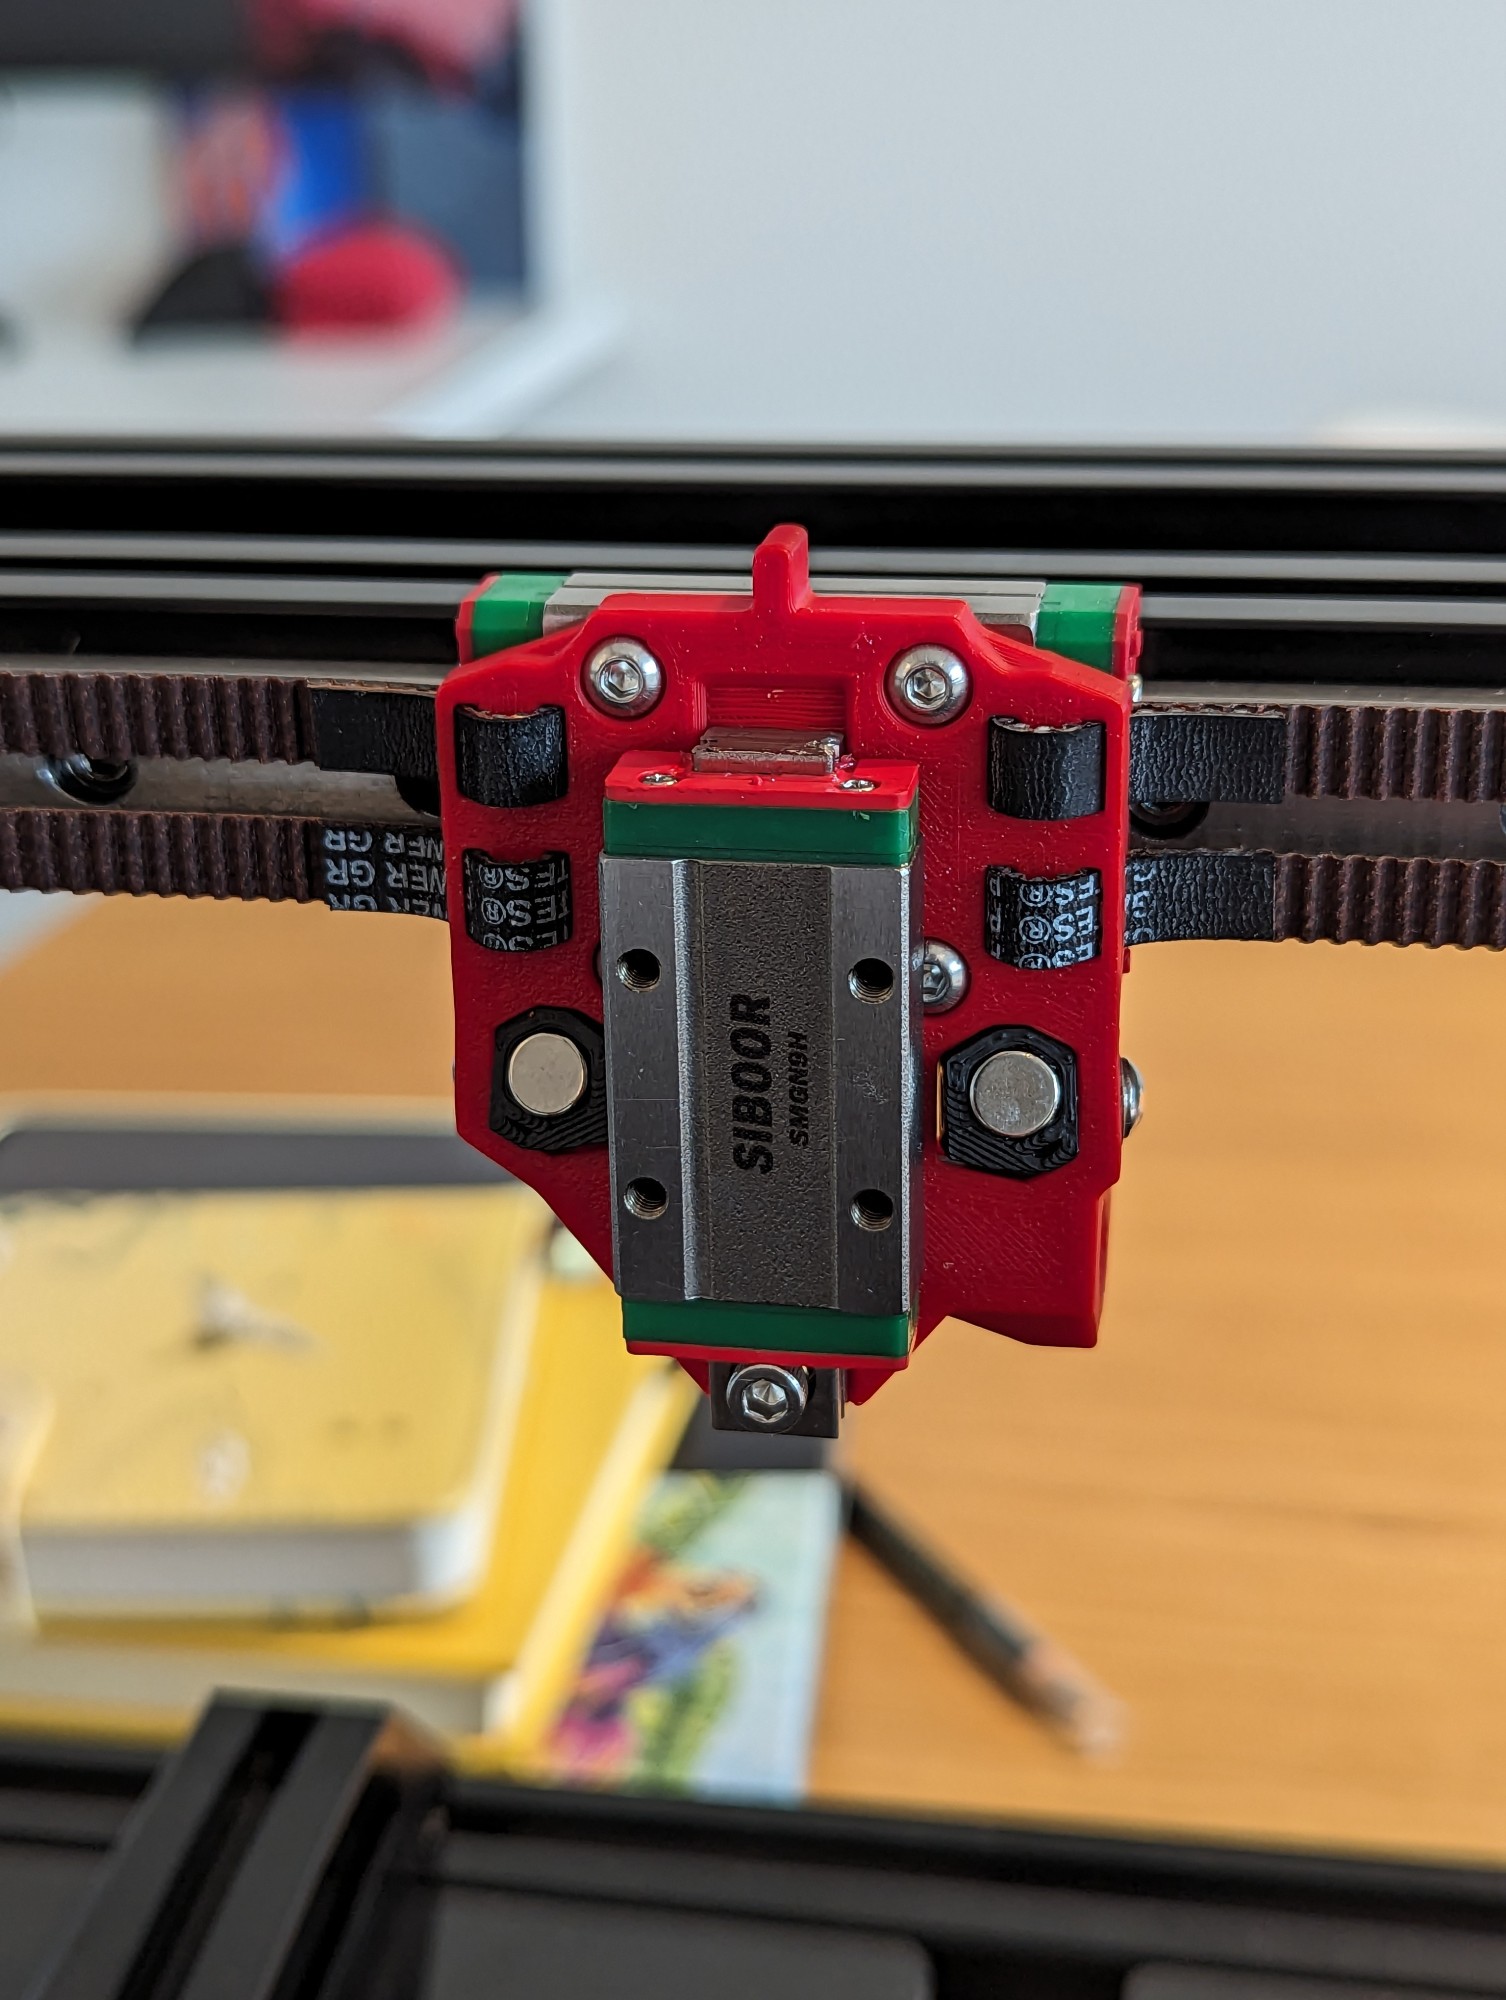
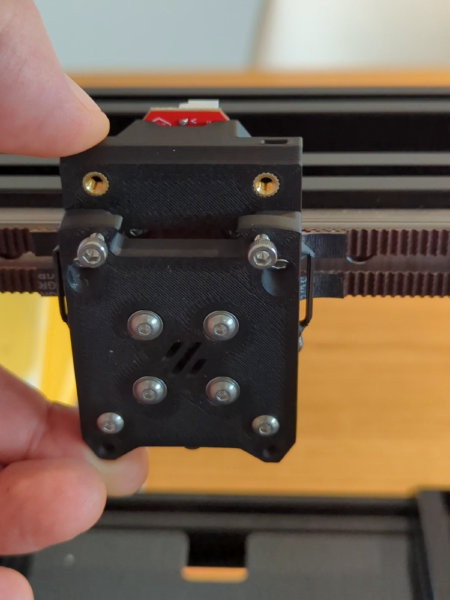
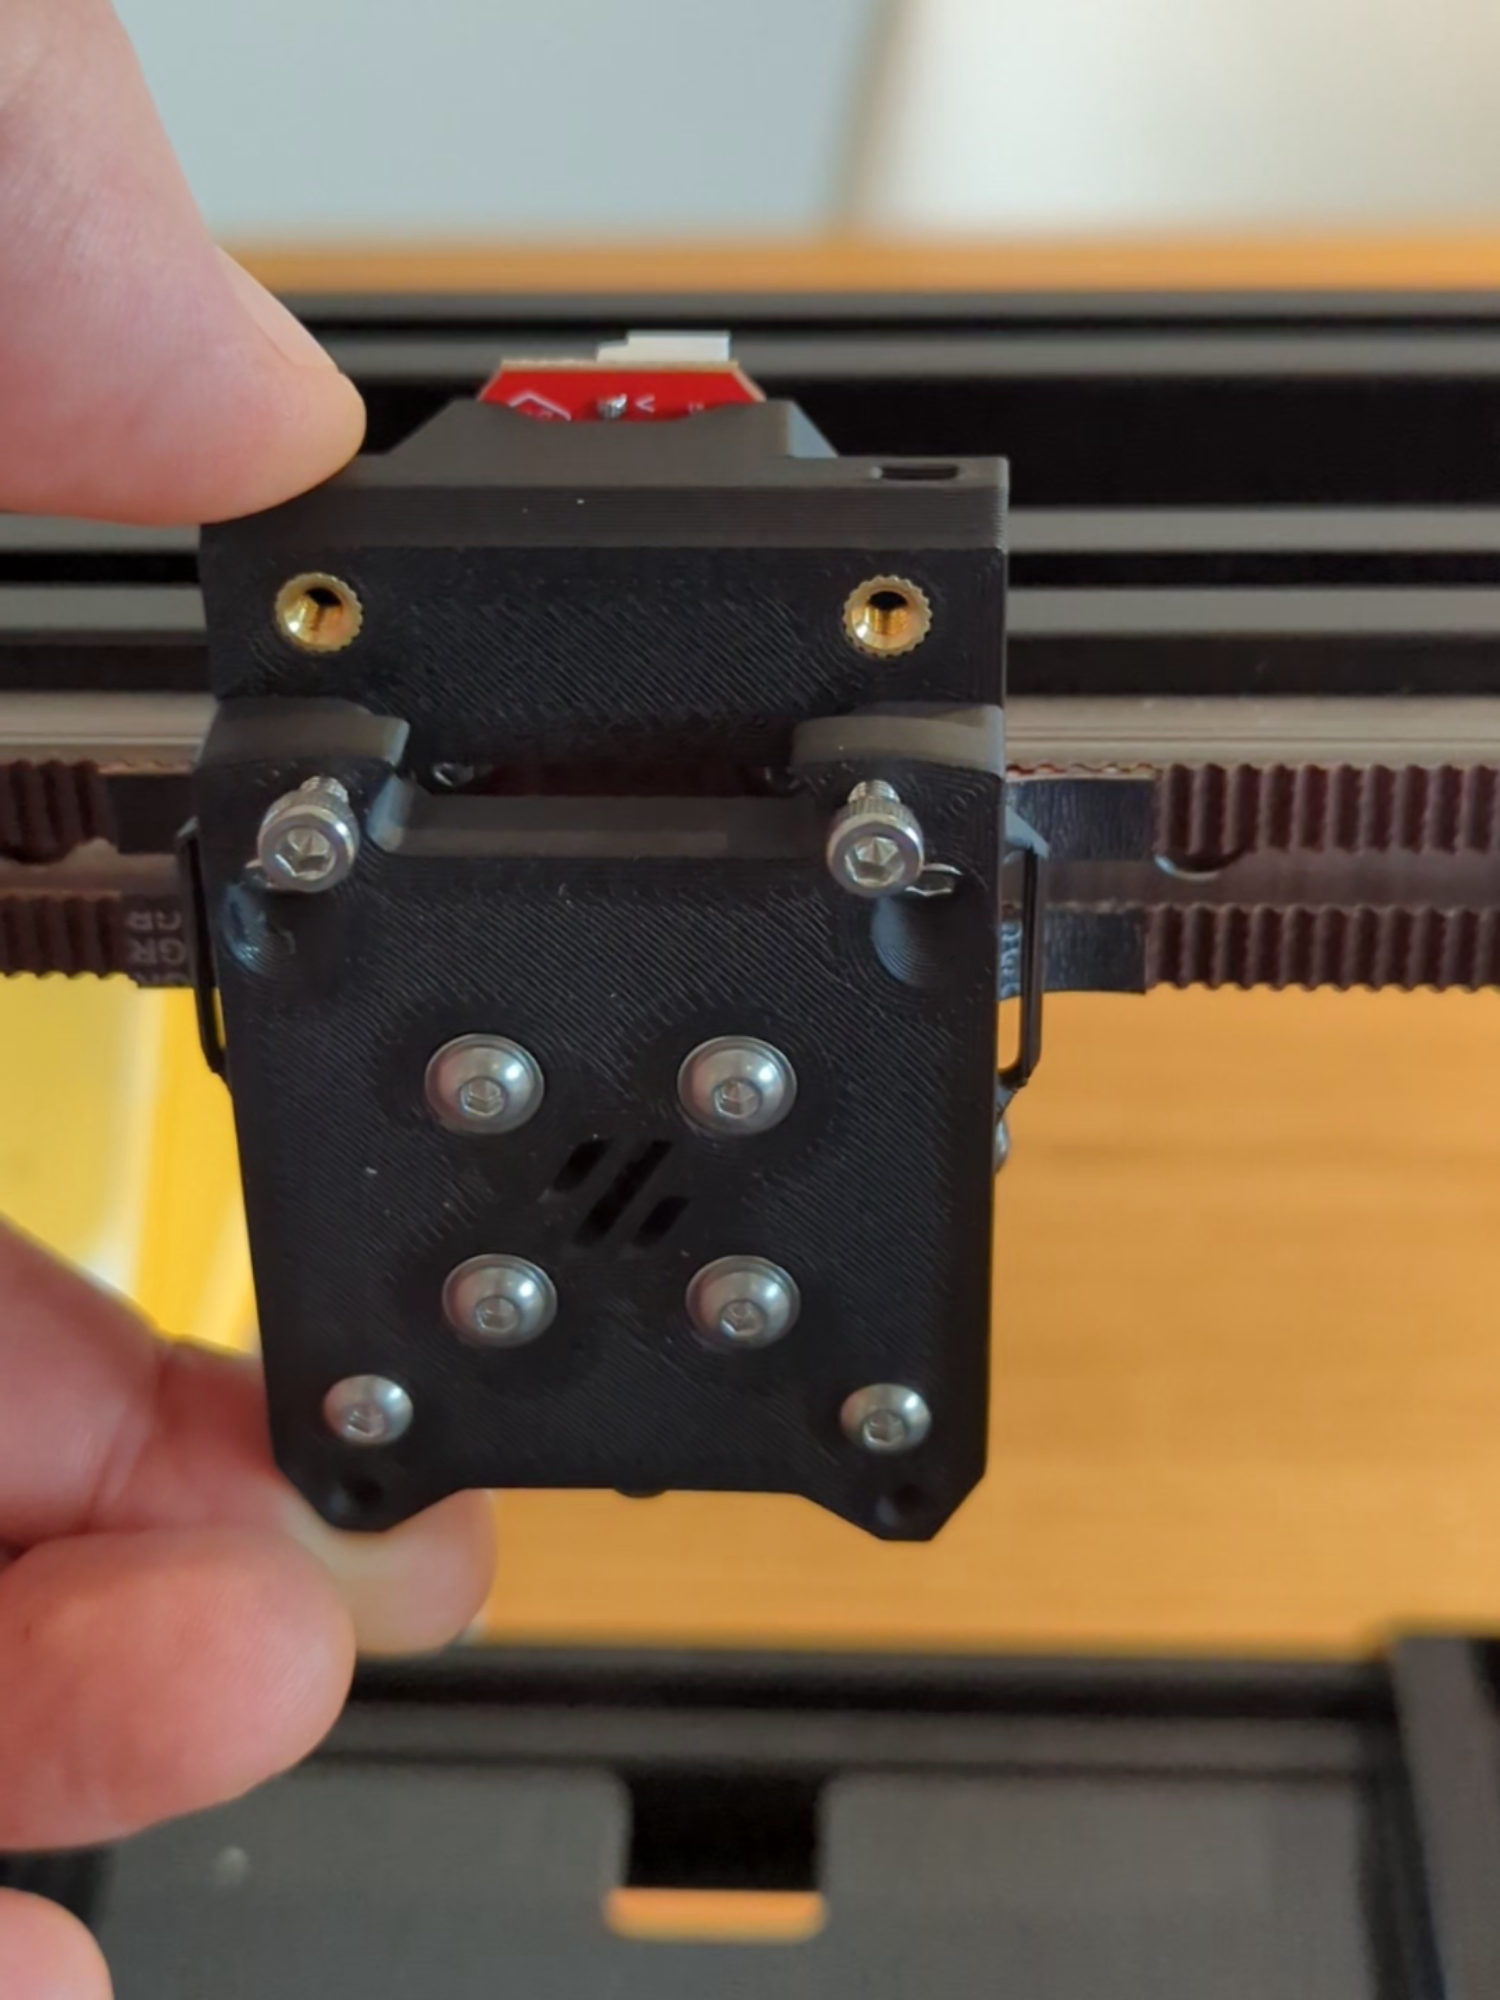
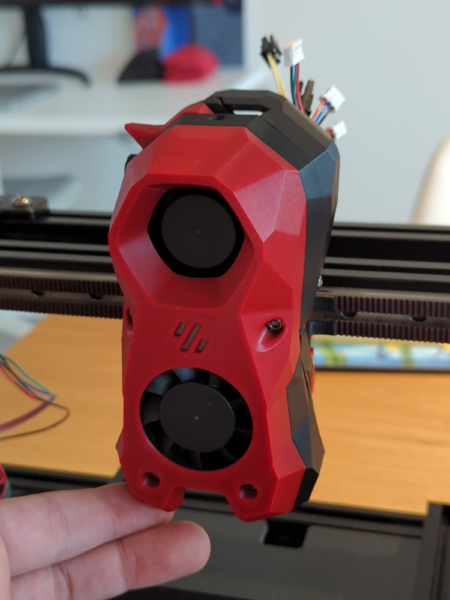
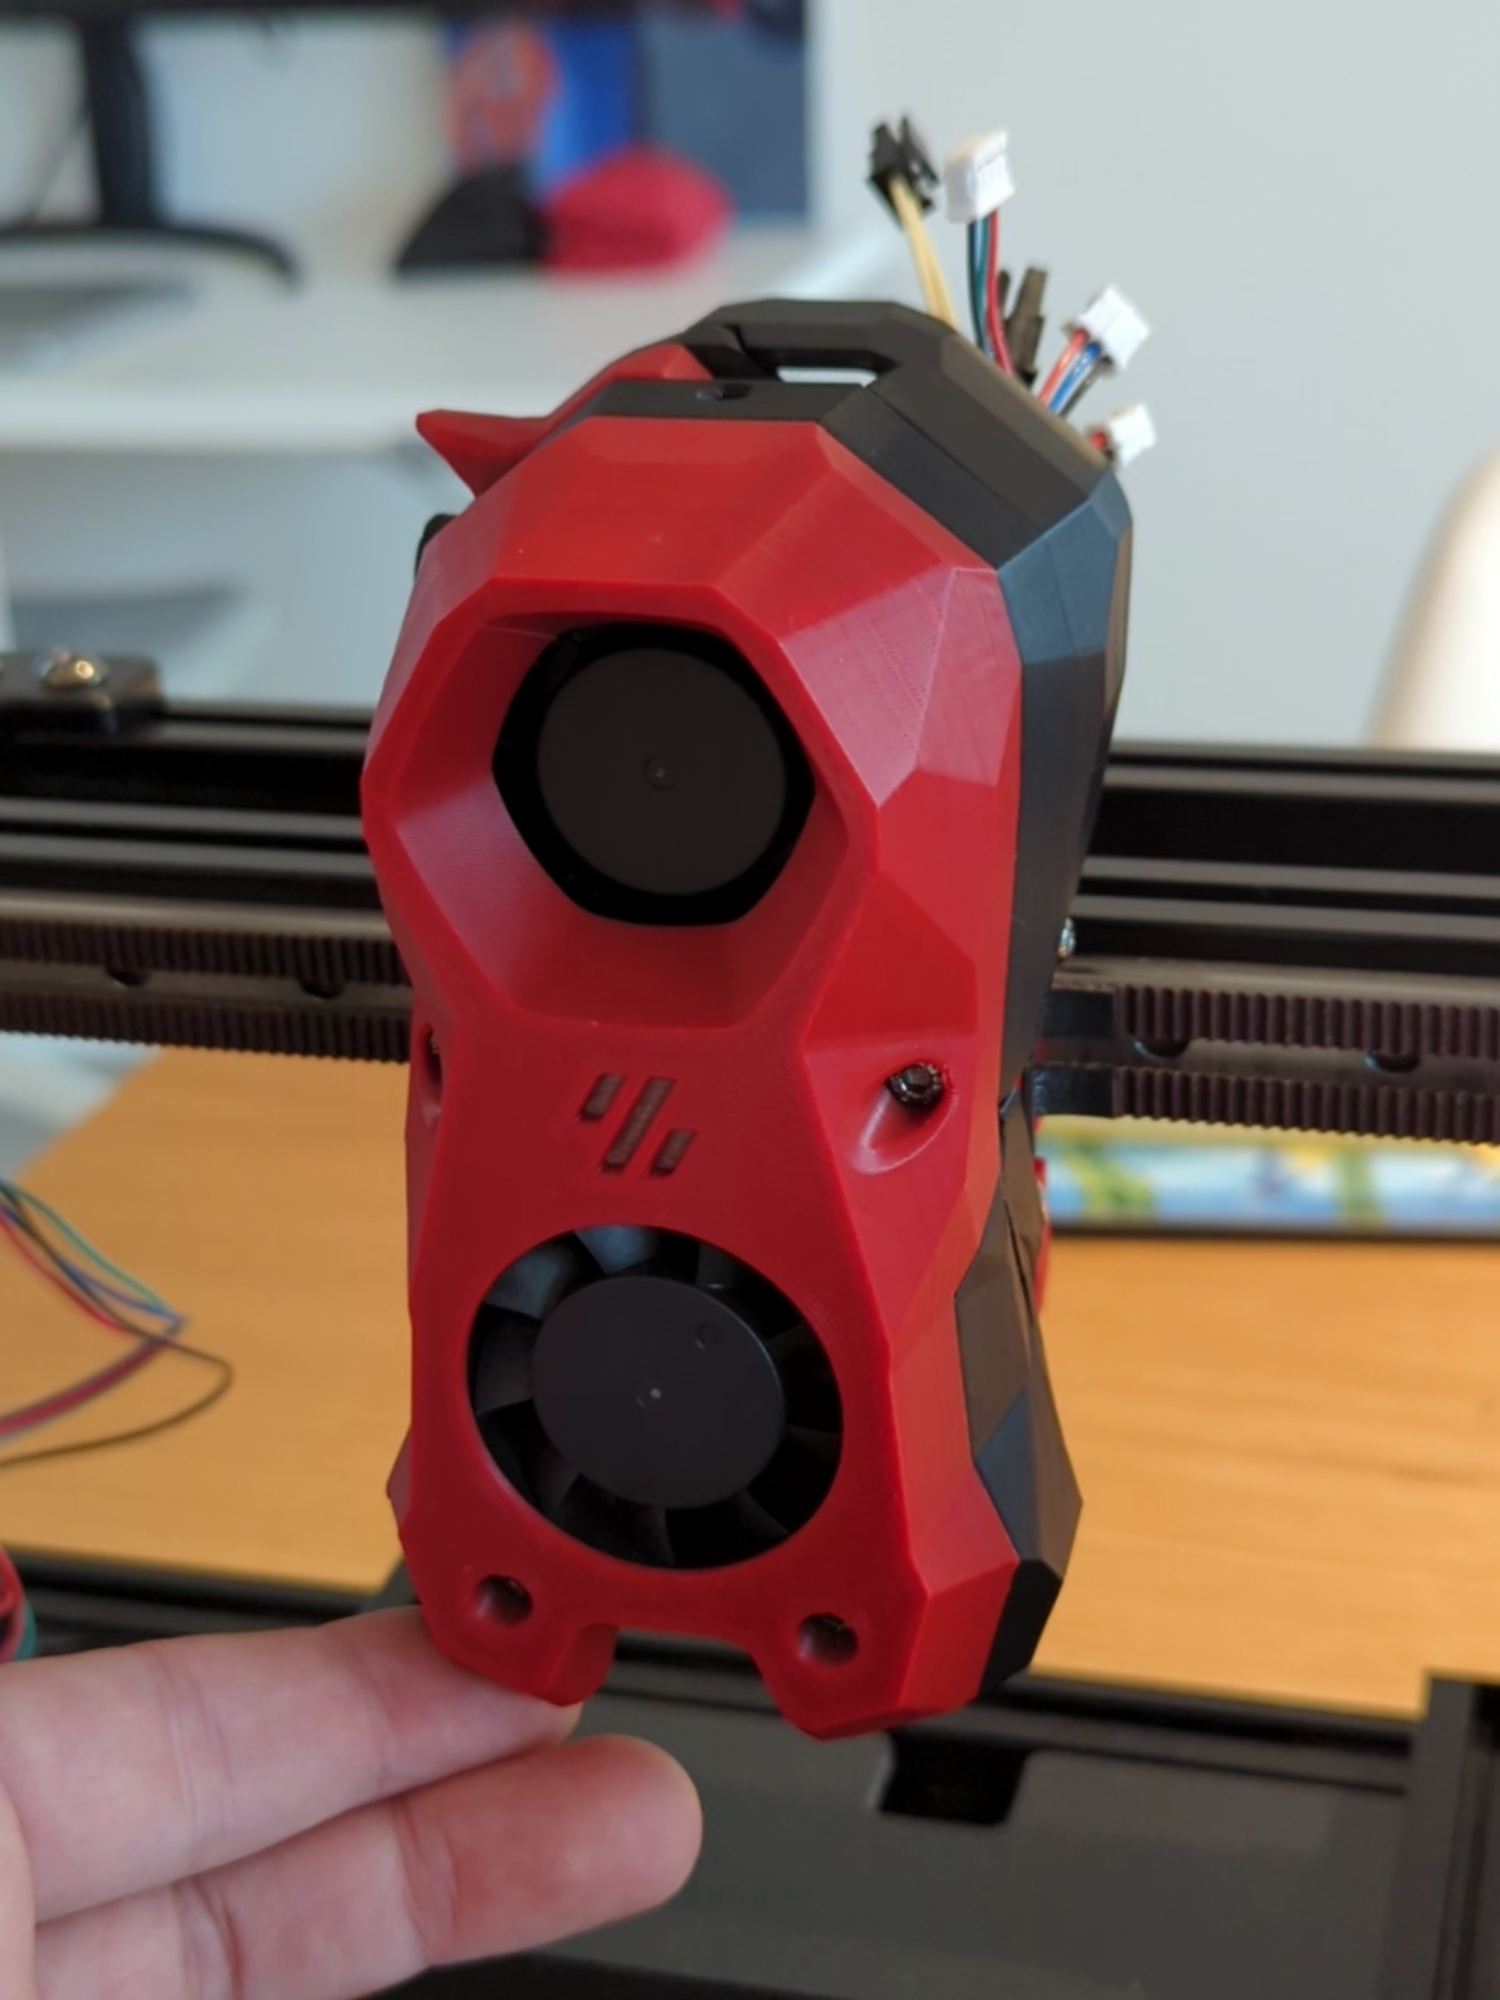
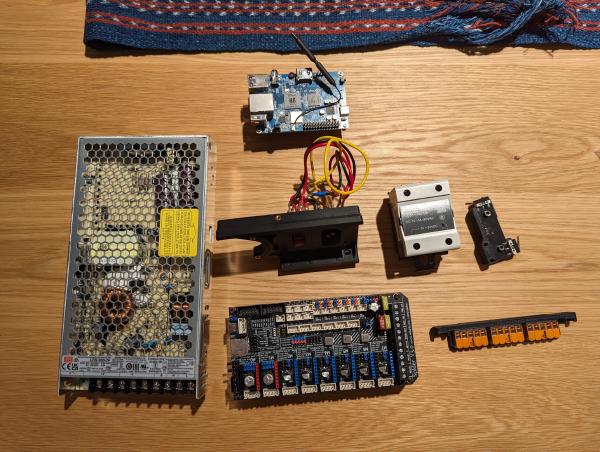
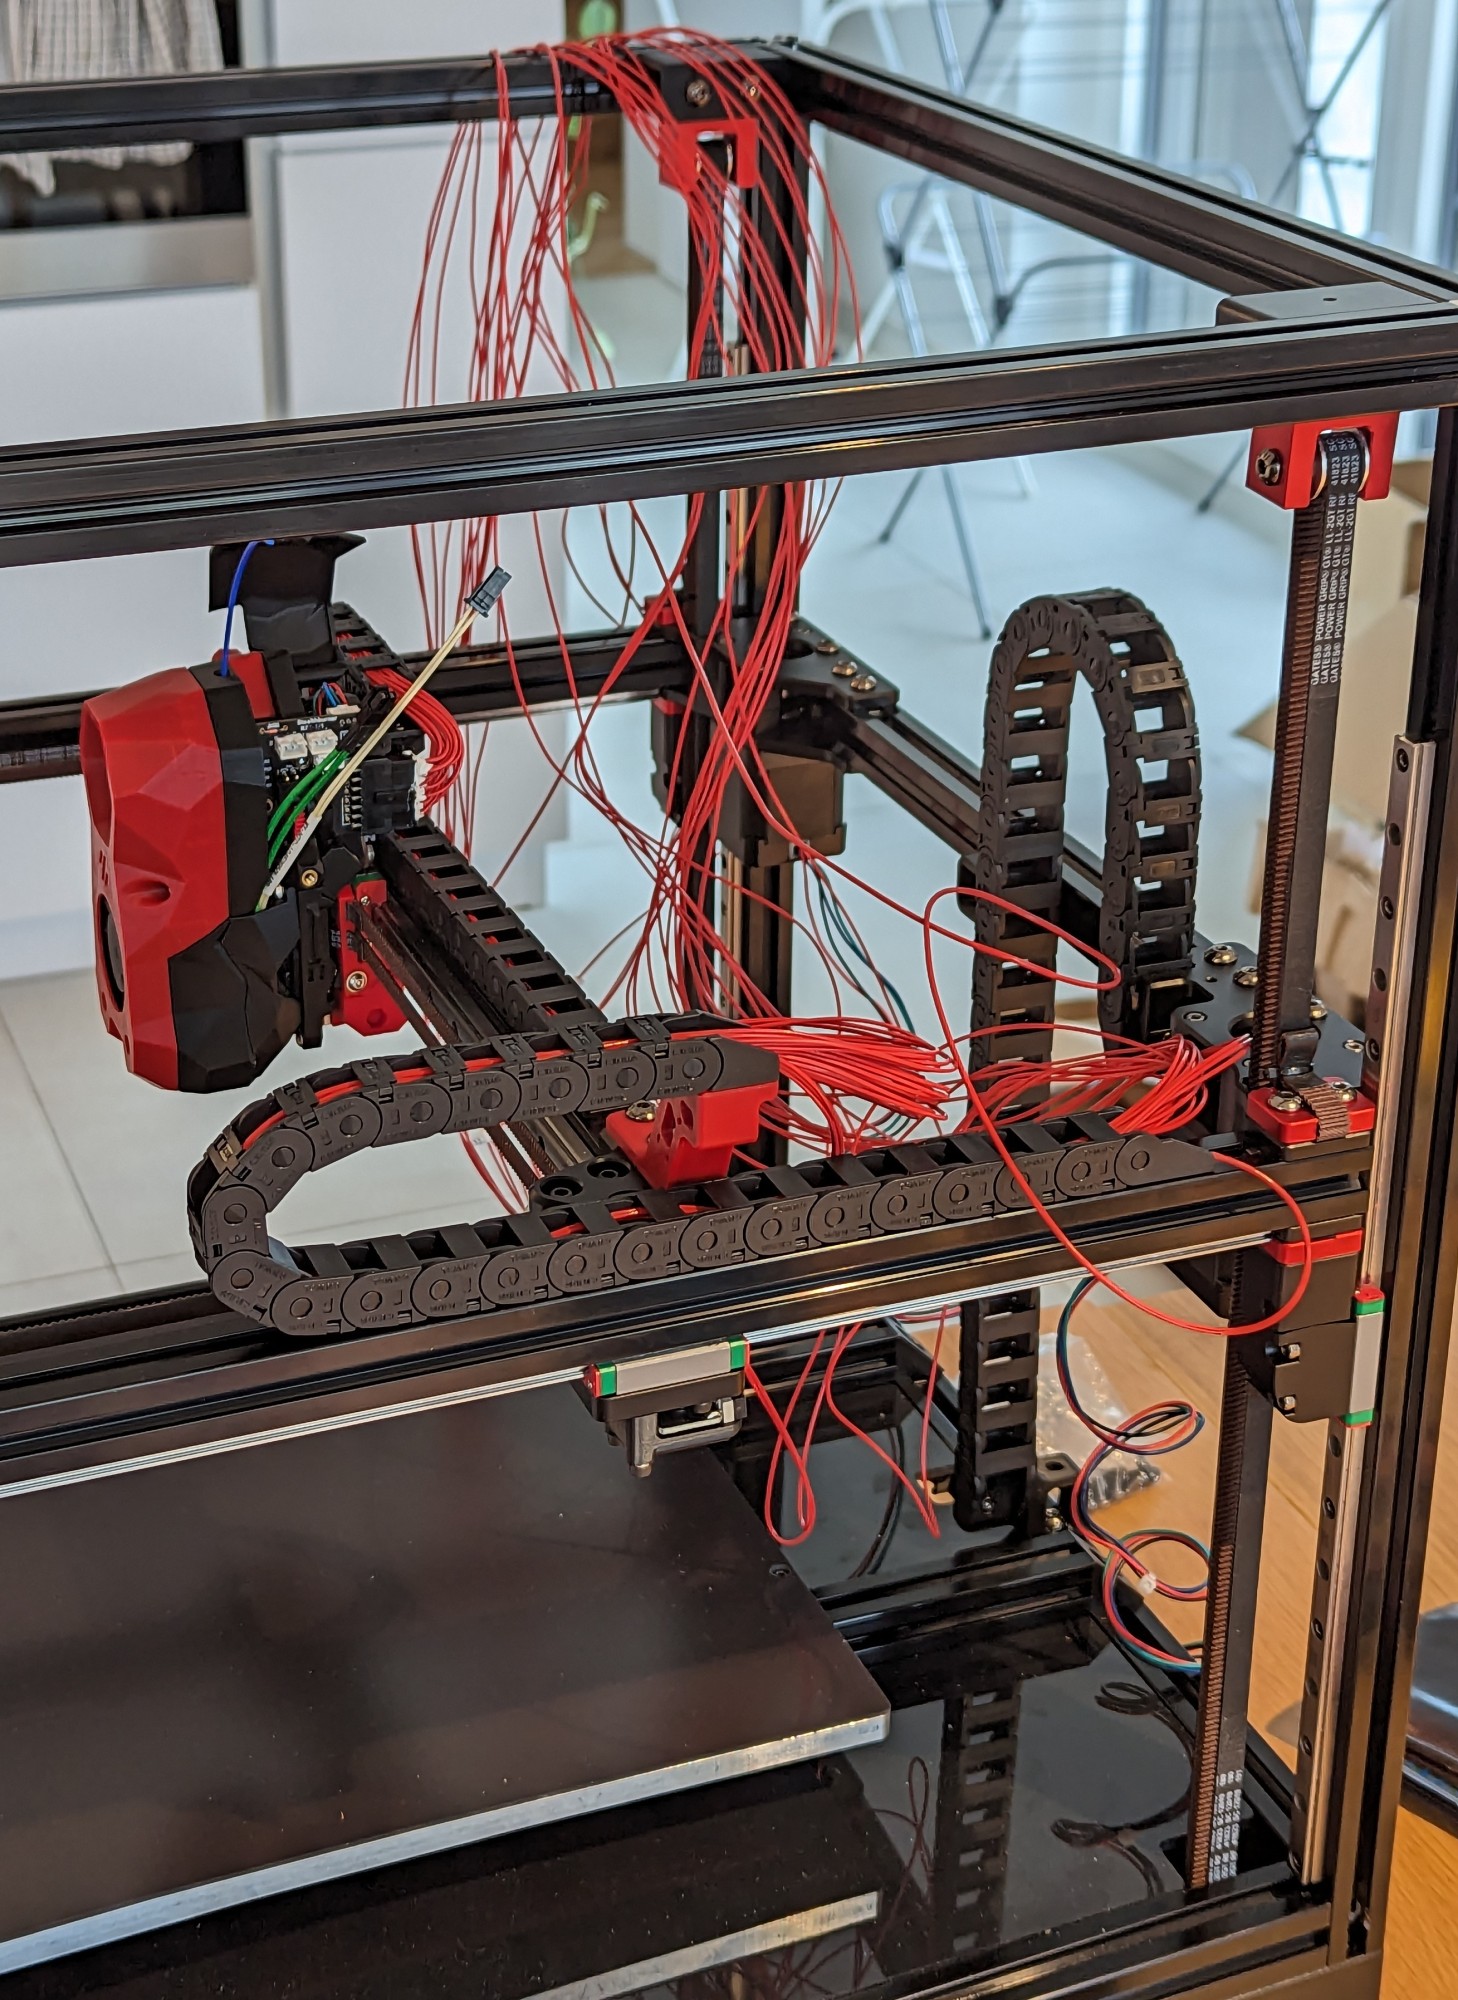
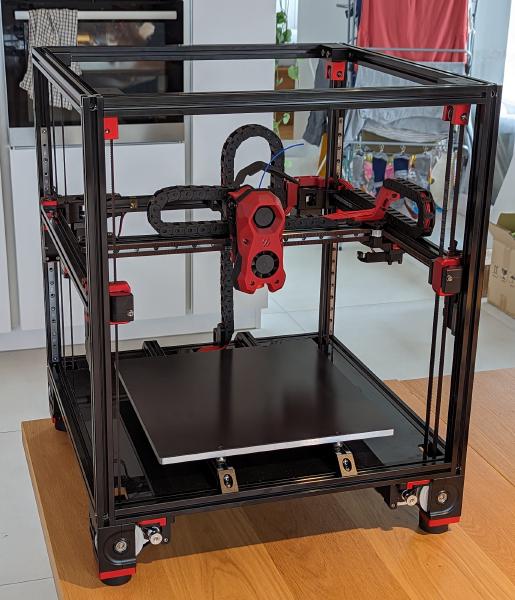
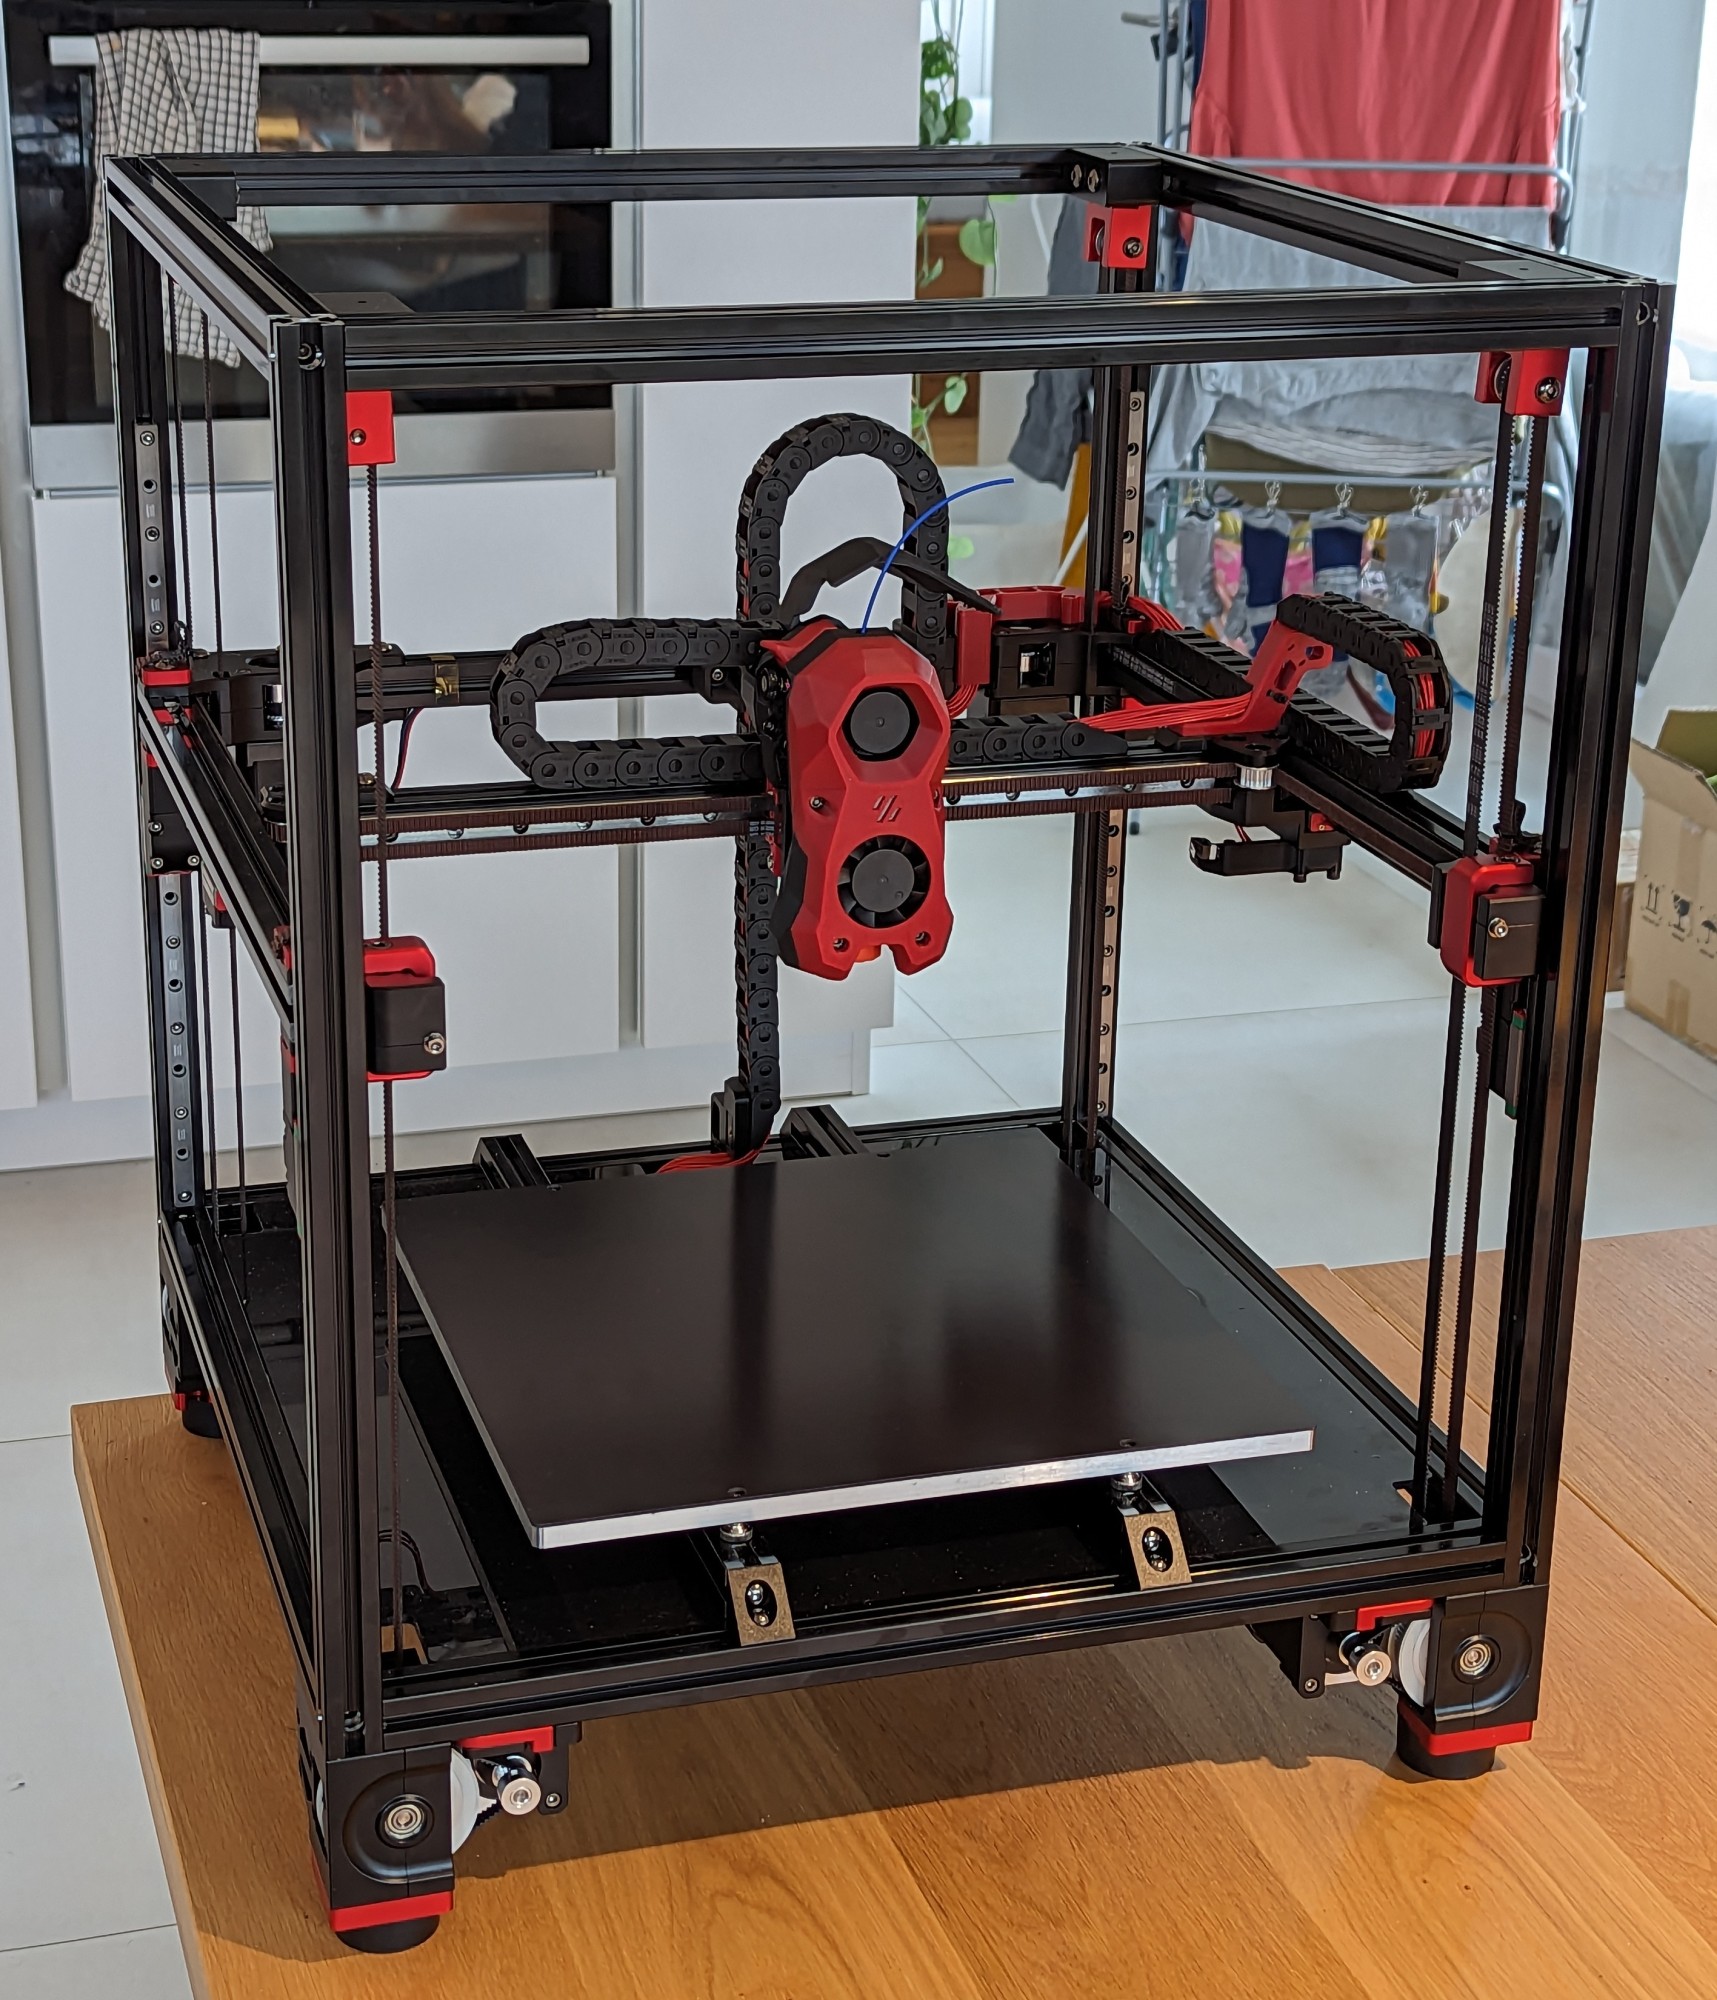
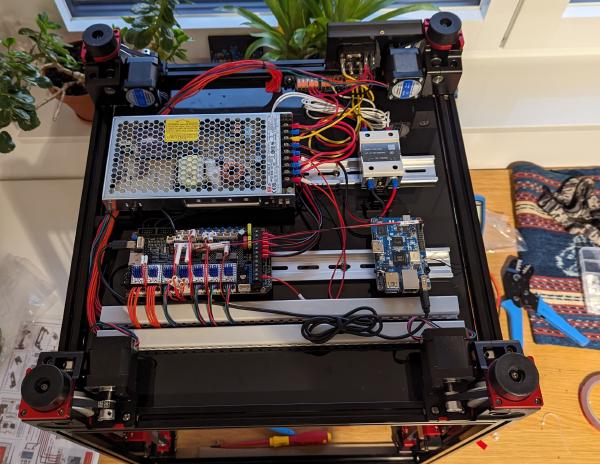
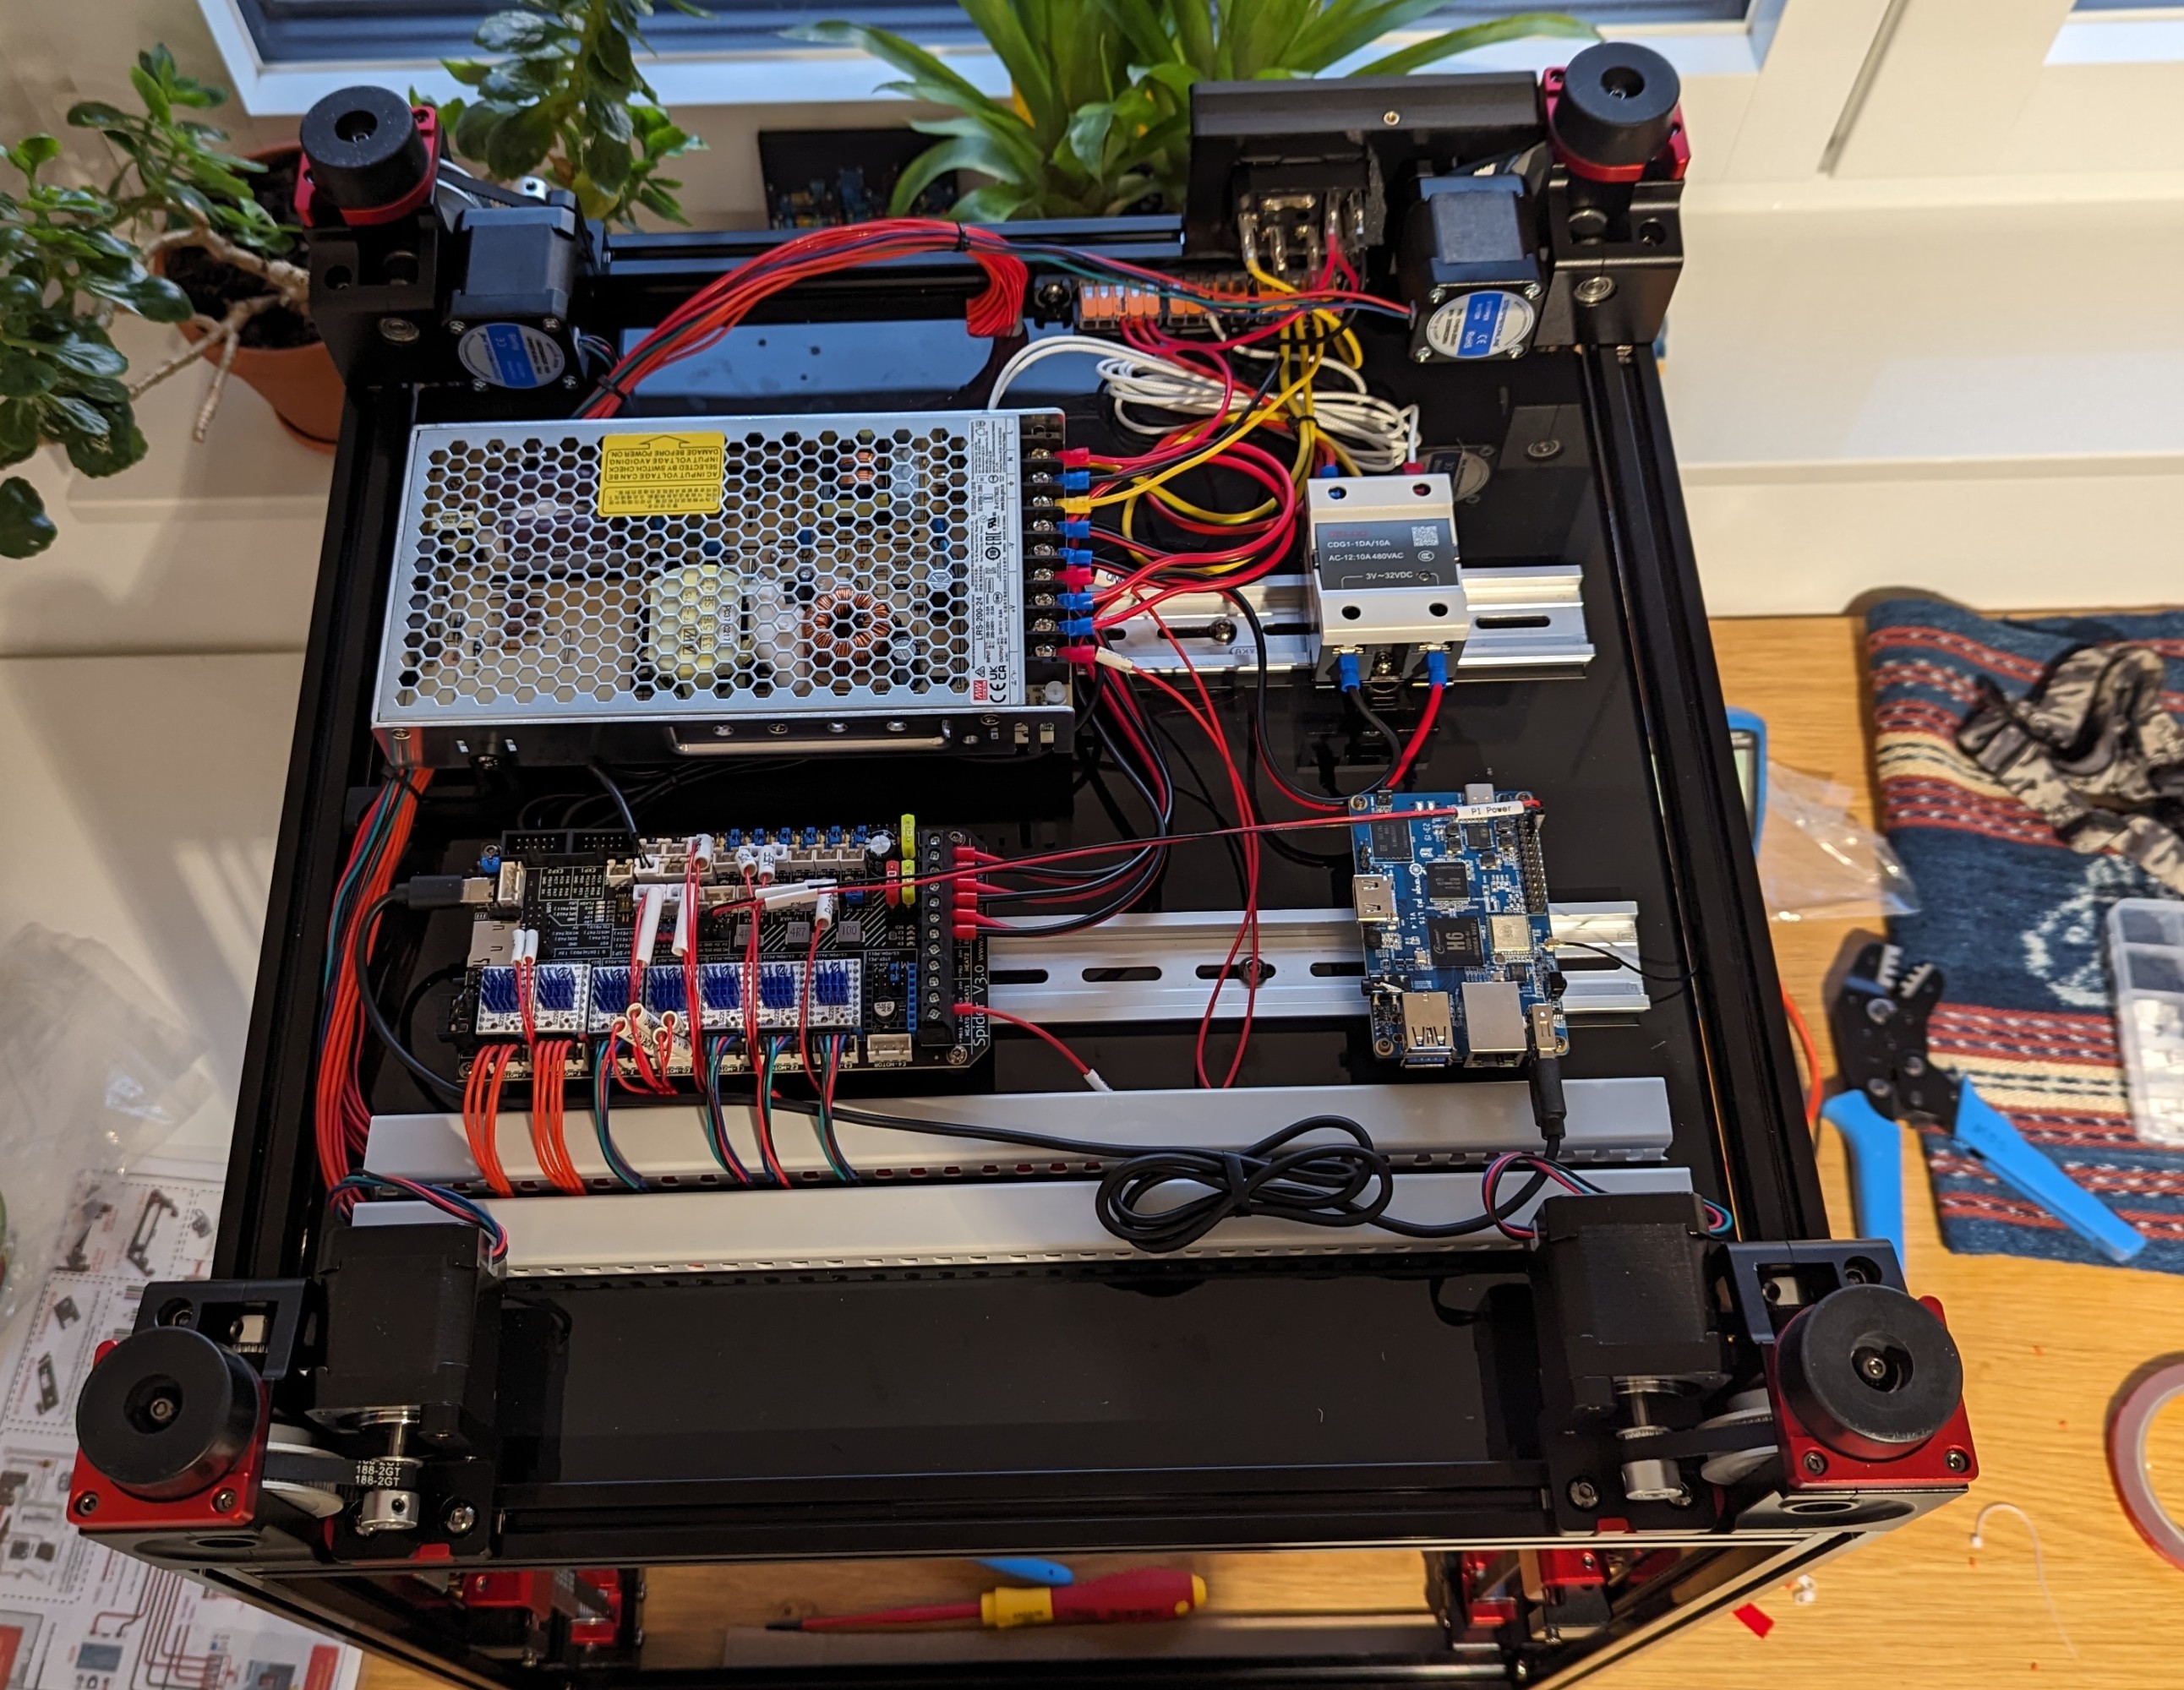
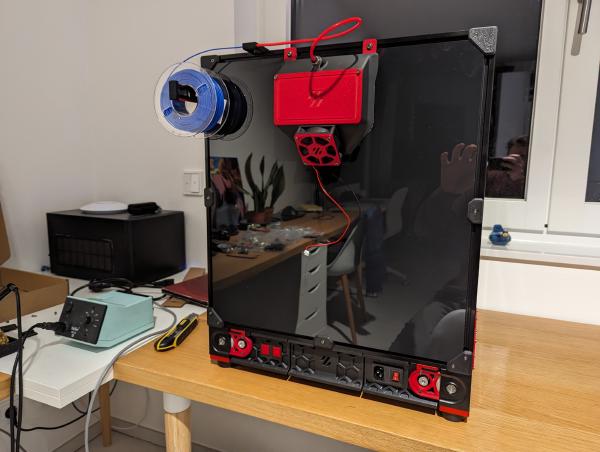
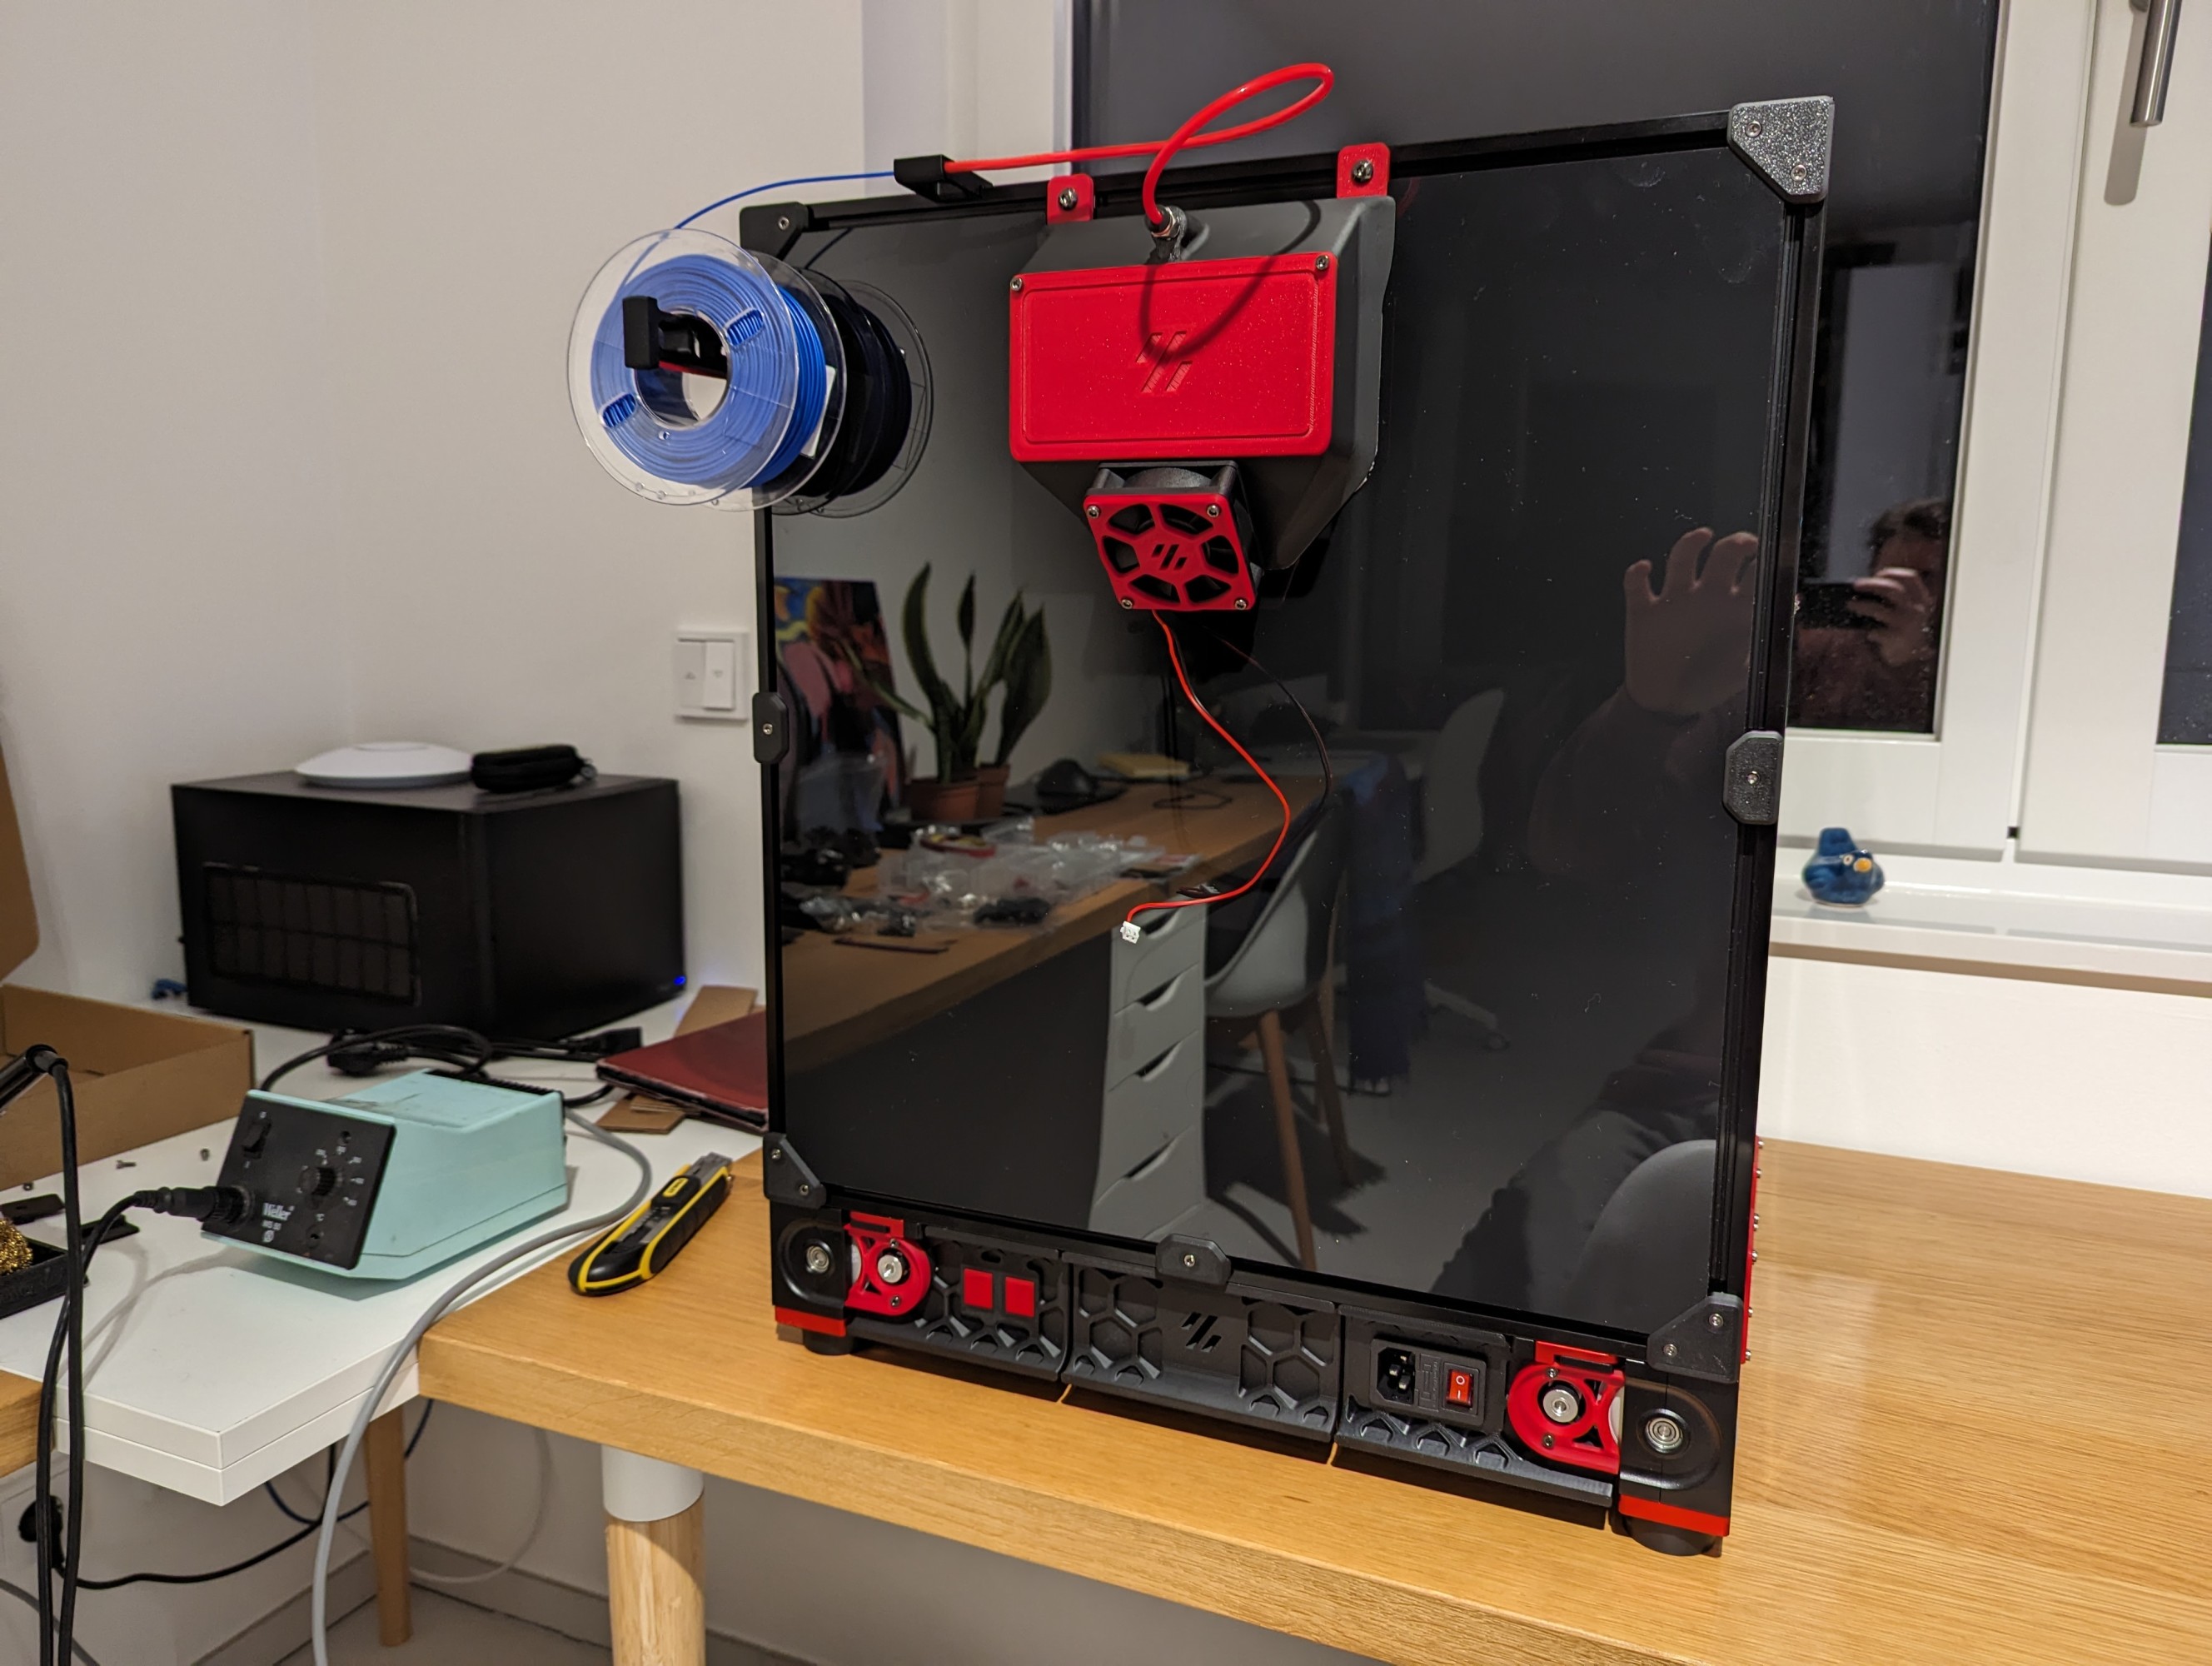
Throughout the build, I took photos when I could. They’re curated into the gallery below, which tells a nice story of the assembly process.
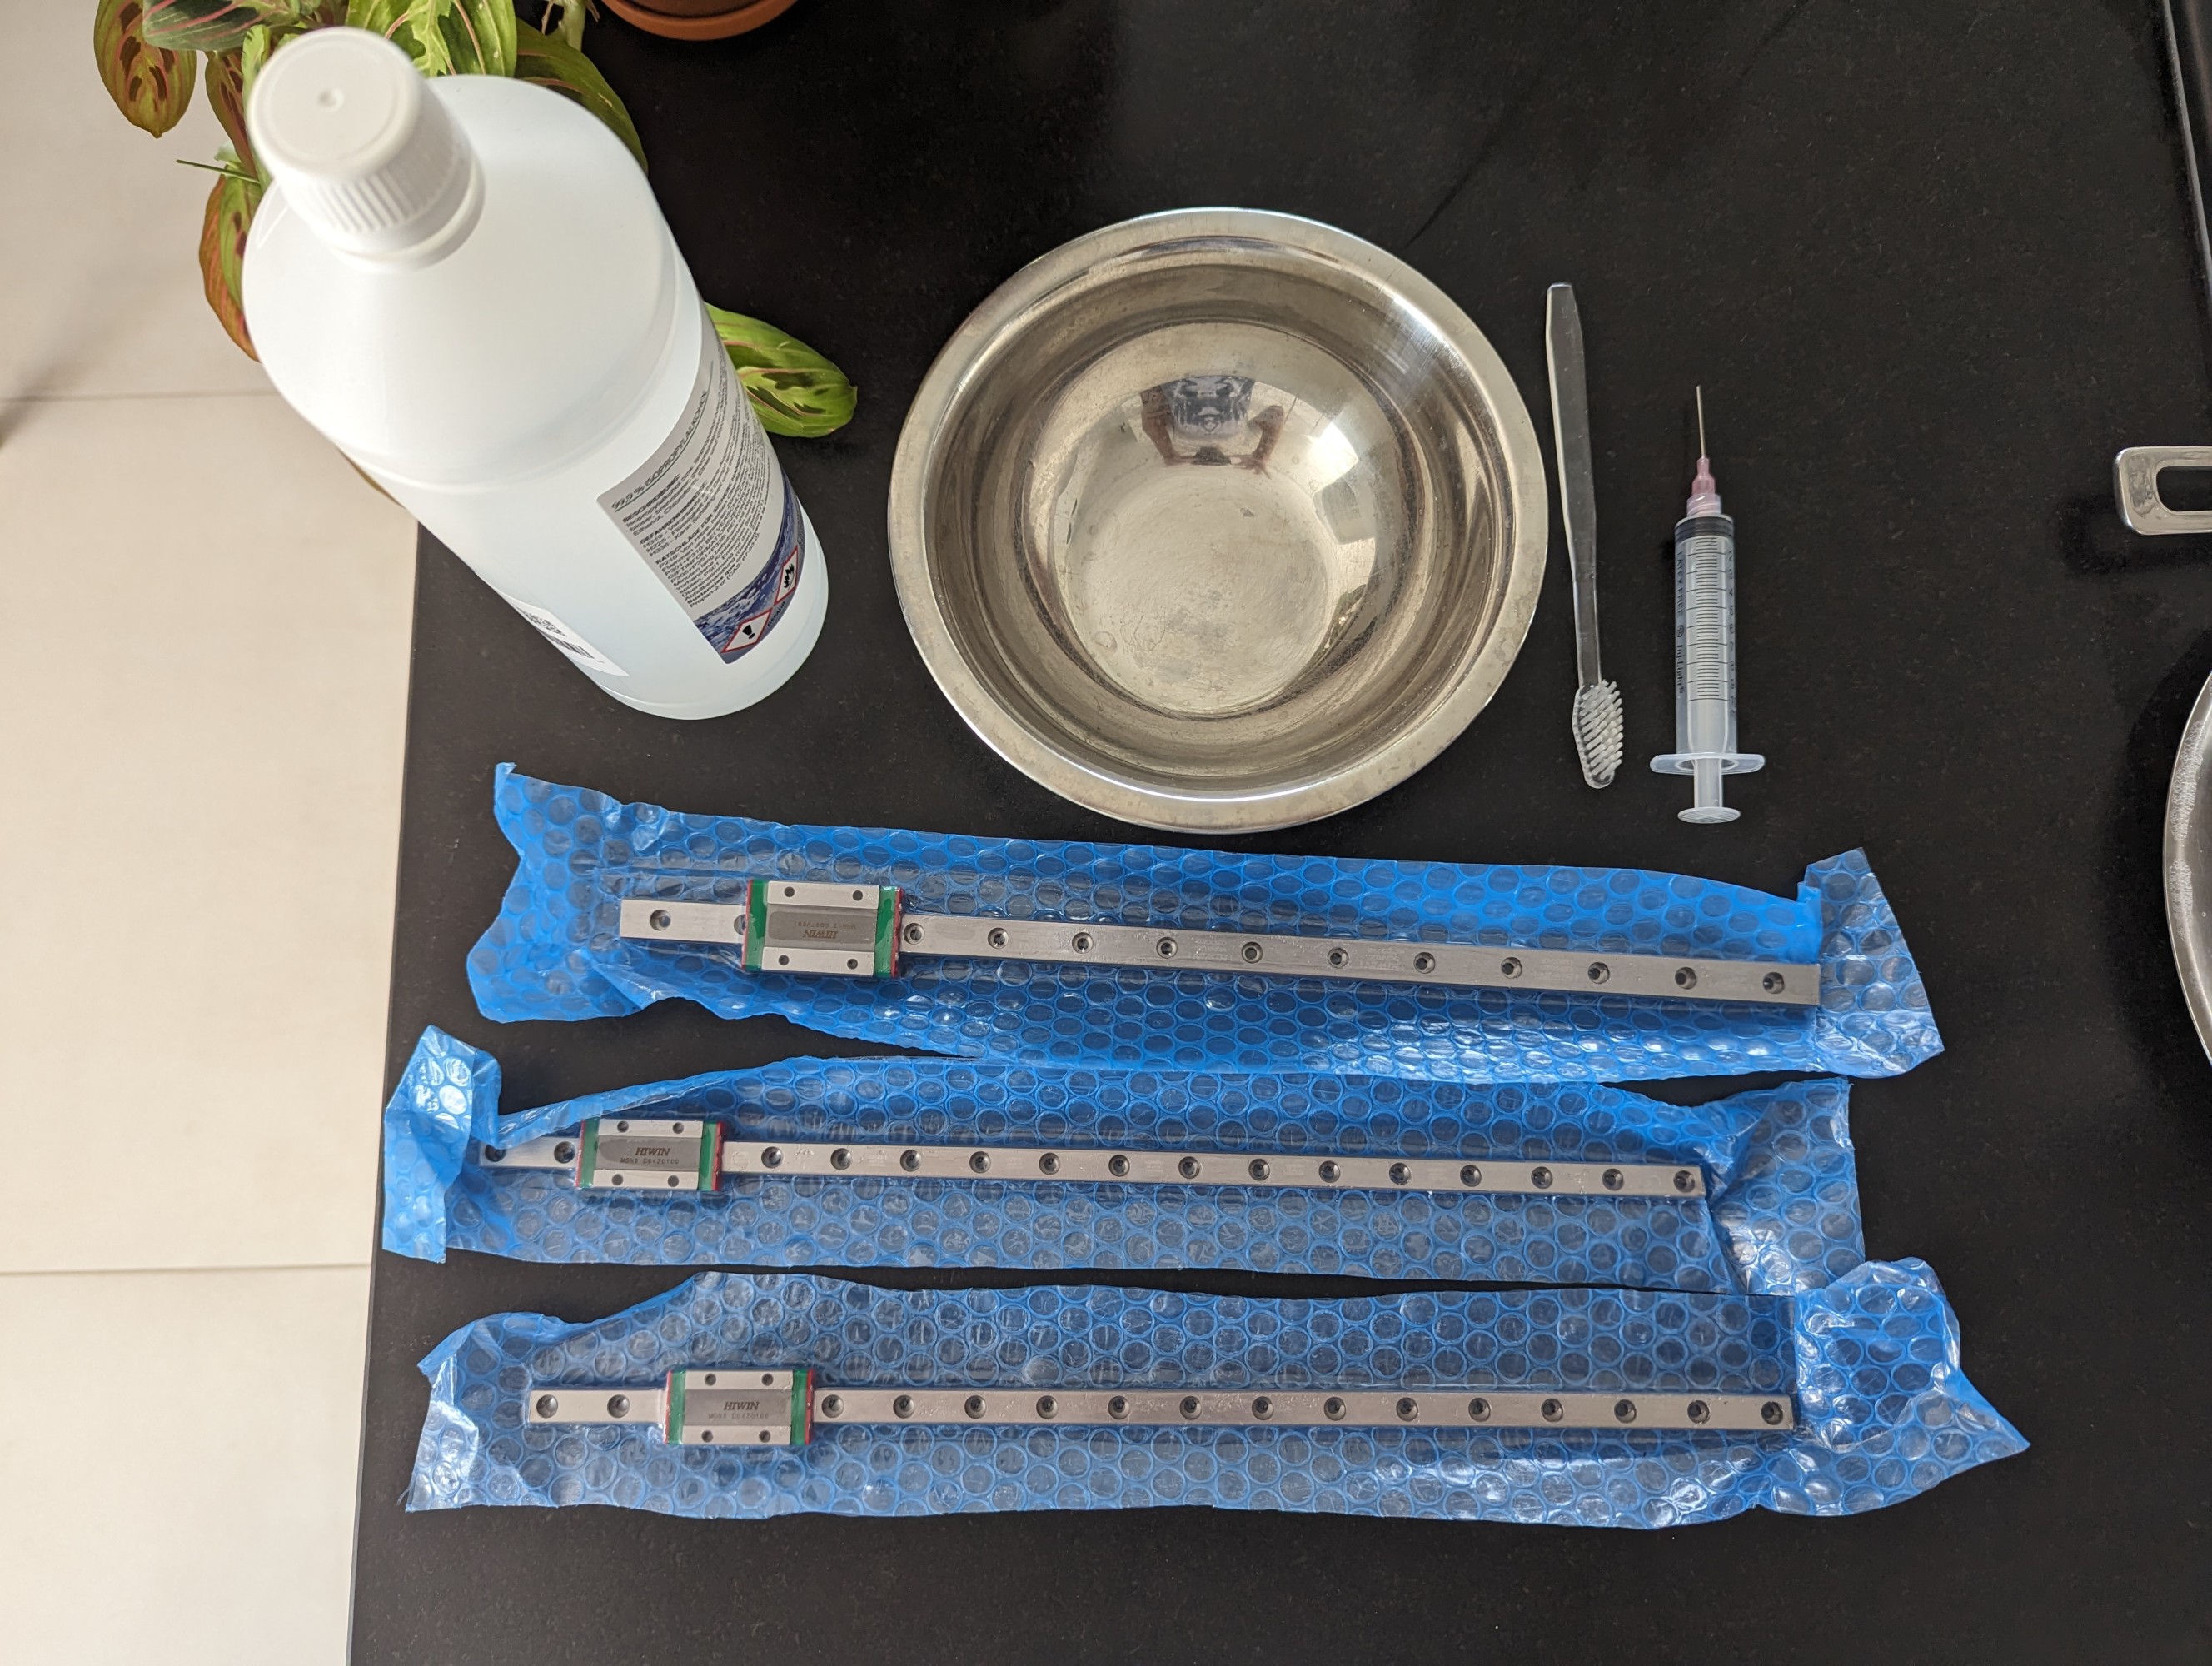
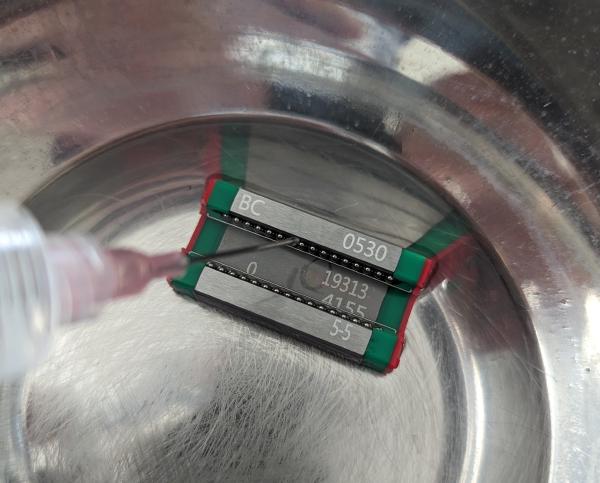
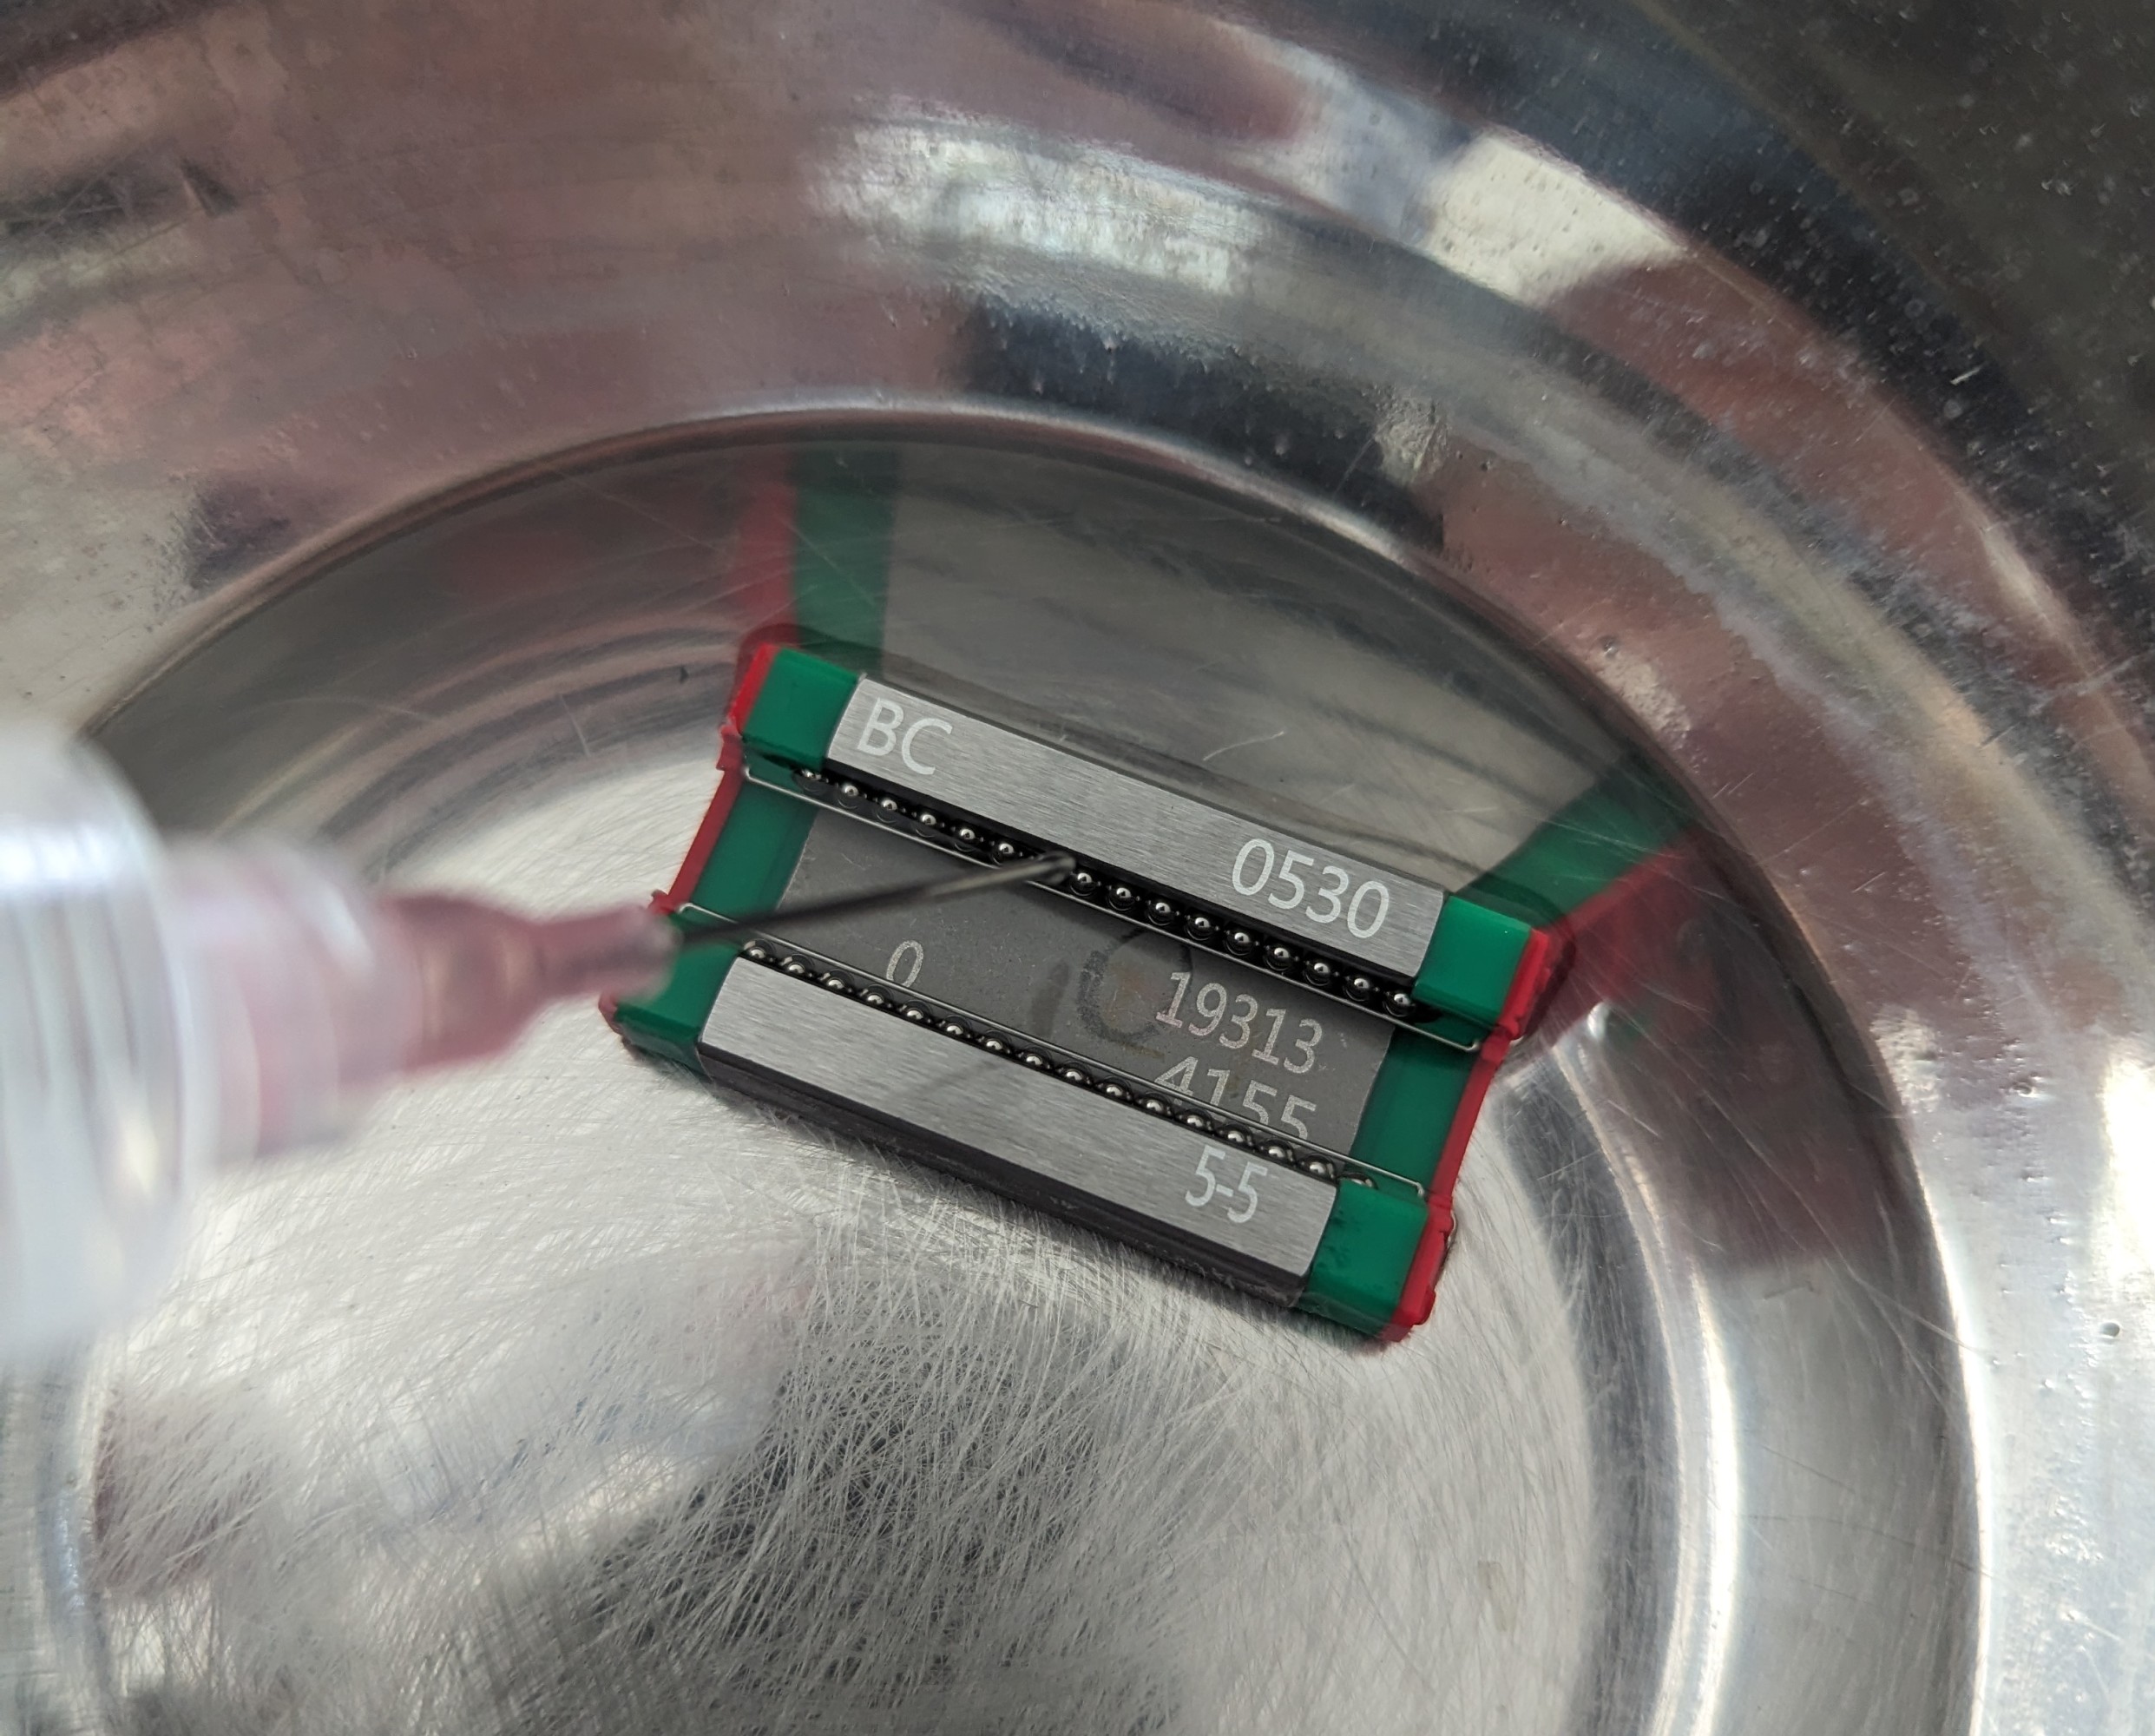
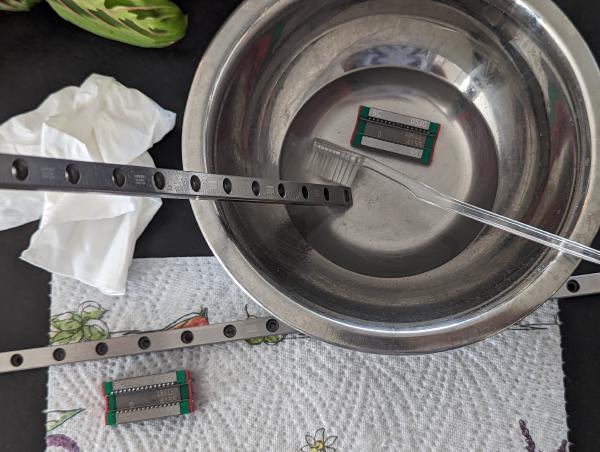
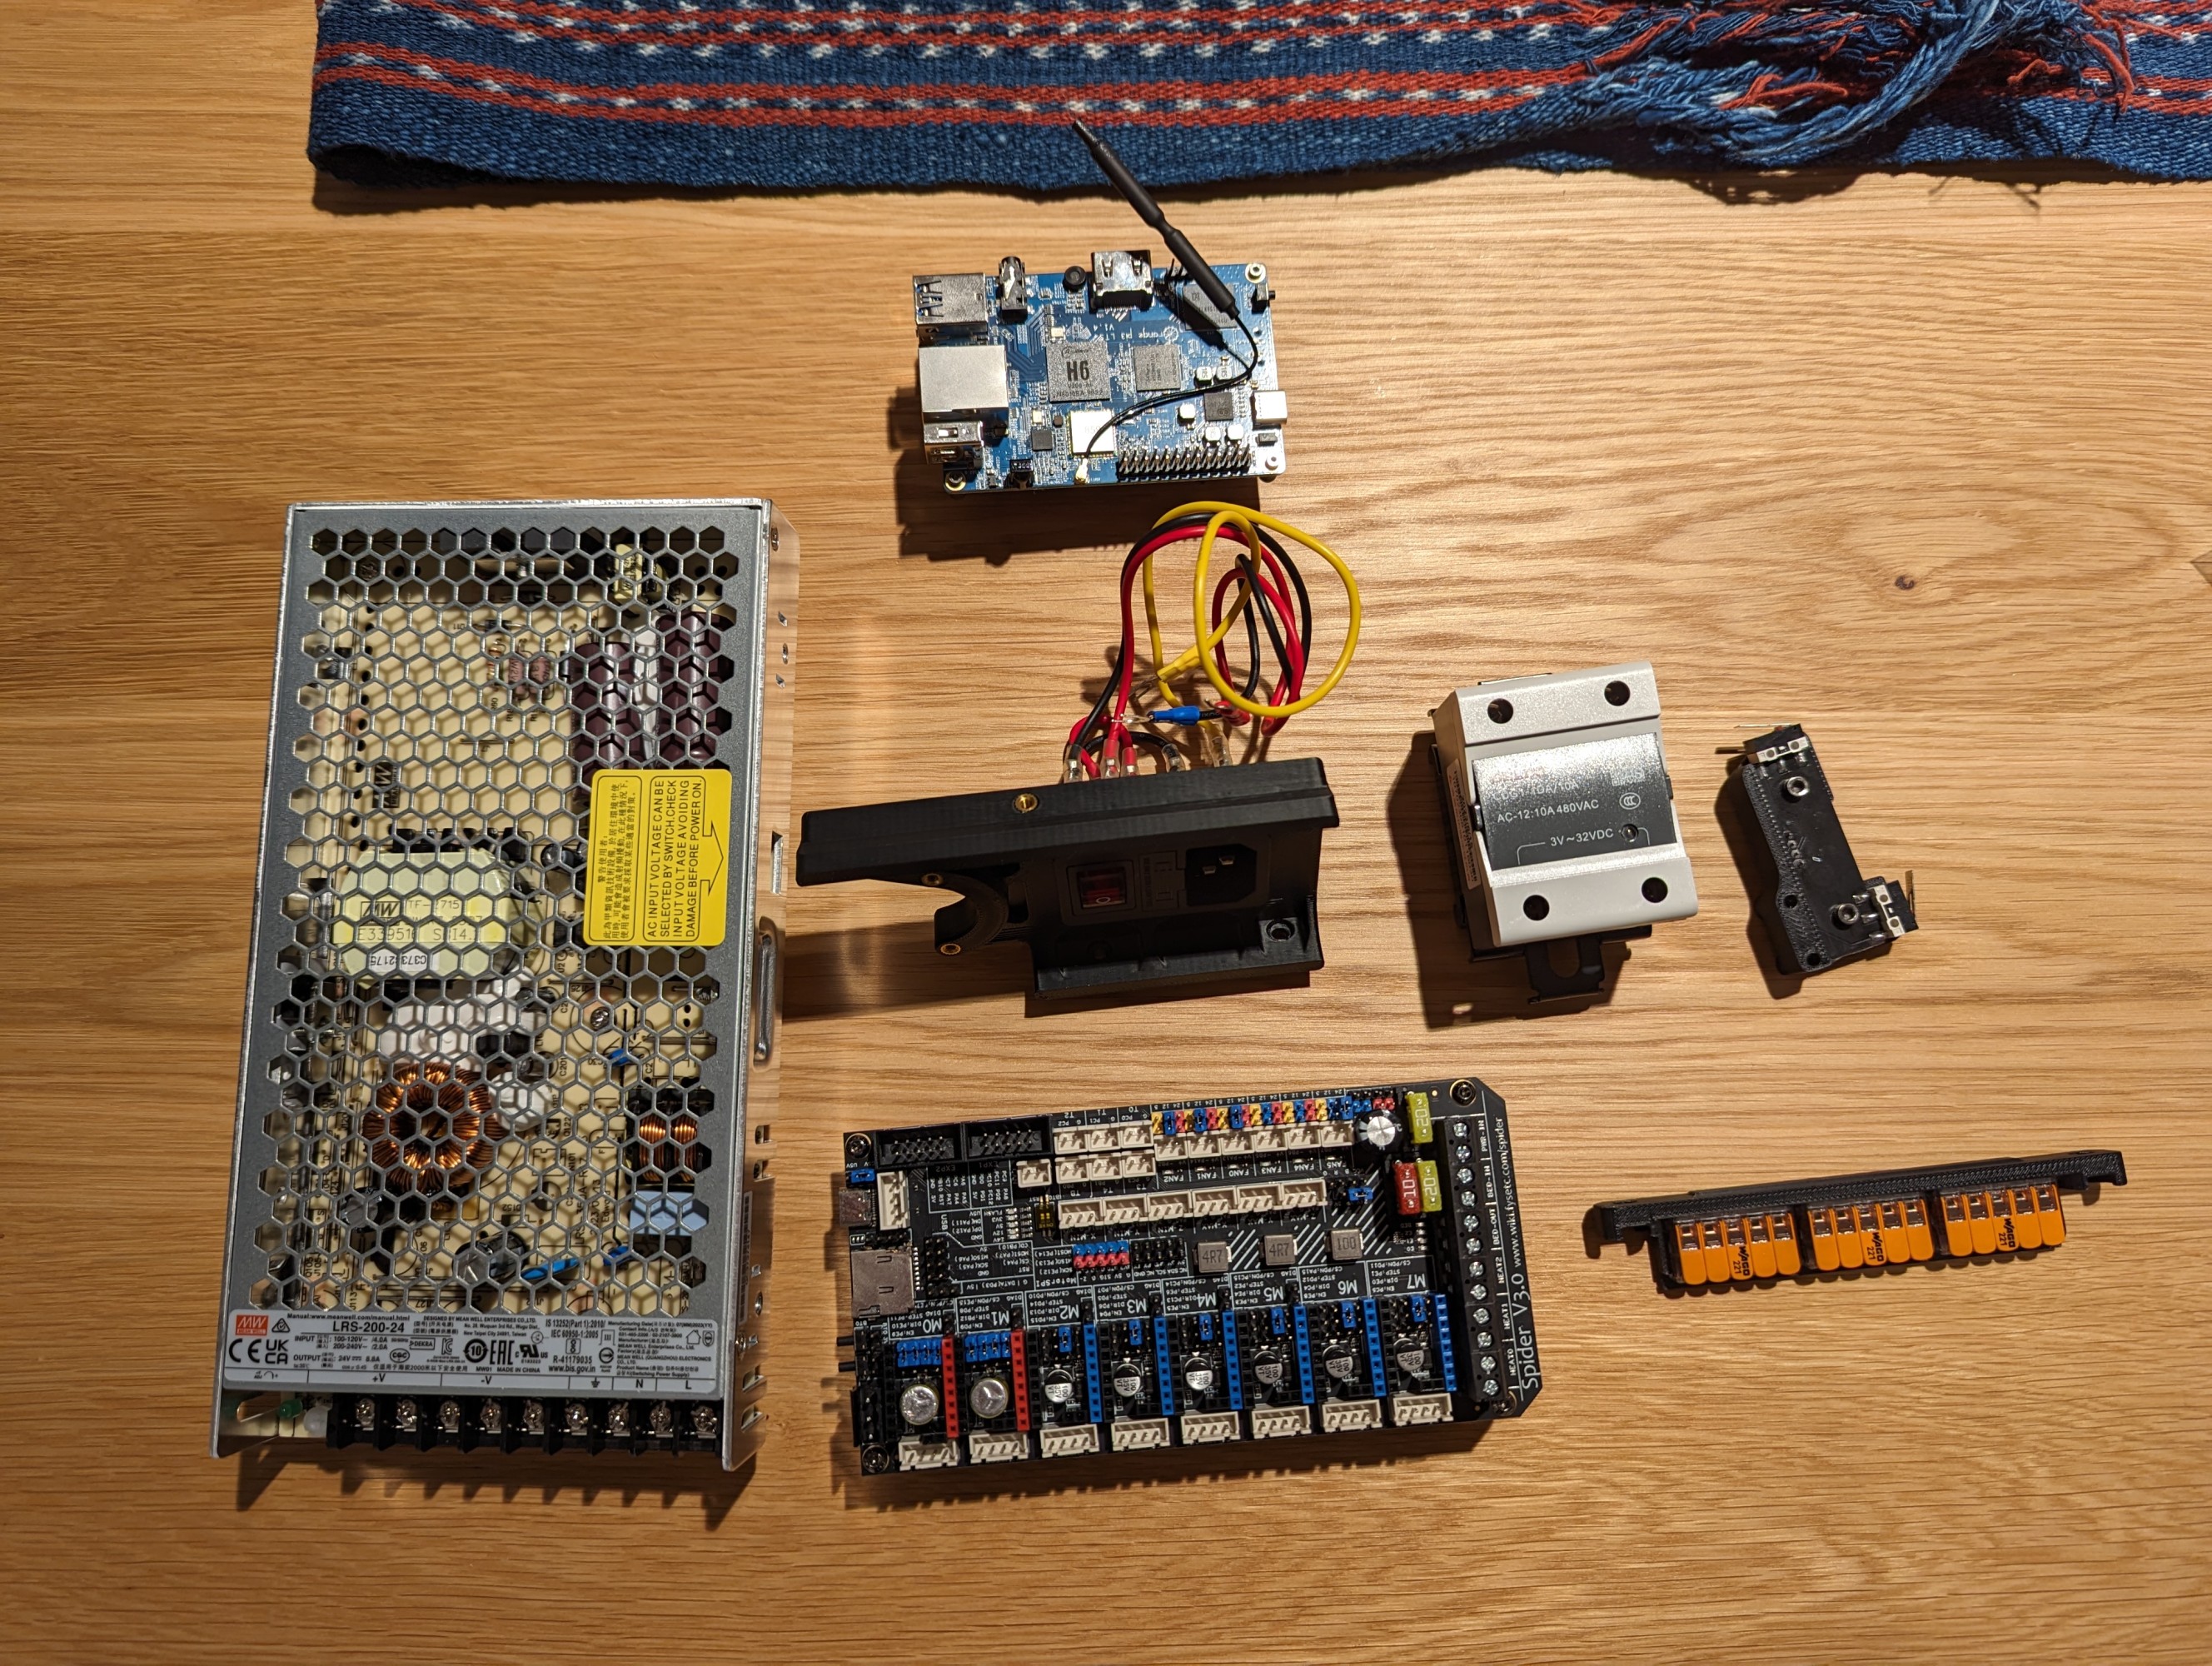
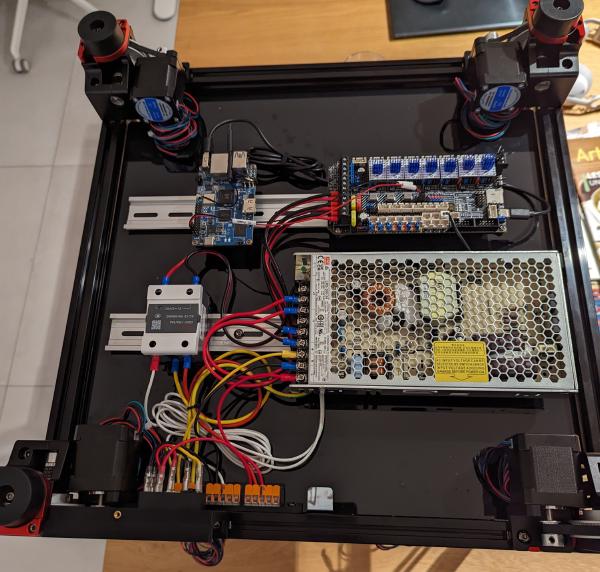
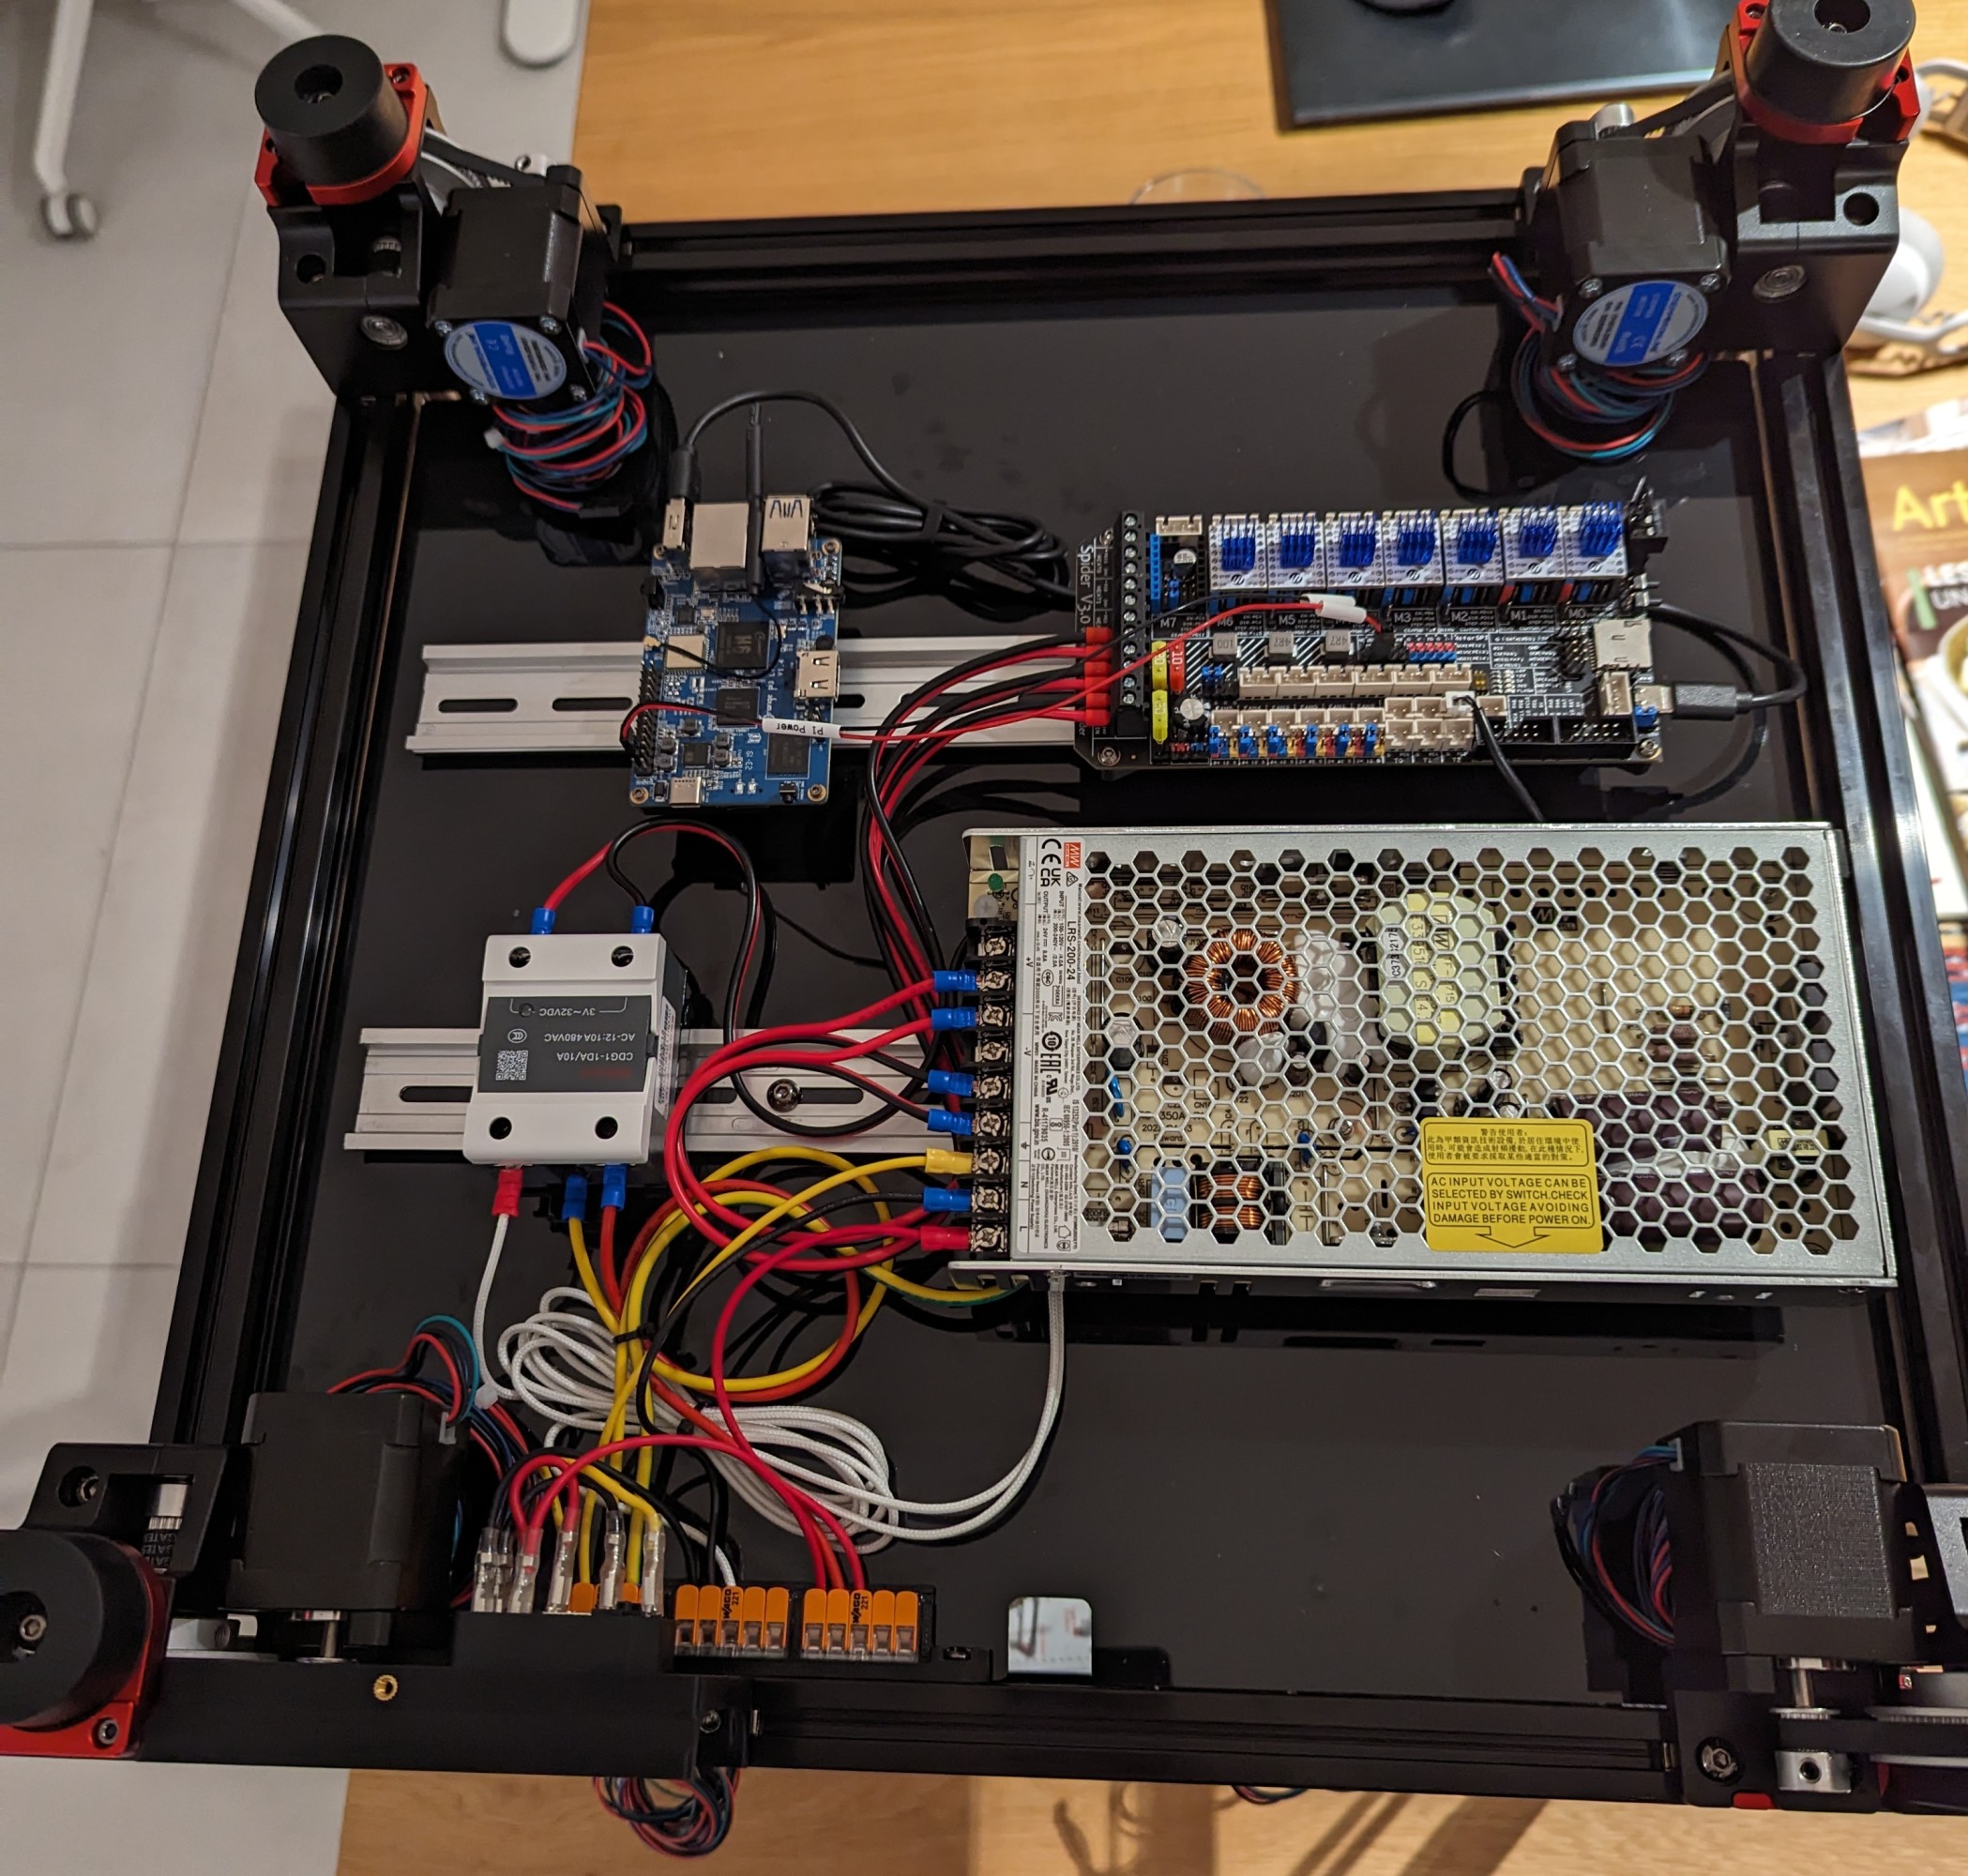
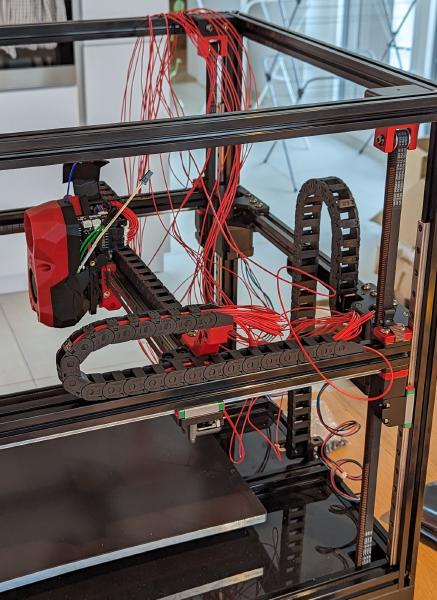
Current Landscape
For the uninitiated, Voron Design is a group of engineers designing, prototyping, testing, documenting and supporting high end hobbyist 3D printers. As of today, their designs are some of the fastest, highest quality, most reliable printers in their price range. Commercially, only Bambu Lab is making printers of equal calibre.
If you plan on going down the Voron pathway, be aware that you need to invest a lot of time building and tuning your printer. You’ll learn a lot doing it, but you’ll end up with an infinitely moddable and upgradeable platform. If you’d like a printer that just works and prints things, stick with a known good commercial offering.
Advancements
Since the last printer I owned (a TEVO Little Monster I purchased in 2017), 3D printer mechanics, electronics, firmware and software have advanced significantly.
CoreXY
Although CoreXY printers have been around for some time, the mechanics have slowly been tuned and the architecture has found it’s way into most high speed FDM printers. The design is perfect for 3D printing which requires lightweight and stiff mechanics that don’t experience any significant loads.
The design itself consists of a print head running on linear rails along a gantry, which itself is running along linear rails in the orthogonal direction. Two cleverly routed timing belt loops wrap around motors mounted in each corner.
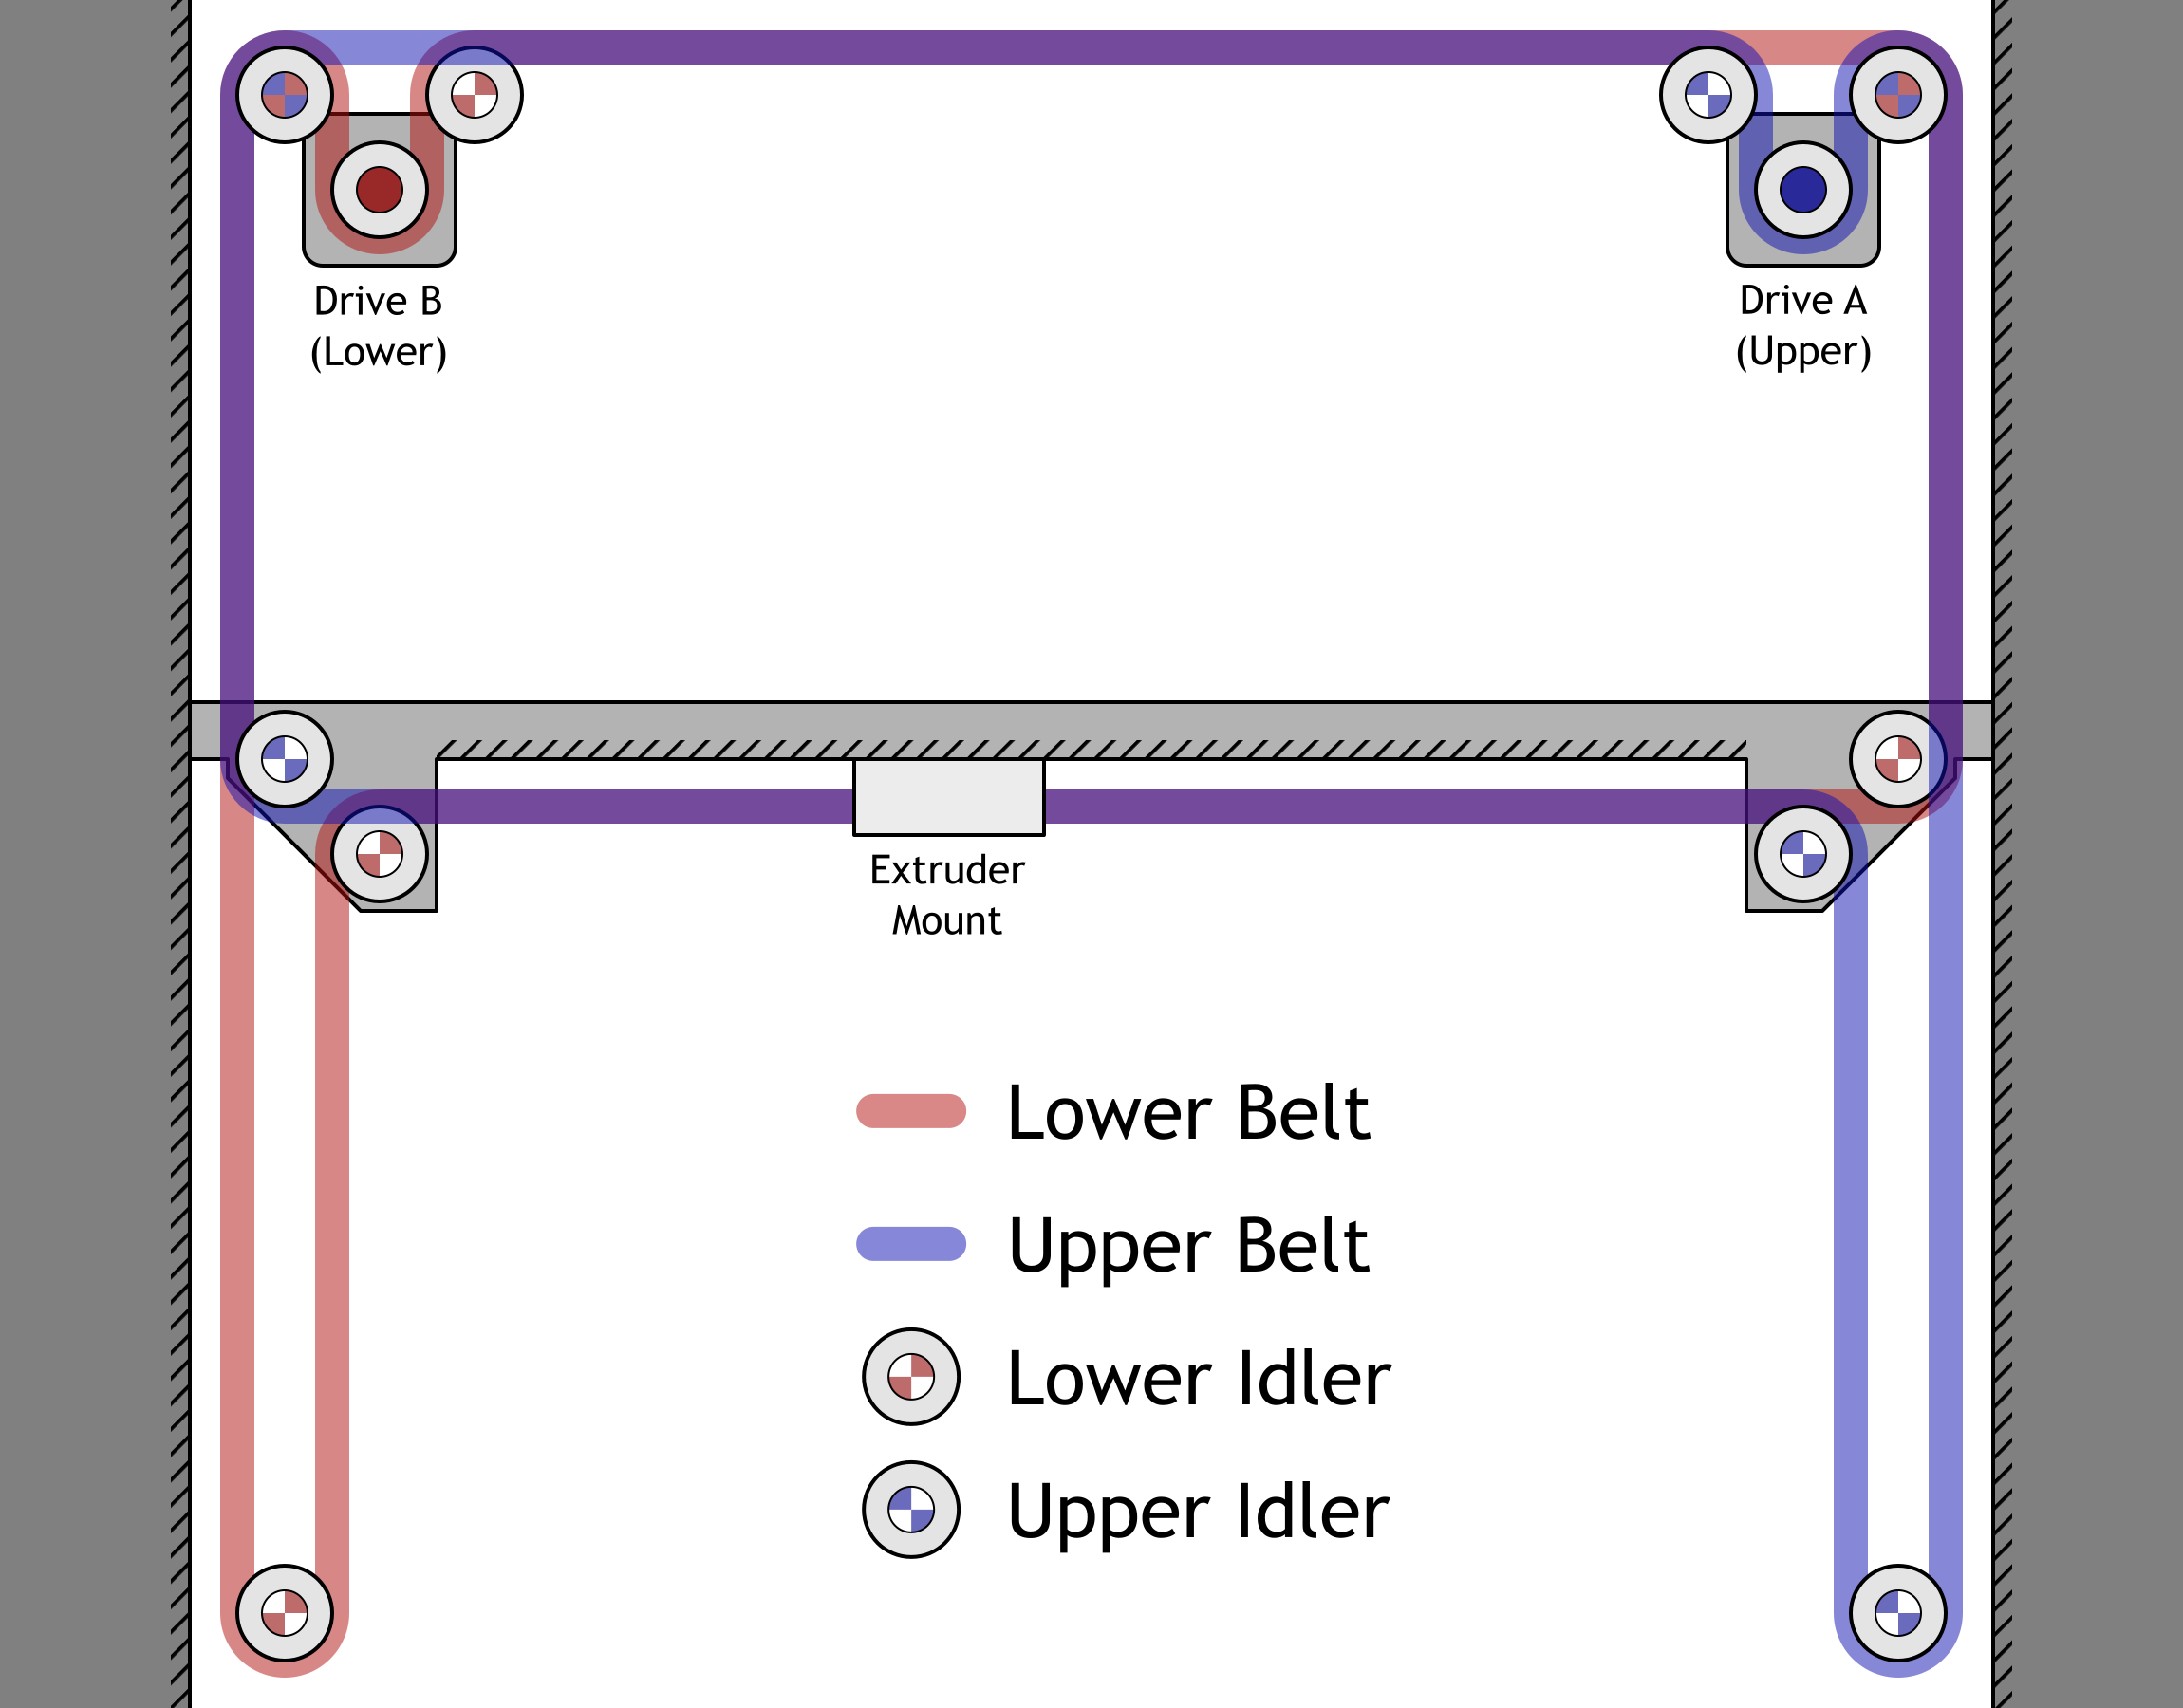

This design has two major benefits:
- The two motors needed to drive the print head are stationary (in the x-y plane). This is in contrast to traditional cartesian printers where one of the motors is required to be moved along with the gantry.
- For linear motion in the x and y directions, two motors are driven in parallel. This allows for faster acceleration in these two directions.
3D Printer Motherboards
Electronics for 3D printers has become easy, with motherboards providing sensible interfaces to all of the types of transducers used in a 3D printer:
- Stepper motors (using modular drivers on replaceable daughterboards)
- Limit switches
- Fans
- Heating elements (both low power, and high power via solid state relays)
- Temperature sensors
- LEDs (dimmable and full colour)
- Displays
- Input devices
- Accelerometers
- Distance sensors
- Encoders
This greatly simplifies wiring and general electronics architecture, all while allowing for excellent extensibility for a tinkerer. A single power supply, a motherboard, an embedded computer and a solid state relay form the core of the electronics in a modern 3D printer.
Klipper
Klipper has changed how motion control works in hobbyist and prosumer 3D printing. Traditional printer firmware runs on a microcontroller, and is responsible for processing G-code and turning it into step/direction pulses for the motor drivers. These microcontrollers have limited processing power and can struggle to calculate complex motion profiles and deal with highly segmented G-code. Functionality such as S-curve acceleration or extruder pressure advance are challenging to implement.
Motion control in most 3D printers is open-loop. This means there is no feedback from the motors to the controller. The controller sends each step pulse and simply hopes that the mechanics will keep up. Klipper exploits this fact by precalculating the motion profiles and corresponding step/direction pulse timing on a more powerful computer. The resulting pulse schedule is streamed to the printer’s microcontroller for execution.
Powerful hardware and the abstractions of a high level programming language (Python) allow Klipper to use more sophisticated algorithms to shape acceleration and velocity profiles, as well as compensate for mechanical inaccuracies. Optimisation for specific printers can be done by running system characterisation tests and feeding the information back into Klipper.
Klipper can compensate for:
- Mechanical resonances: These normally result in ringing artifacts. Armed with an inexpensive accelerometer mounted on the toolhead, the printer’s mechanical resonances can be measured, and Klipper shapes the generated motion profiles to avoid exciting them.
- Extruder response: The flow of molten plastic out of the nozzle does not directly follow the extruder velocity profile. There is lag and significant smoothing of the profile which results in under and over extrusion, particularly at corners where there is rapid acceleration and deceleration. After characterising the extruder by printing some test models, Klipper is able to compensate for this.
- Mechanical inaccuracies: Bed flatness, gantry/bed parallelism, axis orthogonality and axis scaling can all be compensated for in Klipper. Some of these inaccuracies can be compensated for dynamically by running probing routines before the print starts, others require running calibration prints and feeding coefficients back into the Klipper config.
Of course, it’s best to limit these issues as far as possible during the design and build phase, but it is amazing how much Klipper can do to improve print performance and accuracy.
Upgrades
Since building the printer, there has been a constant stream of upgrades applied to it. These include:
- Sorbothane Feet for vibration damping.
- Handles to move the printer around easily.
- Nozzle Scrubber to remove ooze from the nozzle pre-print.
- Build Plate Stops to make alignment and positioning of the flexible build plate easier.
- Nevermore StealthMax for volatile and particulate filtering.
- Metal Tap to improve stiffness of the print head mount.
- Metal Z-Joints to lower the gantry for more stiffness and to provide more rotational freedom to the gantry corner joints.
Upgrades and customisation were one of the major reasons for choosing a Voron Design printer. The base design is solid, but the surrounding community is constantly improving on it. Its open nature means I can rebuild, tweak and improve on this impressive foundation while still using it as a workhorse printer with great print quality and impressive performance.
